TASTE: Banana-Oat & Date Muffins
/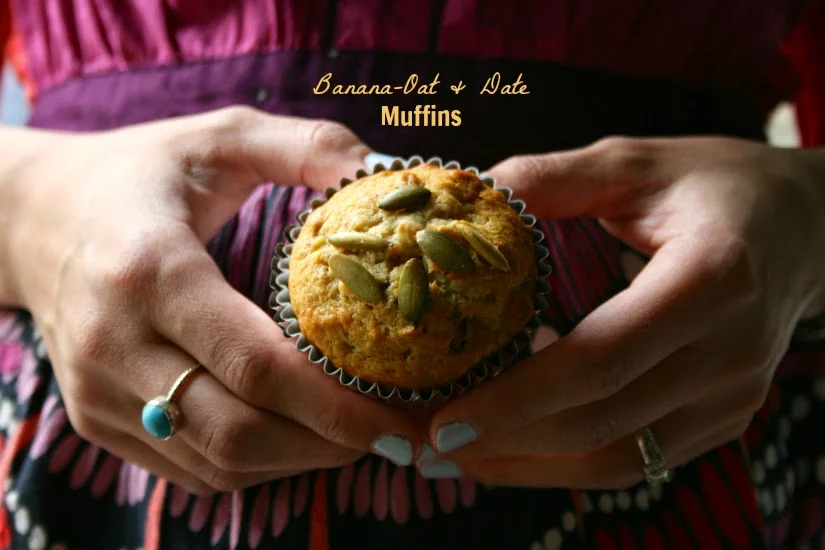
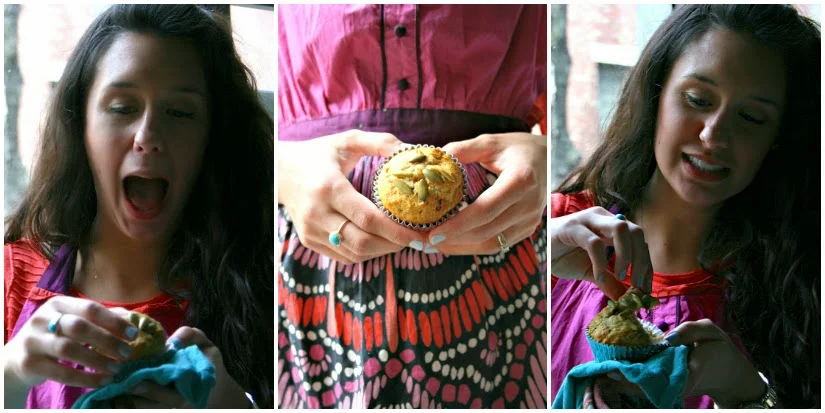
Banana-Oat & Date Muffins
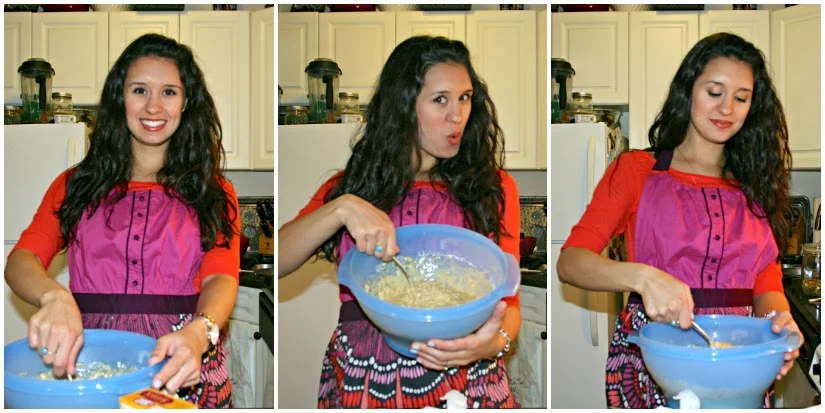
Always in a hurry to grab something for breakfast and GO? This is a great morning muffin you can prep and bake ahead of time, freeze, and then pull out and take along with you in the car or on the subway. It's happy fuel for the morning commute. And for how delicious and comforting it tastes... it's pretty darn healthy. I mean, it's sweetened by bananas and dates. And just a bit of maple syrup. Please. Can we be any more granola?
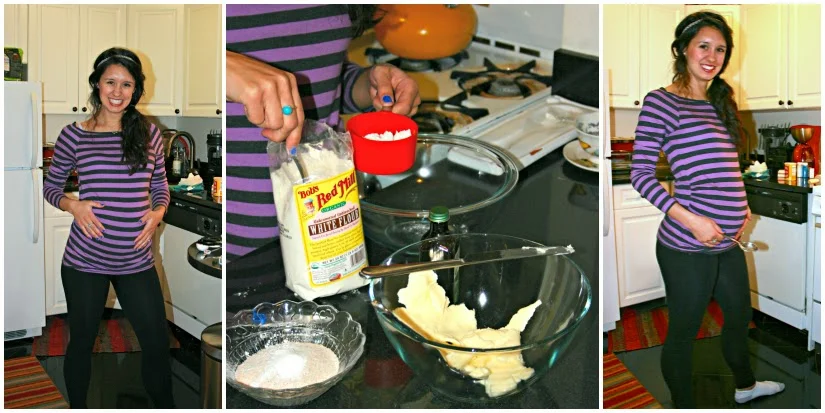
Being back in the South has brought to mind some recipes that I had honestly forgotten about. You know how that happens? You go home and all the familiarity, the scent of home, the pattern in your steps... your past life just comes soaring back to you. That's what happened this week. I found myself fumbling around the kitchen for some half-spoiled bananas, pulled down my glass jar of oats, and voila, this recipe pretty much made itself. It's reminiscent of banana bread and therefore, highly heavenly and appealing. And homey-ish. This recipe is based largely on Gwyneth Paltrow's version, but I tweaked a few things here and there. You can rag on her all you want, but I really do love her recipes. I mean, the semi-normal ones that I've actually attempted to try. Now she's actually queen of the granola. We don't need to be queen of that. We just need to enjoy our muffins and get on with it. So lets.

Ingredients:
- 2 cups flour
- 1 cup old-fashioned oats
- 2 tsp. baking powder
- 2 tsp. baking soda
- a pinch of sea salt (Maldon!)
- 2 overripe bananas, mashed
- 1/2 cup olive oil
- 2/3 cup maple syrup
- 2/3 cup unsweetened almond milk
- 2 tsp. vanilla extract
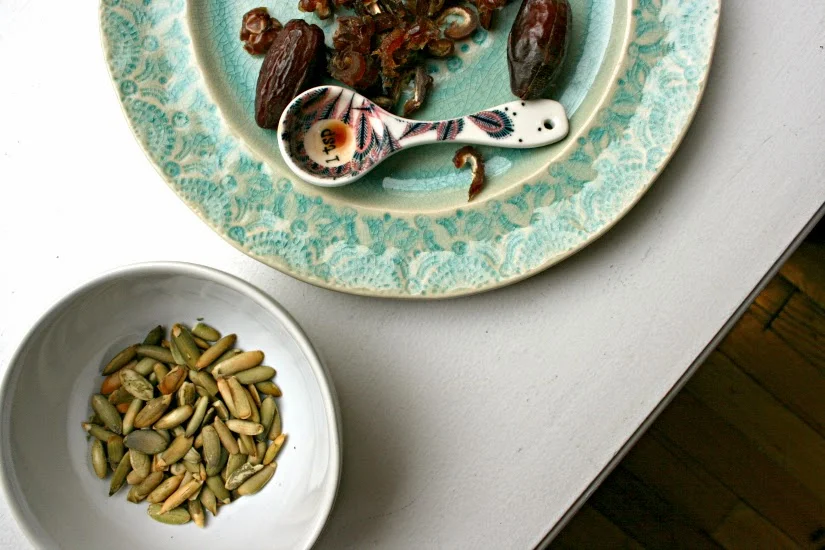
- 1/2 cup dried dates, pitted and chopped (about 6 dates)
- 1/4 pumpkin seeds, roughly chopped, plus more for topping each muffin
Method:
1. Preheat oven to 400 degrees. Line your muffin tin with liners.
2. In a bowl, mix together the flour, oats, baking powder, baking soda and salt. Set aside.
3. In another bowl, mix the mashed bananas, olive oil, maple syrup, almond milk and vanilla.
4. Combine the wet ingredients into the dry ingredients, mixing together.
5. Toss the chopped dates with the 1/4 cup chopped pumpkin seeds and fold them into the batter. Mix well. Make sure that the dates and pumpkin seeds don't fall straight to the bottom of the batter.
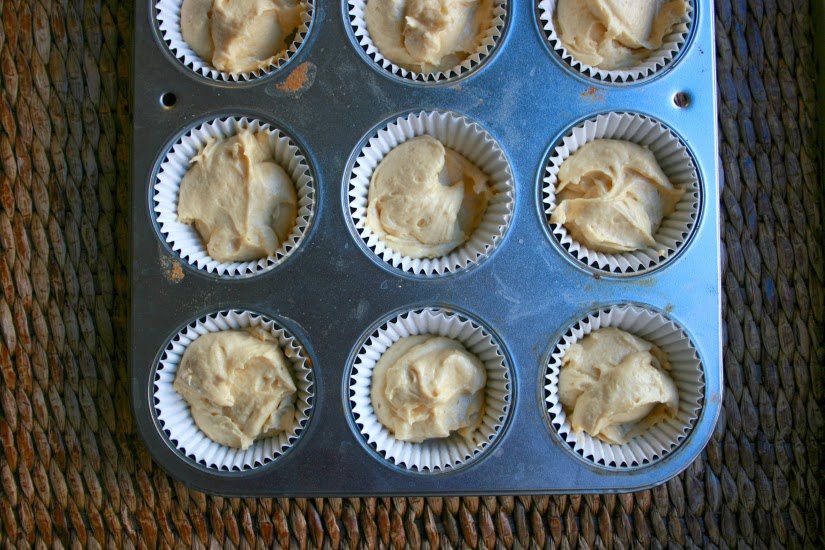
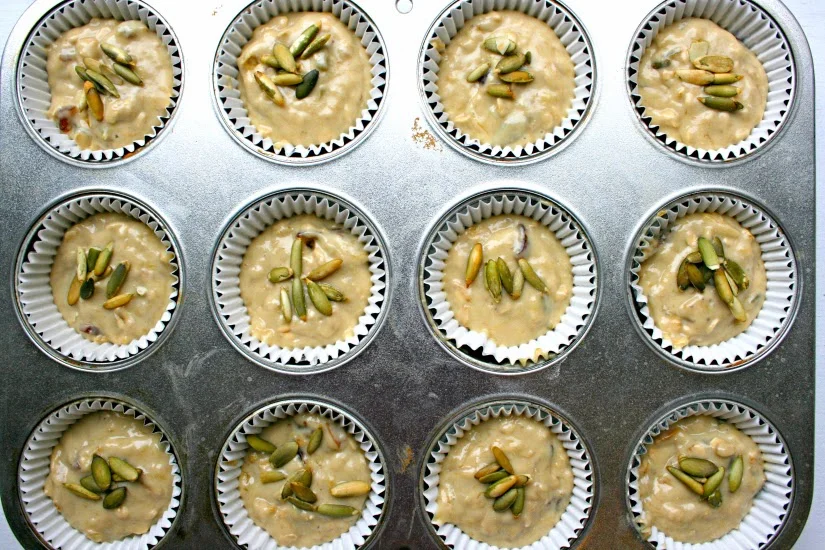
6. Fill each muffin tin about 2/3 of the way full with the batter. Sprinkle each muffin with a pinch of the extra pumpkin seeds.
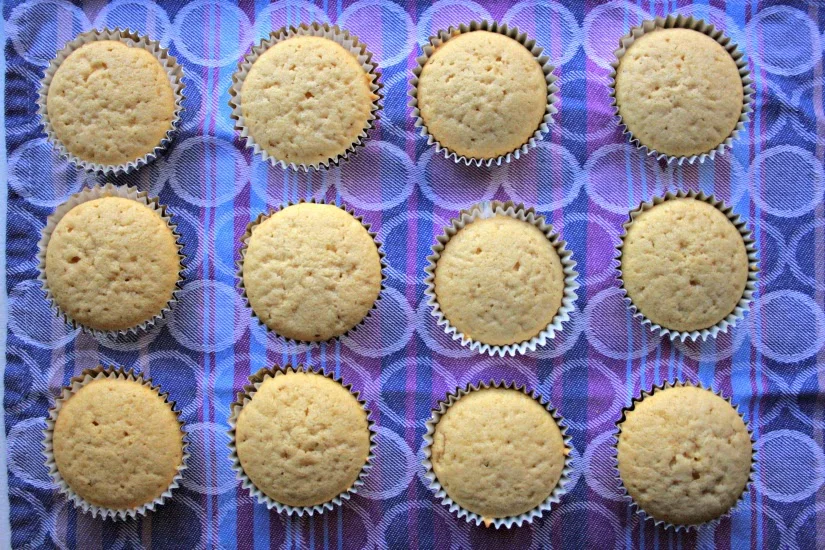
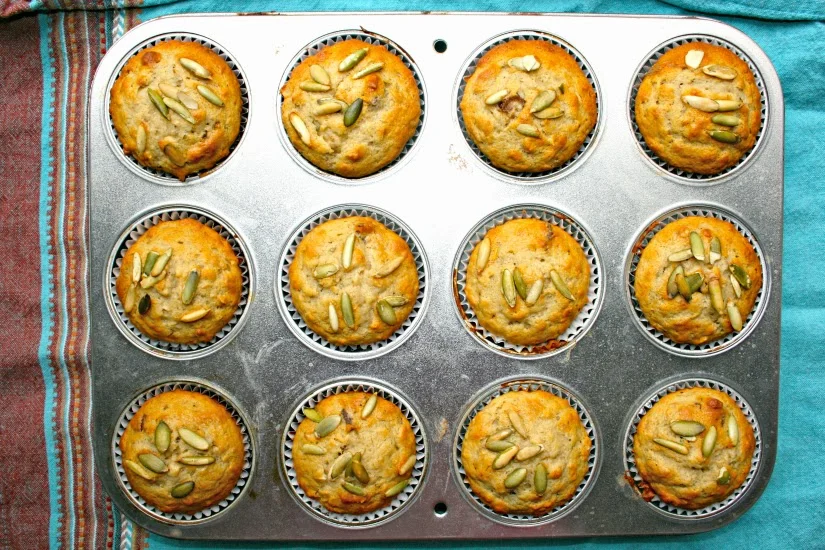
7. Bake until the muffins are browned and a toothpick comes out clean, about 20-25 minutes.
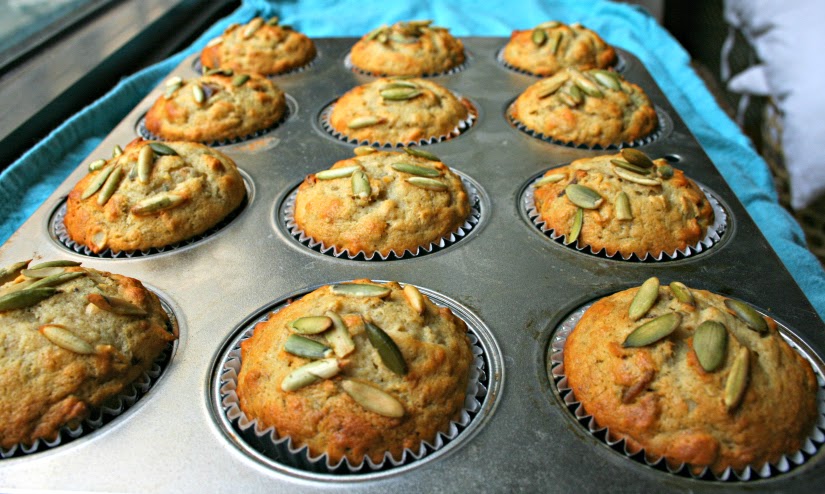
Worth the Muffin Top.
I promise, you will love these deceivingly decadent muffins. The pumpkin seeds add a bit of salty crunch and the dates add a hit of soppy, southern mapley-ness. The hardest part is only eating one at a time!