The Apple Crisp (that is both breakfast and dessert!)

Apple Crisp7.jpg

Merry Christmas Eve! If you’re like me, you are anticipating lots of people in your home over the next few days. And if you’re like me, you want to have easy, no-fuss snack/meal/dessert options on hand so that everyone gets fed and feels loved and happy.

Enter the apple crisp, the single most versatile weapon in my recipe arsenal. YES I WENT THERE.

This recipe can basically be whatever you want to call it or frame it as. It’s breakfast! It’s dessert! It’s healthy! You can add milk to it, or yogurt (or nothing!) and it’s a yummy warm breakfast. You can add some ice cream to it and suddenly it’s a wickedly good dessert. It’s anything you want it to be! And I love how clean the ingredients are, so you are truly working with a healthy, warm, nourishing dish that is such a universal crowd-pleaser. Make it. I know you will love it.

Apple Crisp1.jpg
Apple Crisp4.jpg
Apple Crisp5.jpg
Apple Crisp6.jpg
Apple Crisp8.jpg

Ingredients:
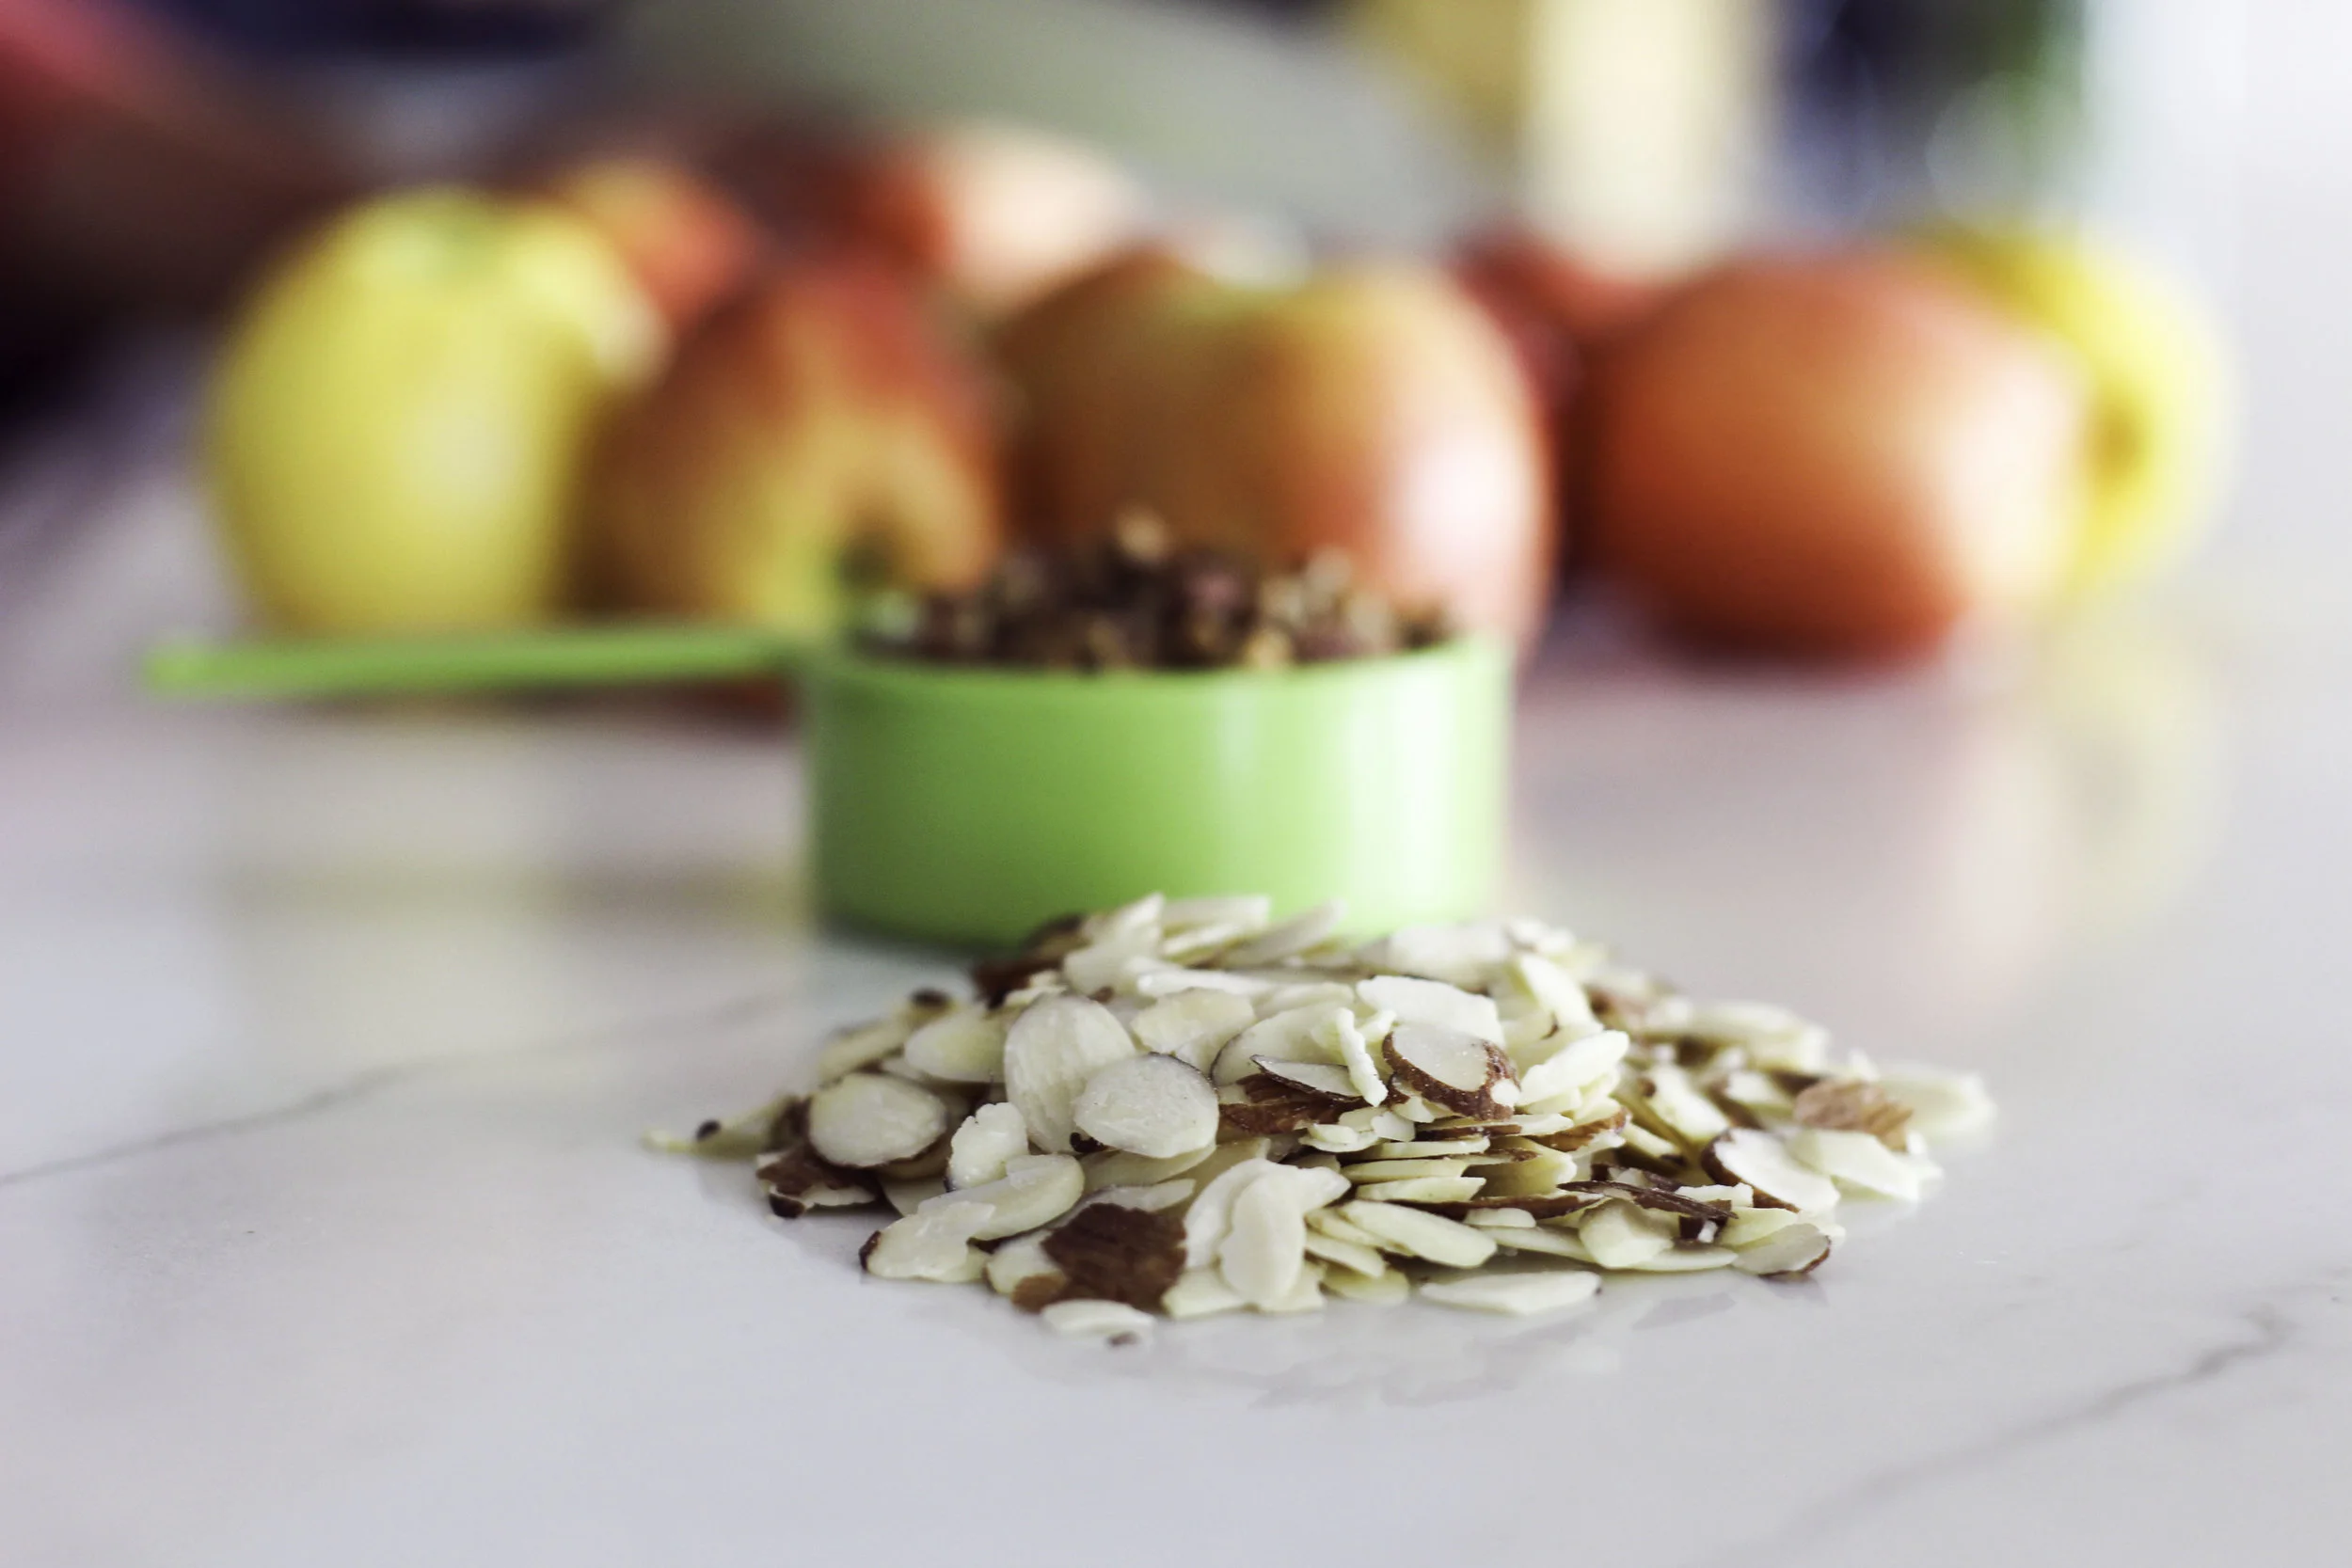
- 4 cups diced apples
- 1 cup old-fashioned oats
- 1 cup nuts, chopped (I like to do a mix of walnuts and pecans)
- 1/2 cup almond meal
- 1/4 cup maple syrup
- 1/4 cup olive oil
- 1/2 tsp. salt

Method:
1. Preheat the oven to 350 degrees.
2. Mix together the oats, nuts, almond meal, syrup and salt.
3. Pour the apples into an 8x8 glass pyrex dish, then layer the toppings over it.
4. Bake for 35-40 minutes, until the fruit is bubbling and the topping is brown and a bit crispy.

Apple Crisp9.jpg
Apple Crisp11.jpg

I typically double or triple this recipe when I have people over, and if I don’t, I still make a lot and freeze half of it. It’s one of the best things to eat first thing on a cold morning! Please let me know if you make it and enjoy it! I love sharing recipes with you that are staples in our household.


I hope the next few days are full of so much love and delight and laughter as you celebrate with your favorite people. Merry Christmas Eve to you all!

Apple Crisp3.jpg

Turmeric Oat Milk Latte.

photo 9.jpg

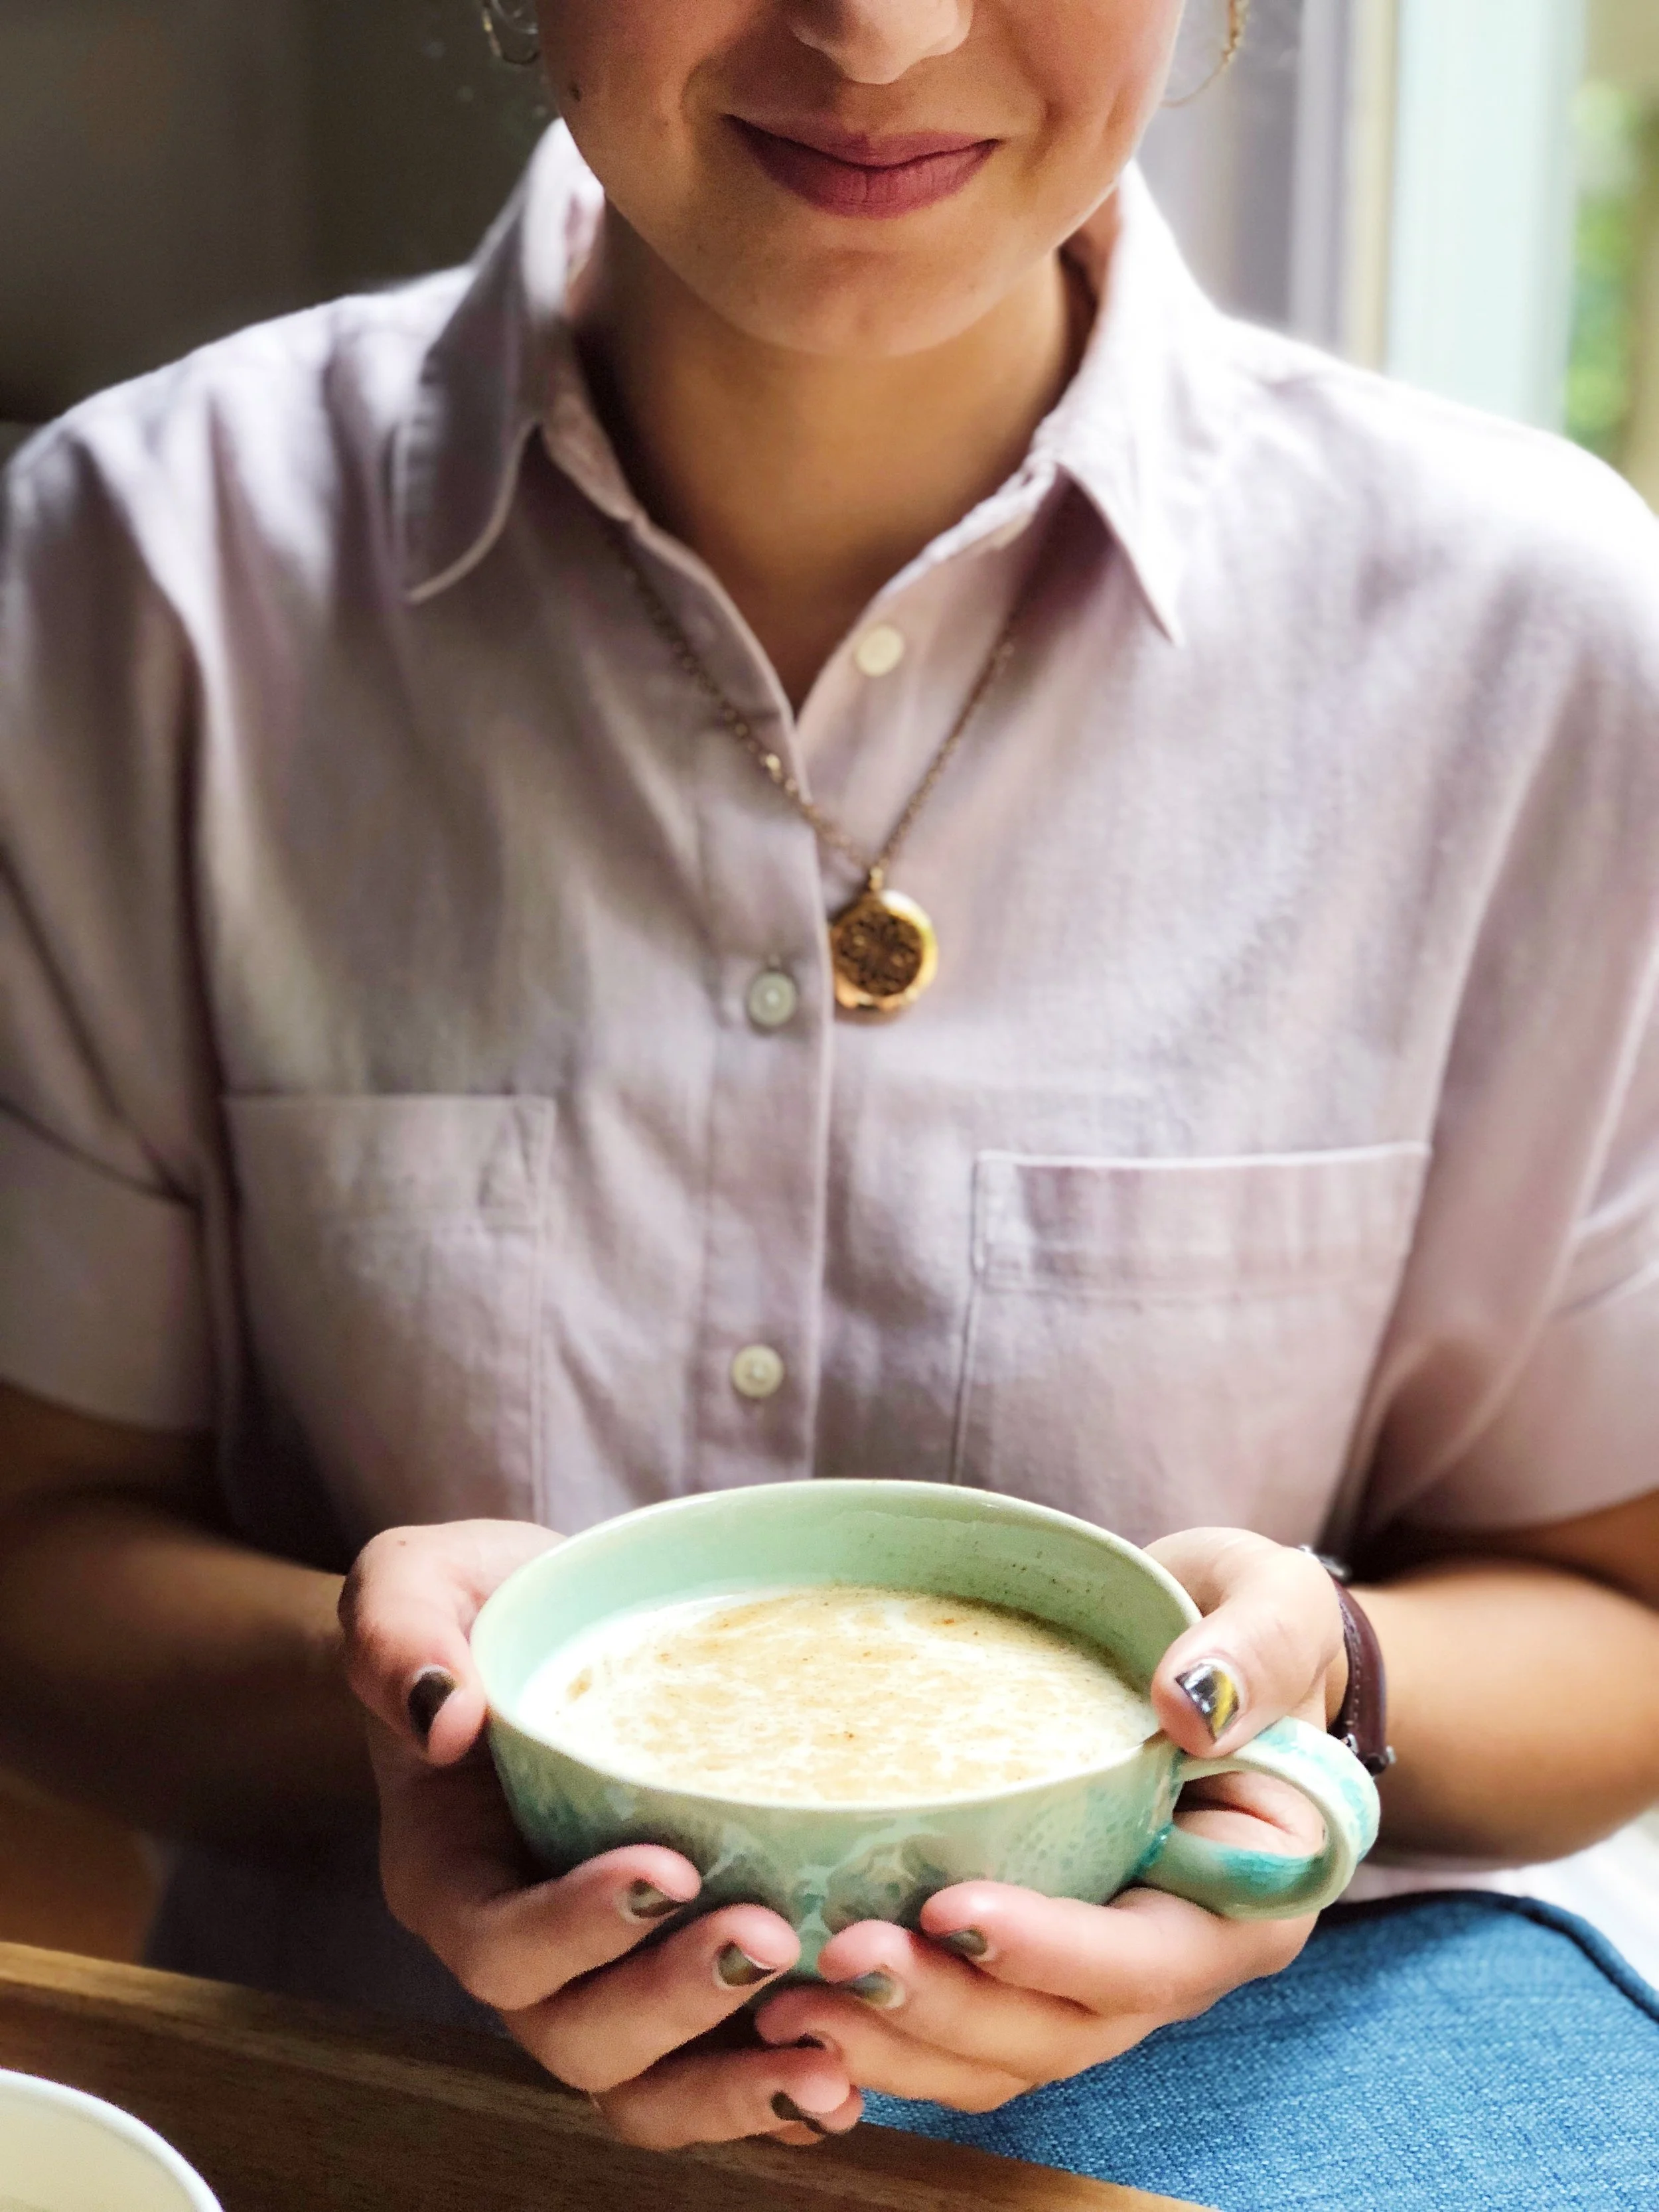
I’ve been hearing about the benefits of golden milk beverages for a long time. But they always sounded kind of strange to me. I assumed they tasted like dirt but people were just drinking them anyways, because of the added health benefits. When doTERRA launched the new Turmeric essential oil last month, I thought, “Okay, now it’s time to test out a recipe.” After some tweaking and product testing (aka me and Stevie drinking a LOT of variations), I finally landed on this recipe and I LOVE it. It’s so warm and sweet and herbal - perfect for cozying up at night with a good movie!

Why a turmeric latte? Because turmeric is SO good when taken internally. It bolsters the immune system, reduces inflammation, supports healthy circulation, aids in metabolism and is commonly known as a nervous system booster. AND it adds a powerful flavor when used in the kitchen! So yeah, turmeric, you da best.

And why oat milk? Truthfully, I discovered this was a thing when we were in Santa Barbara this past summer. I couldn’t believe how good it tasted in a latte, and it was a lot easier on my stomach. Since having my babies, milk has bothered me more and more, so I try to avoid it. Don’t feel bad for me - I’ve got my oat milk these days ;)

0F7E1669-B234-4CD8-9A86-46DF7BF4FE22.JPG
9A2E7A1B-50BB-477E-9BFC-E24A78E44EDF.JPG

Ingredients:
- 1 drop doTERRA Turmeric essential oil
- 1 drop doTERRA Ginger essential oil
- 1 drop doTERRA Cinnamon essential oil
- 1 drop doTERRA Clove essential oil
- 1 drop doTERRA Black Pepper essential oil
- 1 cup oat milk (I’ve been using this Pacifica kind)
- 1 tsp. Moon Juice Beauty Dust
- 1 tbsp. maple syrup

Method:
1. Combine all the essential oils in a latte mug.
2. Add maple syrup.
3. Steam oat milk in a milk frother (I use this one that came with my Citiz Nespresso).
4. Add in the steamed milk and Beauty Dust, then stir to combine.

Voila! Look at you, you golden milk drinker!

68ABB581-CB8B-4736-BDBD-F39D6B5961FE.JPG
C53F0547-9B23-47F0-B77B-28C971137B42.JPG
81E8DB85-A2F2-4C8D-8571-1C949C811B4F.JPG
DA88F811-D288-4E8D-AB40-EC45E334DDF9.JPG
IMG_0613.jpg

This is a great late-night drink to enjoy before bedtime. It’s a creamier and frothier and just puts you in the right coziness headspace that you need to fall into a deep, deep sleep. I can’t believe how much I love this drink!

p.s. - Believe it or not, these photos were all shot on my iphone and edited in VSCO because my SLR camera has been acting up. Trying to figure out what I’m going to do about that!


photo 8.jpg

Sources: Latte Mugs, Appetizer Platter, Serving Tray (similar), Coasters (similar)


To-Go Breakfast Egg Bites (Whole30 approved!)

Egg Breakfast Bites.jpg
Egg Breakfast Bites2.jpg
Egg Breakfast Bites5.jpg

Whoooooooooole30!!!
This is the 3rd time that I've done Whole30 and I learn more with each round. This particular recipe is a great one to have on hand for those busy weekday mornings when you need to grab something to-go quickly. I like to make a batch of these on Sunday afternoon and then have them for the weekday mornings. These are especially helpful for Stevie, because he is either commuting to Atlanta to work or to the airport to travel - it's really hard to do Whole30 when your work schedule is crazy! But having things like that all ready to go can really save breakfast/rush hour.

Ingredients:
- 10-12 eggs
- 1.5 cups chopped vegetables
- 1 cup cooked hash browns
- 1/2 cup protein of your choice (bacon or chicken sausage are my preferences)
- 1/4 tsp. salt
- 1/4 tsp. pepper

Method:
1. Heat oven to 350.
2. Dice and saute the vegetables until soft, then set aside.
3. Cook and dice protein of your choice. If I'm using bacon, I just kind of tear it apart, but if I'm using chicken sausage I chop it up into half-moons. Set aside.
4. Cook the hash browns according the the package.
5. Whisk together the eggs with the salt and pepper. I say 10-12 because it depends on how big your eggs are.
6. Spray a a 12-cup muffin tin with oil.
7. Layer in each muffin tin: 1 large spoonful of hash browns, 1 large spoonful of vegetables, 1 small spoonful of protein and then top off each muffin cup with the whisked eggs until it's just under the fill line.
8. Place in the oven and bake at 350 for 30-35 minutes. You will know they are finished once the tops are slightly browned.
9. You can keep in the refrigerator and reheat in the mornings in the microwave or toaster oven - these are a great way to start the day, especially on the go!

Notes:
- My favorite vegetables/protein combos are: 1. spinach, onions and bacon or 2. peppers, onions and chicken sausage.
- If you don't have hash browns, you can also shred potatoes and use that in place (a great tip from my friend Savannah :)
- If you want to make these non-Whole30 style, they are even more fabulous with less eggs and some half and half. You could use about 8 eggs, 3/4 cup half and half, and of course, top each muffin cup with shredded cheese. Let's be honest, they taste better this way.

P.S. - Looking for more to-go breakfast options? Check out my freezer-friendly Breakfast Burritos :)
P.P.S. - More Whole30 recipes here!
 

Egg Breakfast Bites4.jpg

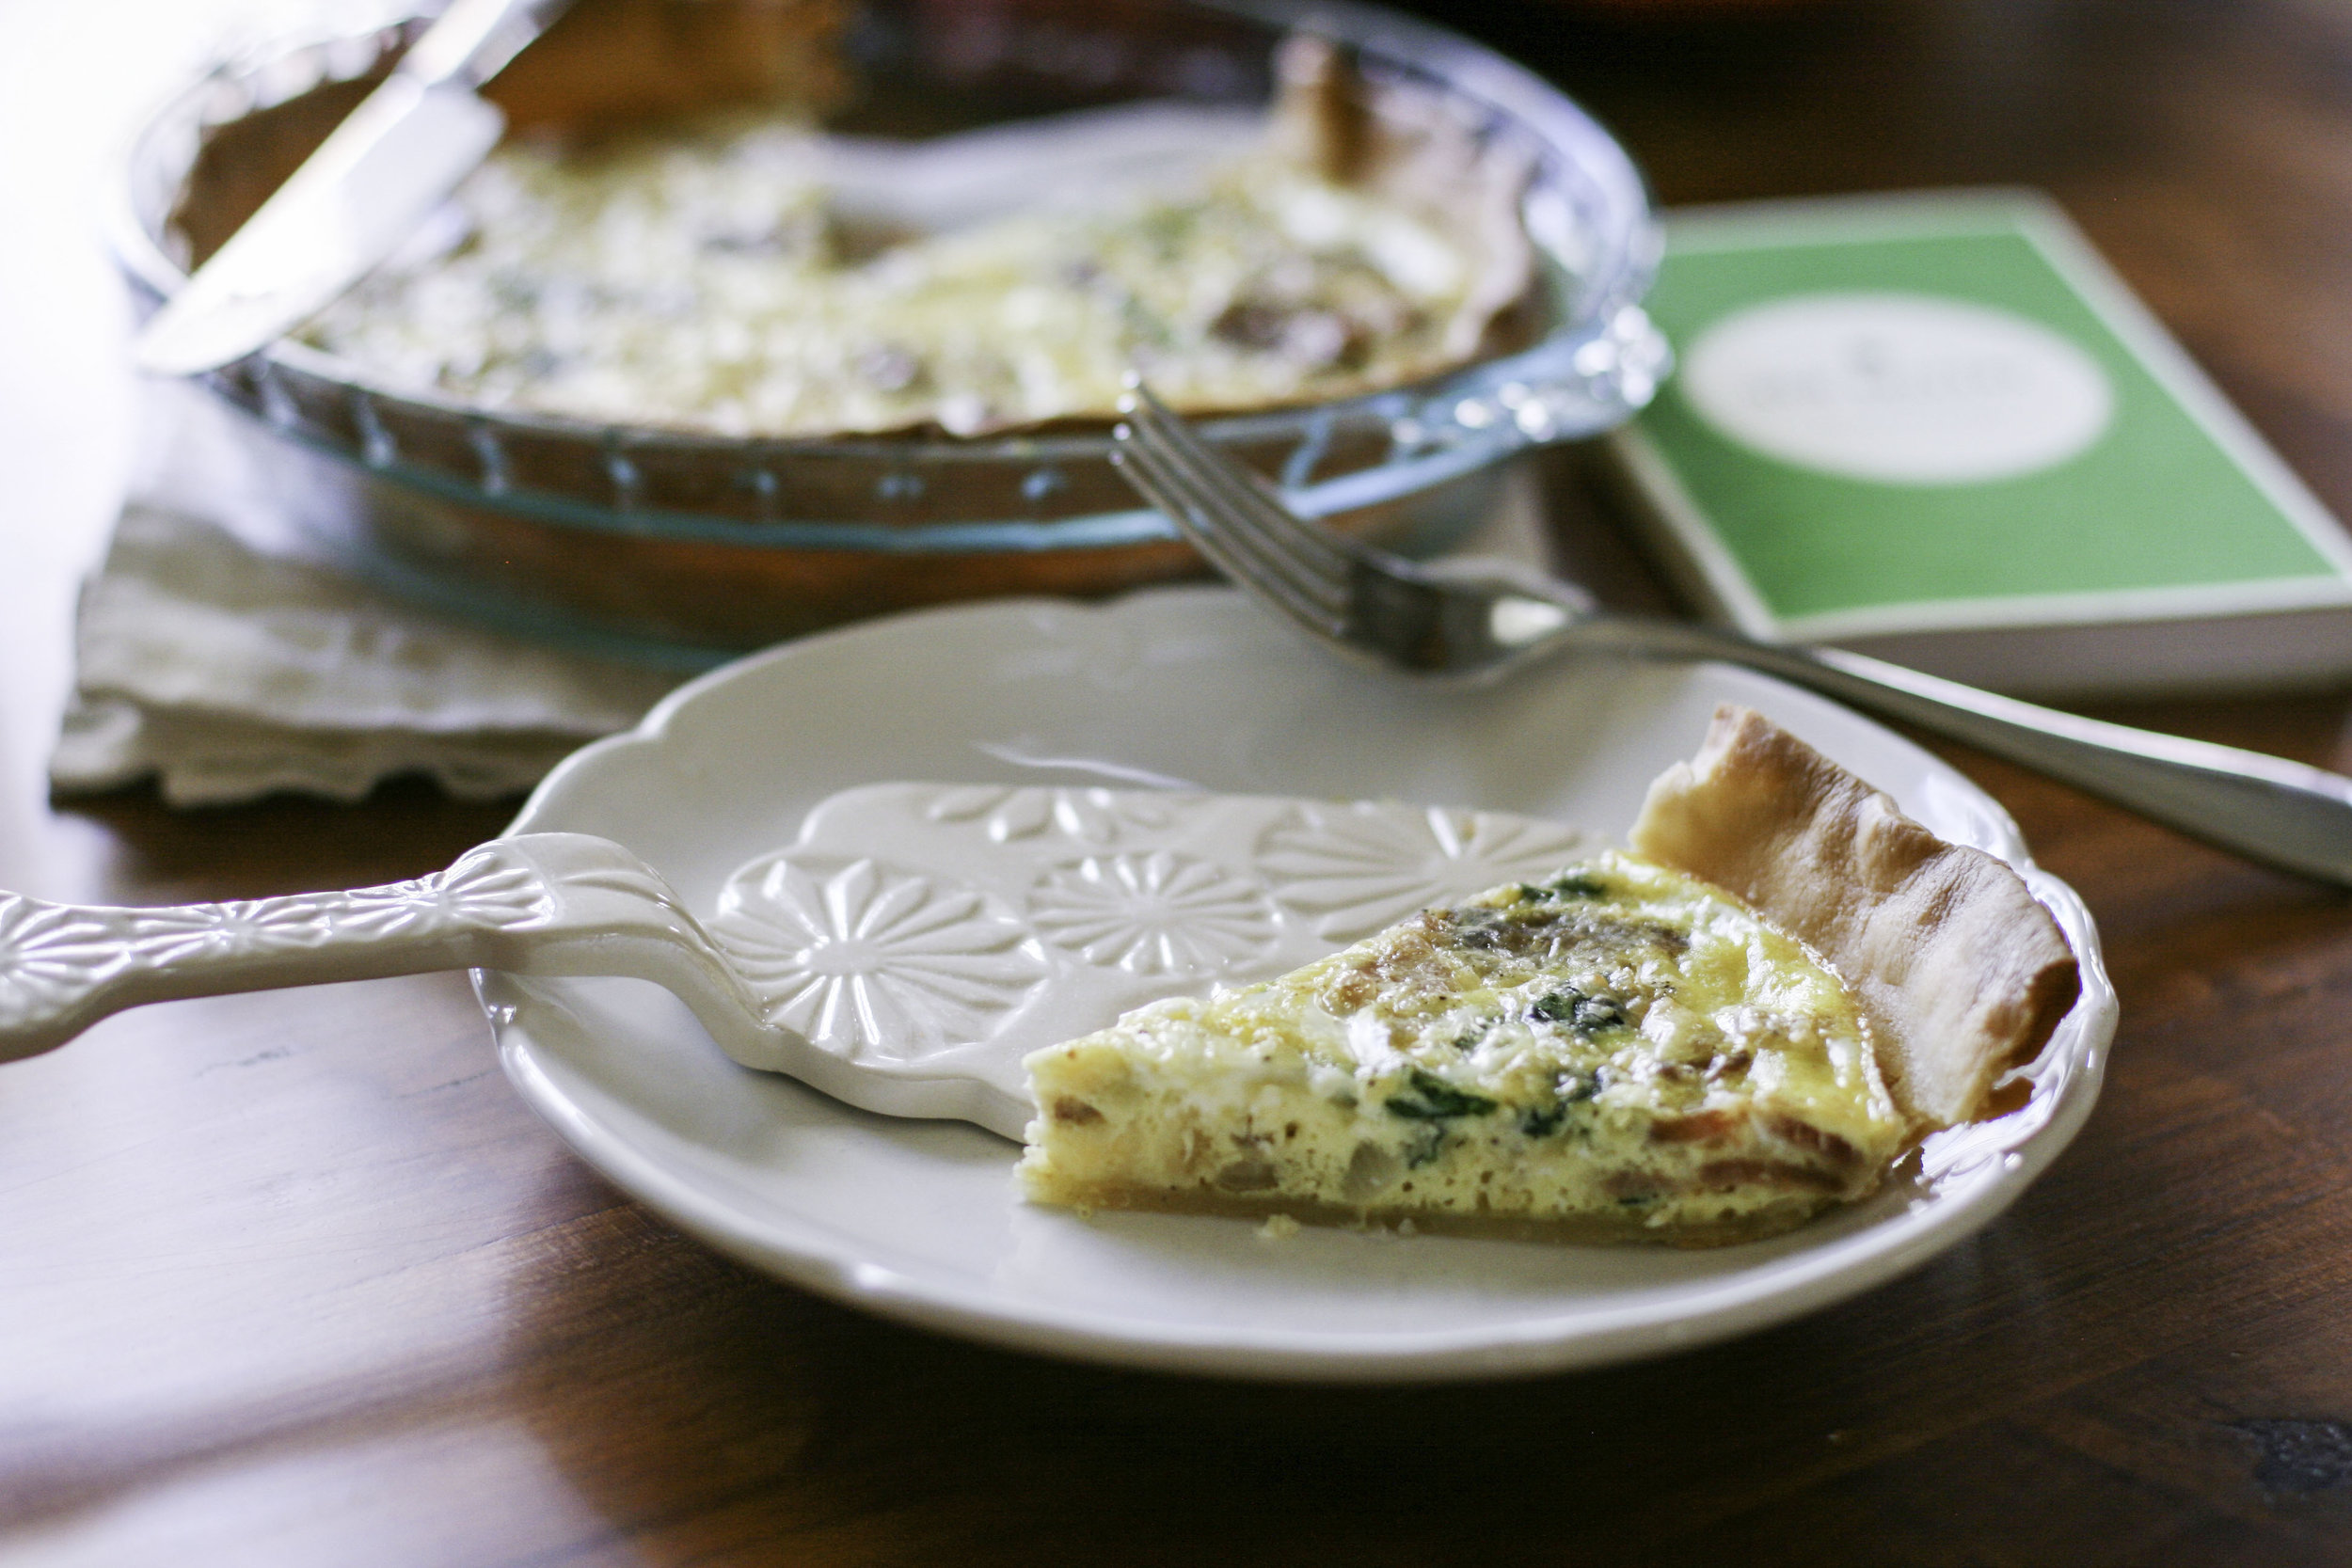
Bacon, Spinach & Shallot Quiche.

Quiche7.jpg
Quiche3.jpg
Quiche6.jpg
Quiche5.jpg
Quiche10.jpg

Christmas week is upon us! Hurray!!! This is the grandest, most delightful time of year and I am so excited that this week has finally come! What celebratory things do you have planned?!

I'll admit, I am still working with a mile-long to-do list. My unordered Christmas cards will have to become New Years cards. My pantry is empty. I could use a good house cleaning (okay, scrubbing/dusting and while you're at it, a fresh coat of paint would be great). After spending the past week goofing off in NYC, I got behind on a few things here on the home front. But it's the most wonderful time of year so I'll just prioritize what needs to happen and let go of the rest of the expectations. This time of year can really eat you alive with all the busyness - my thing over the past week has been saying no to everything else for the rest of the year. I don't know about you, but I feel maxed out, but in a super great way! And I want to preserve that great feelings and enjoyment without going into full-blown frazzled mode of trying to do everything. Doing everything well is a myth. I must say no and do a few things well. So pretty much any "thing" that comes up between now and January is just going to have to wait, because I'm at full commitment capacity. In case you're struggling with this, I give you permission today to let yourself say no to a whole bunch of stuff. Just do it. It will feel like relief, I promise you. Okay wow that was a tangent I wasn't really expecting to go down... but hopefully someone here needed to read this today! And P.S. I'll get a post up ASAP about our trip and all the fun things to do in the winter in NYC with kiddos. Ahhh it was the best. Although I don't miss the 25-degree weather.

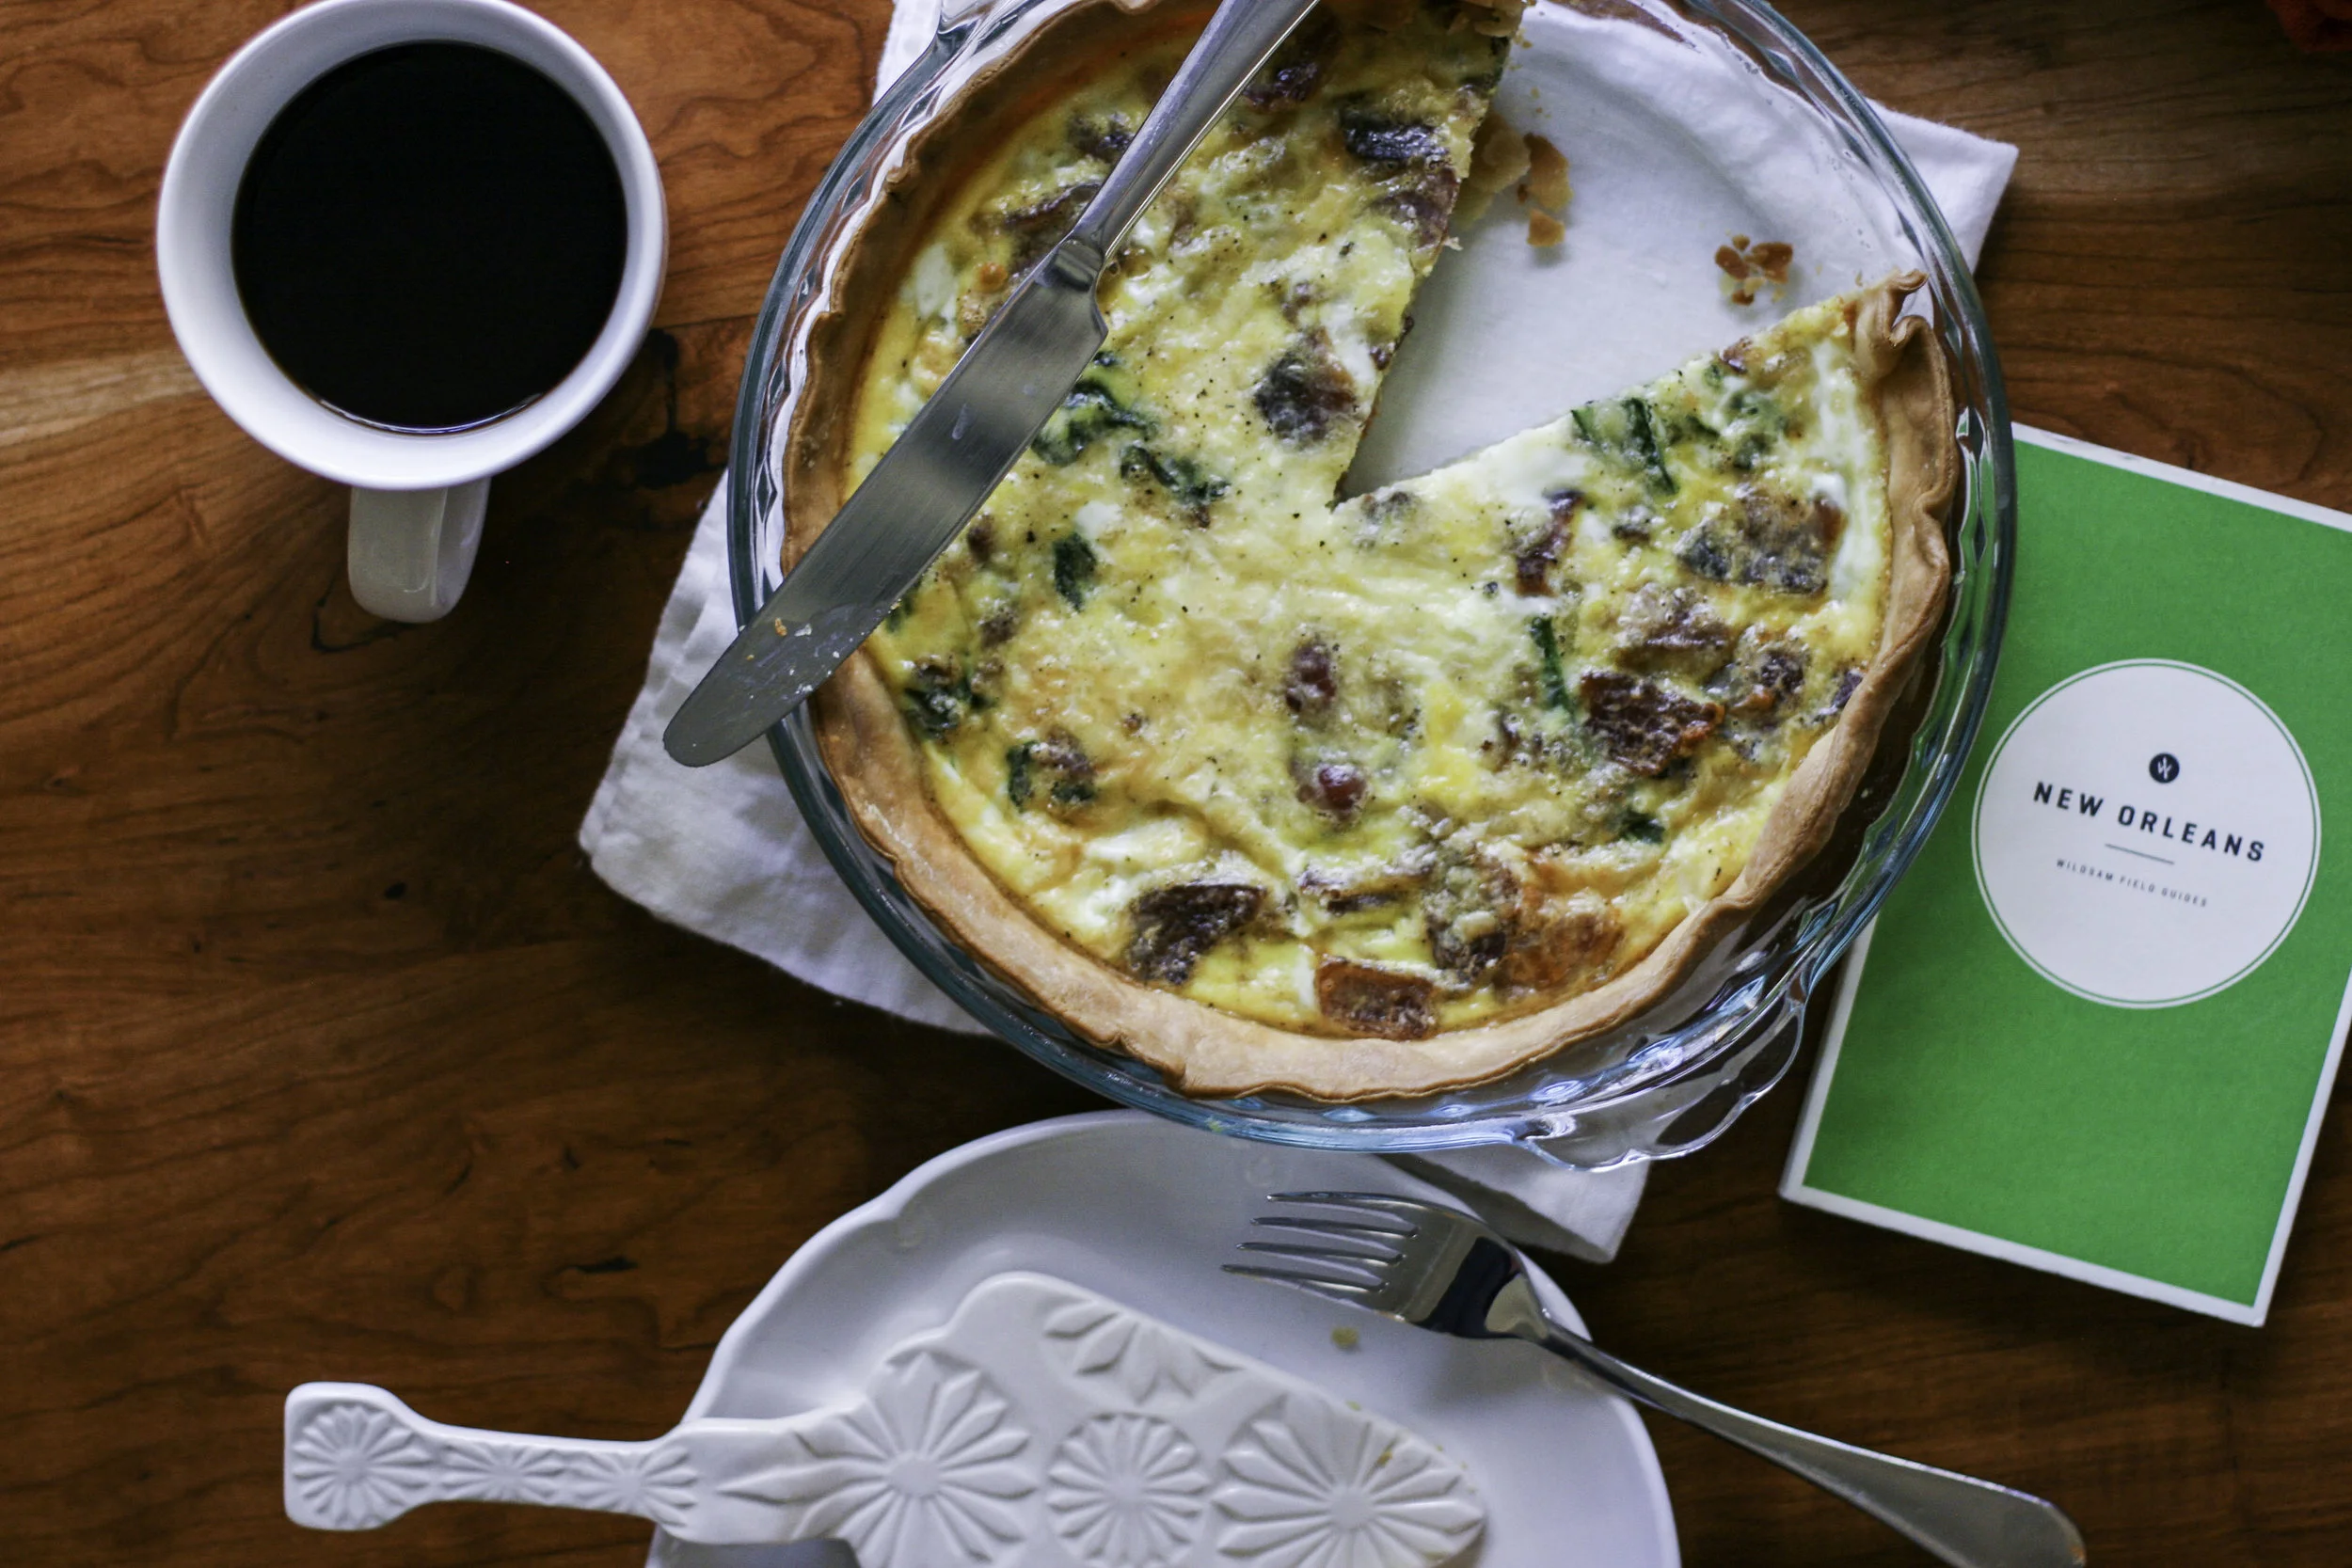
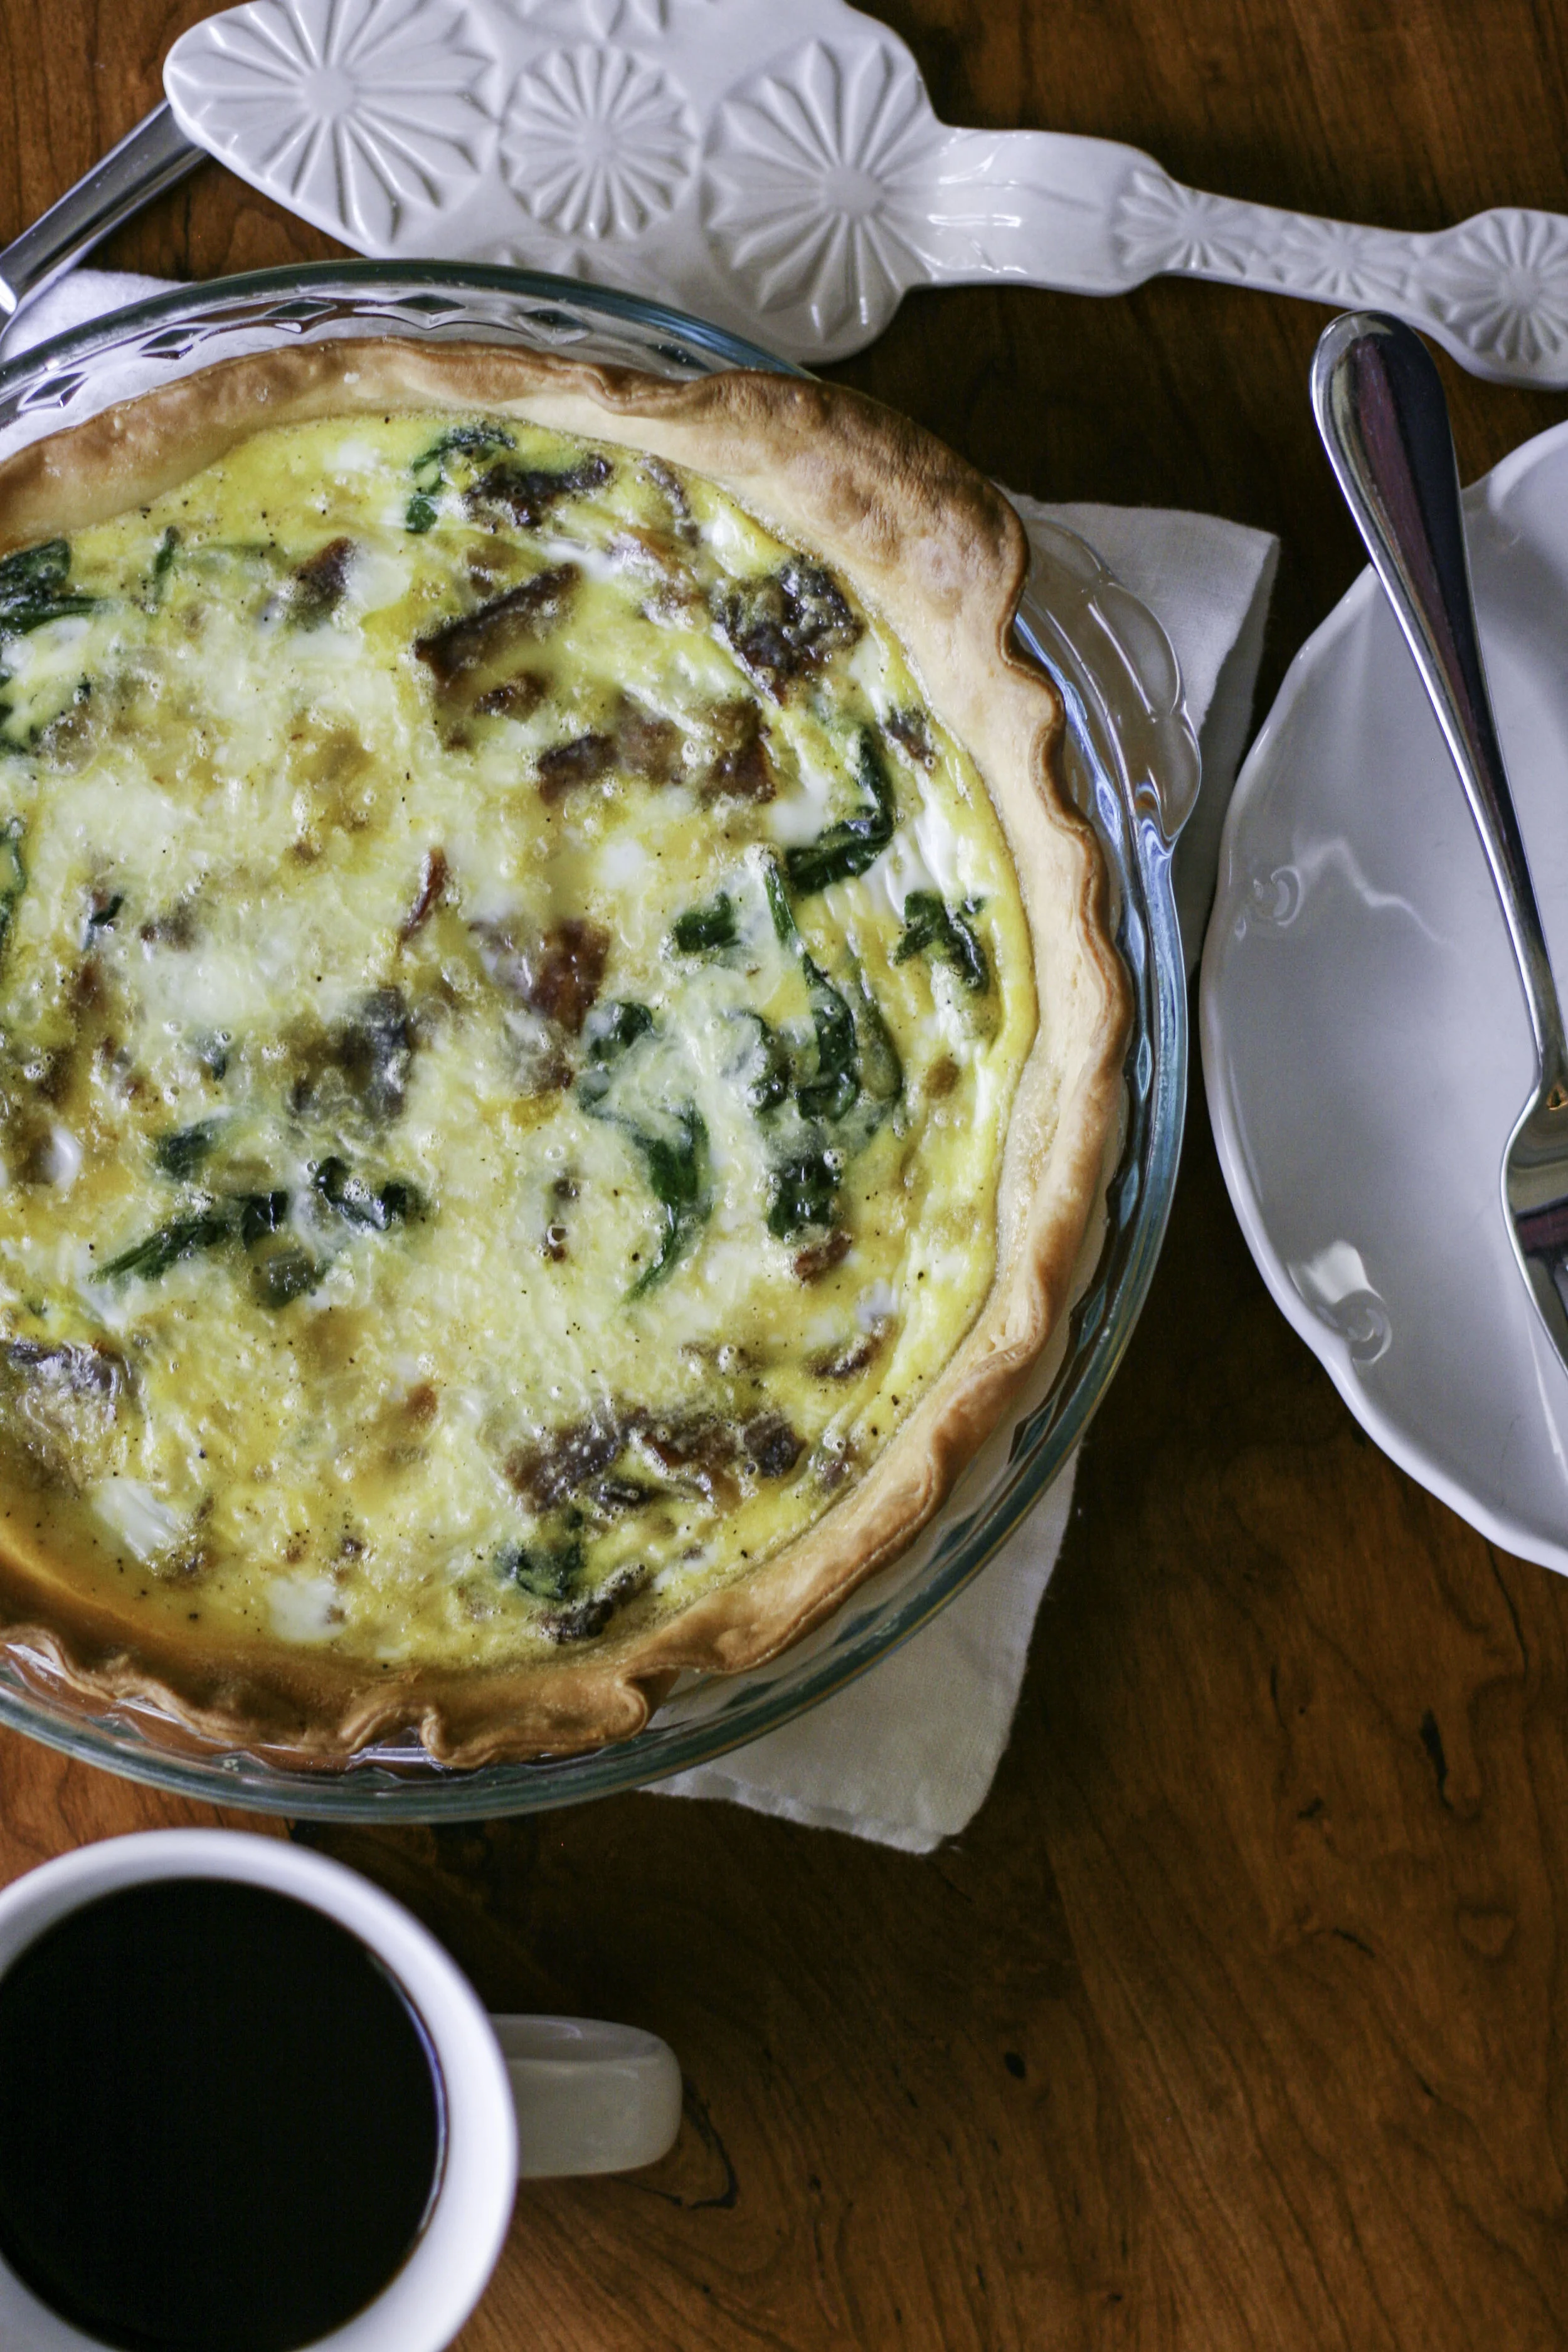
Okay, so since it's Christmas week and we are all traveling or hosting or having meals and celebrations, I thought it was high time that I shared my holiday brunch go-to recipe. This quiche is easy and severely, dangerously good. I've been making it for years and I don't even use a recipe anymore, i just throw all the ingredients together and it always turns out well. It's not fancy or hard, but it's hearty and GOOD. My theory on this is that when you combine bacon and cheese with anything, it's going to be good. No matter what. It's just the law or science or something. Okay, here goes!

Quiche4.jpg

Ingredients:
- 1 quiche or pie crust (found in the refrigerated section of the grocery store)
- 6 eggs
- 1 cup milk
- 1 shallot, diced
- 5 slices bacon, already cooked and crumbled
- 1 cup shredded mozzarella cheese
- 2 tbsp. flour
- a handful of spinach
- a dash of nutmeg
- 1 tbsp. olive oil
- salt and pepper to taste

Method:
1. Heat a skillet over medium and add the oil.
2. Wait for the skillet to get hot and then add the diced shallots. Using a spatula, continuously move them around and give 1-3 minutes to soften.
3. Then add the crumbled bacon and spinach. Allow this mixture to cook with the onions for about 1 more minute. Once the spinach has just wilted, remove the pan from the heat. Put this mixture into a small bowl and set aside to cool.
4. Go ahead and whisk together the eggs and milk. Add a light dusting of salt, pepper and nutmeg, then set mixture aside.
5. Add the 2 tbsp. of flour to the bacon-spinach-shallot mixture, combine until everything is coated with flour.
6. Place the quiche crust inside a round glass Pyrex, pressing it into the pan.
7. Add the bacon-spinach-shallot mixture to the center of the quiche crust, then I spread it out evenly. Add the cheese and stir until everything looks consistent.
8. Pour the egg/milk mixture into the center of the quiche.
9. Bake on 375 degrees for about 35 minutes. Once a toothpick is inserted and comes out clean, your quiche is ready to be devoured!

Bon Appetit, friends!

quiche11.jpg

Notes:
- The baking time is extremely approximate. Just keep checking - it might be perfect or it might still need 10-15 more minutes to fully cook. Every oven, climate, and therefore quiche is different.
- If you feel like your crust is browning too quickly, you can loosely cover the entire quiche with some tinfoil. This keeps the crust from cooking faster than the contents.
- Don't have shallots? Use an onion! Don't have bacon? This is awesome with sausage, too. The other delicious twist on this recipe calls for sausage, mushroom and rosemary (so savory!).

I hope you enjoy whipping this up for your loved ones! And yourself. Tag a sista if you decide to make this - @oykristen. And I hope you have the MERRIEST CHRISTMAS WEEK!!! May the wrapping/laughing/egg-nogging be ever in your favor. xx

p.s. - how do you like my new kitchen breakfast table? Travis McAfee custom designed this beauty - he is a true genius craftsman extraordinaire and me and Stevie are LOVING IT. This table has brought our little family together in the kitchen and it's really been the perfect addition to our home. If you're interested, here is Travis' info - he makes everything from wooden wallets to custom projects. If you get in touch, let him know I sent you!

A Rustic Pear Galette + a Giveaway for "Sheet Pan Suppers Meatless"!

Sheetpan1.jpg

This post is a sponsored conversation on behalf of Workman Publishing. All opinions are my own.

Happy Friday friends! I'm excited to share a quick, suuuuuper easy autumn recipe with you, in partnership with Workman Publishing! I've always been intrigued by the idea of whipping up a rustic, autumnal galette, but to be completely honest - it seemed too fussy. It seemed like the kind of thing that only *real* bakers can achieve, and I should just stick to by-the-book pies. I was wrong! This recipe was EASY and make me feel like one of those fancy-lady bakers. Come on over to my place, it's getting all FALL up in here!

This recipe is from Sheet Pan Suppers Meatless, a new cookbook by award-winning food writer Raquel Pelzel, which is her latest effort in creating wholesome, meat-free meals using just a humble sheet pan. The one-pan approach appeals to busy mamas like me who have more than enough dishes to clean at the end of the day, but especially caters to vegetarians, vegans, those who follow a gluten-free diet and anyone who's interested in adding meatless meals to their lifestyle. The sheet pan approach uses three techniques to prep all the meals - roasting, baking and broiling, all of which allow the flavors of the food to marinate and intensify, creating savory meatless meal options. Flipping through the book, I was honestly surprised by how many recipes I wanted to try out. I don't follow a vegetarian lifestyle but I can certainly see the benefit in implementing more vegetarian meals into my family's repertoire. Don't laugh - but maybe my galette (which is basically a pie) will be a gateway. Perhaps we will progress to actual vegetables next week ;)

I'm sharing Raquel's recipe today, but make sure to hop on over to my instagram for your chance to win a copy of Sheet Pan Suppers Meatless along with a prize pack! More details below, following the recipe.

Sheetpan3.jpg

Rustic Pear Galette:
Excerpted from Sheet Pan Suppers Meatless by Raquel Pelzel (Workman Publishing). Copyright © 2017.
Ingredients:
- 1 piecrust dough (you can make your own or use a store-bought version)
- 3 medium-ripe Barlette or Anjou pears, cored and sliced into 1/4-inch thick slices
- Finely grated zest of 1 lemon (I adore my microplane grater)
- 1 tbsp. fresh lemon juice
- 1/4 cup sugar
- 1/2 tsp. ground cinnamon
- 1/8 tsp. kosher salt
- 1 large egg
- 1tbsp. butter

Method:
1. Remove piecrust from the refrigerator and let it warm up to room temperature.
2. Line a rimmed sheet pan with parchment paper or a silicone baking mat (I have yet to graduate to one of these, though perhaps this should be my year). Place the pears in a medium-sized bowl and toss with the lemon zest and juice, 1/3 cup sugar, cinnamon and salt. Set aside.
3. Whisk the egg, 1 tbsp. water and a pinch of salt to a small bowl.
4. Unroll pie dough onto the prepared sheet pan and pile the pears in the middle. Leave a 2-3-inch border around the edges.
5. Cut butter into small pieces and scatter on top of the pears. Loosely fold the edges of the dough around the pears, pleating the dough as you go, leaving the tart open in the middle.
6. Brush the dough with the egg wash. Refrigerate the tart on the sheet pan for 30 minutes or overnight (if refrigerating overnight, wrap pan in plastic wrap).
7. Bake tart at 400 degrees until the crust is golden brown, 30-40 minutes. Let cool completely on a wire rack, slice into pieces and serve.

Sheetpan2.jpg

Giveaway!
I'm excited to offer you the opportunity to win a copy of Sheet Pan Suppers Meatless, along with a Kate Spade cooking mitt and a Sur la Table sheet pan! To enter, visit this post on my instagram and follow the post instructions. U.S.-based addresses only.

SheetPanSuppers-OvenMittPrize-1.jpg