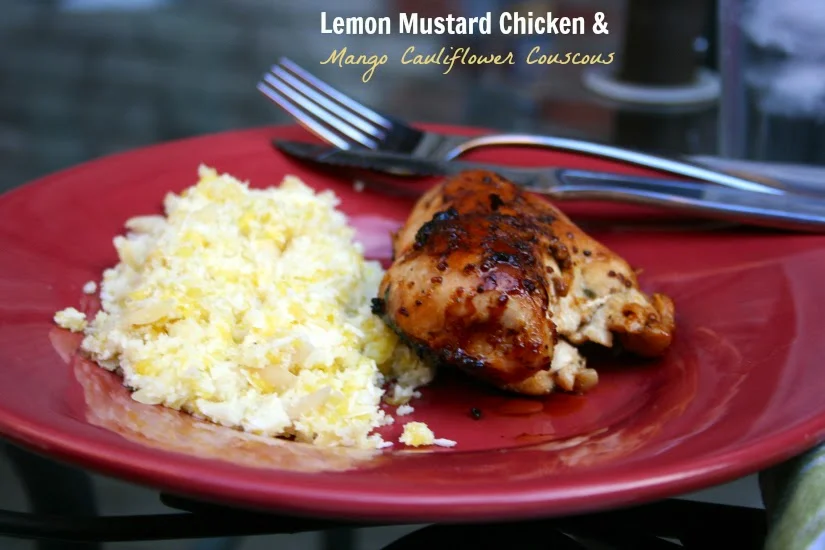
TASTE: Lemon & Olive Chicken.
/TASTE: Lemon & Olive Chicken.
Happy Tuesday to you! I hope your Valentine weekend was full of love and hugs and kisses and tasty treats. Ours was hilarious and wonderful. With all this incredible cold weather up in our business, I've got a warm yummy dinner recipe for you today!

This meal has quickly become a staple in our household. When I got this amaaaaaazing dutch oven for Christmas last year, I started experimenting with all the delicious ways I could cook easy meals and make them taste like Heaven. This dutch oven has made my success rate increase tenfold. Seriously. This particular recipe is a favorite because it's super duper easy to make (no, seriously) and it's mega healthy. There's nothing crazy bad in it, which makes it the perfect midweek pick-me-up that tastes like comfort food without hindering my waistline. (I've got other temptations to hinder my waistline) :)
I got this recipe from Gwyneth Paltrow's book, It's All Good, a publication that garners a lot of hate but I confidently stand by. Just because Gwyneth gets misquoted (okay, a lot) saying sometimes outland-ish, borderline pretentious things, her food life is the center of my envy. Everything I've cooked from that book has been GOLD. I've made a few changes (for the lazy crowd, you're welcome), so this recipe is officially easier than ever. Add a side of quinoa and a side of something green and this meal is going to become your new go-to. What's for dinner at our house tonight? I'll give you one, deeeeeelicious guess :)
Ingredients:
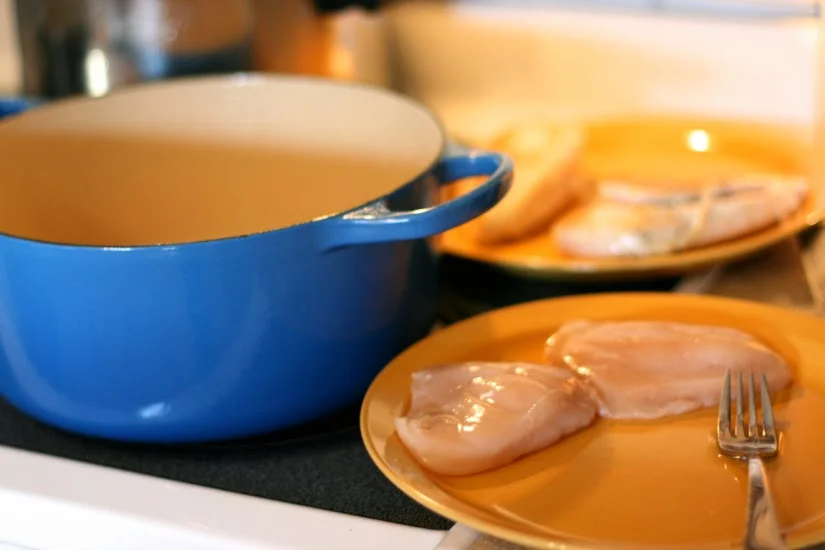
- 6 boneless, Skinless Chicken Breasts
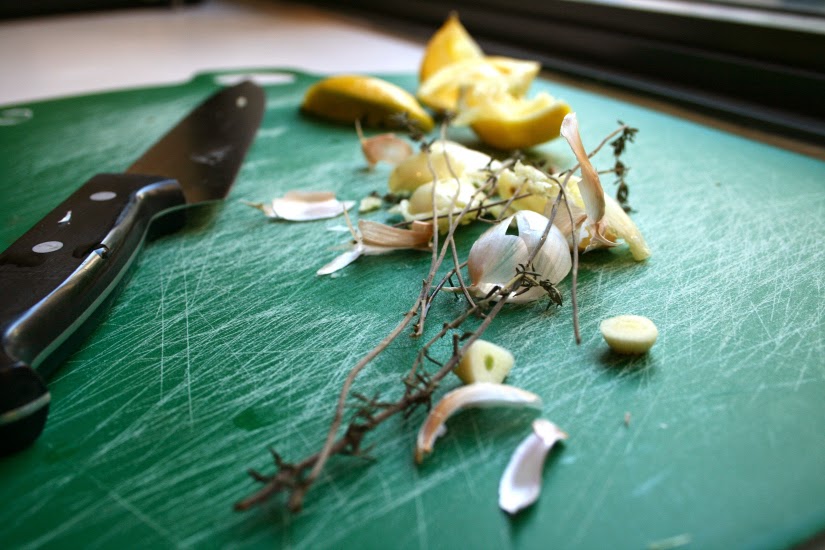
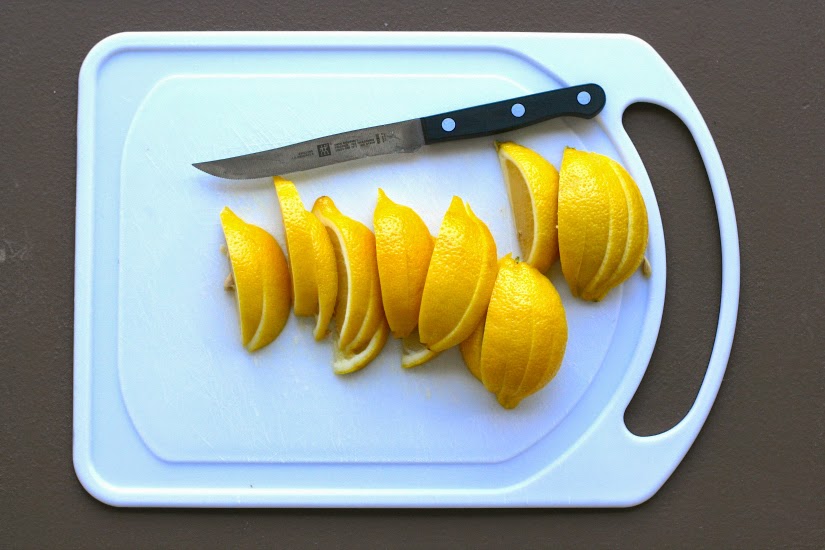
- 1 Lemon, sliced
- 3 Shallots, sliced thinly into rings
- 1.5 cups Chicken Stock
- 1/2 jar Green Olives
- 2-3 cloves garlic, peeled
- 2 tbsp. Olive Oil
- Salt and Pepper, to taste
- 1 sprig Thyme
Method:
1. Heat oven to 400 degrees. Drizzle olive oil in a cast iron dutch on the stove and heat on medium.
2. Generously salt and pepper chicken on both sides and place in dutch oven. Cook until lightly browned, about 4-5 minutes, then flip and cook on the other side. Cook for another 4-5 minutes (chicken should still be pink inside), then remove chicken from heat and transfer to a plate. DON'T WORRY. We aren't done cooking the chicken.
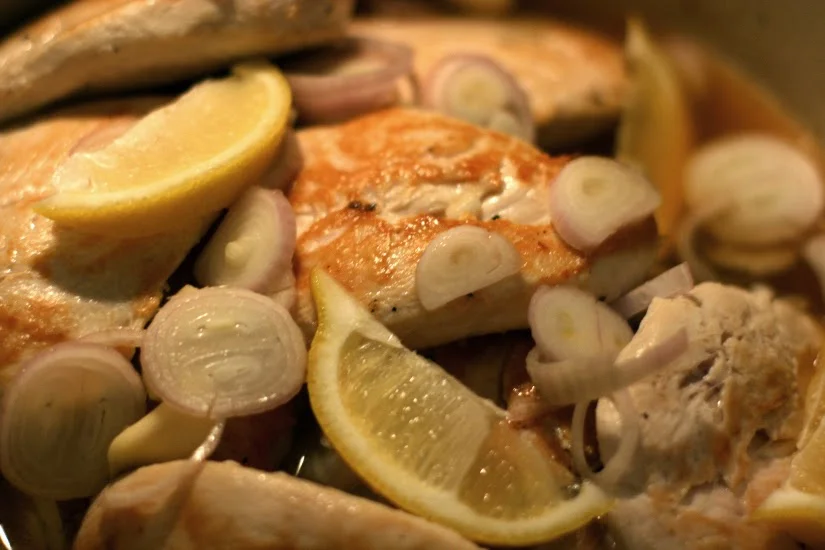
3. Add shallots and garlic to the dutch oven, cooking until softened, about 2-3 minutes.
4. Place chicken back into the dutch oven, along with any juices that collected on the plate. That's flavor town, by the way.
5. Add the chicken stock, olives, thyme and scatter on top of the chicken. Squeeze individual slices of lemon over the chicken and discard the skins.
Note:
I like to keep the lemons in the mixture so they cook together, but you don't have to since you won't eat them. Totally up to you.
6. Bring the mixture to a boil on the stove top, then cover and place in the oven. Cook for 30-40 minutes on 400 degrees.
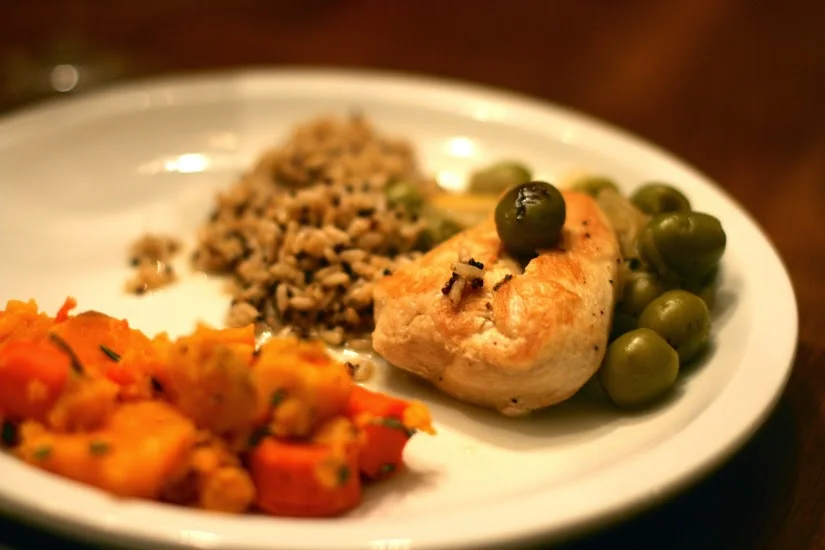
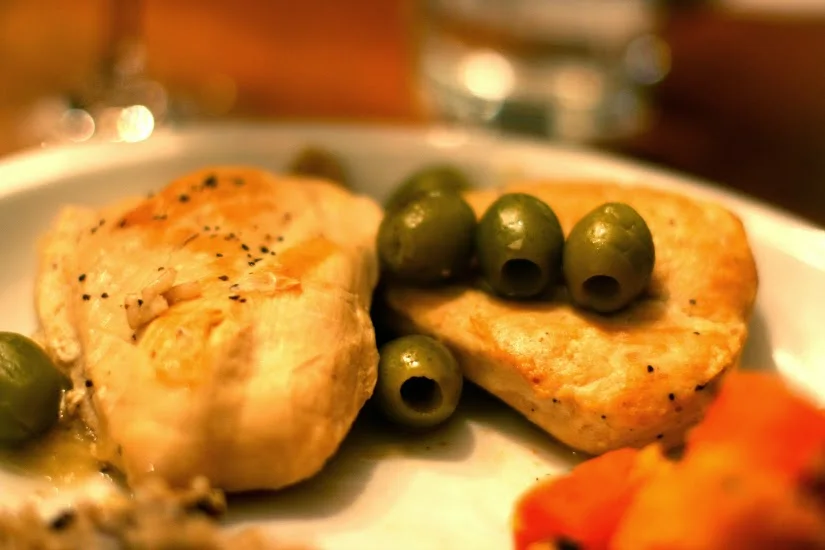
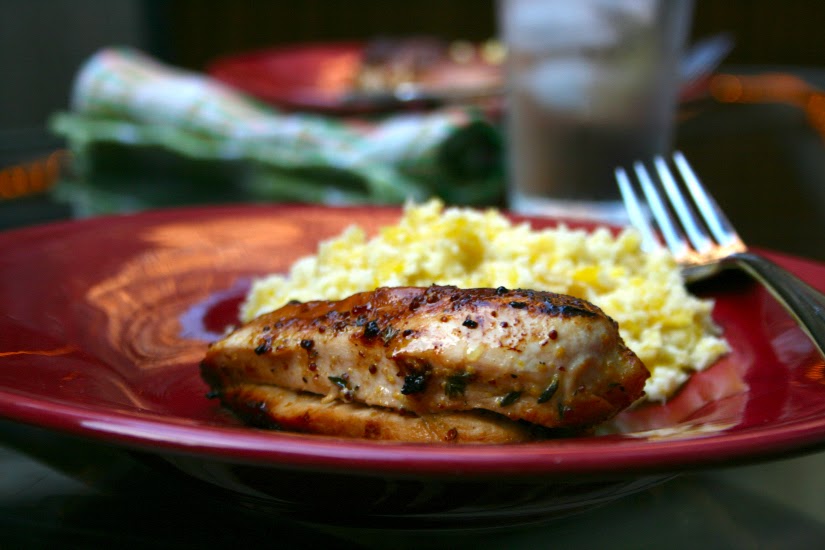
Woop, there it is.
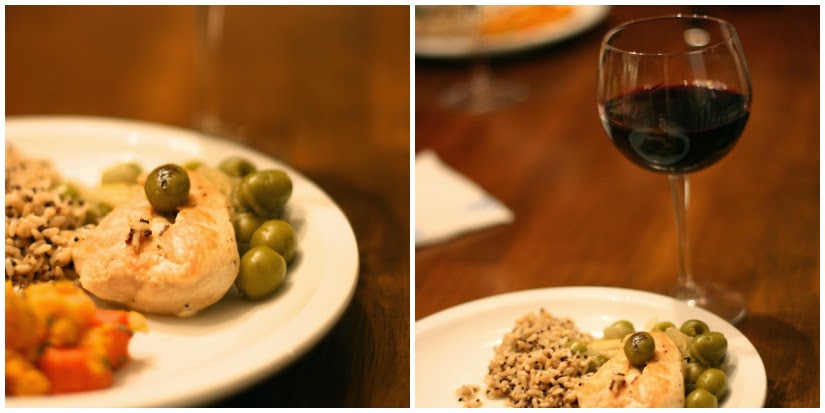
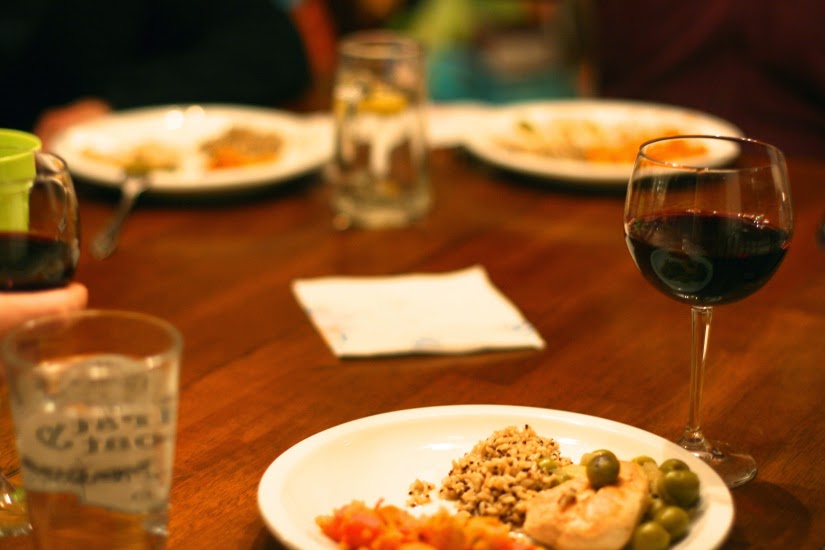
Tada! I personally like to serve this dish with an herbed quinoa situation (quinoa on the stove, cooked in chicken stock, and fancied up with any fresh herbs you've got on hand - THE BEST.) This meal tastes gourmet and looks like something Ina Garten whipped up, but the hands-on time is minimal. Enjoy! And let me know how it goes!