Pork Chops & Spiced Apple Sauce (a Whole30 recipe!)
/
This is one of my favorite recipes from doing Whole30 last year. I am gearing up in my mind for doing another round of Whole30 (not anytime soon, in a few months) so I wanted to unearth a few of my favorite recipes that are easy and delicious and don't feel like diet food. That's what I really loved about Whole30 - everything we ate on the program was real, fresh whole foods. Lots of veggies, protein and healthy fats. This pork chop is no exception - it's super simple to cook (pork chops used to intimidate me), and the apple sauce is really easy and really makes the dish pop with flavor. Stevie asked for this one over and over when we were on Whole30, and we've continued to make it since coming off the program, too!
Ingredients:
- 1 tsp. salt
- 1 tsp. pepper
- 2 bone-in pork chops (about 1 pound total)
- 3 tbsp. oil olive
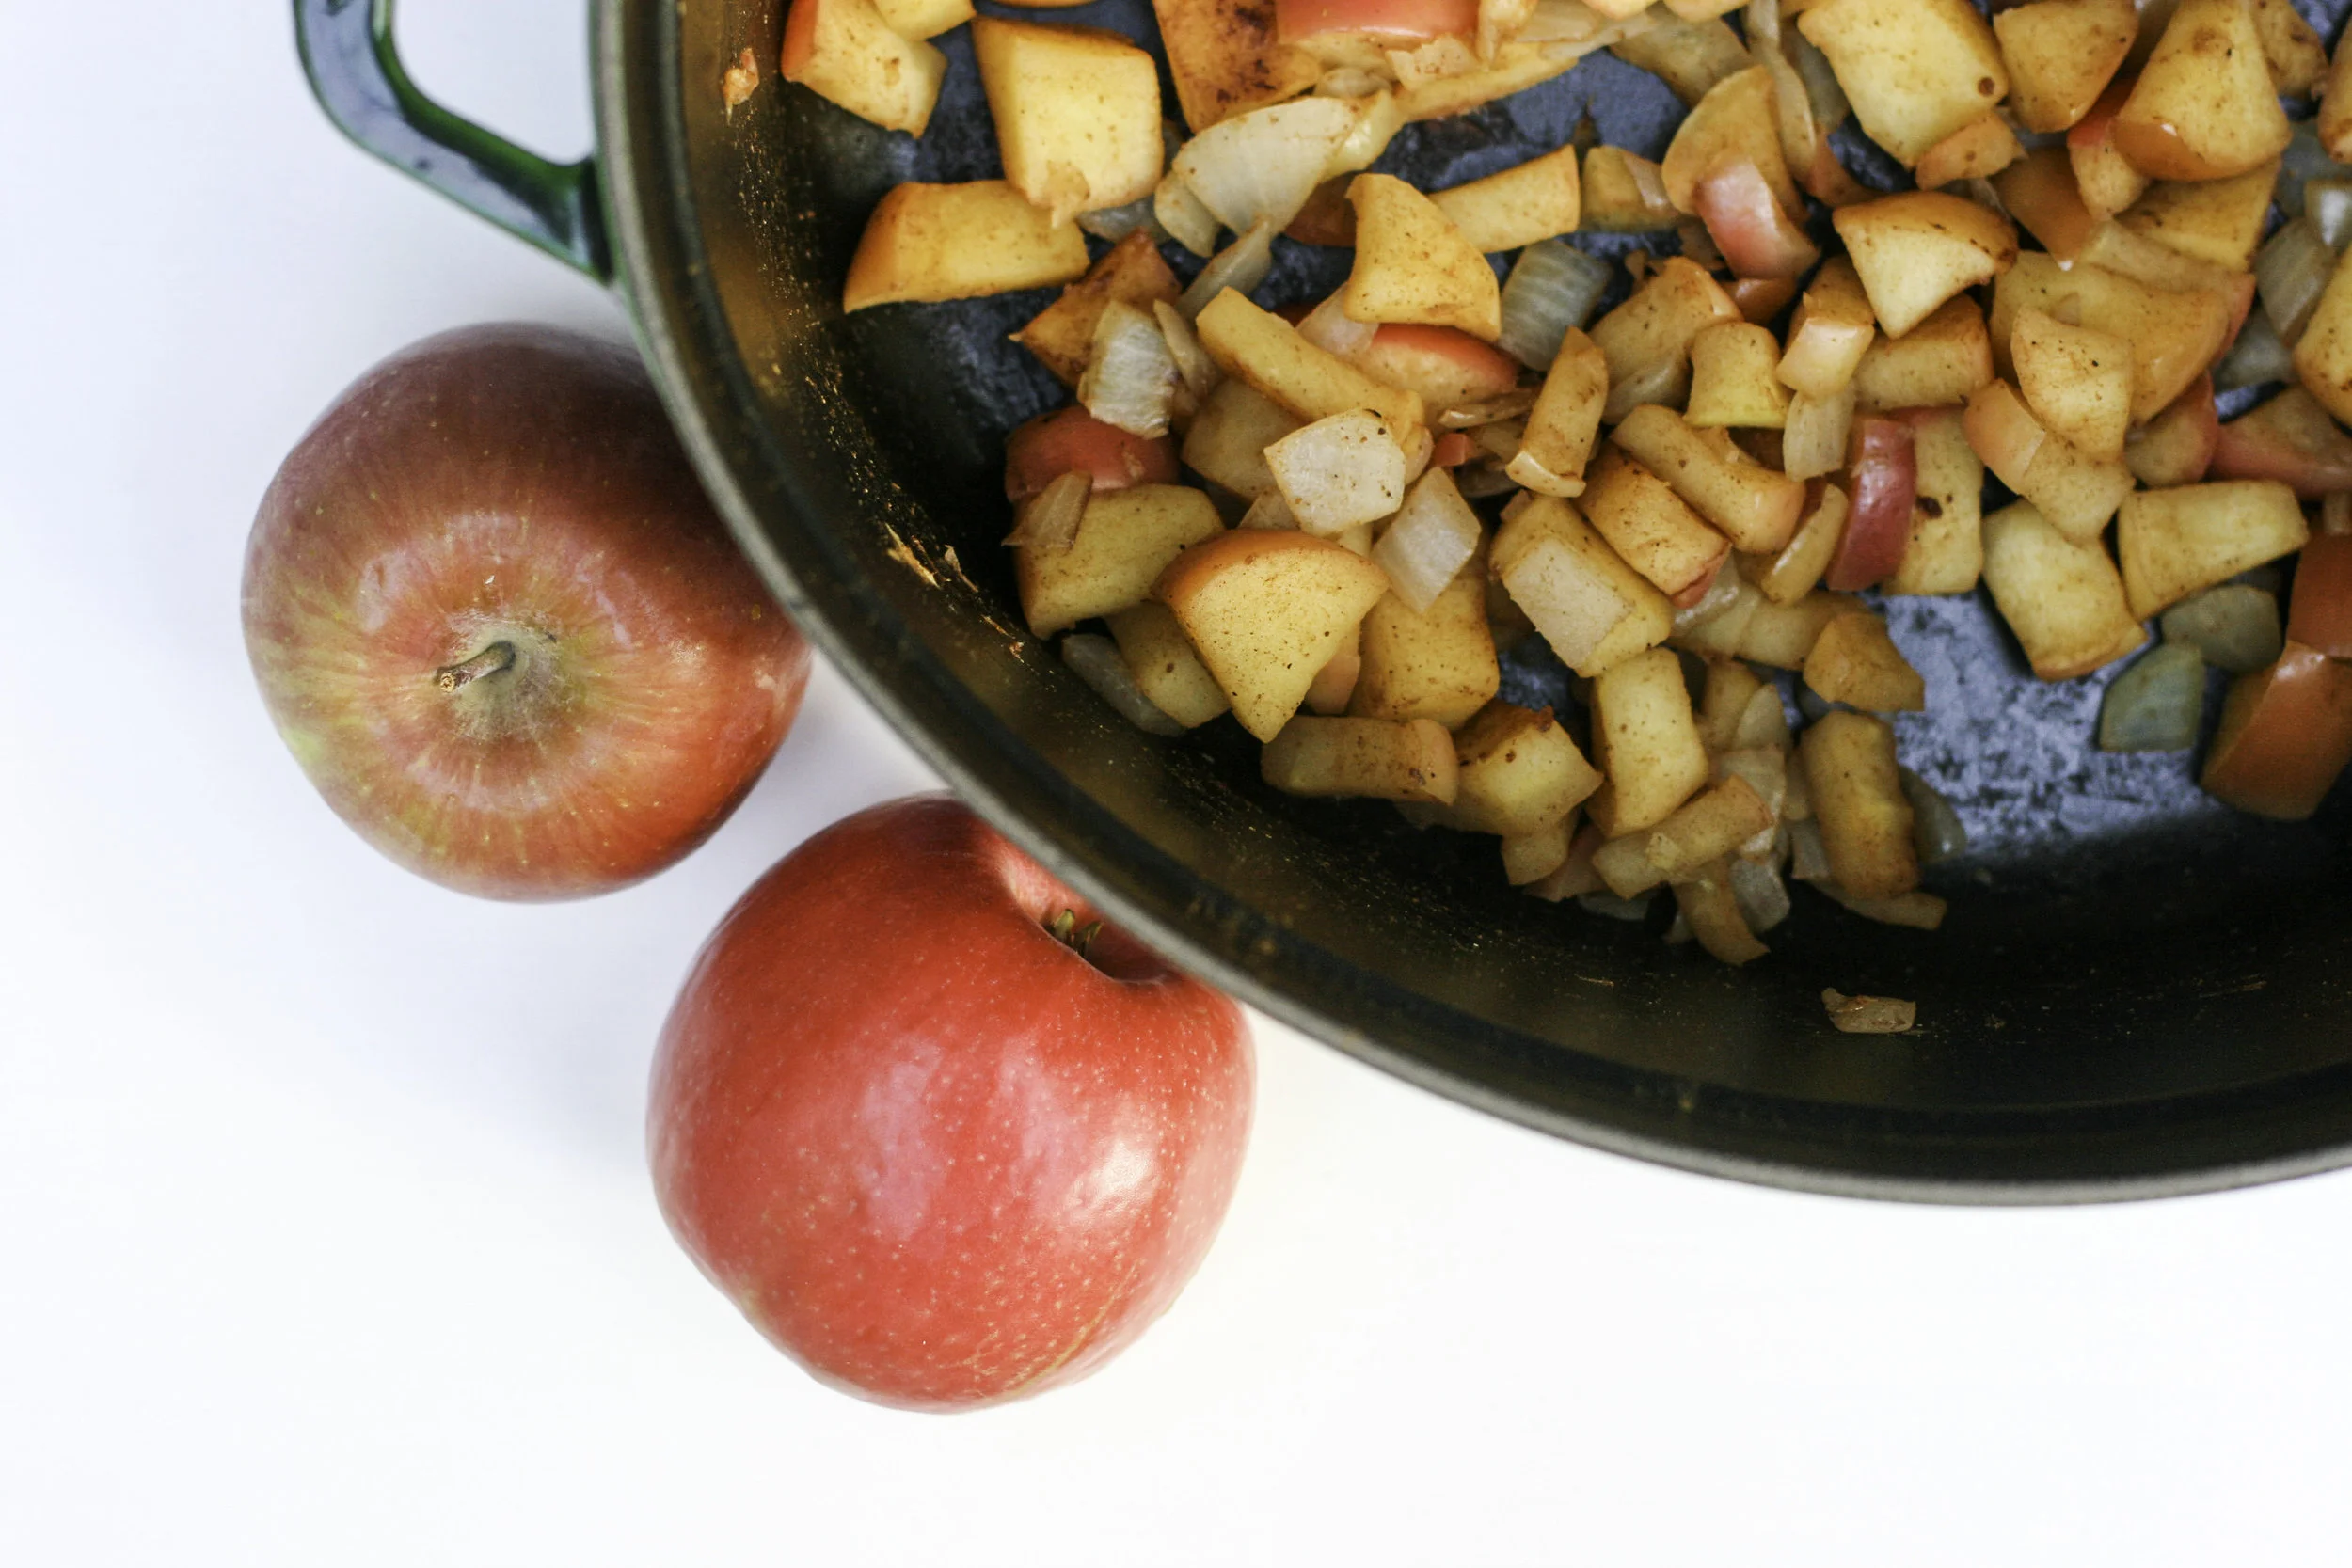
- 1 onion, sliced
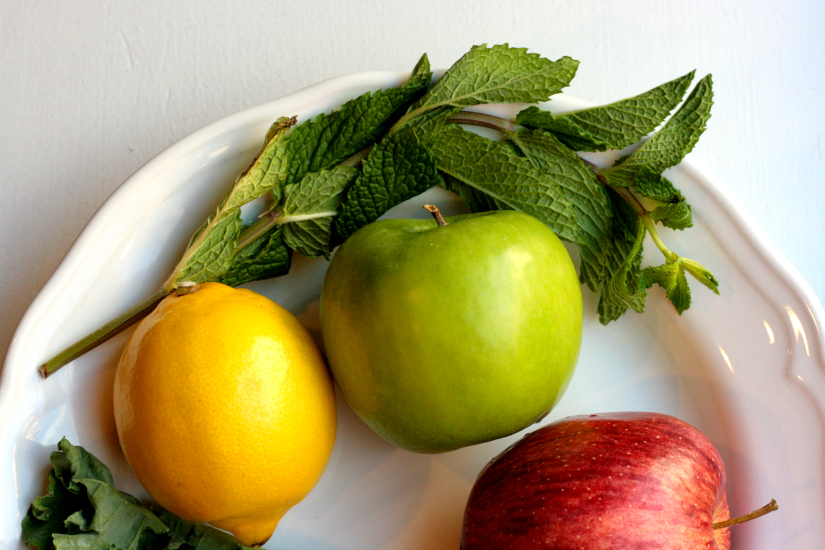
- 2 apples, peeled, cored and diced
- 1/2 cup apple cider (in a pinch you can use no-sugar-added apple juice)
- 1/2 tsp. ground ginger
- 1/2 tsp. allspice
- 1 pinch nutmeg
- 2 generous handfuls of arugula (or frisee or spinach, you can see the spinach pictured here)
Method:
1. Preheat the oven to 350 degrees.
2. Mix the salt and pepper in a small bowl and use it to season both sides of the pork chops.
3. Melt oil oil in a large skillet over medium-high heat. When the olive oil is hot, add the pork chops and sear until you see a golden-brown crust, about 2-3 minutes. Turn over and sear the other side for 2 minutes.
4. Transfer the pork chops to a baking dish and roast in the oven 10-15 minutes, depending on thickness. (If you have an internal meat thermometer, you want the temperature to reach about 140 degrees).
5. While the pork is roasting, combine the remaining 1 tbsp. olive oil and onion in the same skillet. Cook over medium heat until the onion is translucent, about 2-3 minutes. Add the apple, apple cider, ginger, allspice and nutmeg. Cook until the apples soften, about 5 minutes.
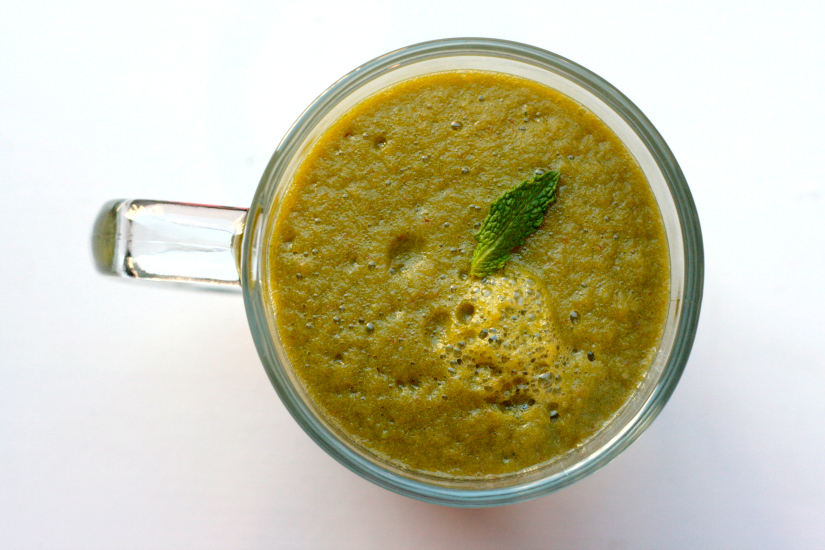
6. Optional step - transfer the apple sauce to a food processor or blender and blend until smooth. I say this is optional because we have eaten this recipe with both smooth apple sauce and chunky, and it's delicious both ways.
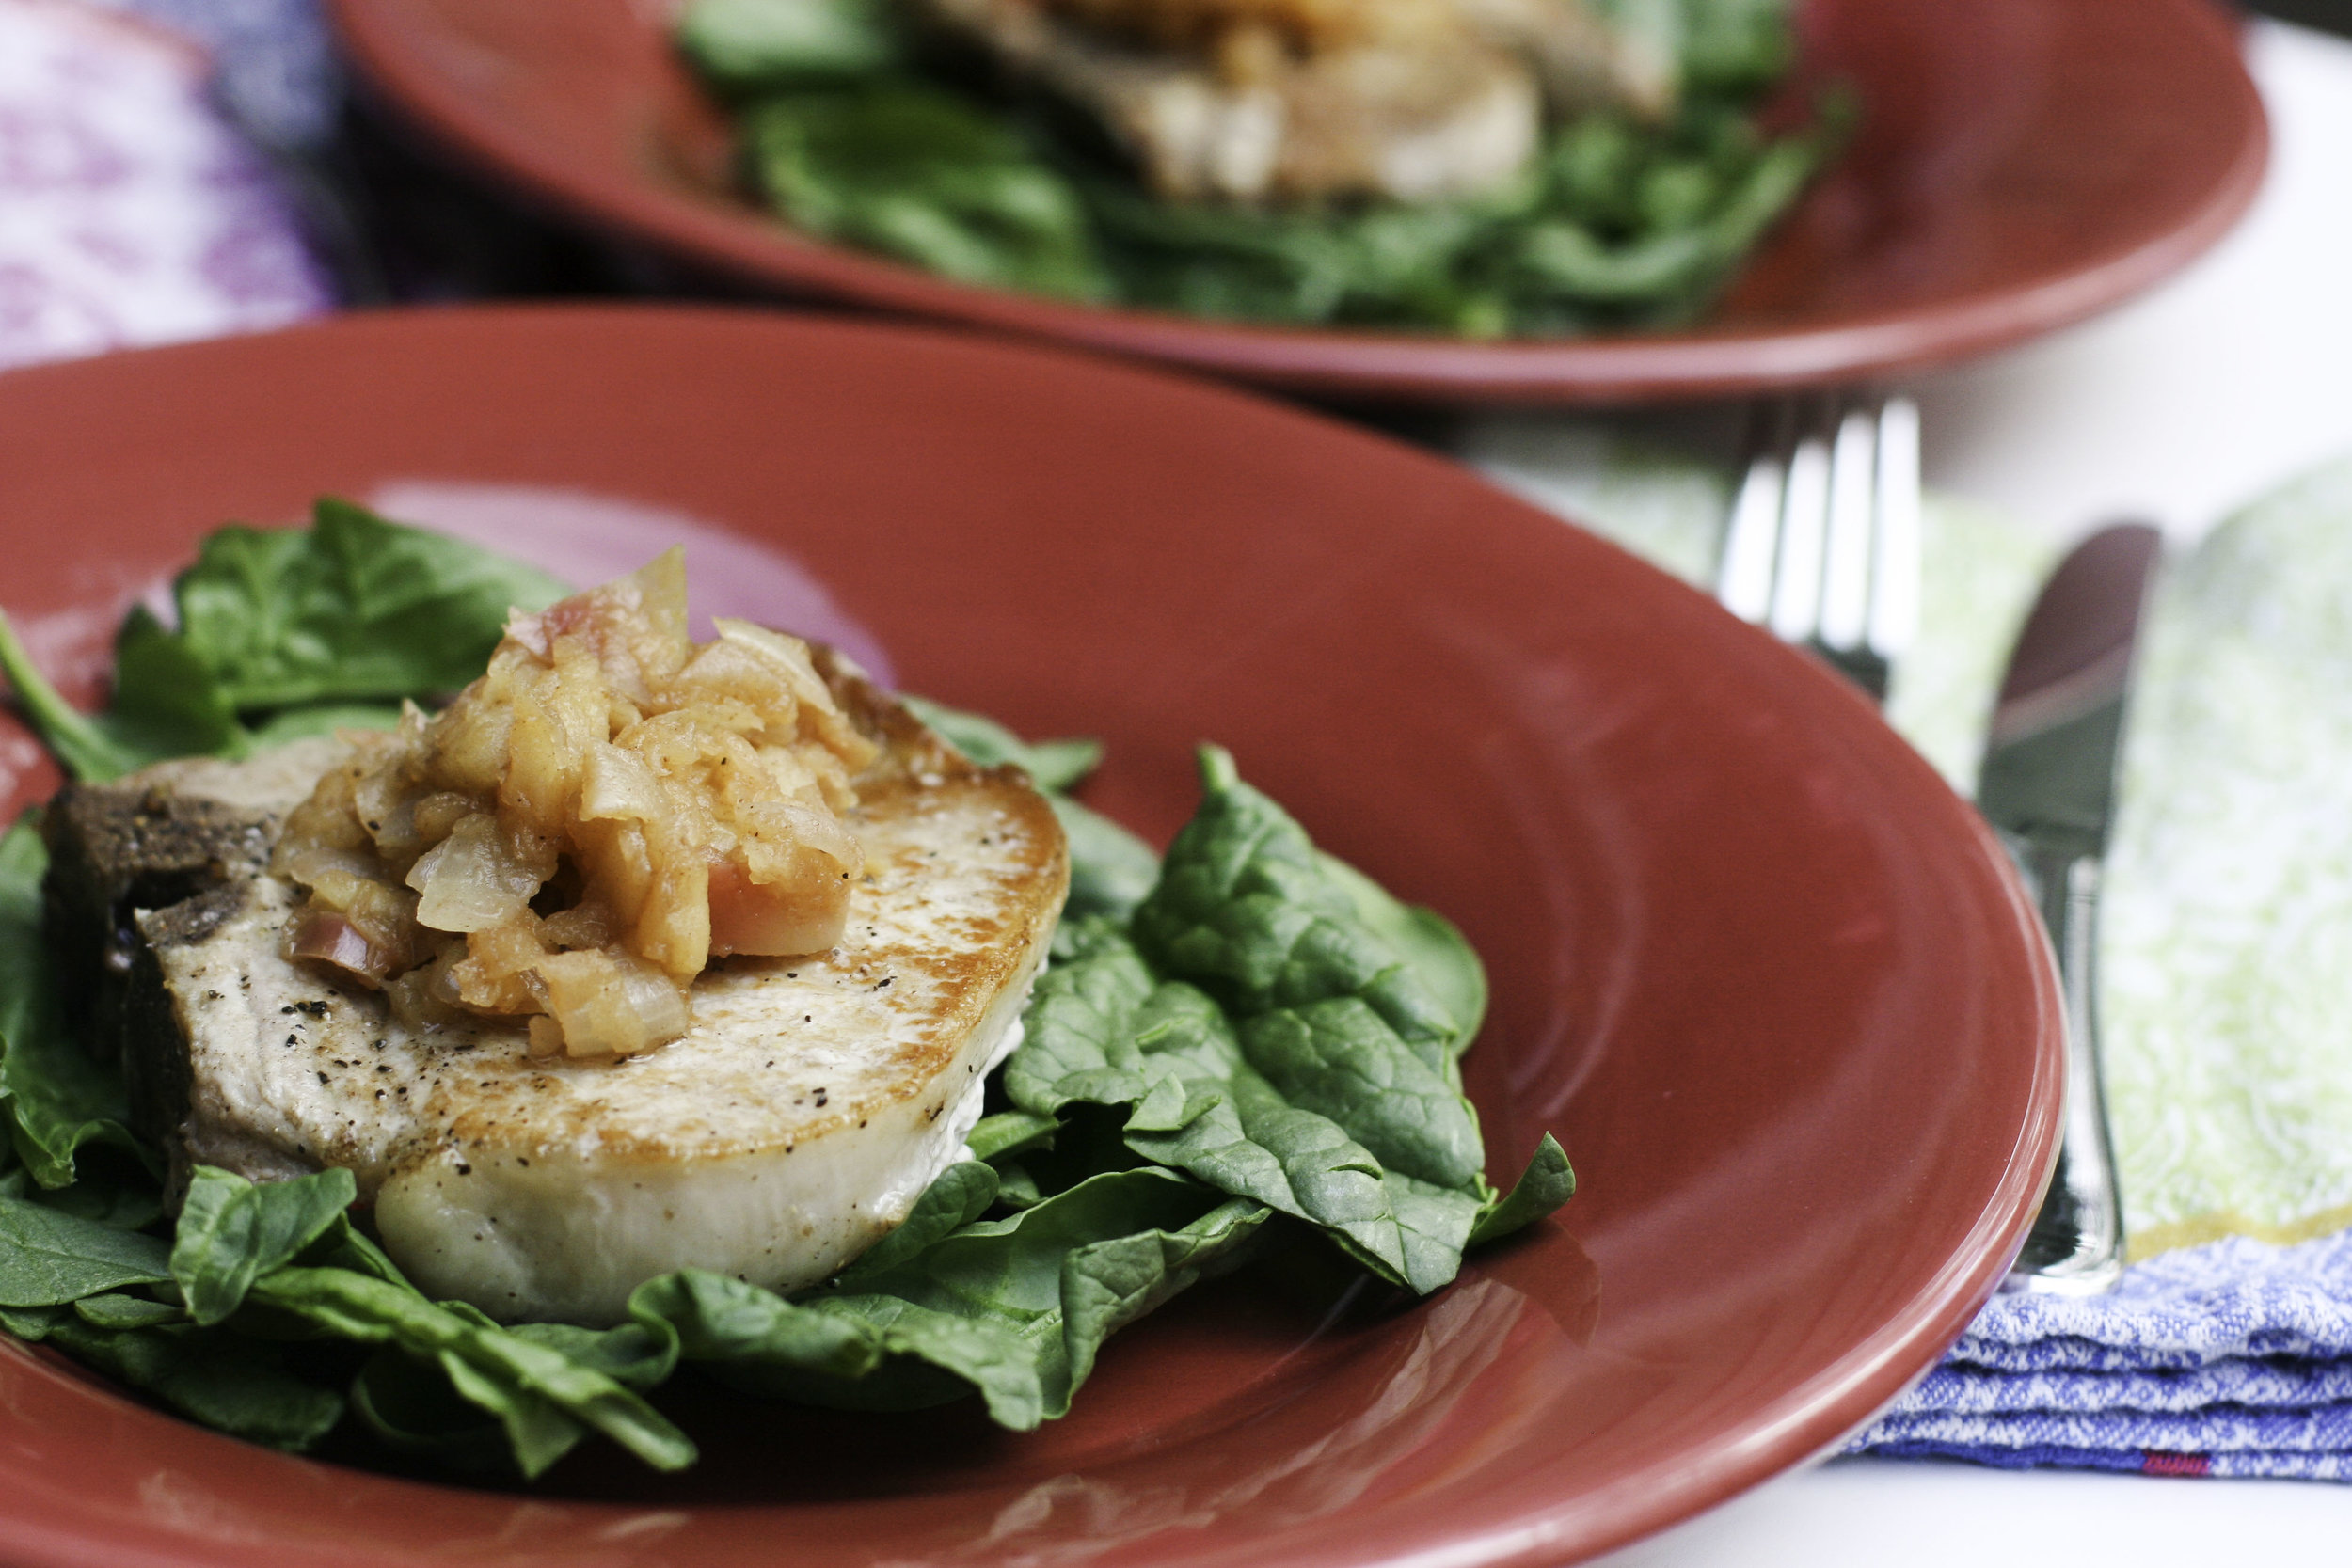
7. Dress the plates with your green of choice (mine is arugula, because it's the perfect pinch of spice), and top with the pork. Dollop the applesauce on top and bon appetit!
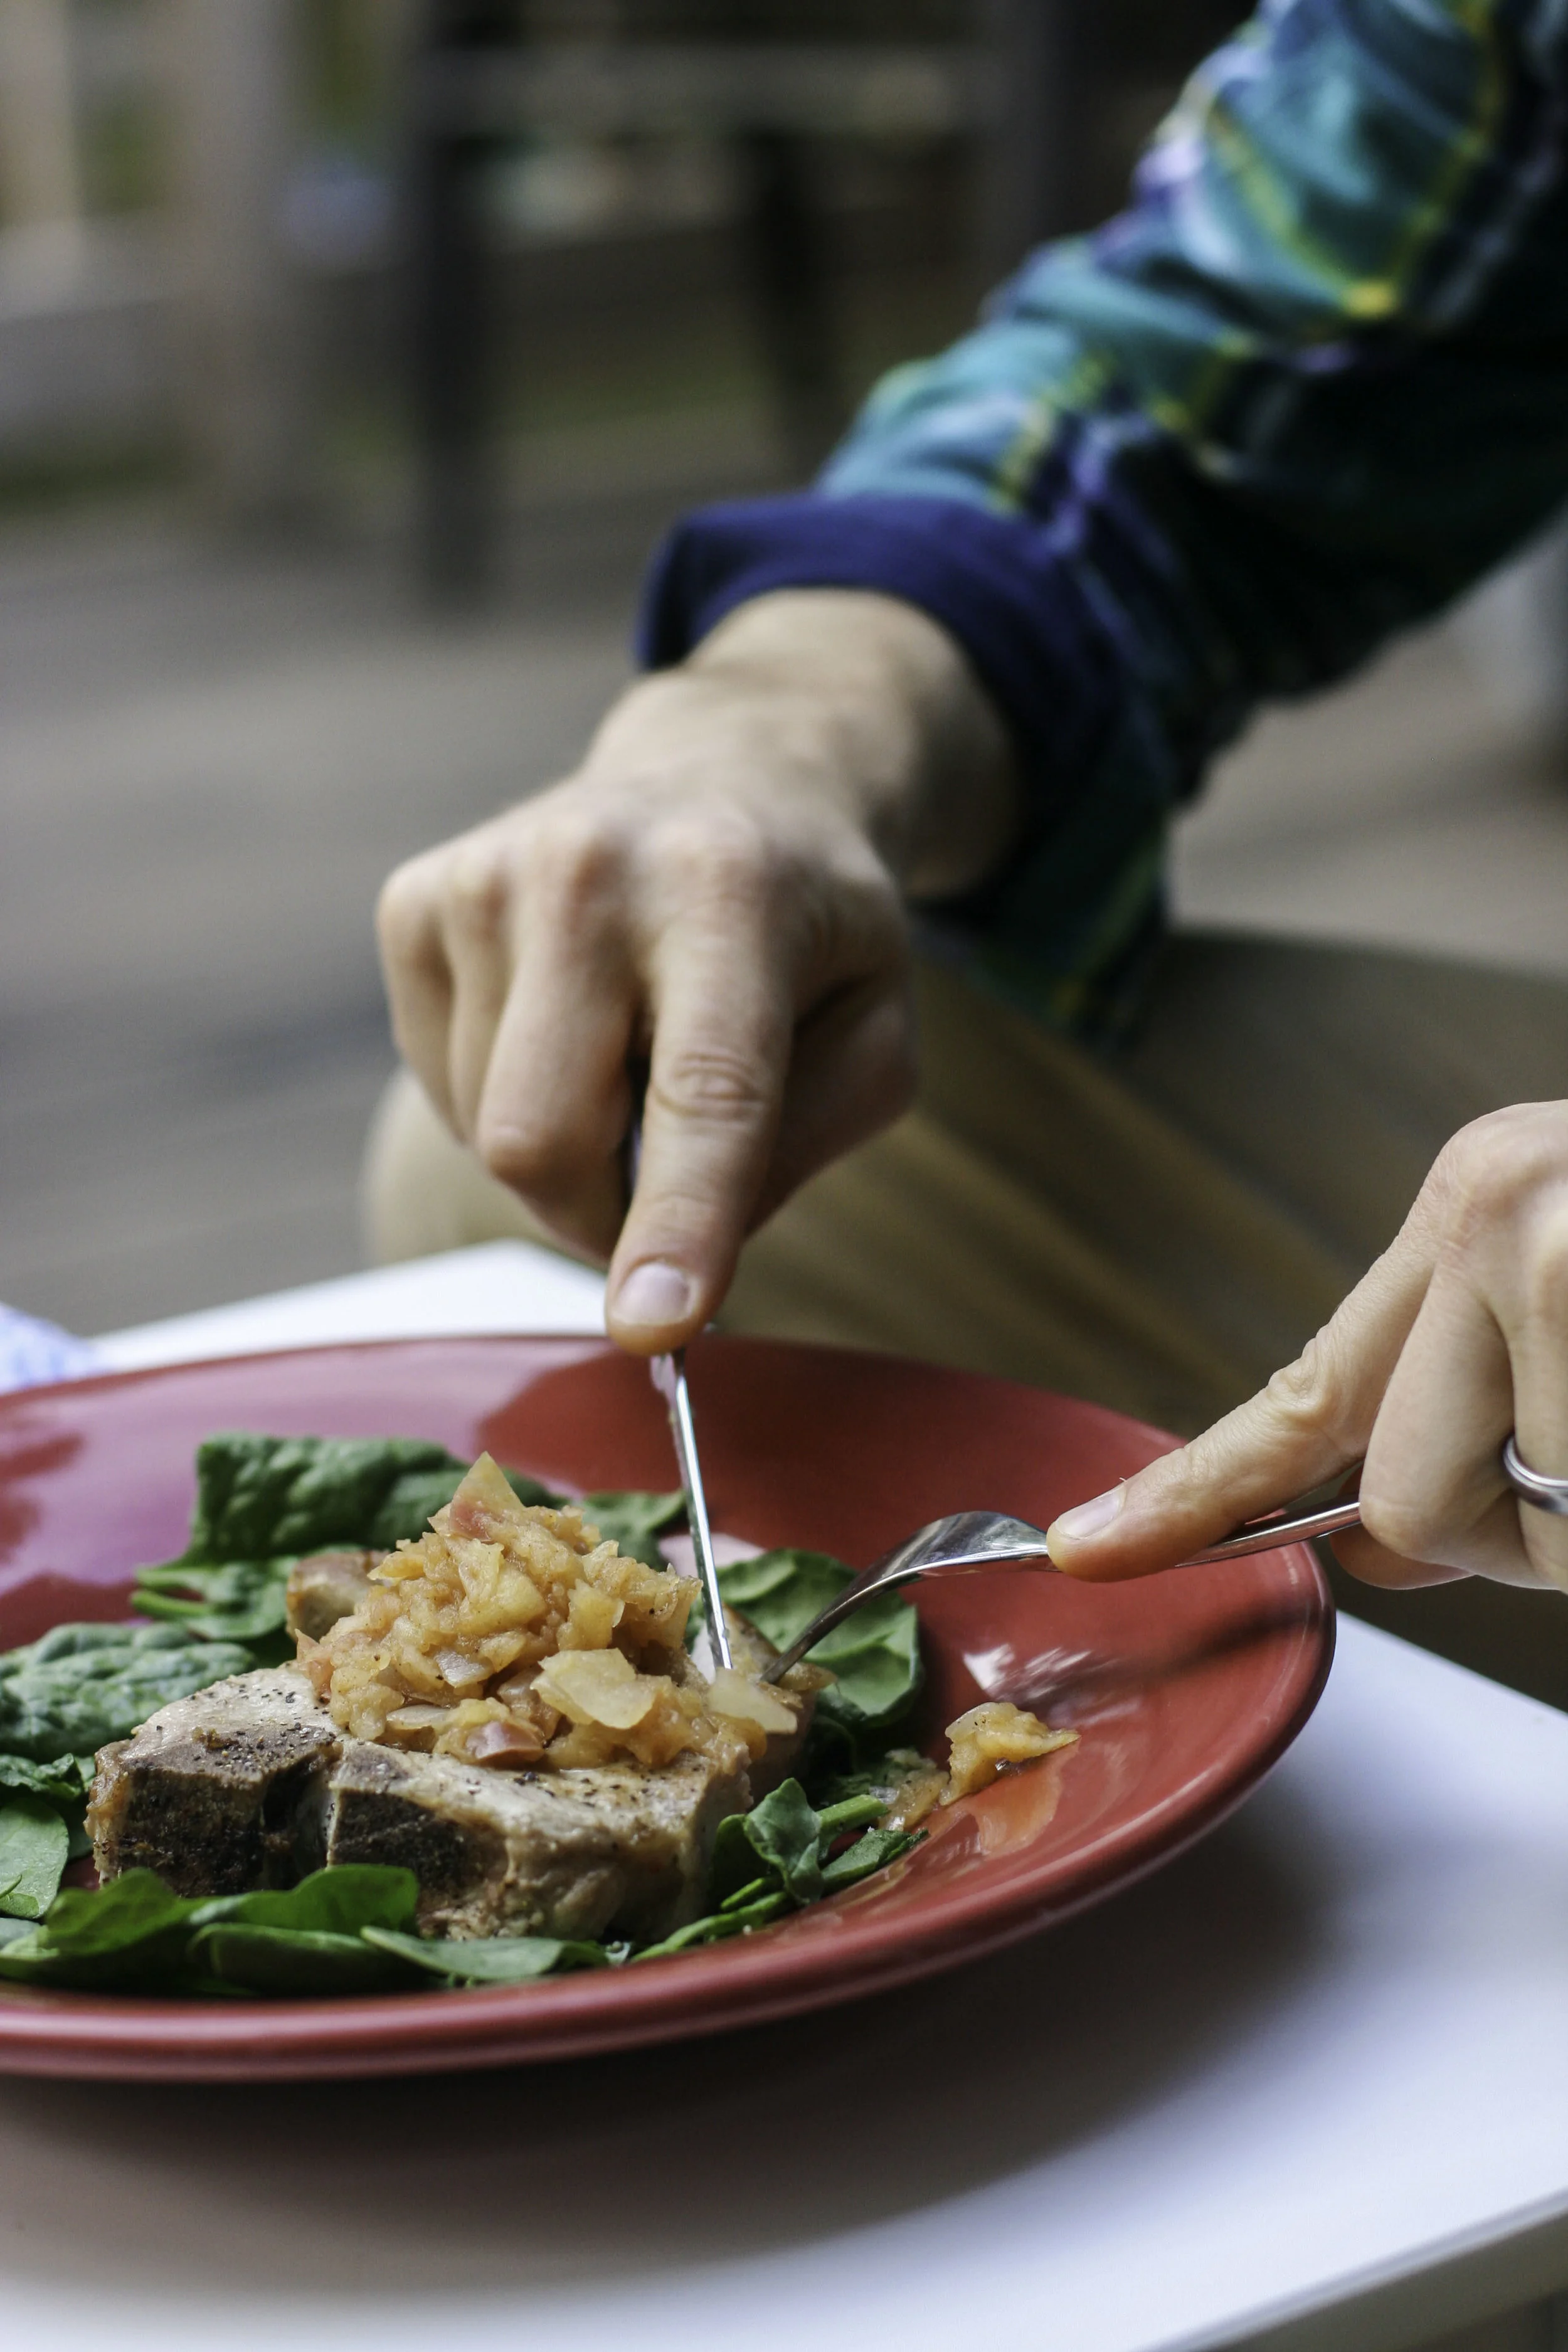
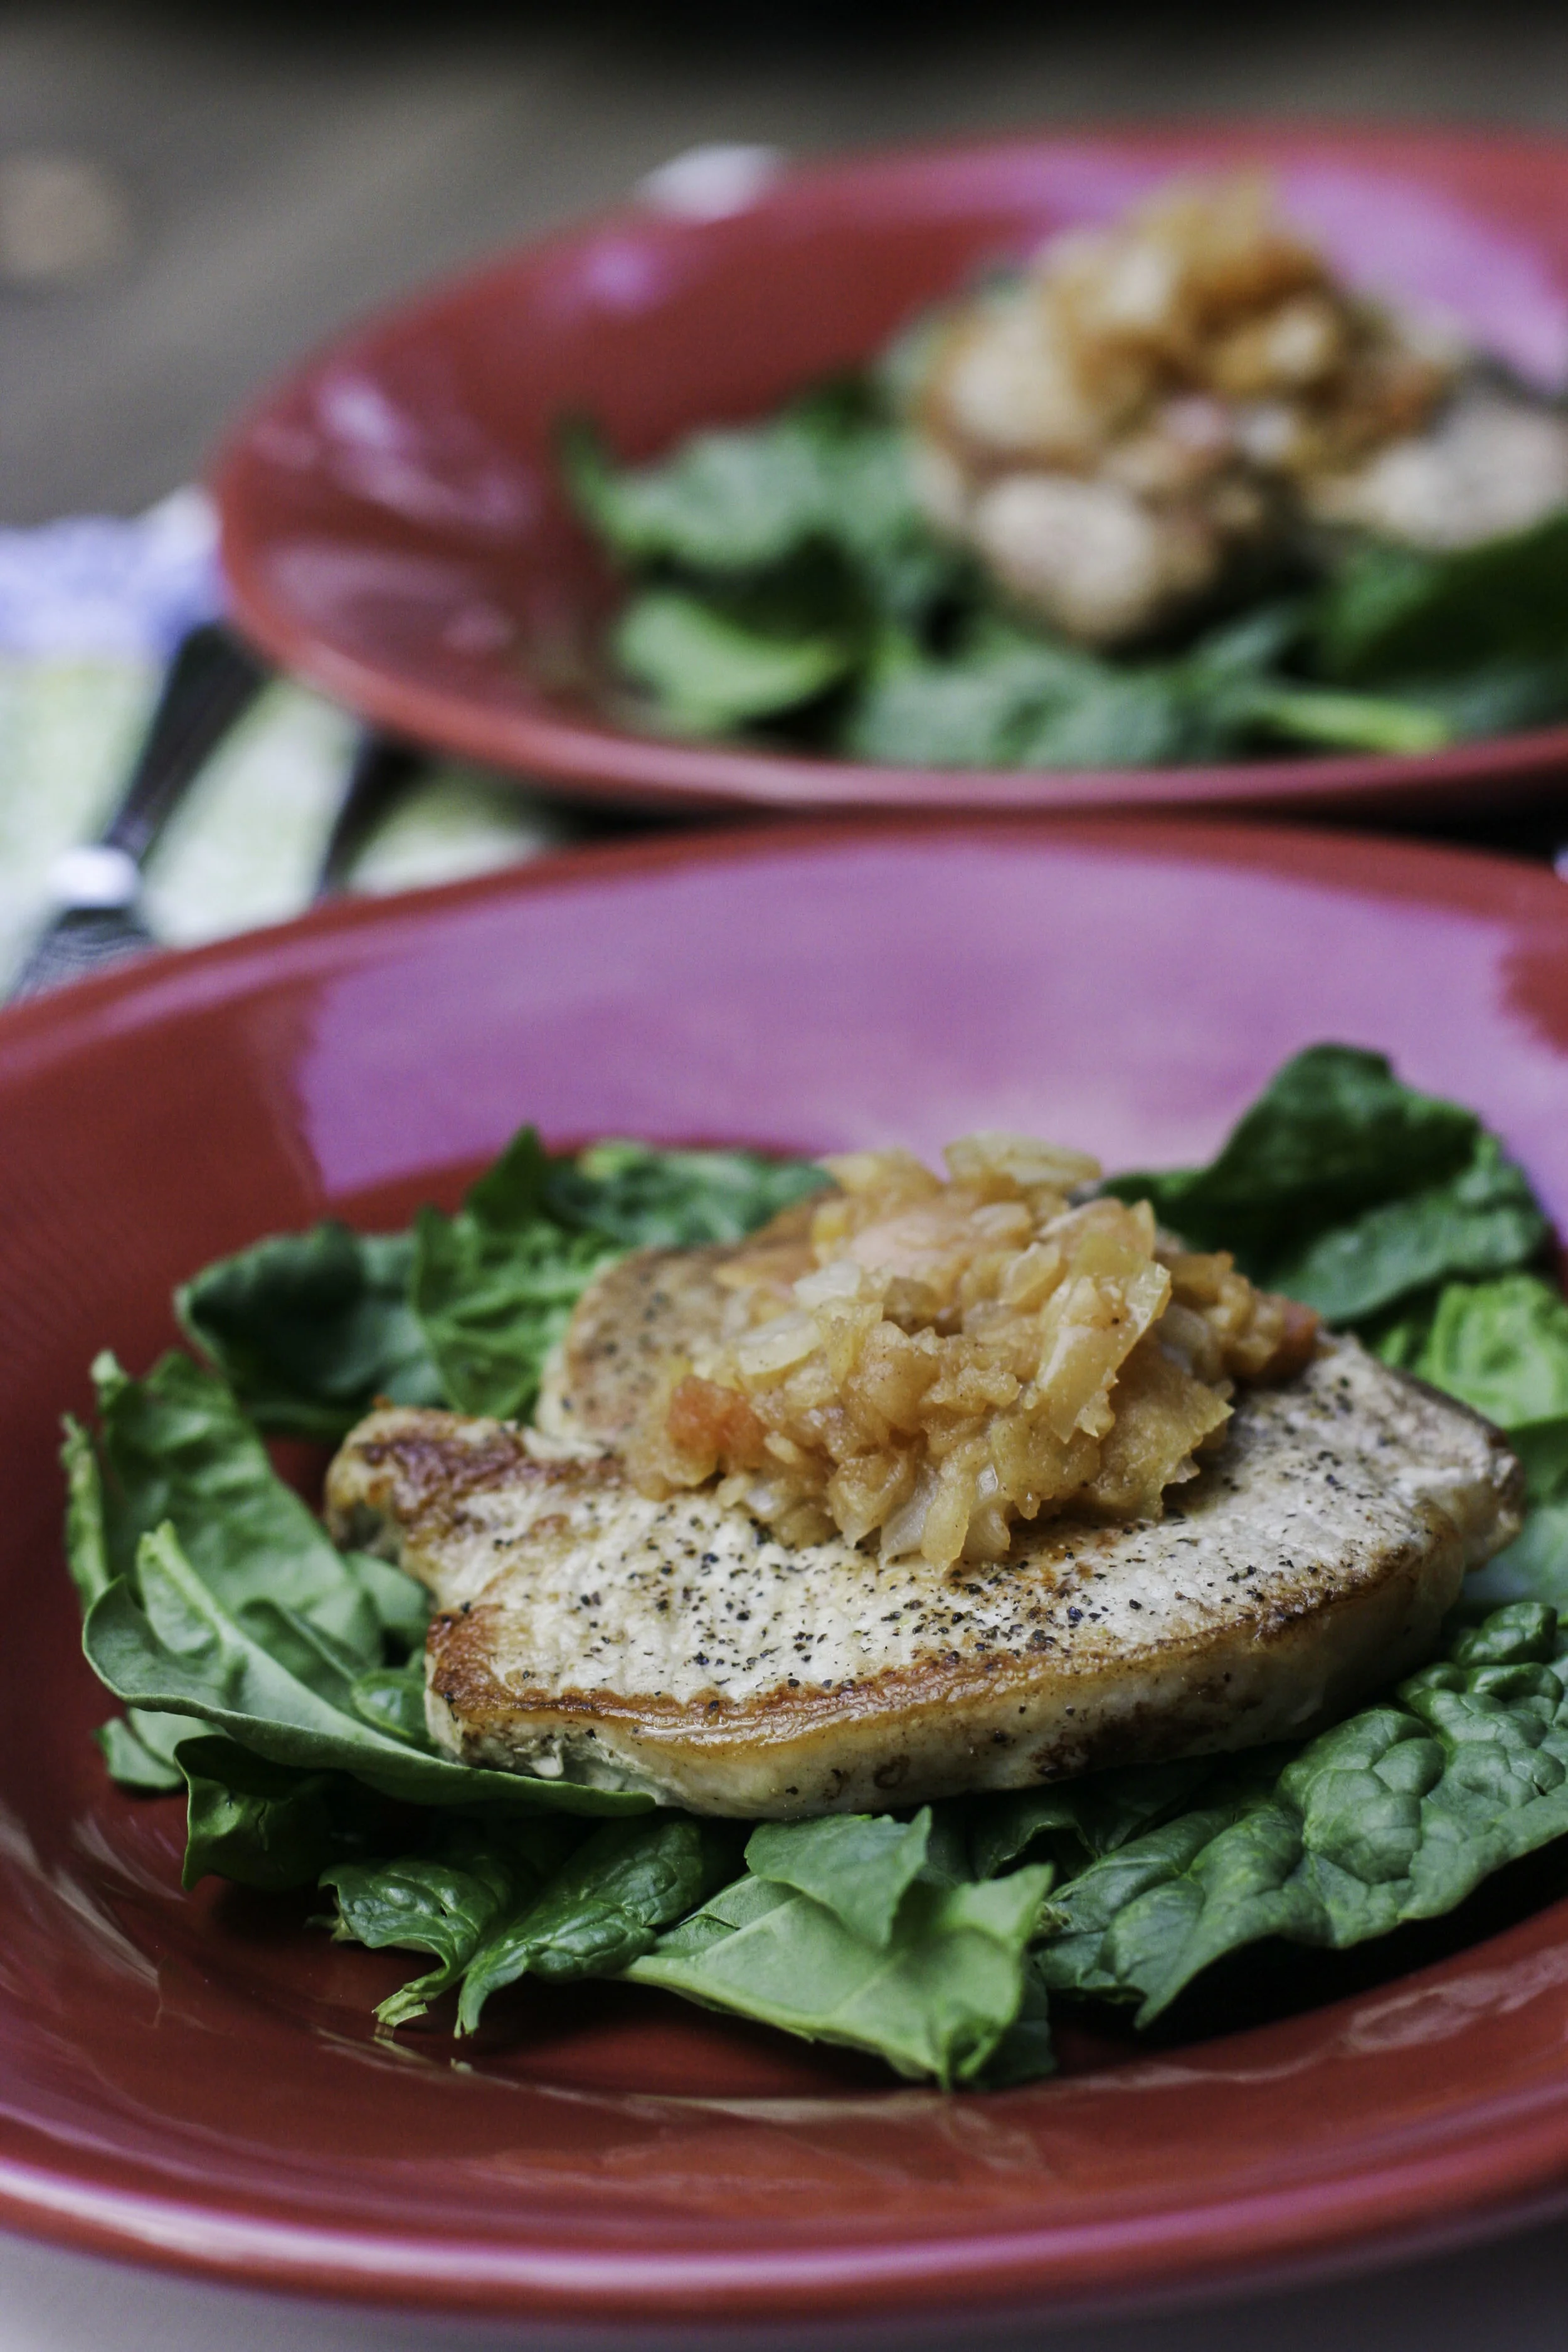
And there you have it! It's really simple to execute this meal and it feels so hearty and wholesome. Also, a word on apple sauce - it is perhaps the most versatile food ever. I love finding new ways to serve it, bake with it and prep different dishes with it. Last month I shared about the different ways I make apple sauce, and included this wonderful spiced version. Let me know if you decide to try this recipe out and what you think of it! Happy cooking, friends!
P.S. - If anyone has done Whole30 while breastfeeding, I would love to hear from you! I'm interested in learning how to safely do the program without sacrificing my milk supply. Give me a shout in the comments with any advice or tips! Many thanks :)