

DIY Outdoor Flowering Pot (for under $40!)
/
I have this thing with flowers. And shrubs. And trees.
Landscape hasn't always been a passion. It's a new thing. I want everything in my back yard flowering and fruiting and color booming. Last fall, I tried my first attempt at planting a round of autumn vegetables, and it went pretty well. But I learned so much (mostly - not to be scared of the foods you grow because you see the bugs on them. That struggle is real.) I've been preparing the grounds for my spring installment, which we are working on next weekend, woop woop. But in the meantime, I wanted to have something beautiful to stare at like NOW. Because when you plant seeds, it takes months before you can really enjoy the blooms. They take foreverrrrrr to grow. I'm a bit impatient to see the fruits of my labor (who isn't, really?), so in the midst of sprinkling different seeds around my yard, I decided to create my own outdoor container. You know the pretty ones you see in the store for like $150+? I didn't want to spend that. But I wanted to HAVE that.
This container is great for people who don't have tons of full sun in their back yard. If your back porch gets full sun, then you can enjoy the bodacious full-sun blooms really close up. The showy, wonderstruck, magical romantic flowers. In case you didn't know, all the best flowers are the sunny ones. So here you have it. My outdoor flower container, for under $40. P.S. - this would make the most amazingly thoughtful Mother's Day gift, like EVER. So keep that in mind :)
Tools Needed:
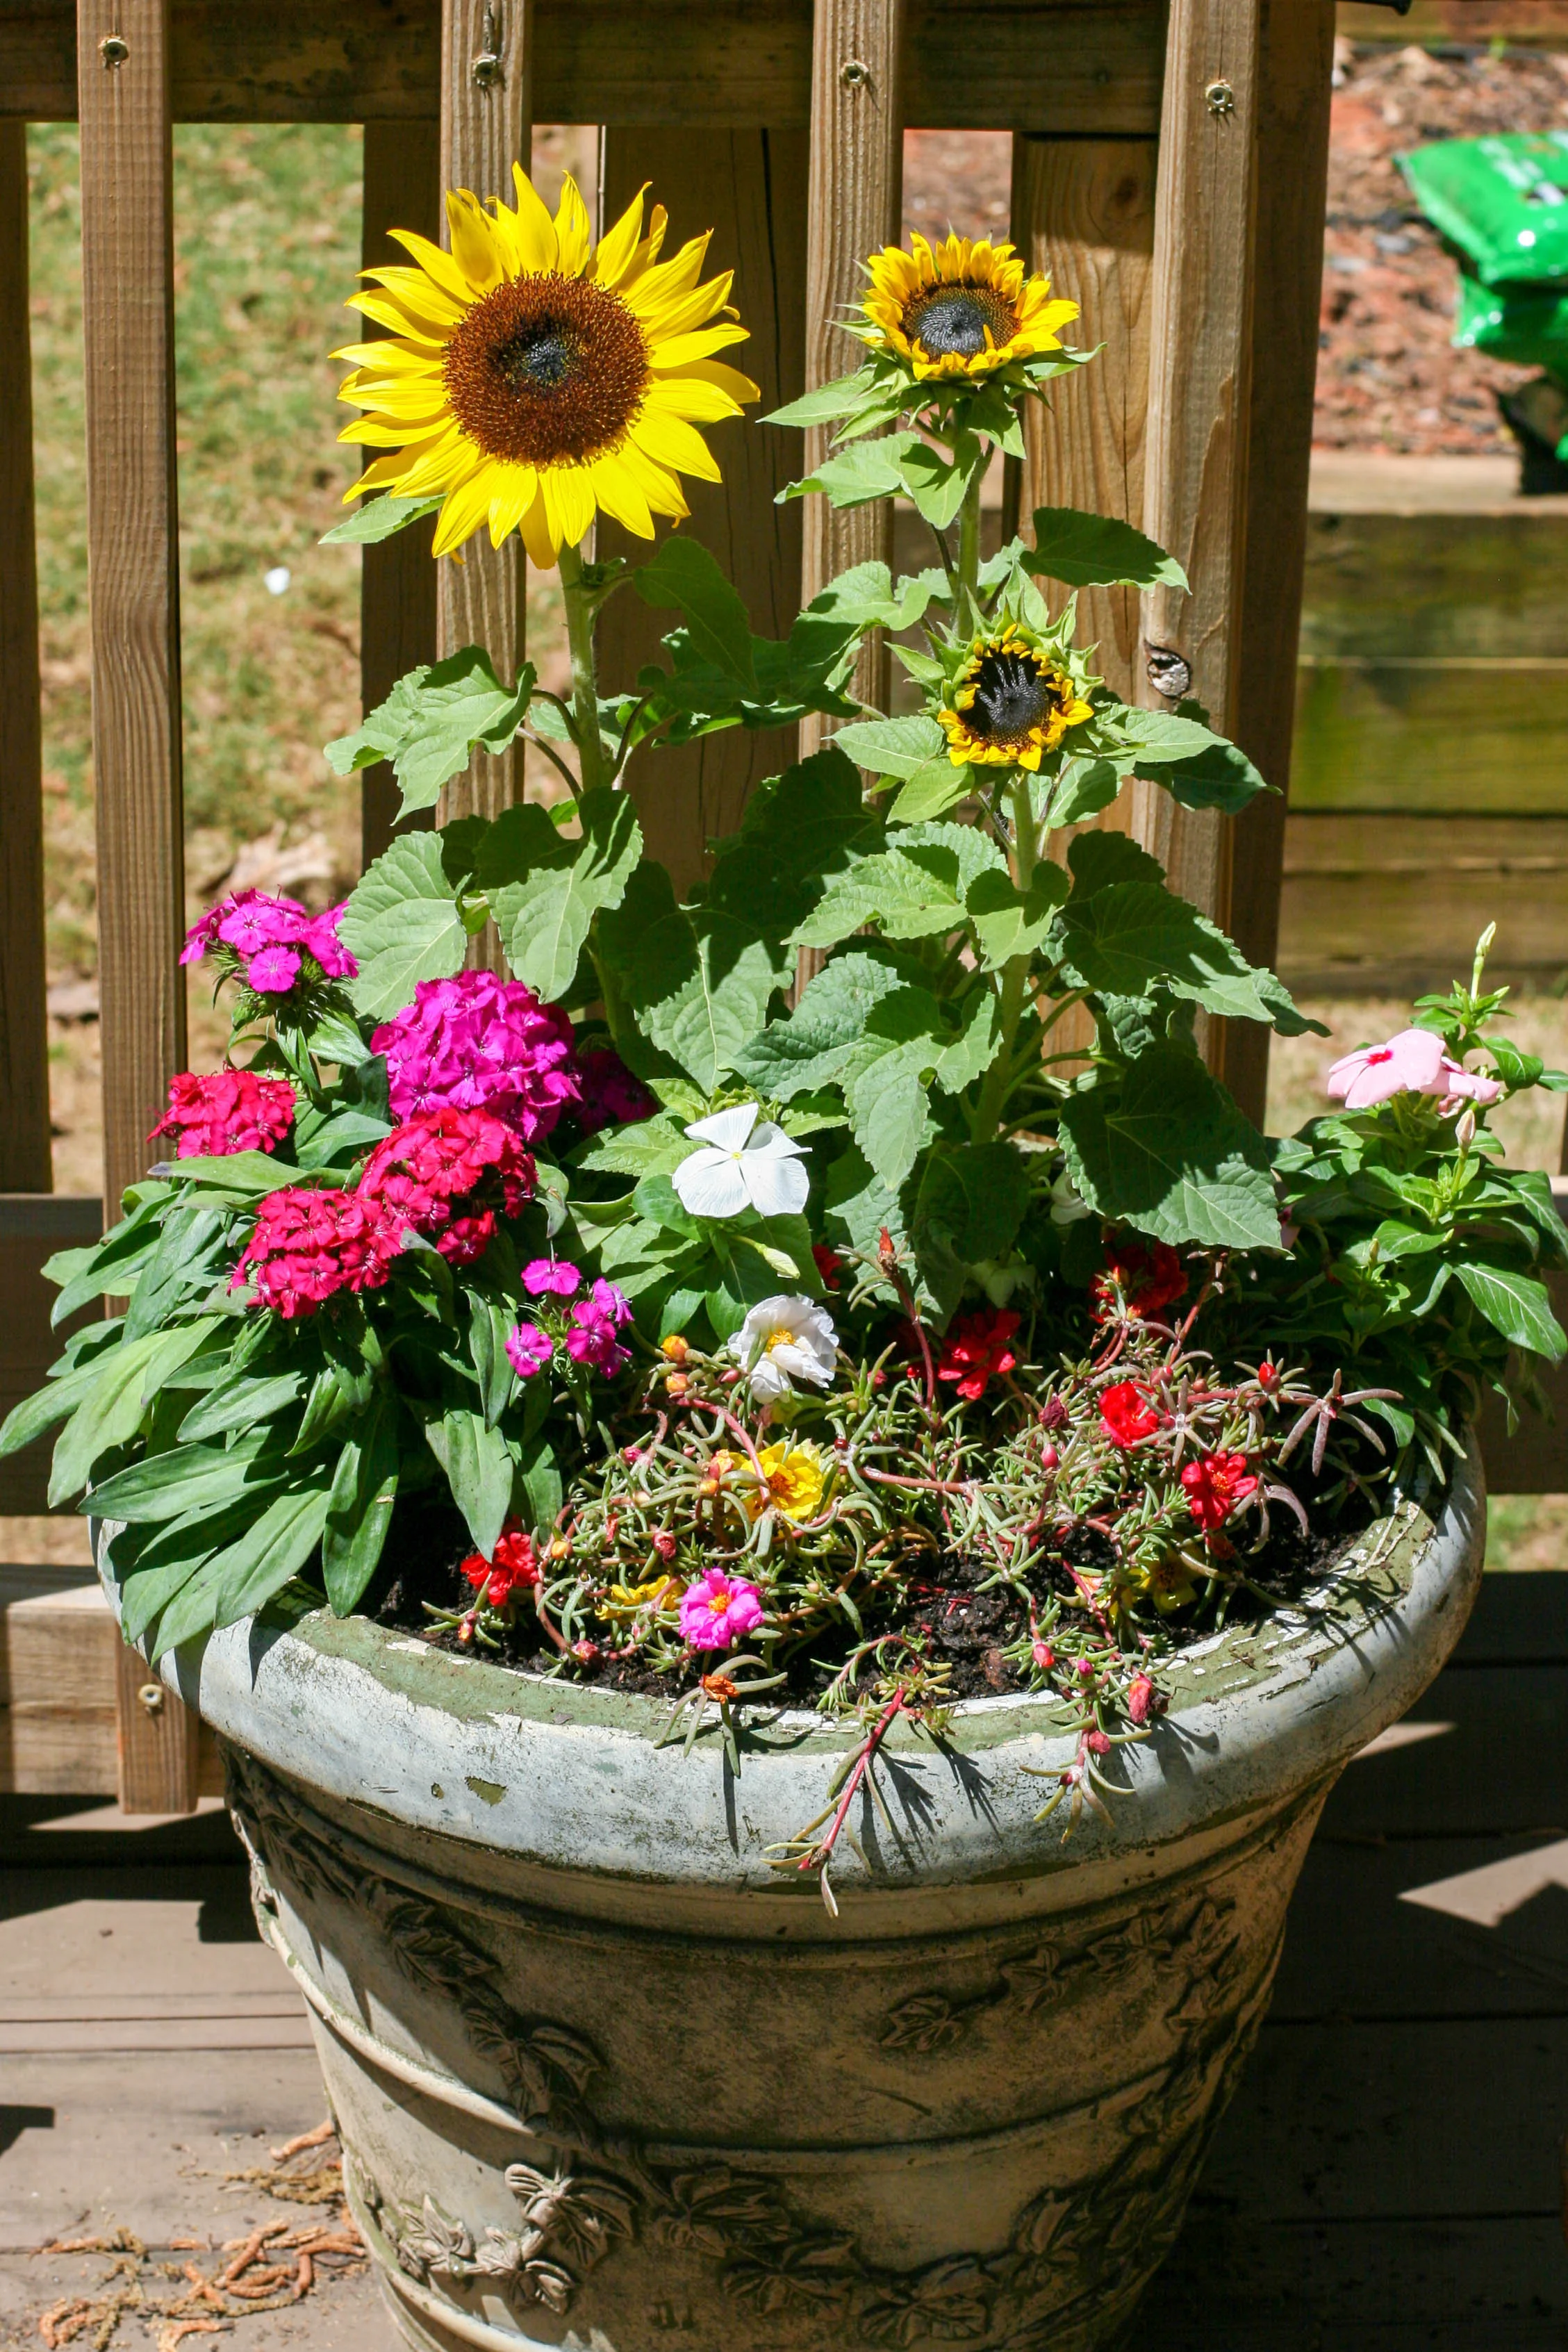
- Large container pot (I used a 30-gallon pot from my mom's garage - thanks Mom!)
- Potting soil
- Trowel
- Plant Food - My friend at Pike's said I could use this. I LOVE this stuff.
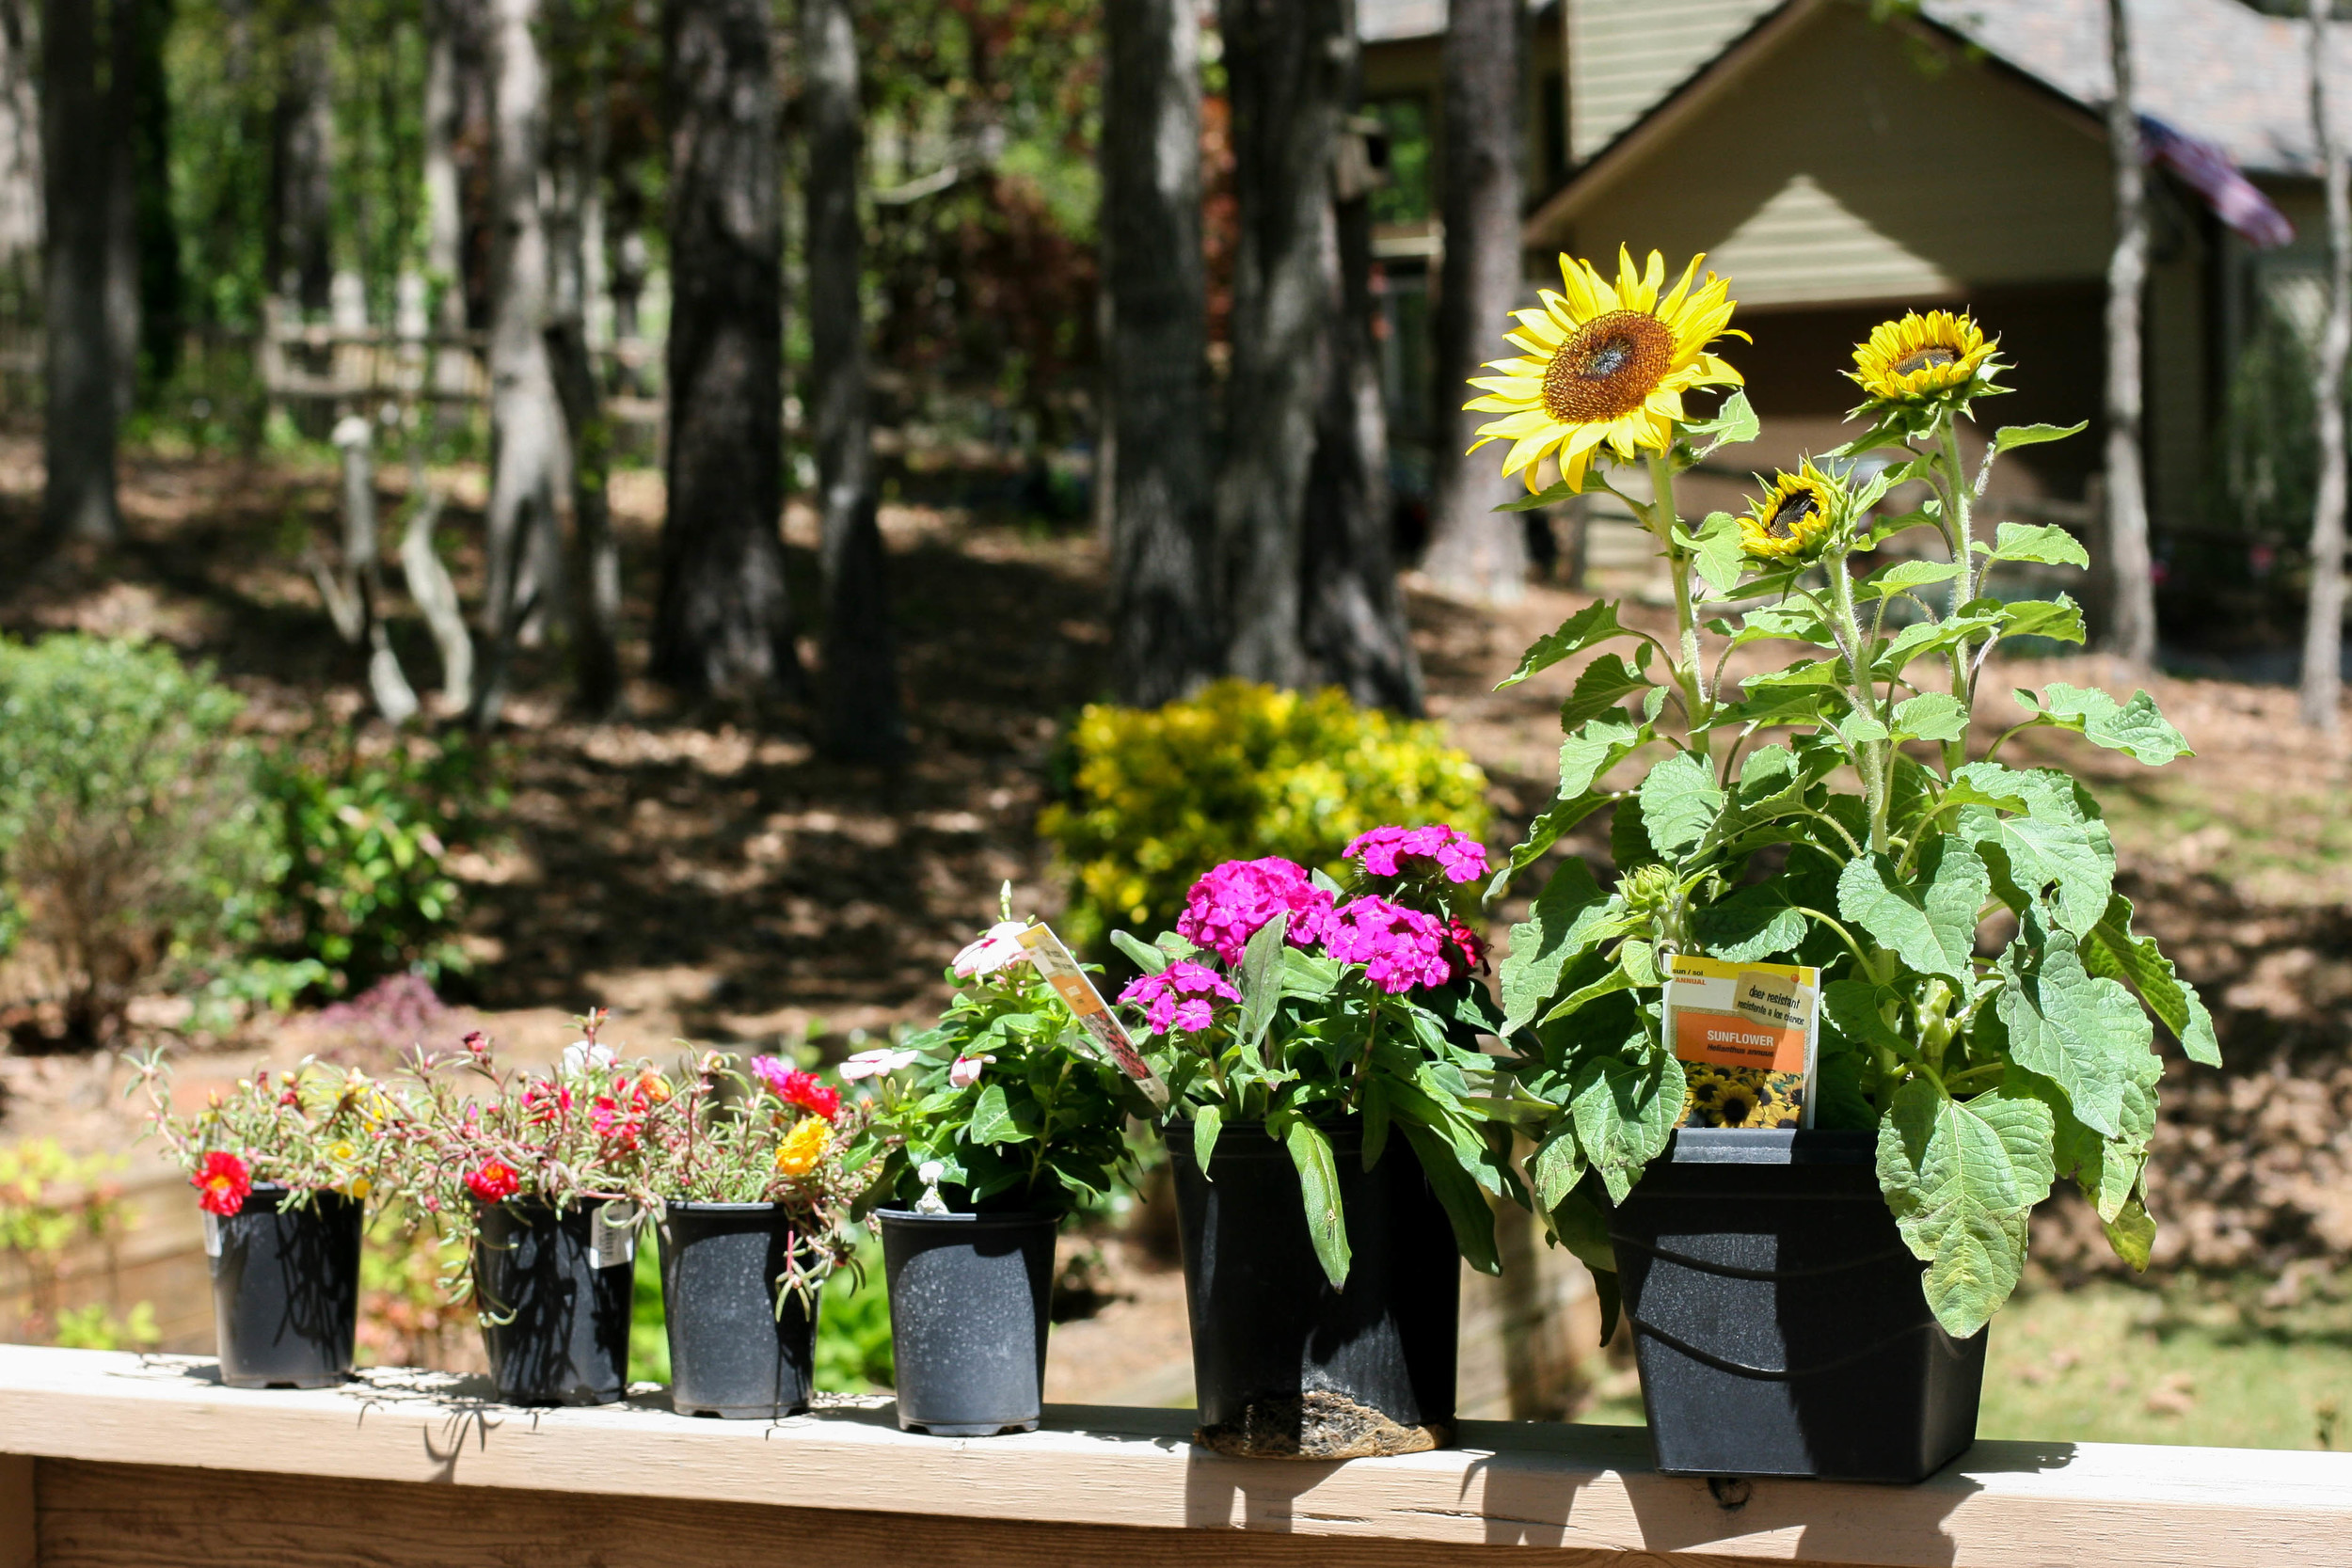
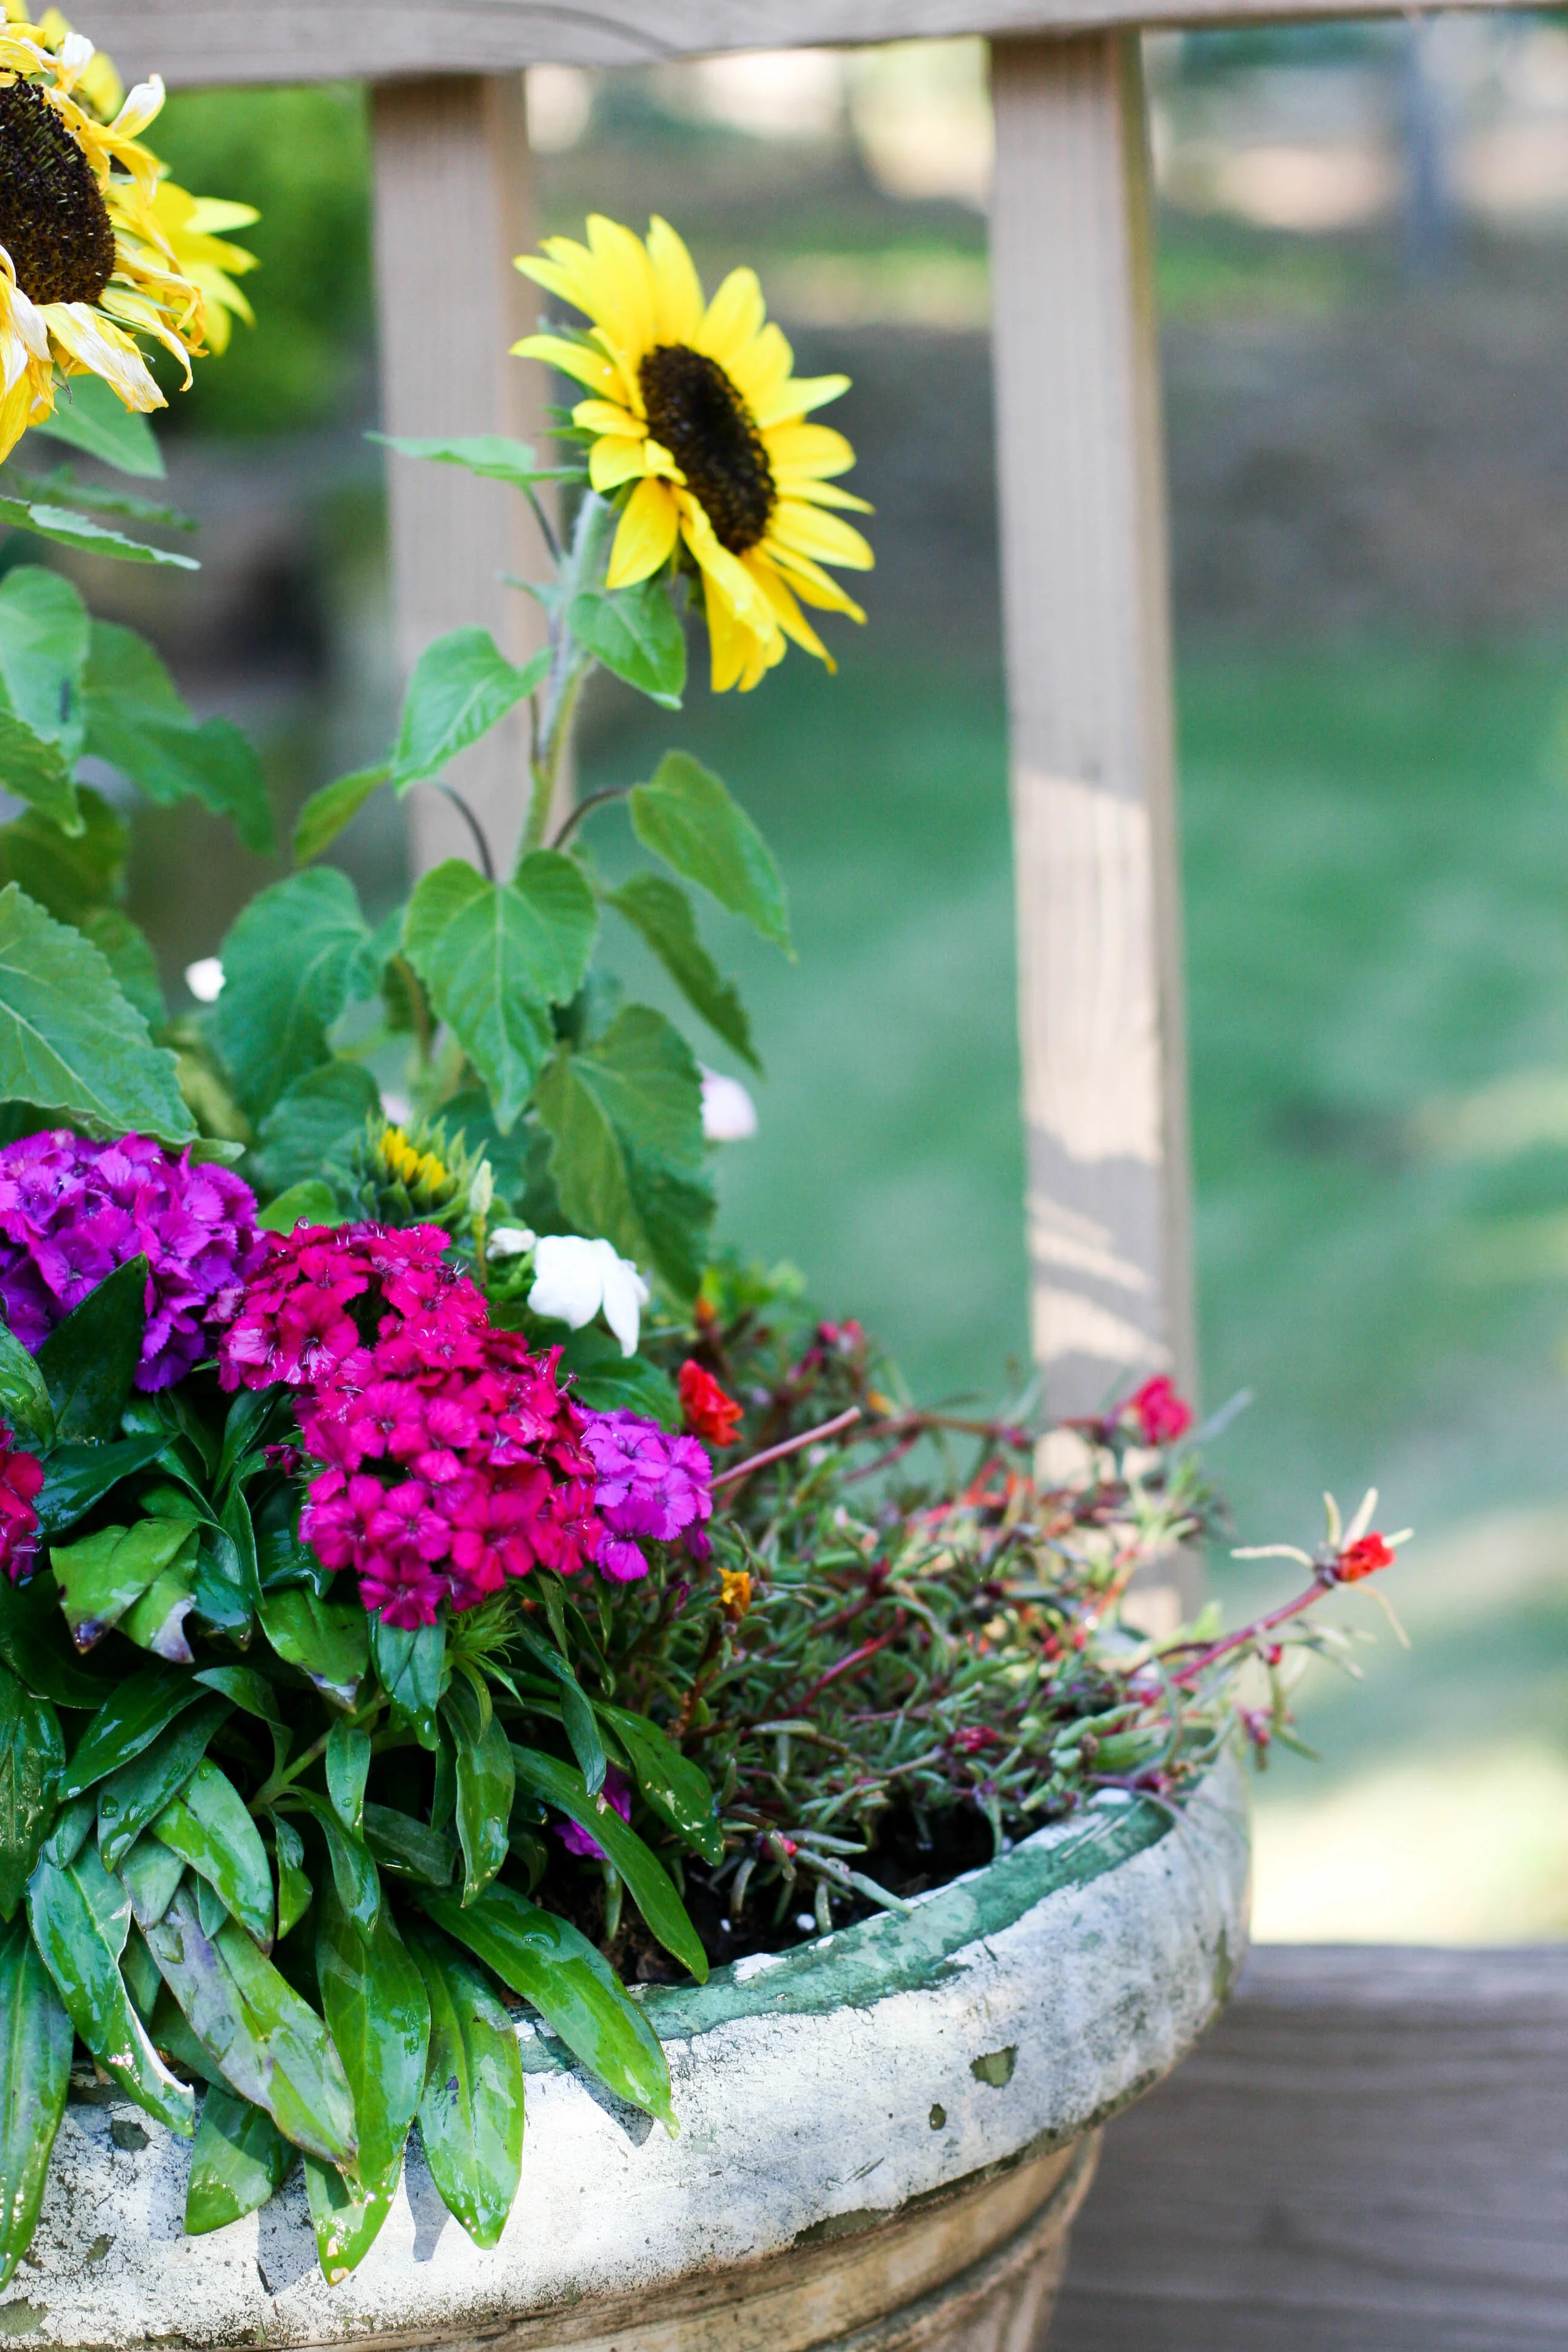
Flowers:
- 1 Sunflower
- 3 Dahlia bulbs (dinnerplate variety)
- 3 Moss Roses
- 2 Vinca
- 1 Dianthus
Cost Breakdown:
$17.98 for the flowers (Home Depot)
$21.18 for the bulbs + soil (Pikes Nursery - I used this soil for 3-4 other small garden pots, too)
FREE - container
How To:
1. Fill the container about 3/4 full with potting soil. If you're fancy, you can mix in some sand or gravel to assist with with drainage. But only if you're fancy.
2. Sprinkle the flower food on top of the soil.
3. Place your dahlia bulbs in the soil, with the eyes facing up. If you're unfamiliar with bulbs (like I was!), check out this video on how to determine an eye from a foot. Just kidding. A little gardening humor for you. I sense that no one is laughing.
4. Make sure the dahlias are planted toward the back of the pot, because you will want these to tower above the rest once they bloom. FYI dinnerplate dahlias can grow up to five feet tall and have blooms the size of a child's face. Bam. Need that in my life.
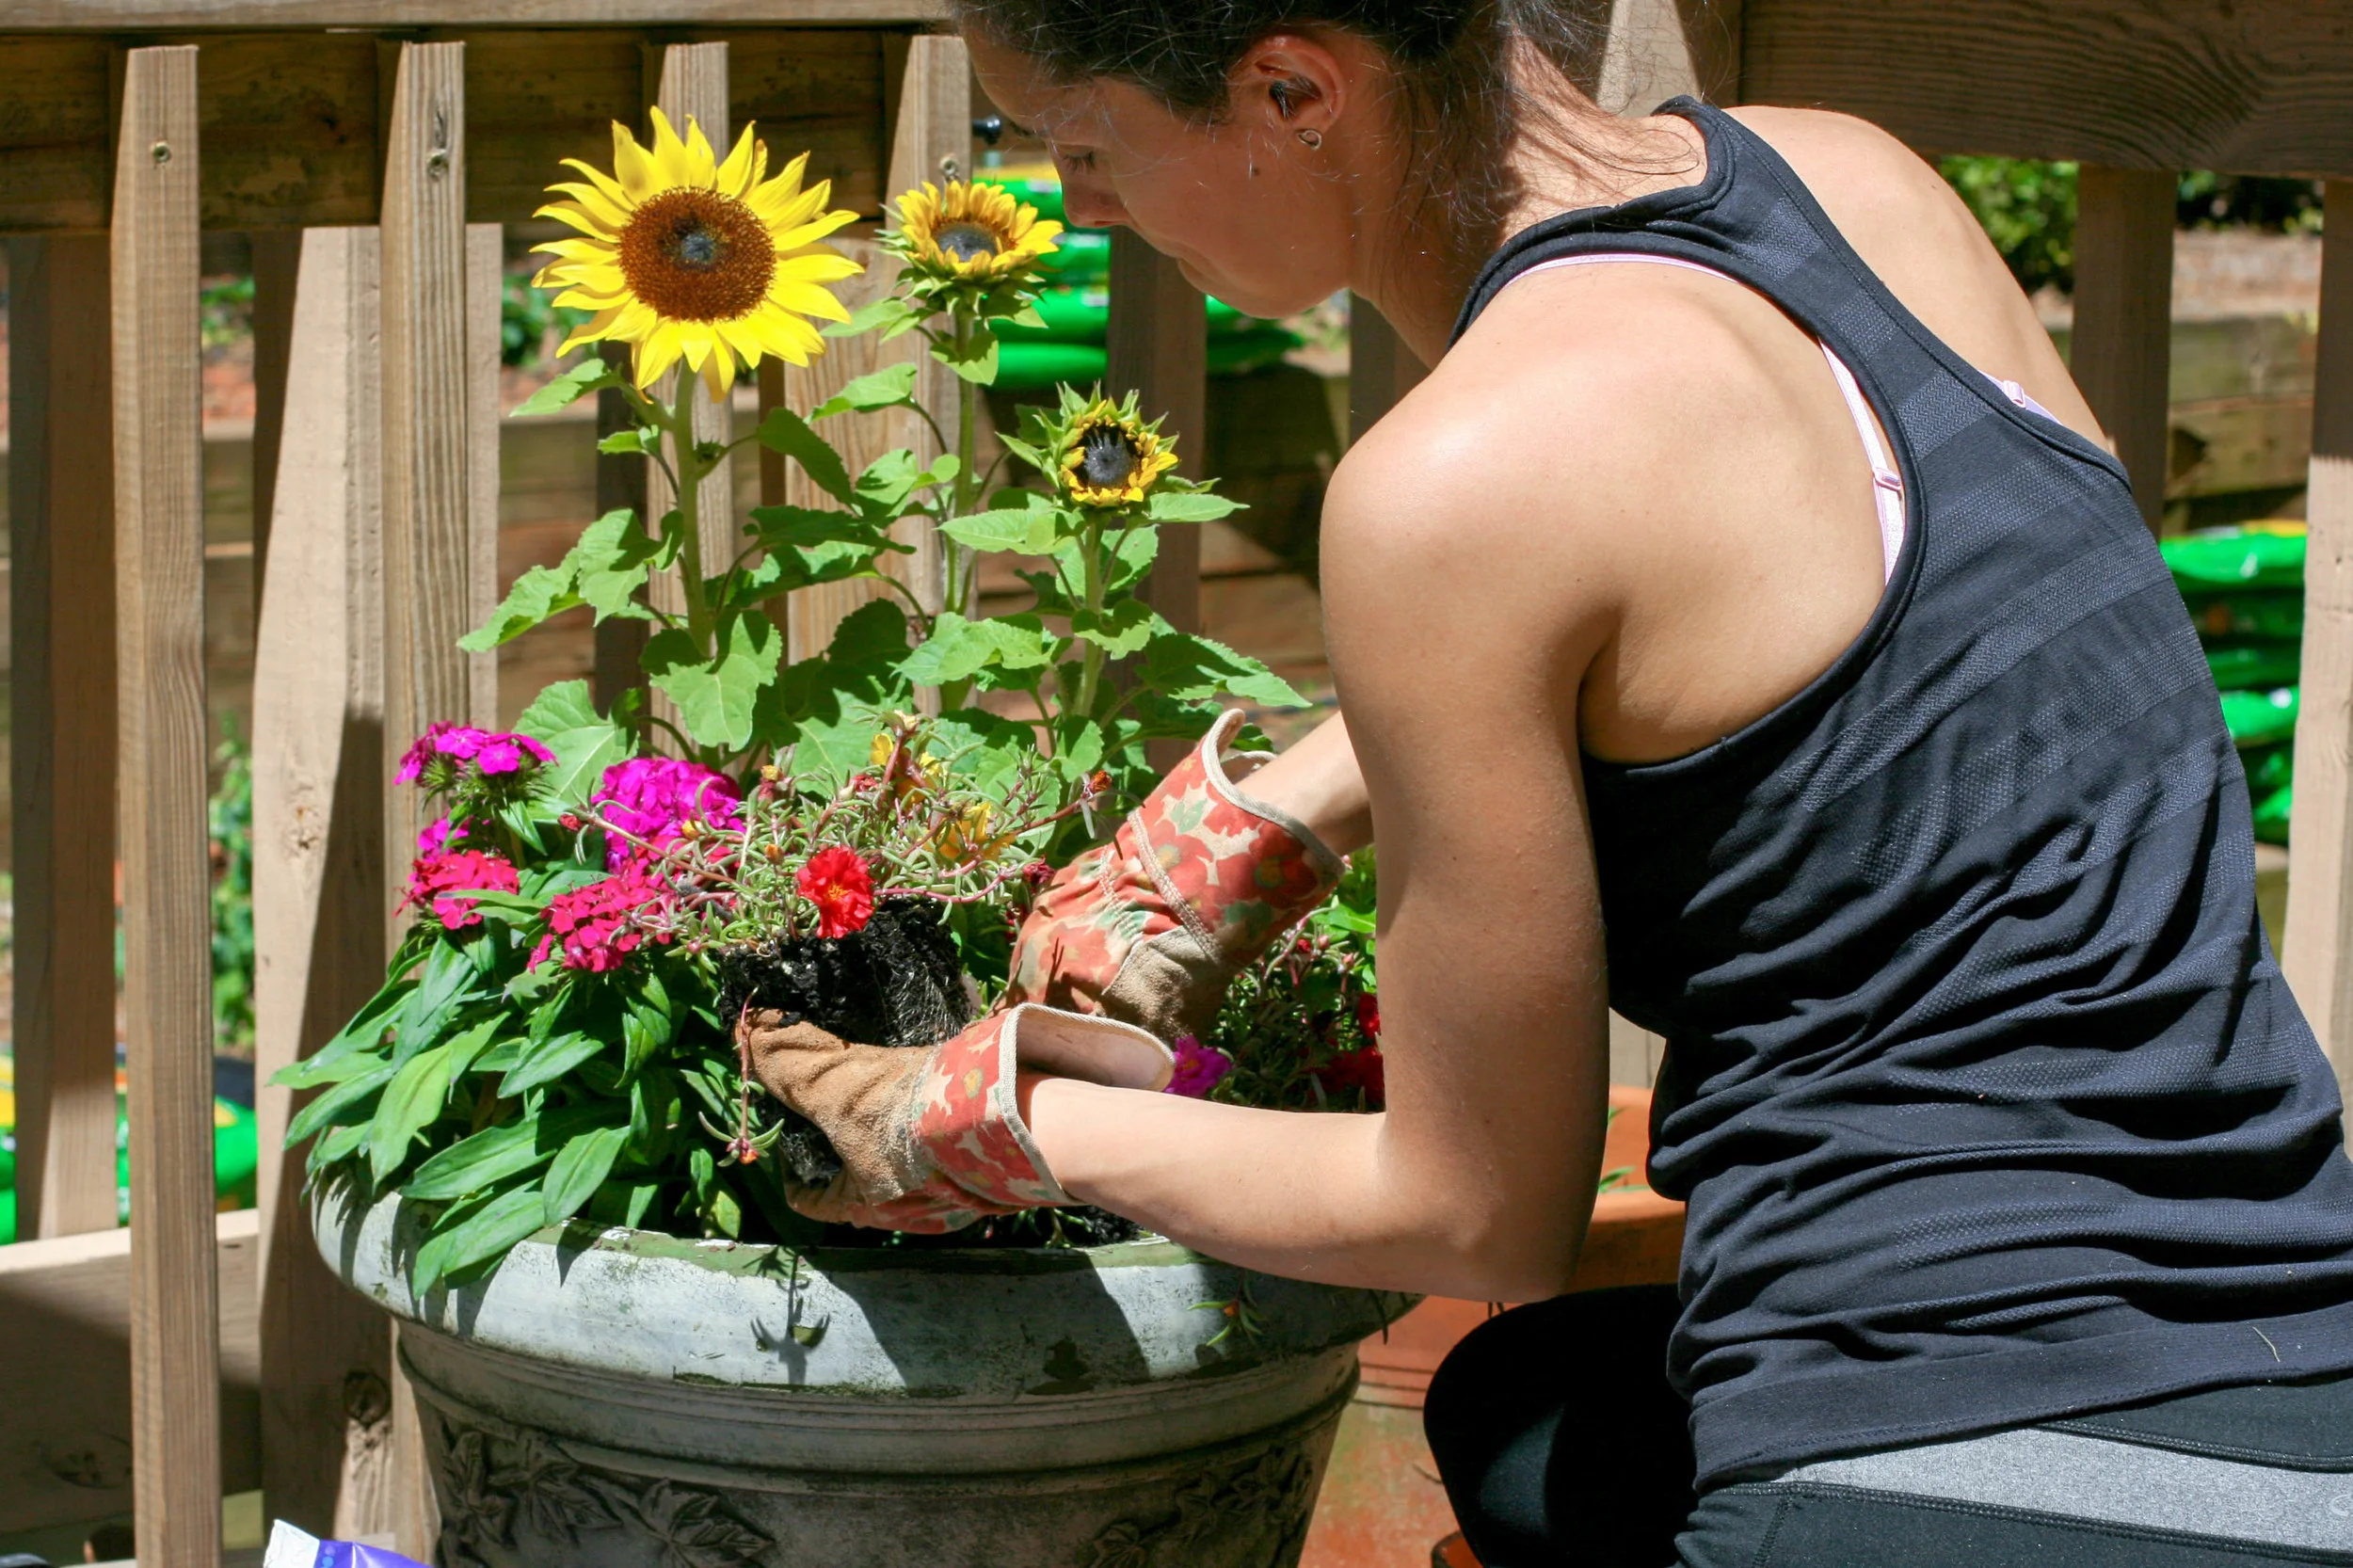
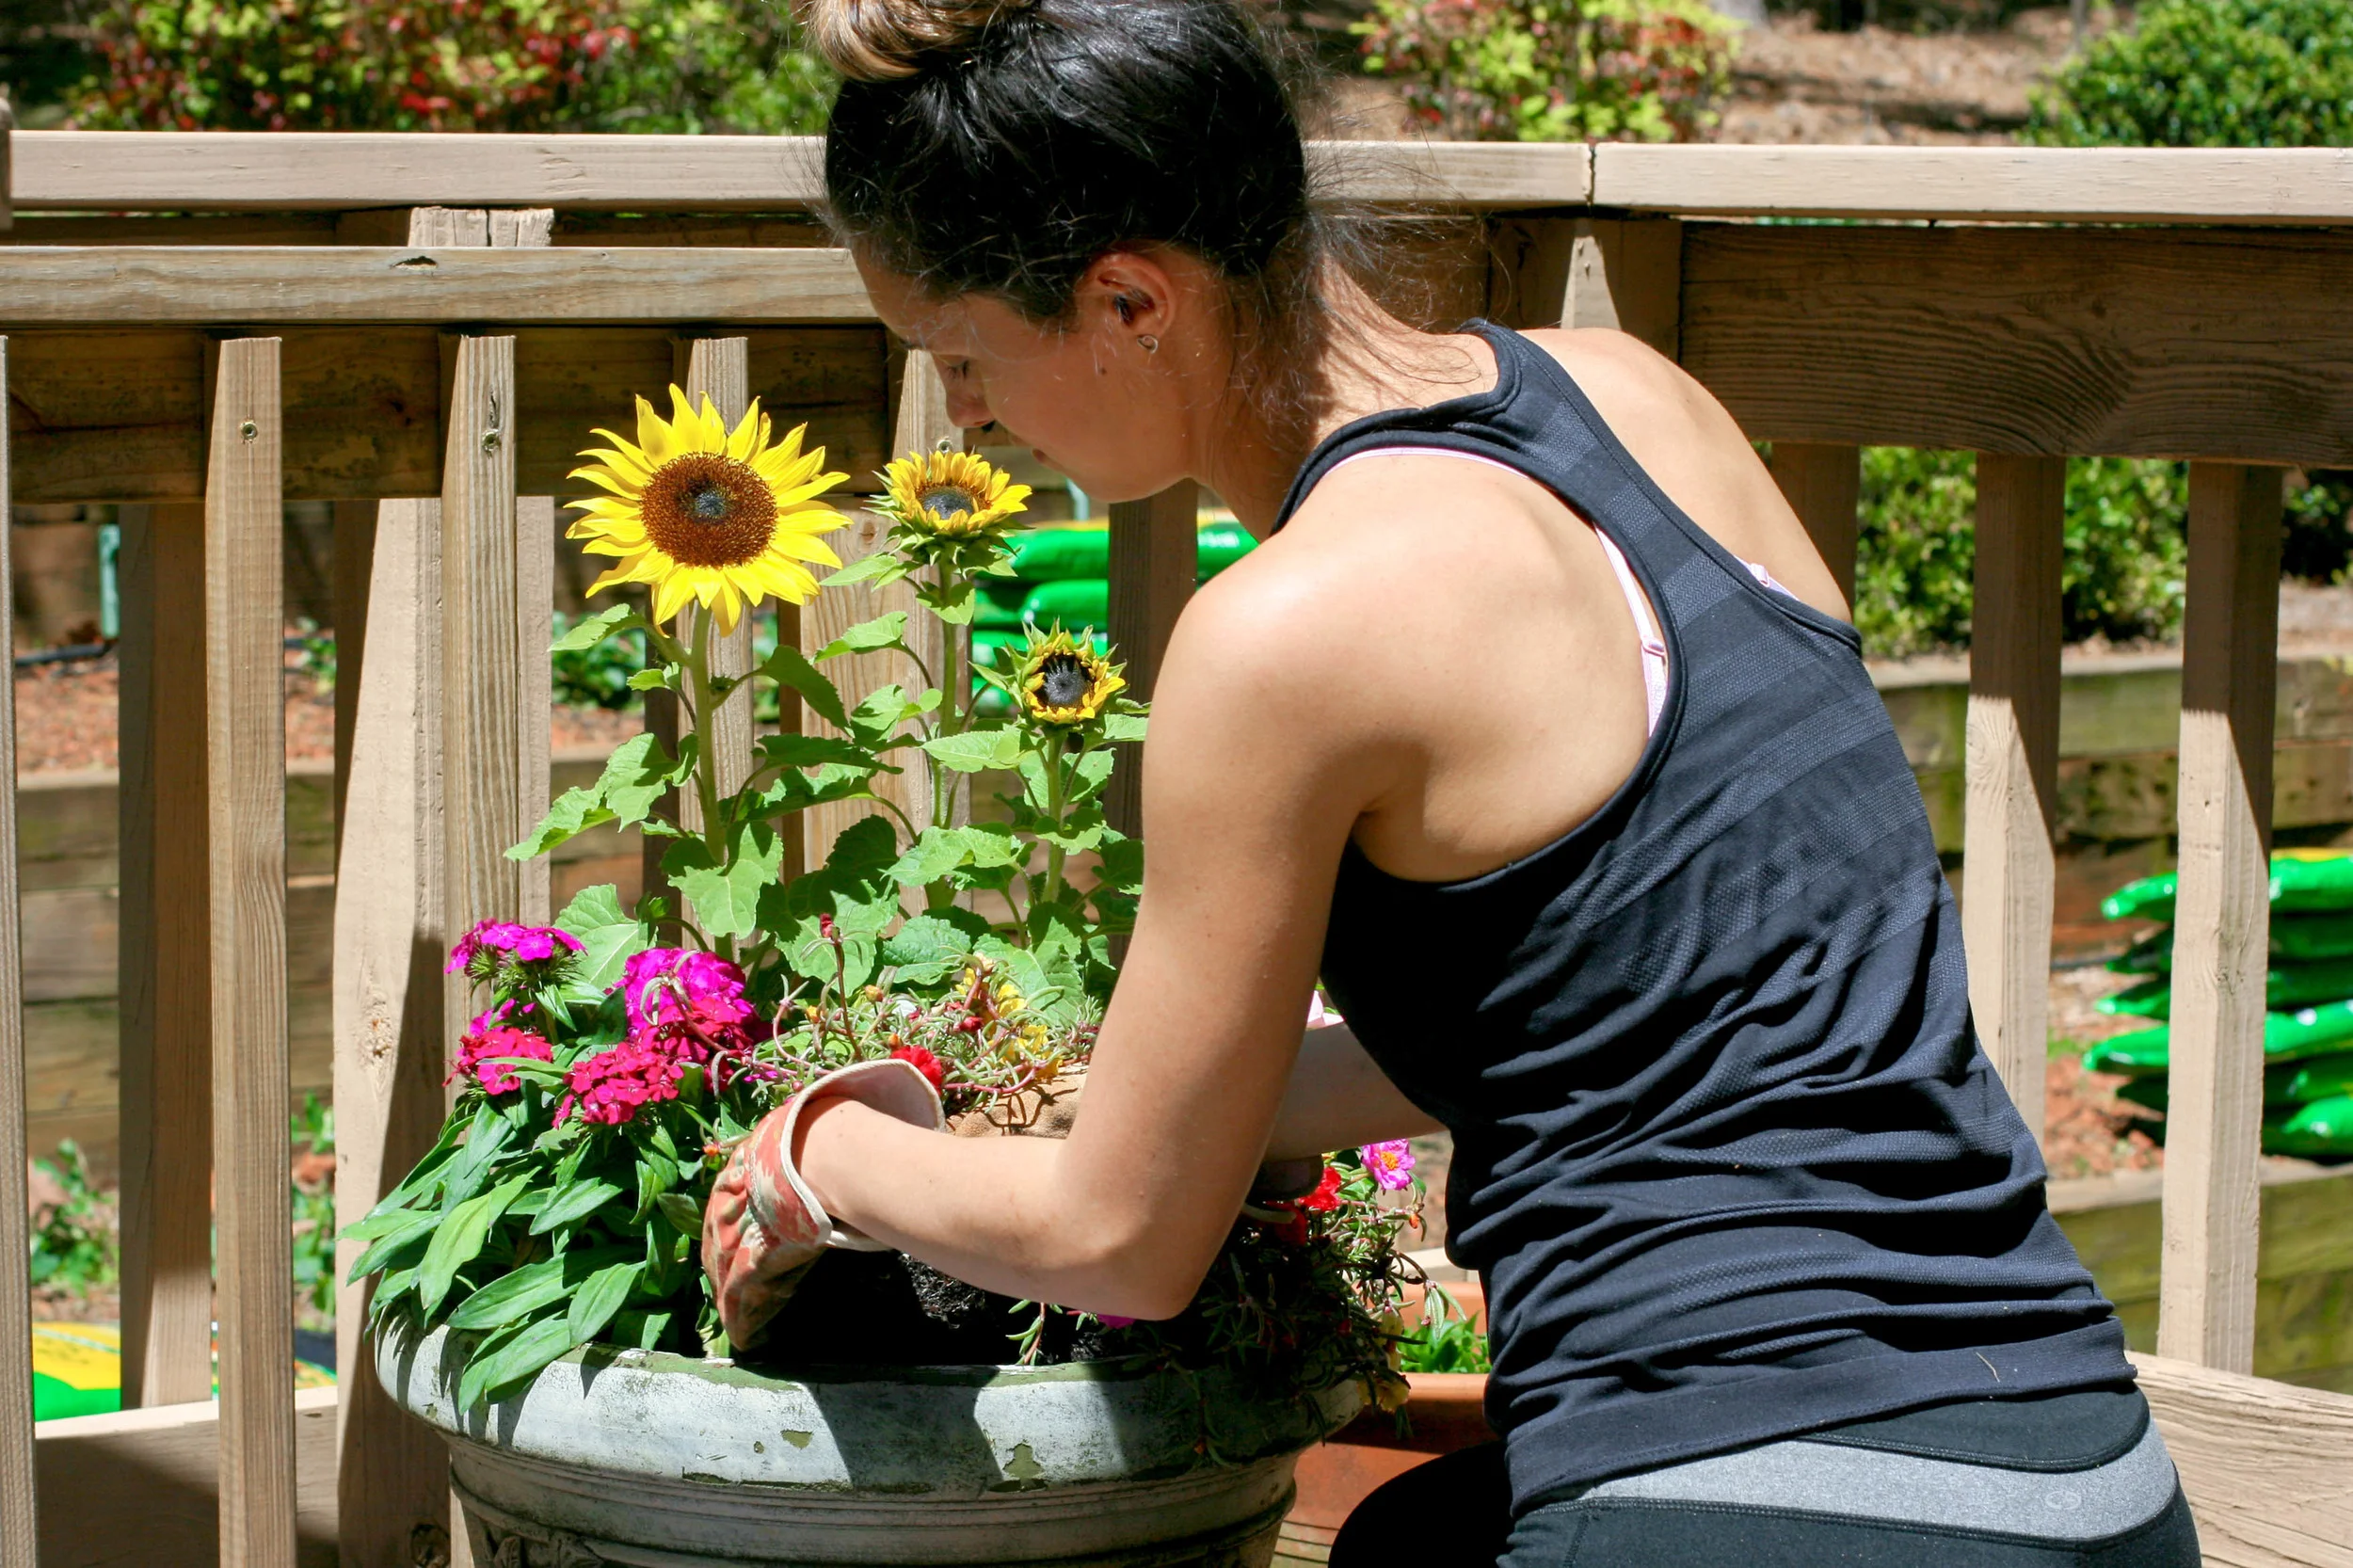
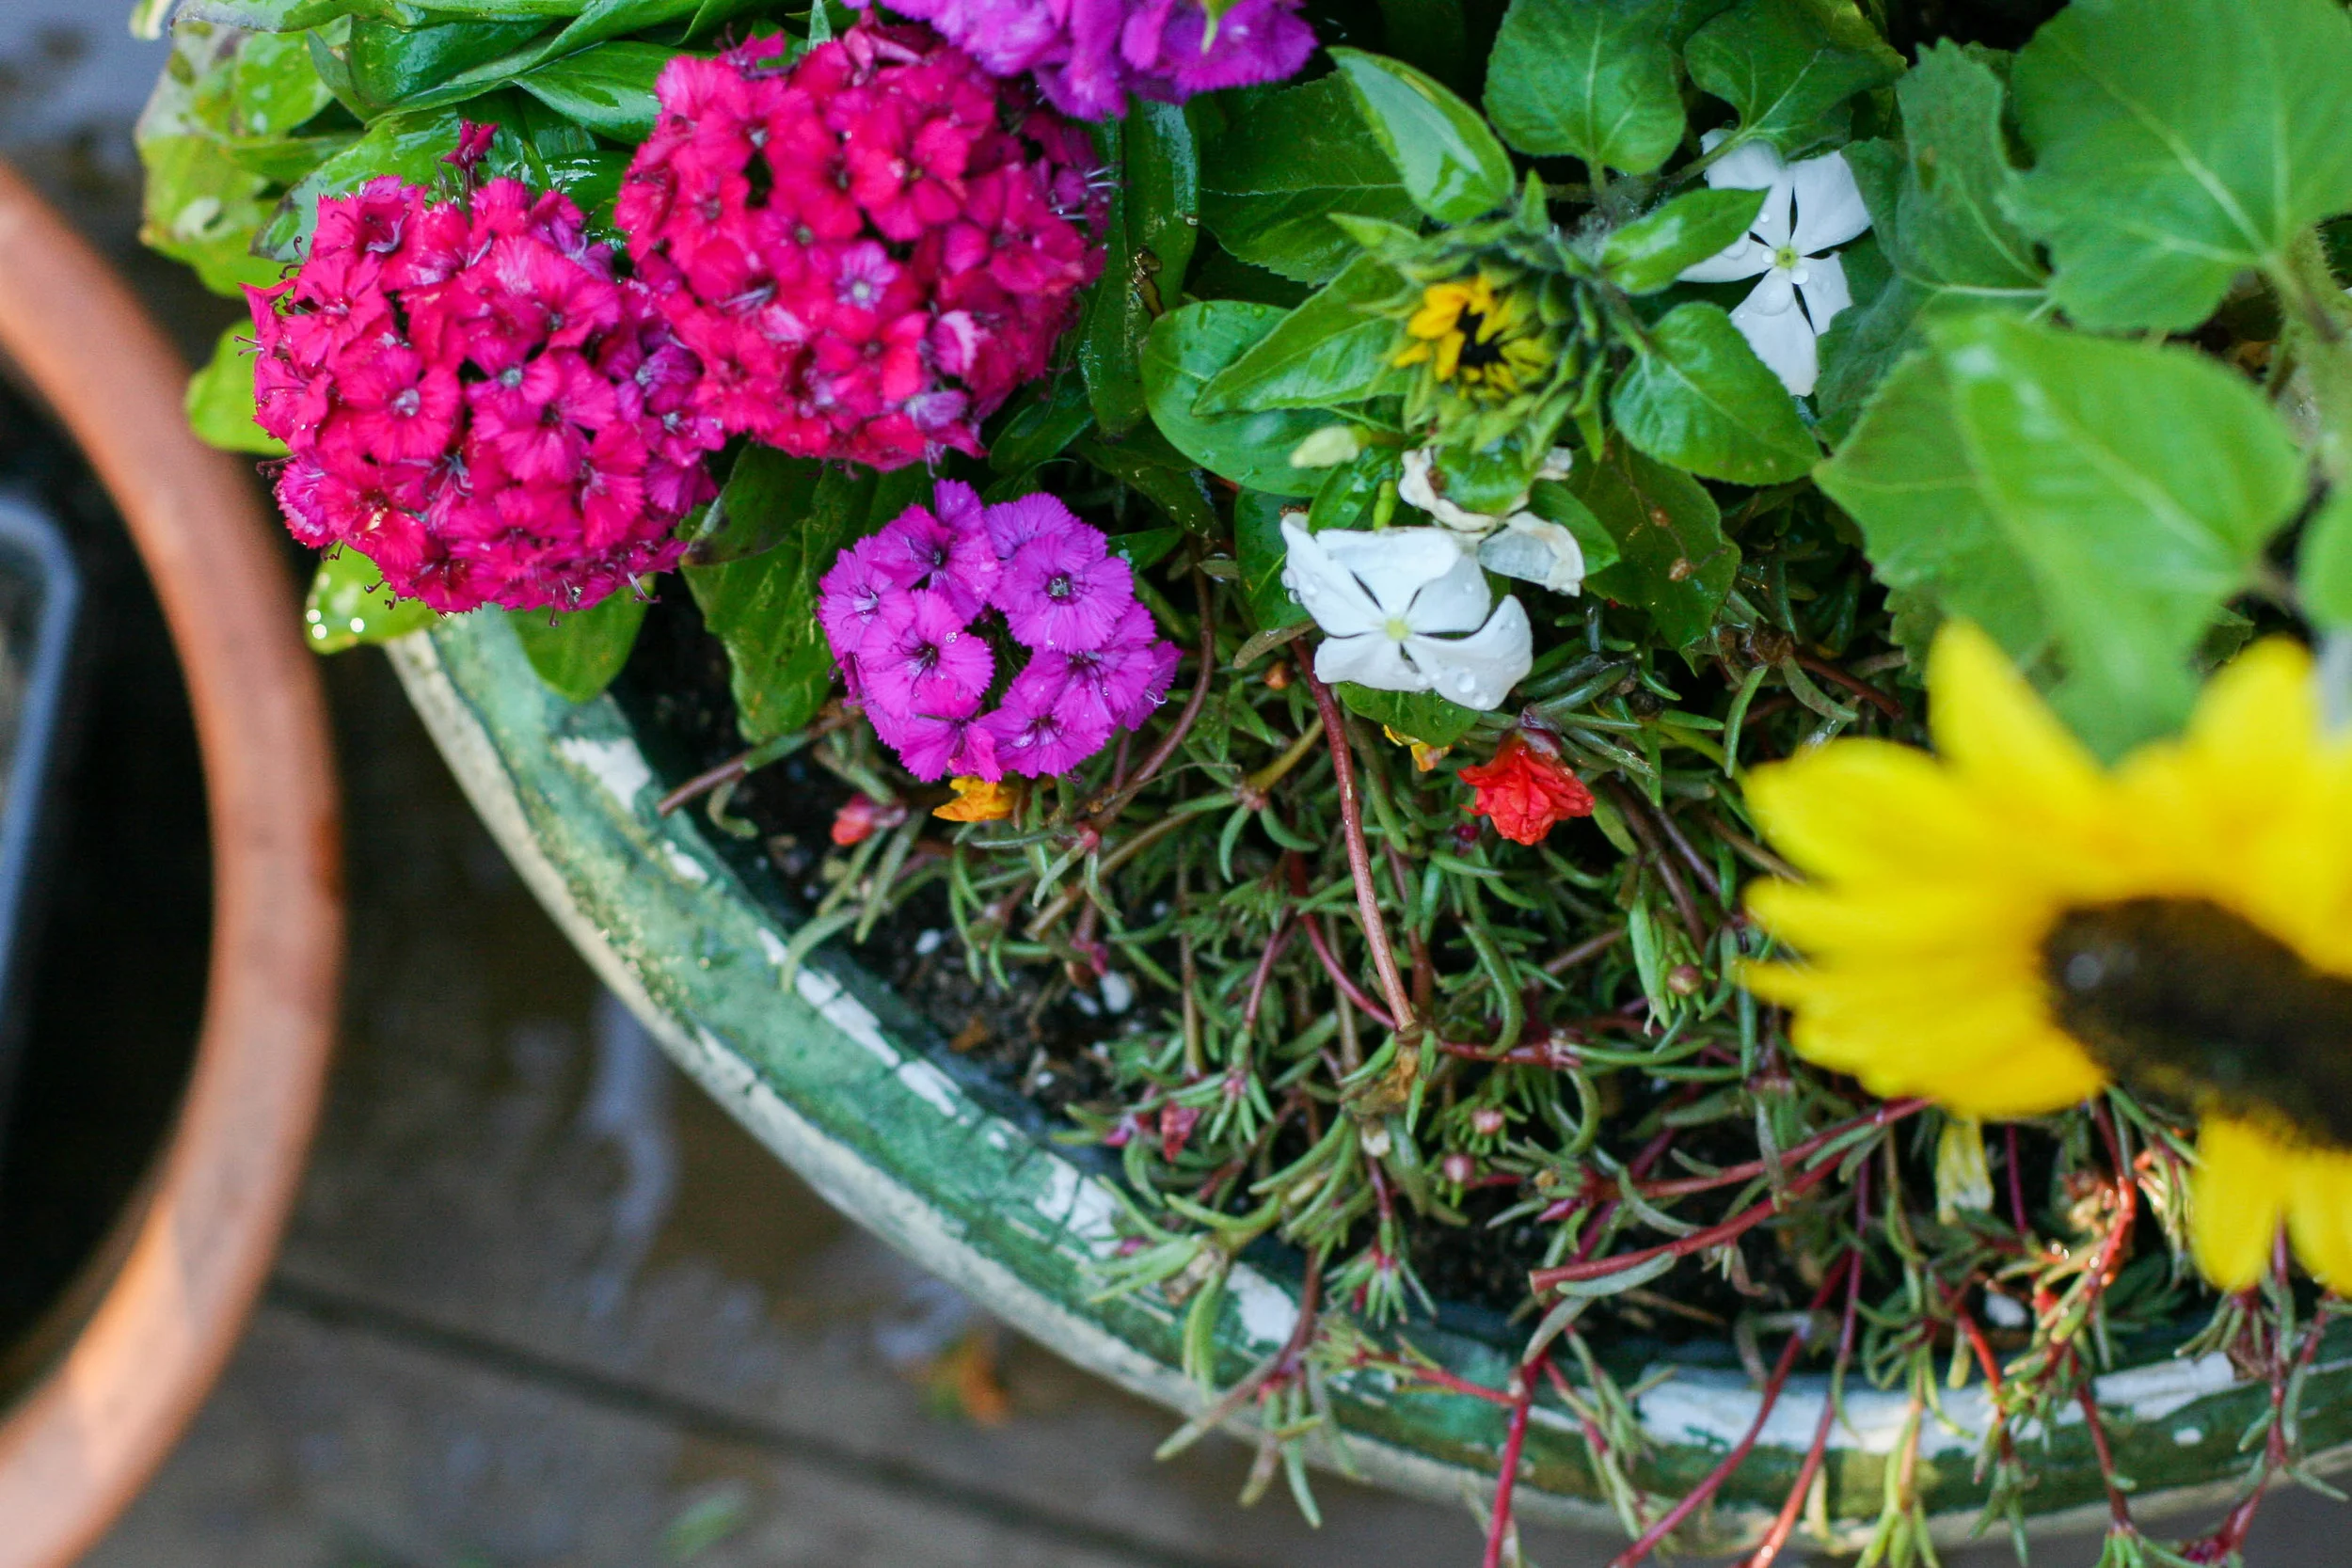
5. Now layer in the rest of the flowers. I put the sunflowers in the middle of the pot, then the dianthus and vincas on either side, then filled in the front of the pot with the moss roses.
6. Fill in the rest of the space with soil.
7. Water really good. Soak those babies.

For Maintenance:
To keep this container healthy and gorgeous for as long as possible, I will water daily (sunflowers need a ton of agua), and probably shake some good high-phosphorus fertilizer (again, for the sunflowers) as needed. As the moss roses shrivel, I will pinch of the spent blooms to encourage re-blooming. They should hang out with me for a while. I might have to replace some of the flowers if they get past their flowering season, but the dahlias will bloom in mid-summer and keep doing their thing late into the fall.
Enjoy immediately! That's what I love most about this flowering container. I can sit outside on my porch and drink the coffee and enjoy this beauty now while I await my seeds and vegetables. I am so looking forward to seeing these flowers continue to bloom throughout the season. This container gives me a lot of bang for my buck! Let me know if you give this DIY a try!


