

Upcycled Living Room Toy Cabinet.
/
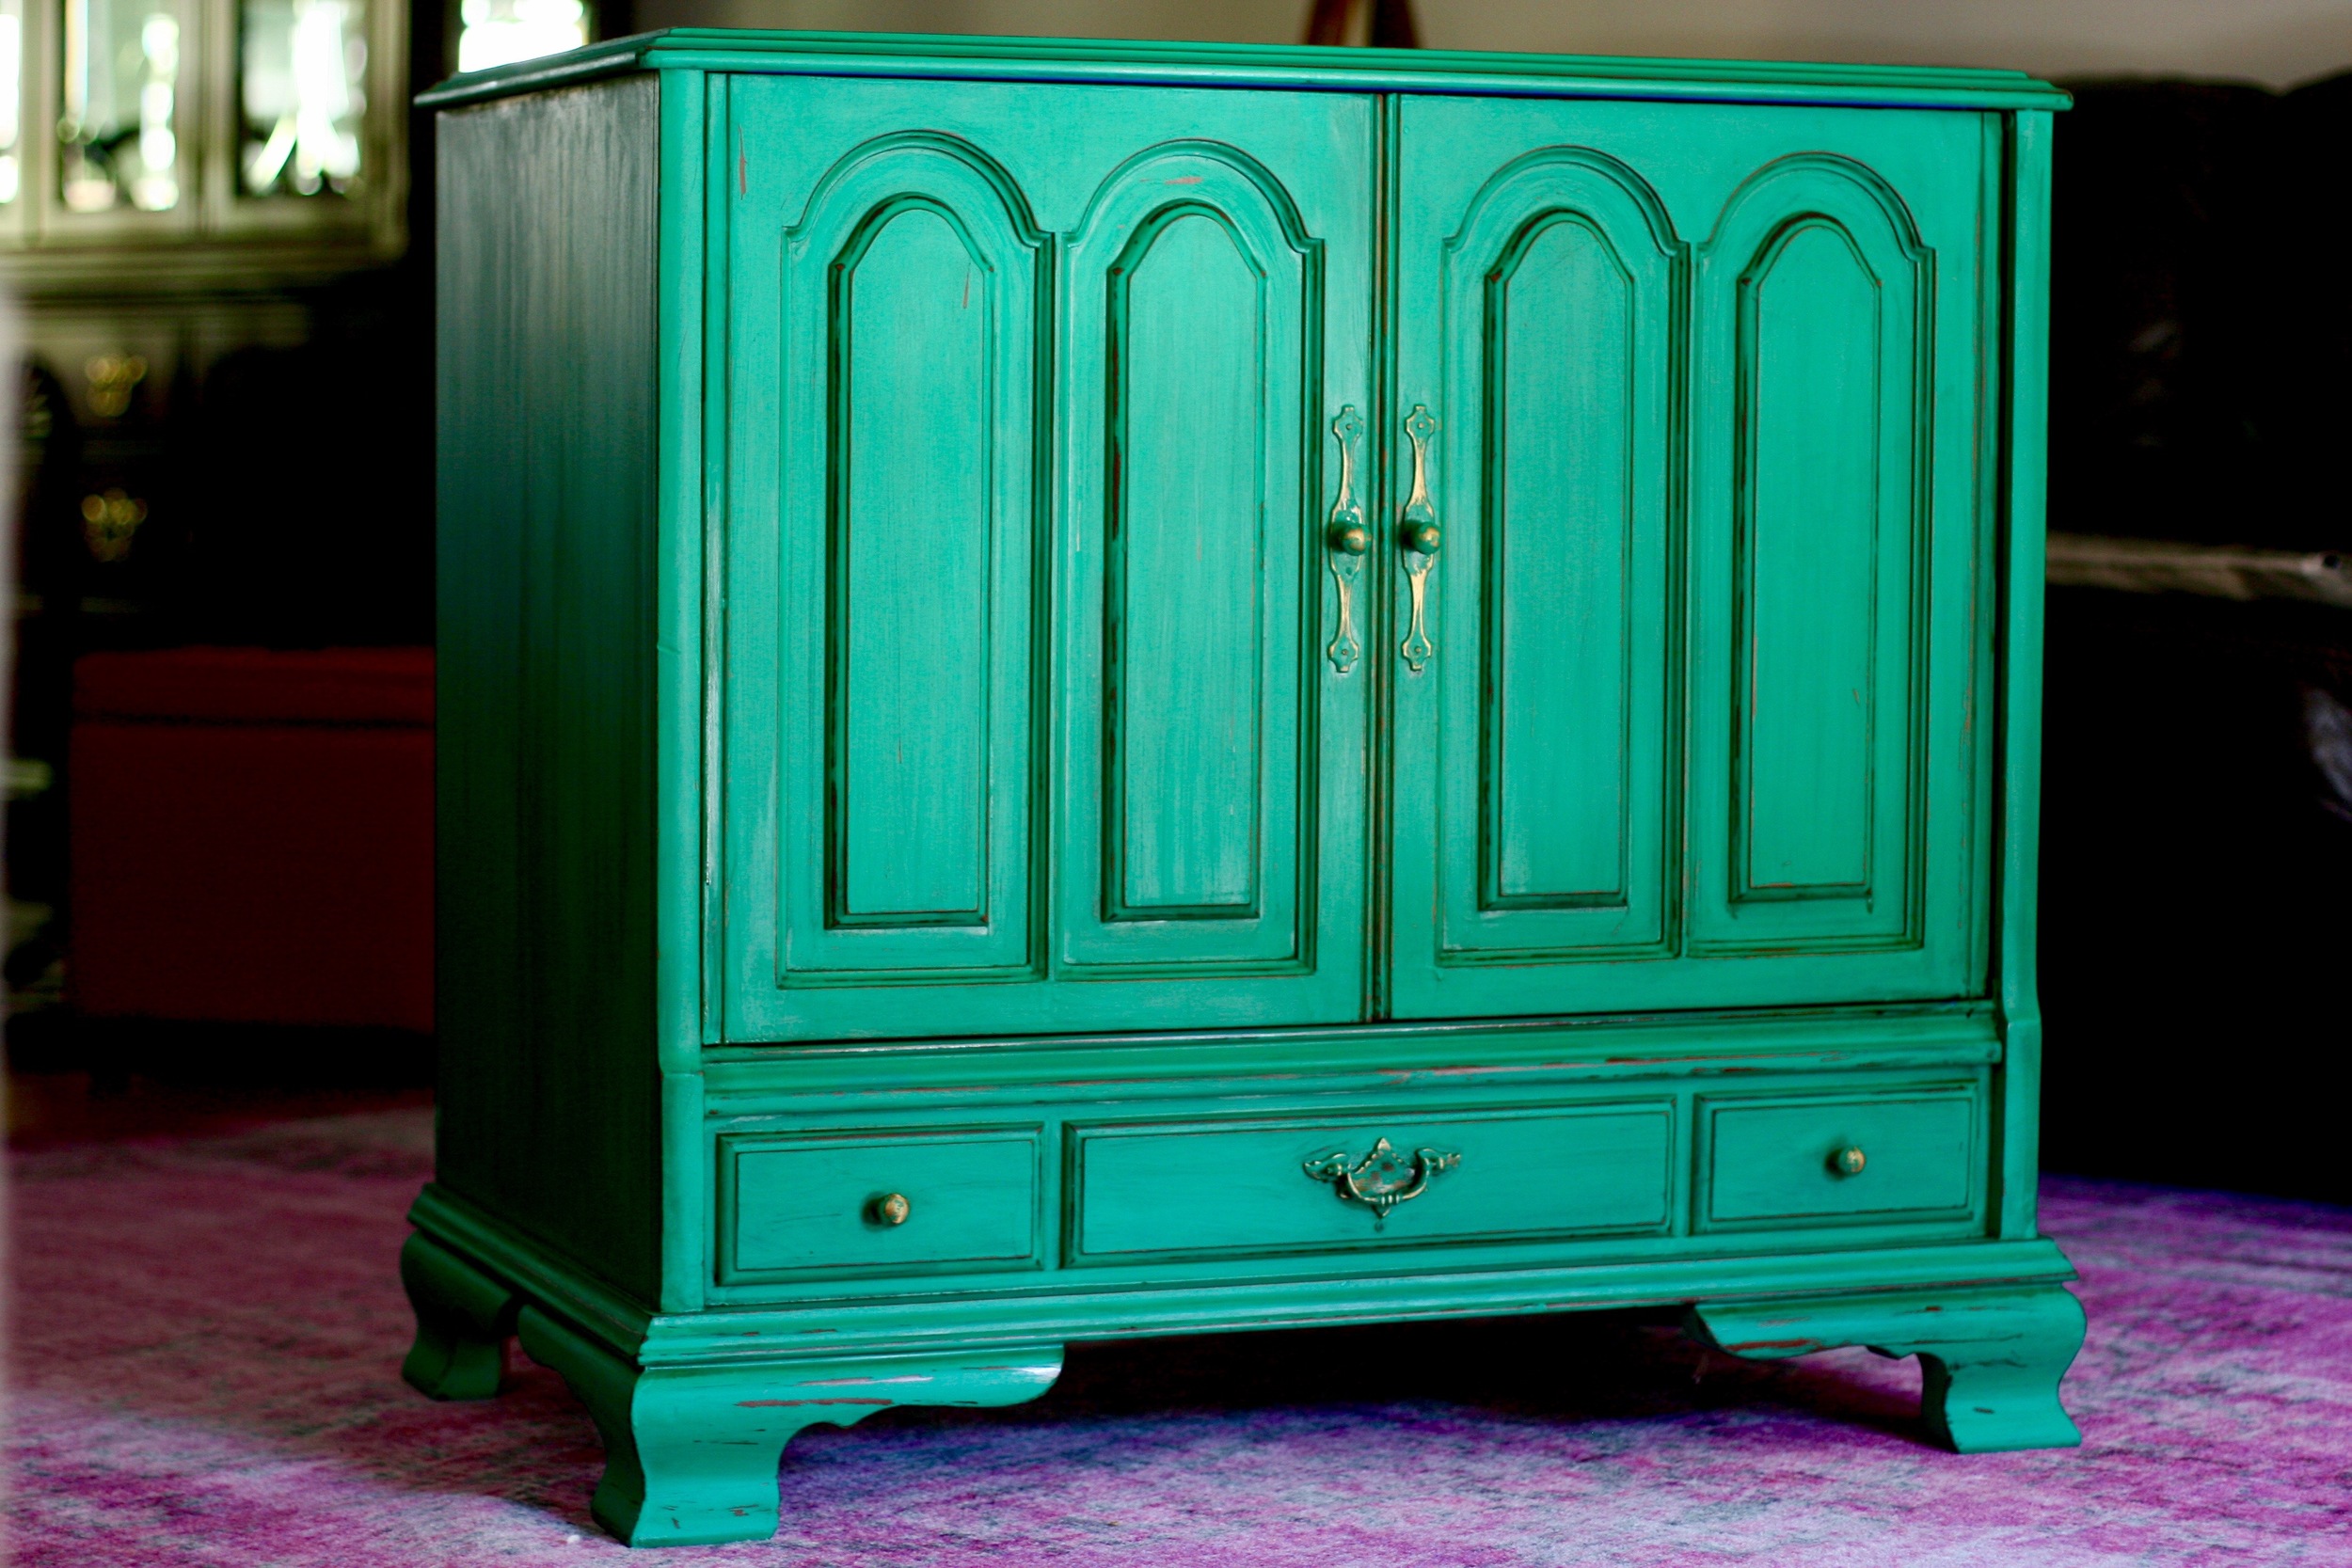
This is perhaps my favorite upcycled piece I've ever done. I was given an old TV cabinet in the slew of free furniture we were given when we moved, and I knew I wanted to turn it into a storage space for Everett's toys in our entertainment room. This actually belonged to my elementary school librarian, Ms. Olham, and was given to someone else, who then gave it to us, so this particular piece of furniture actually has a bit of sentimental value. I was kind of a book nerd, and spent a lot of time in the library as a kid, so I knew I wanted to keep this piece and make it something special. Because of it's largeness and depth, Stevie wasn't sure it would work in the entertainment room, but I knew I had to find a way to make it work. Because, Mrs. Oldham! As I brainstormed about what I wanted for this piece, I was feeling so inspired by the rich shade of Kelly green. I couldn't shake it. So I went with it! Our entertainment room has taken on a vivid, bohemian vibe, and I can't wait to share photos of the entire space once I'm finally finished with it. This piece is one of the centerpieces of the room and I am so so thrilled with how it turned out.
Here is the before:
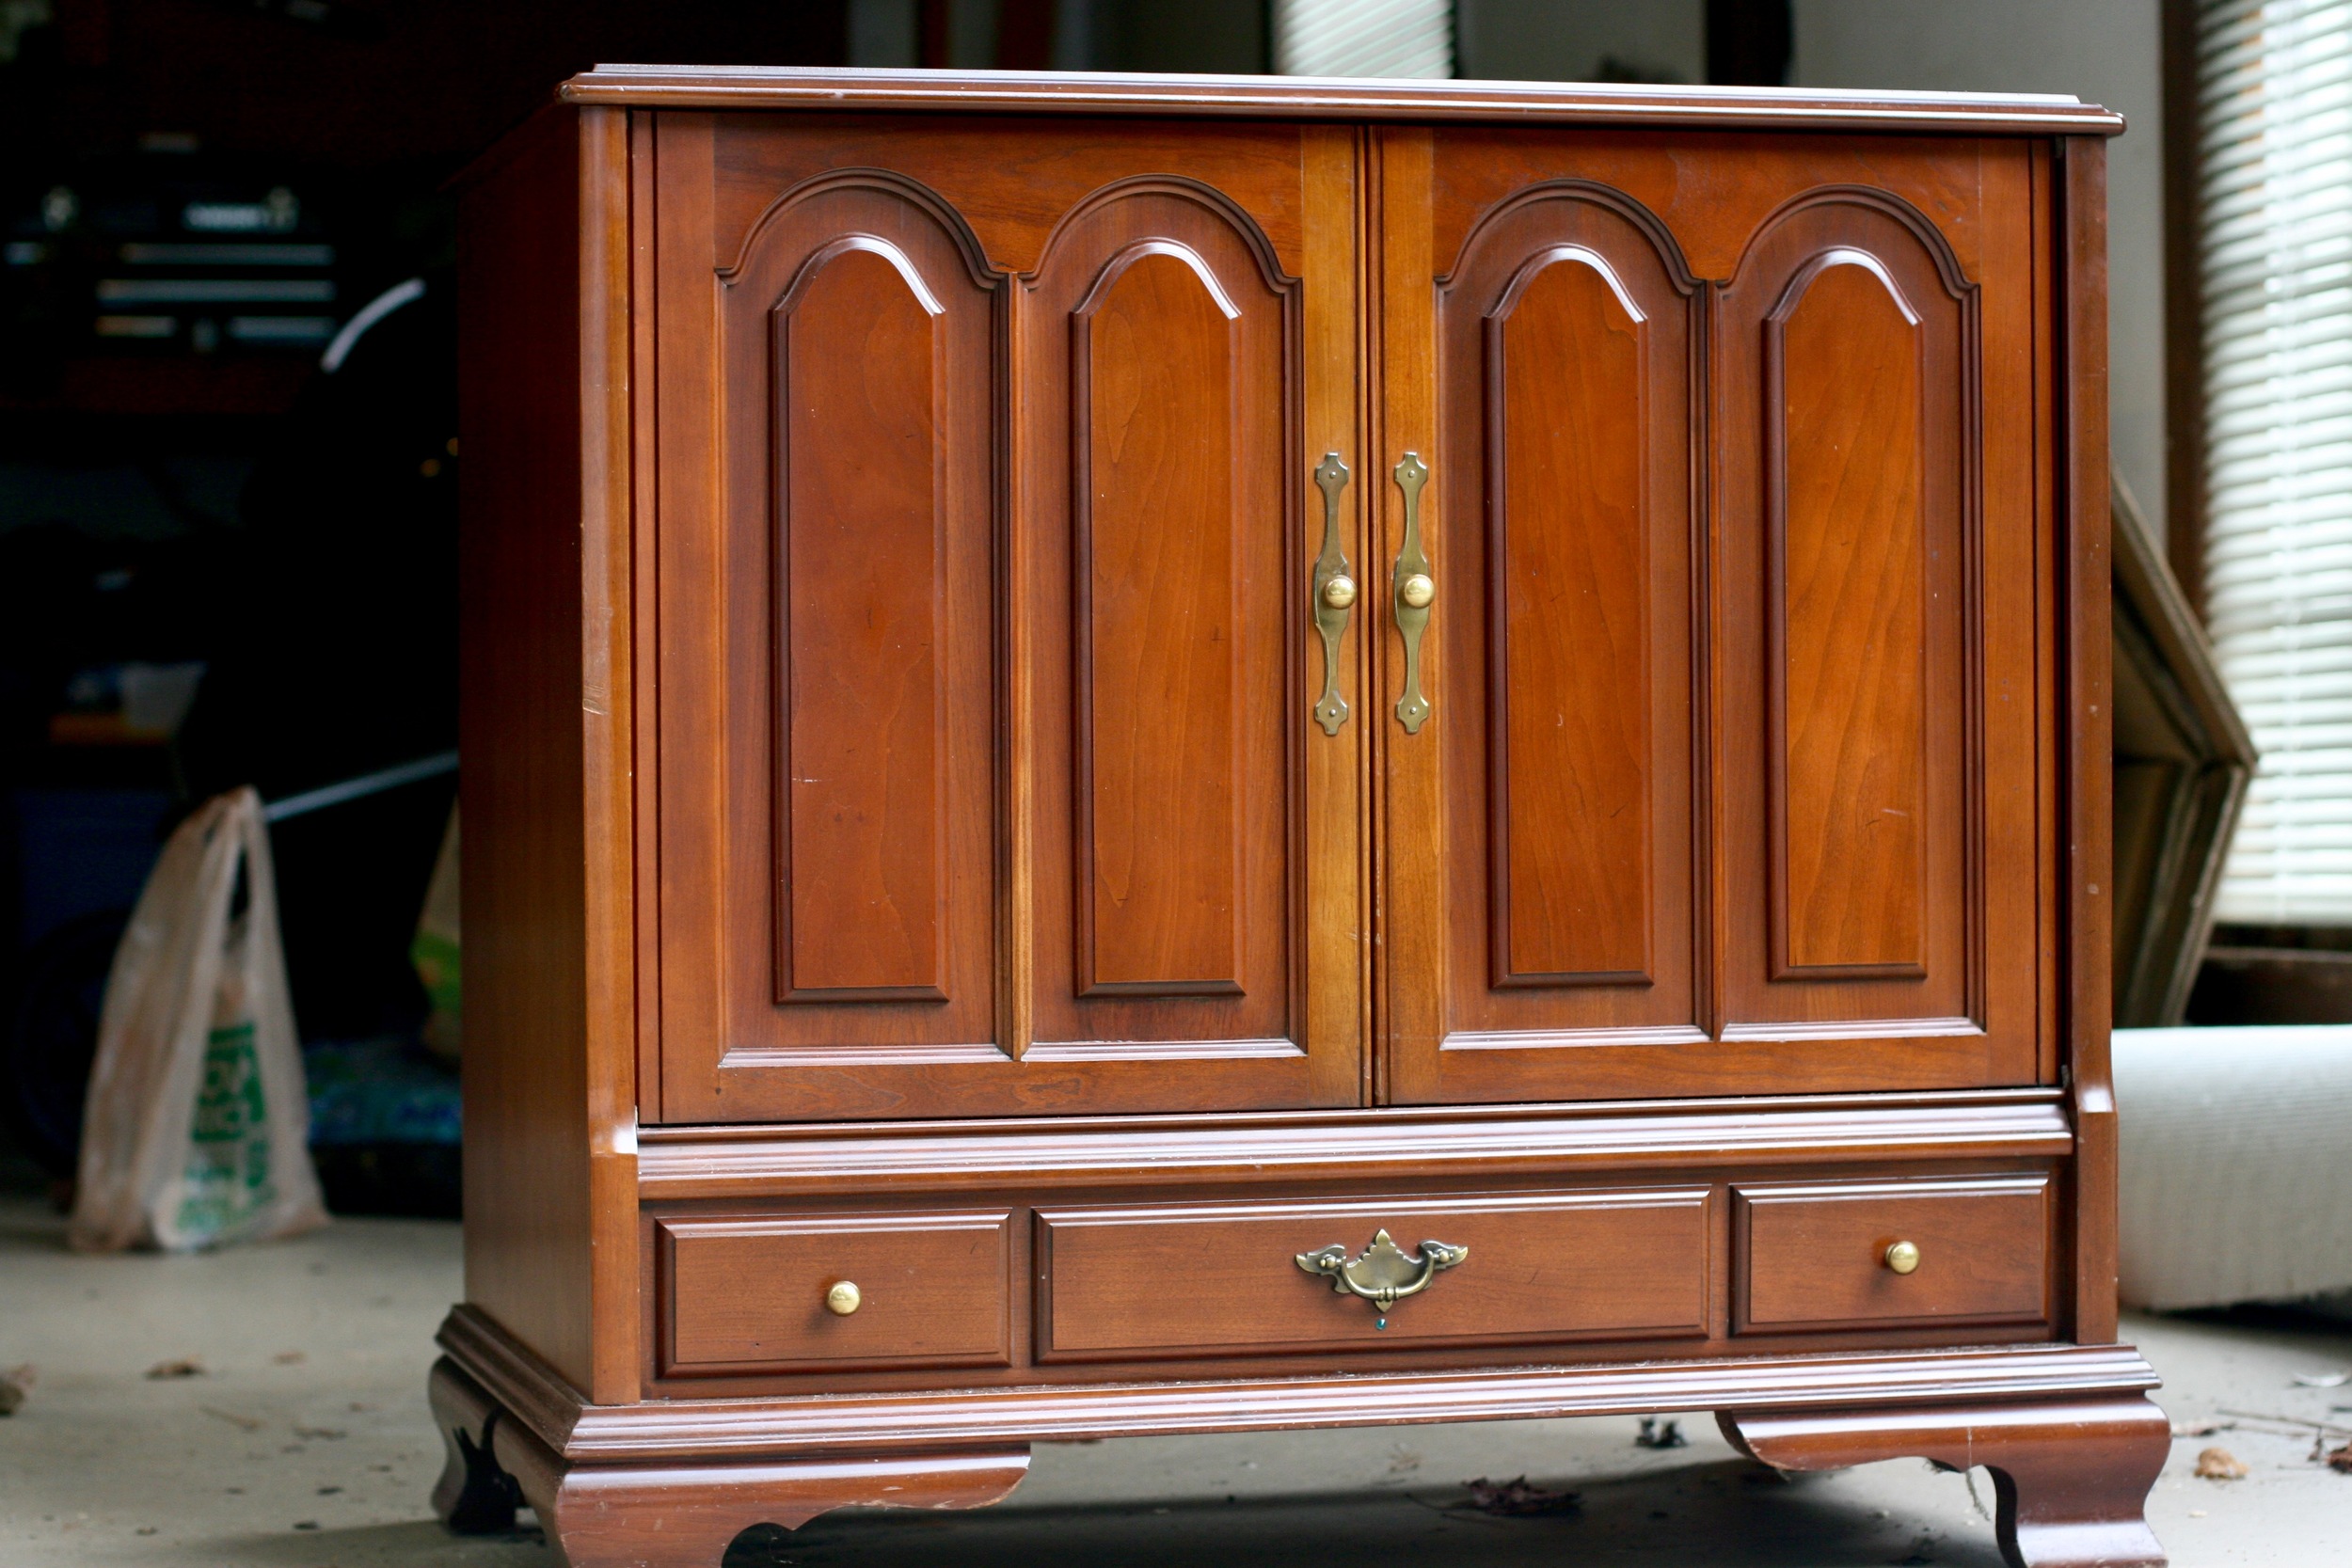
As you can see, the piece was a lovely mohaghany cabinet with brassy hardware, but it felt a bit bulky and dated. Since I had some success with chalky paint on my bedroom furniture, I decided to tackle this one with the same approach. But this time - I made my own chalky paint! I will share how incredibly easy it is next week on the blog. But trust me - you will never want to pay high dollar for chalk paint again.
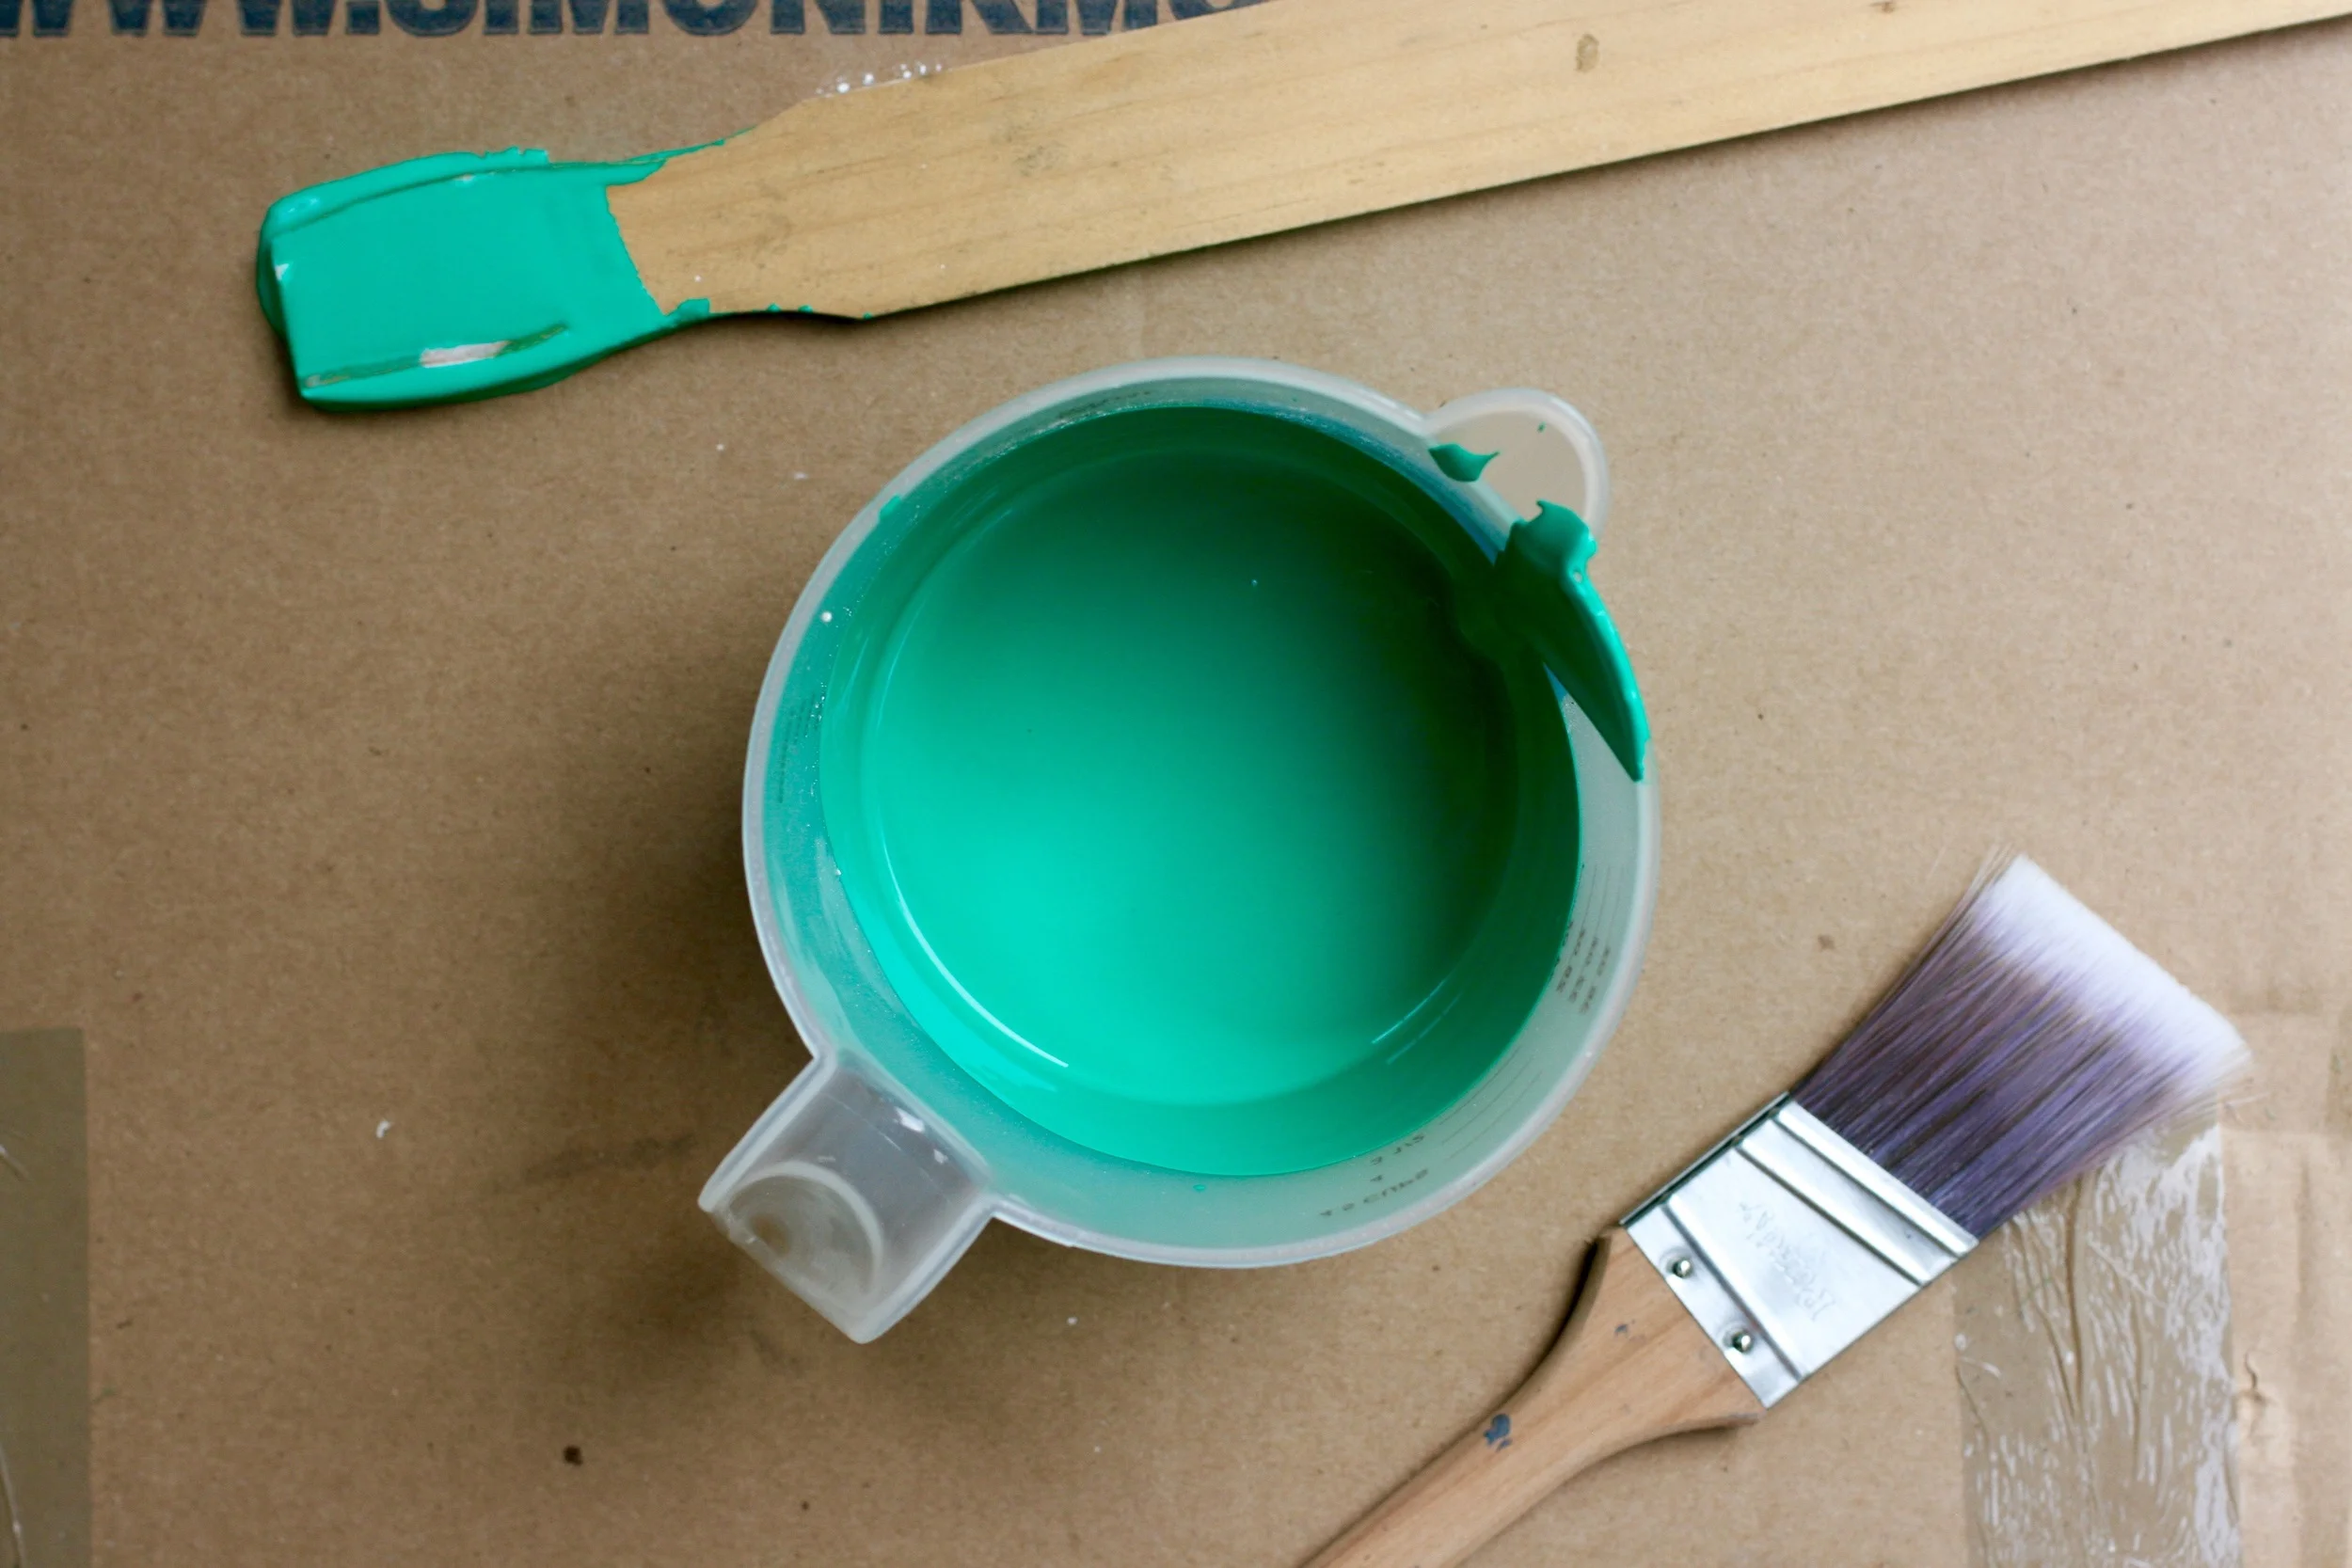
It's a little challenging to capture the exact color, but I chose Behr Balsam, a flat interior/exterior paint. And I managed to cover this entire cabinet with just one sample size! Hello, savings. I love you.
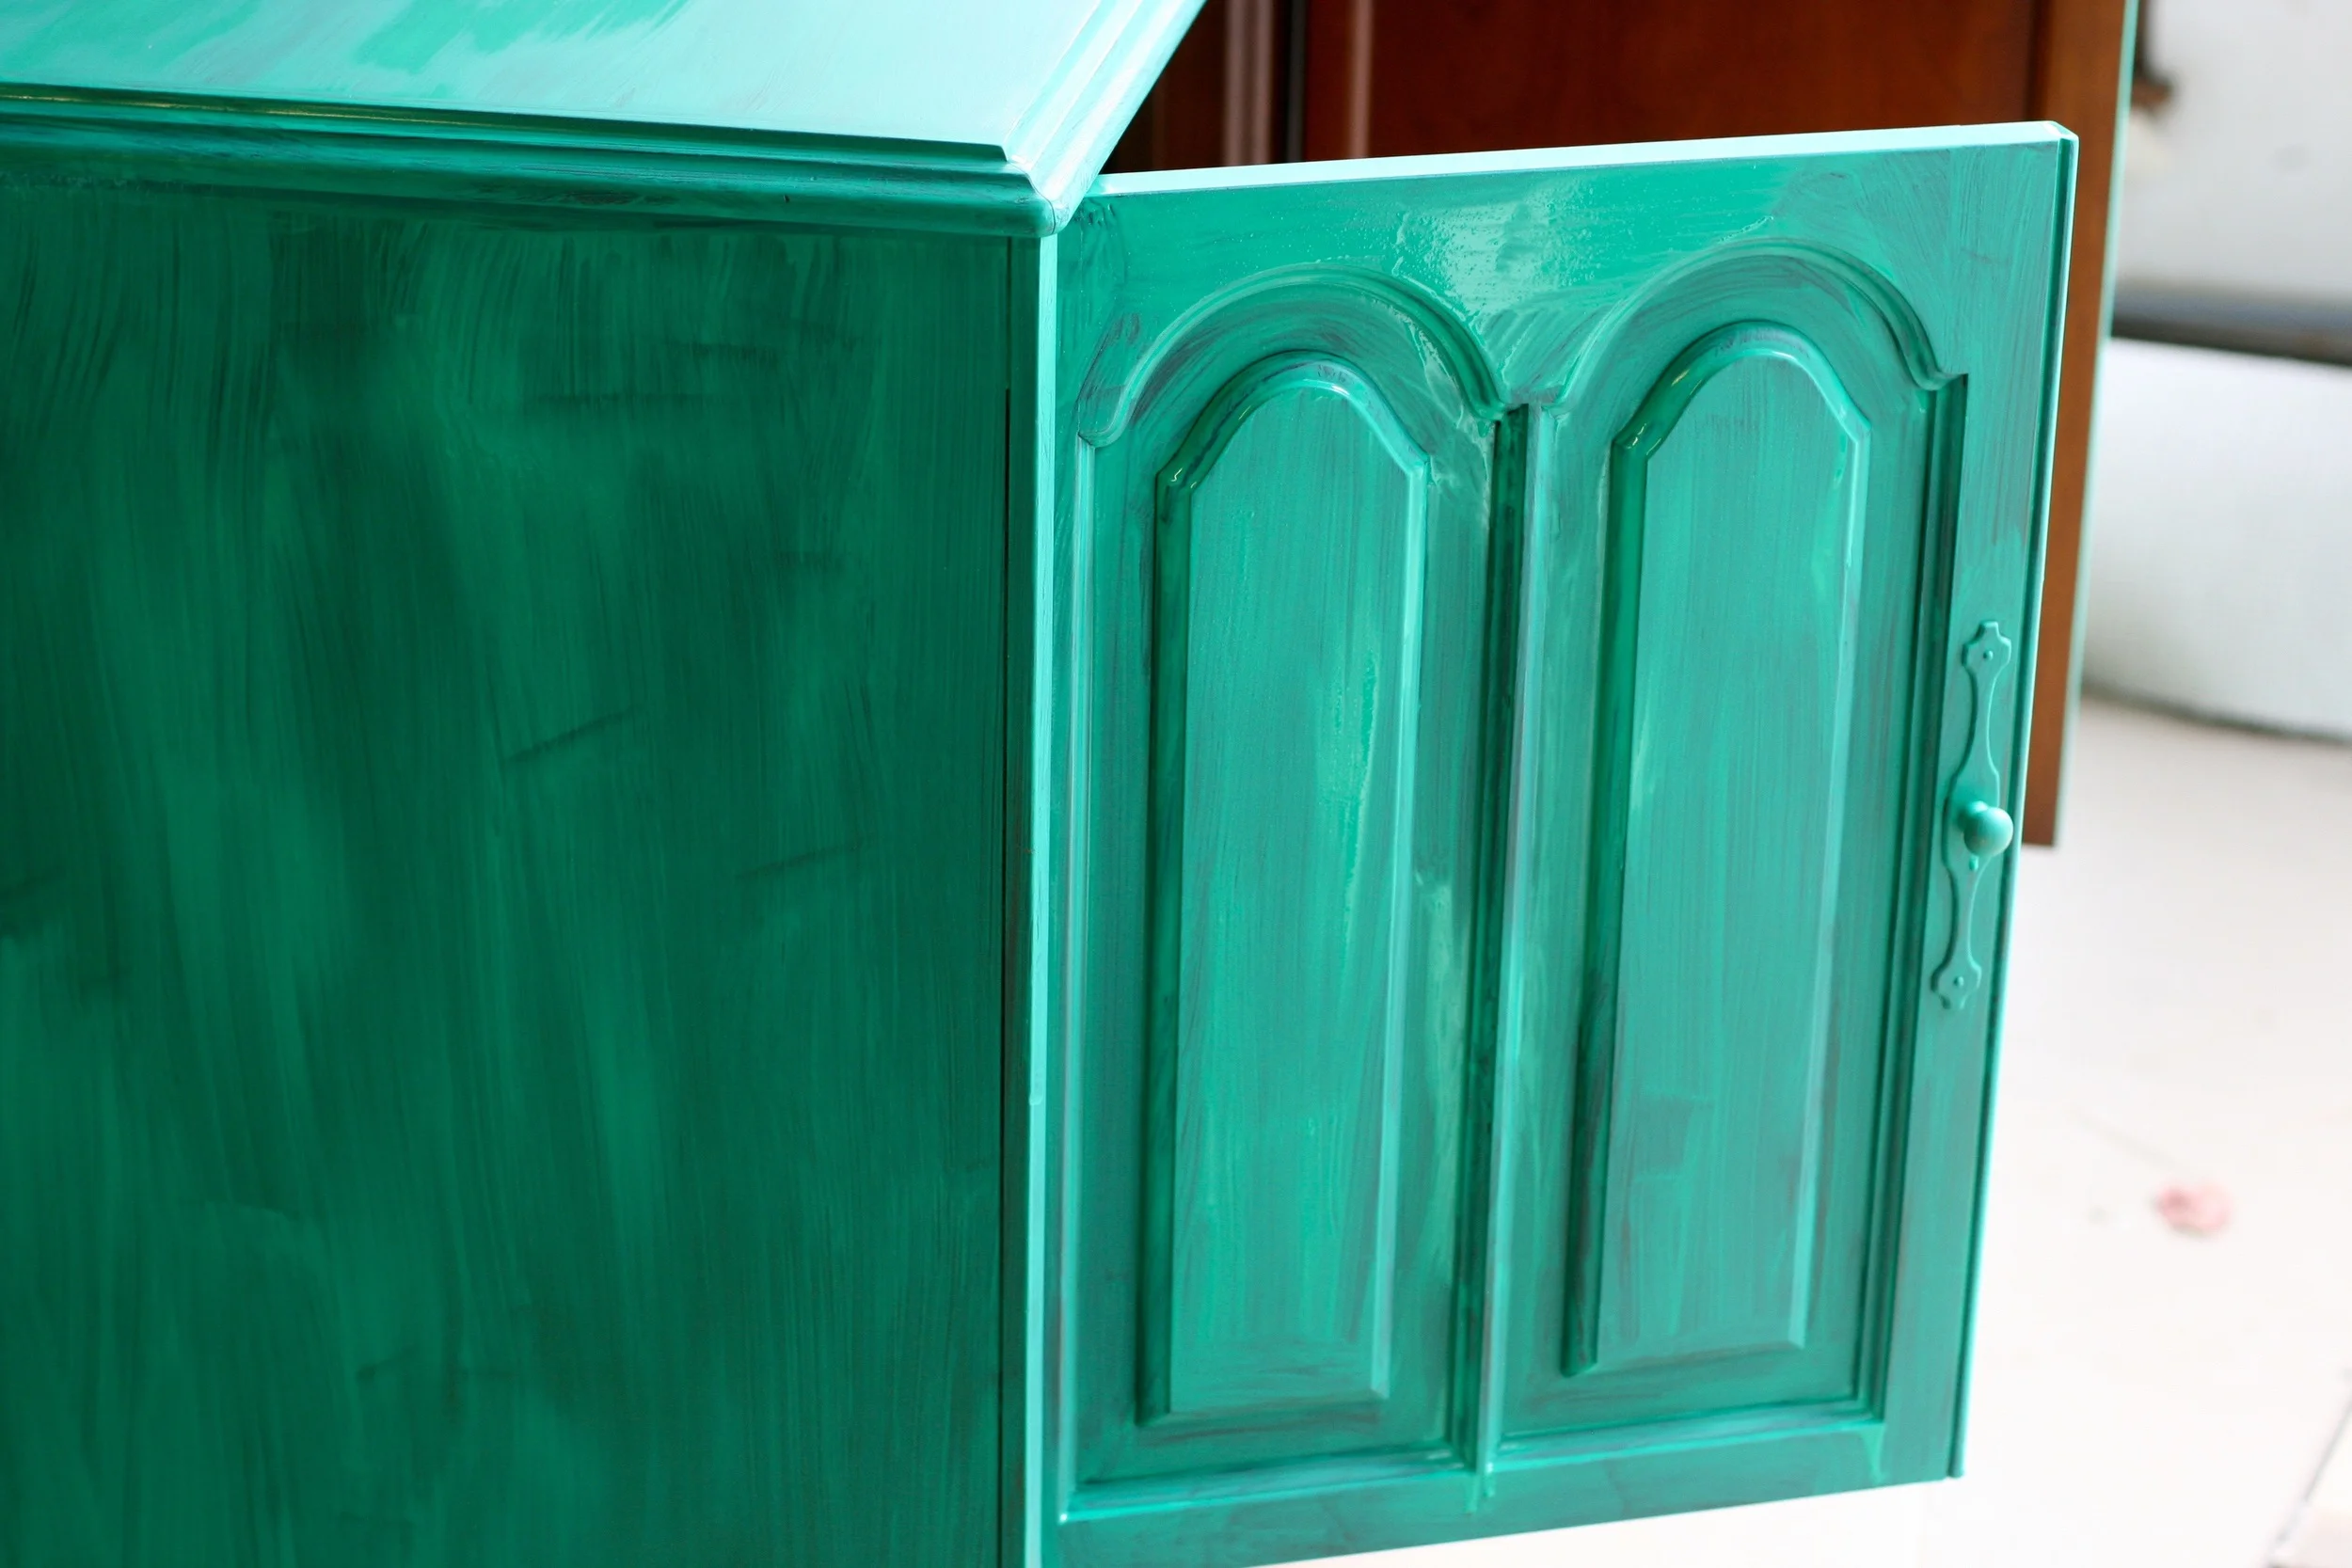

After the first coat, things were looking a bit streaky and turquoise-y. I chose not to be fearful.
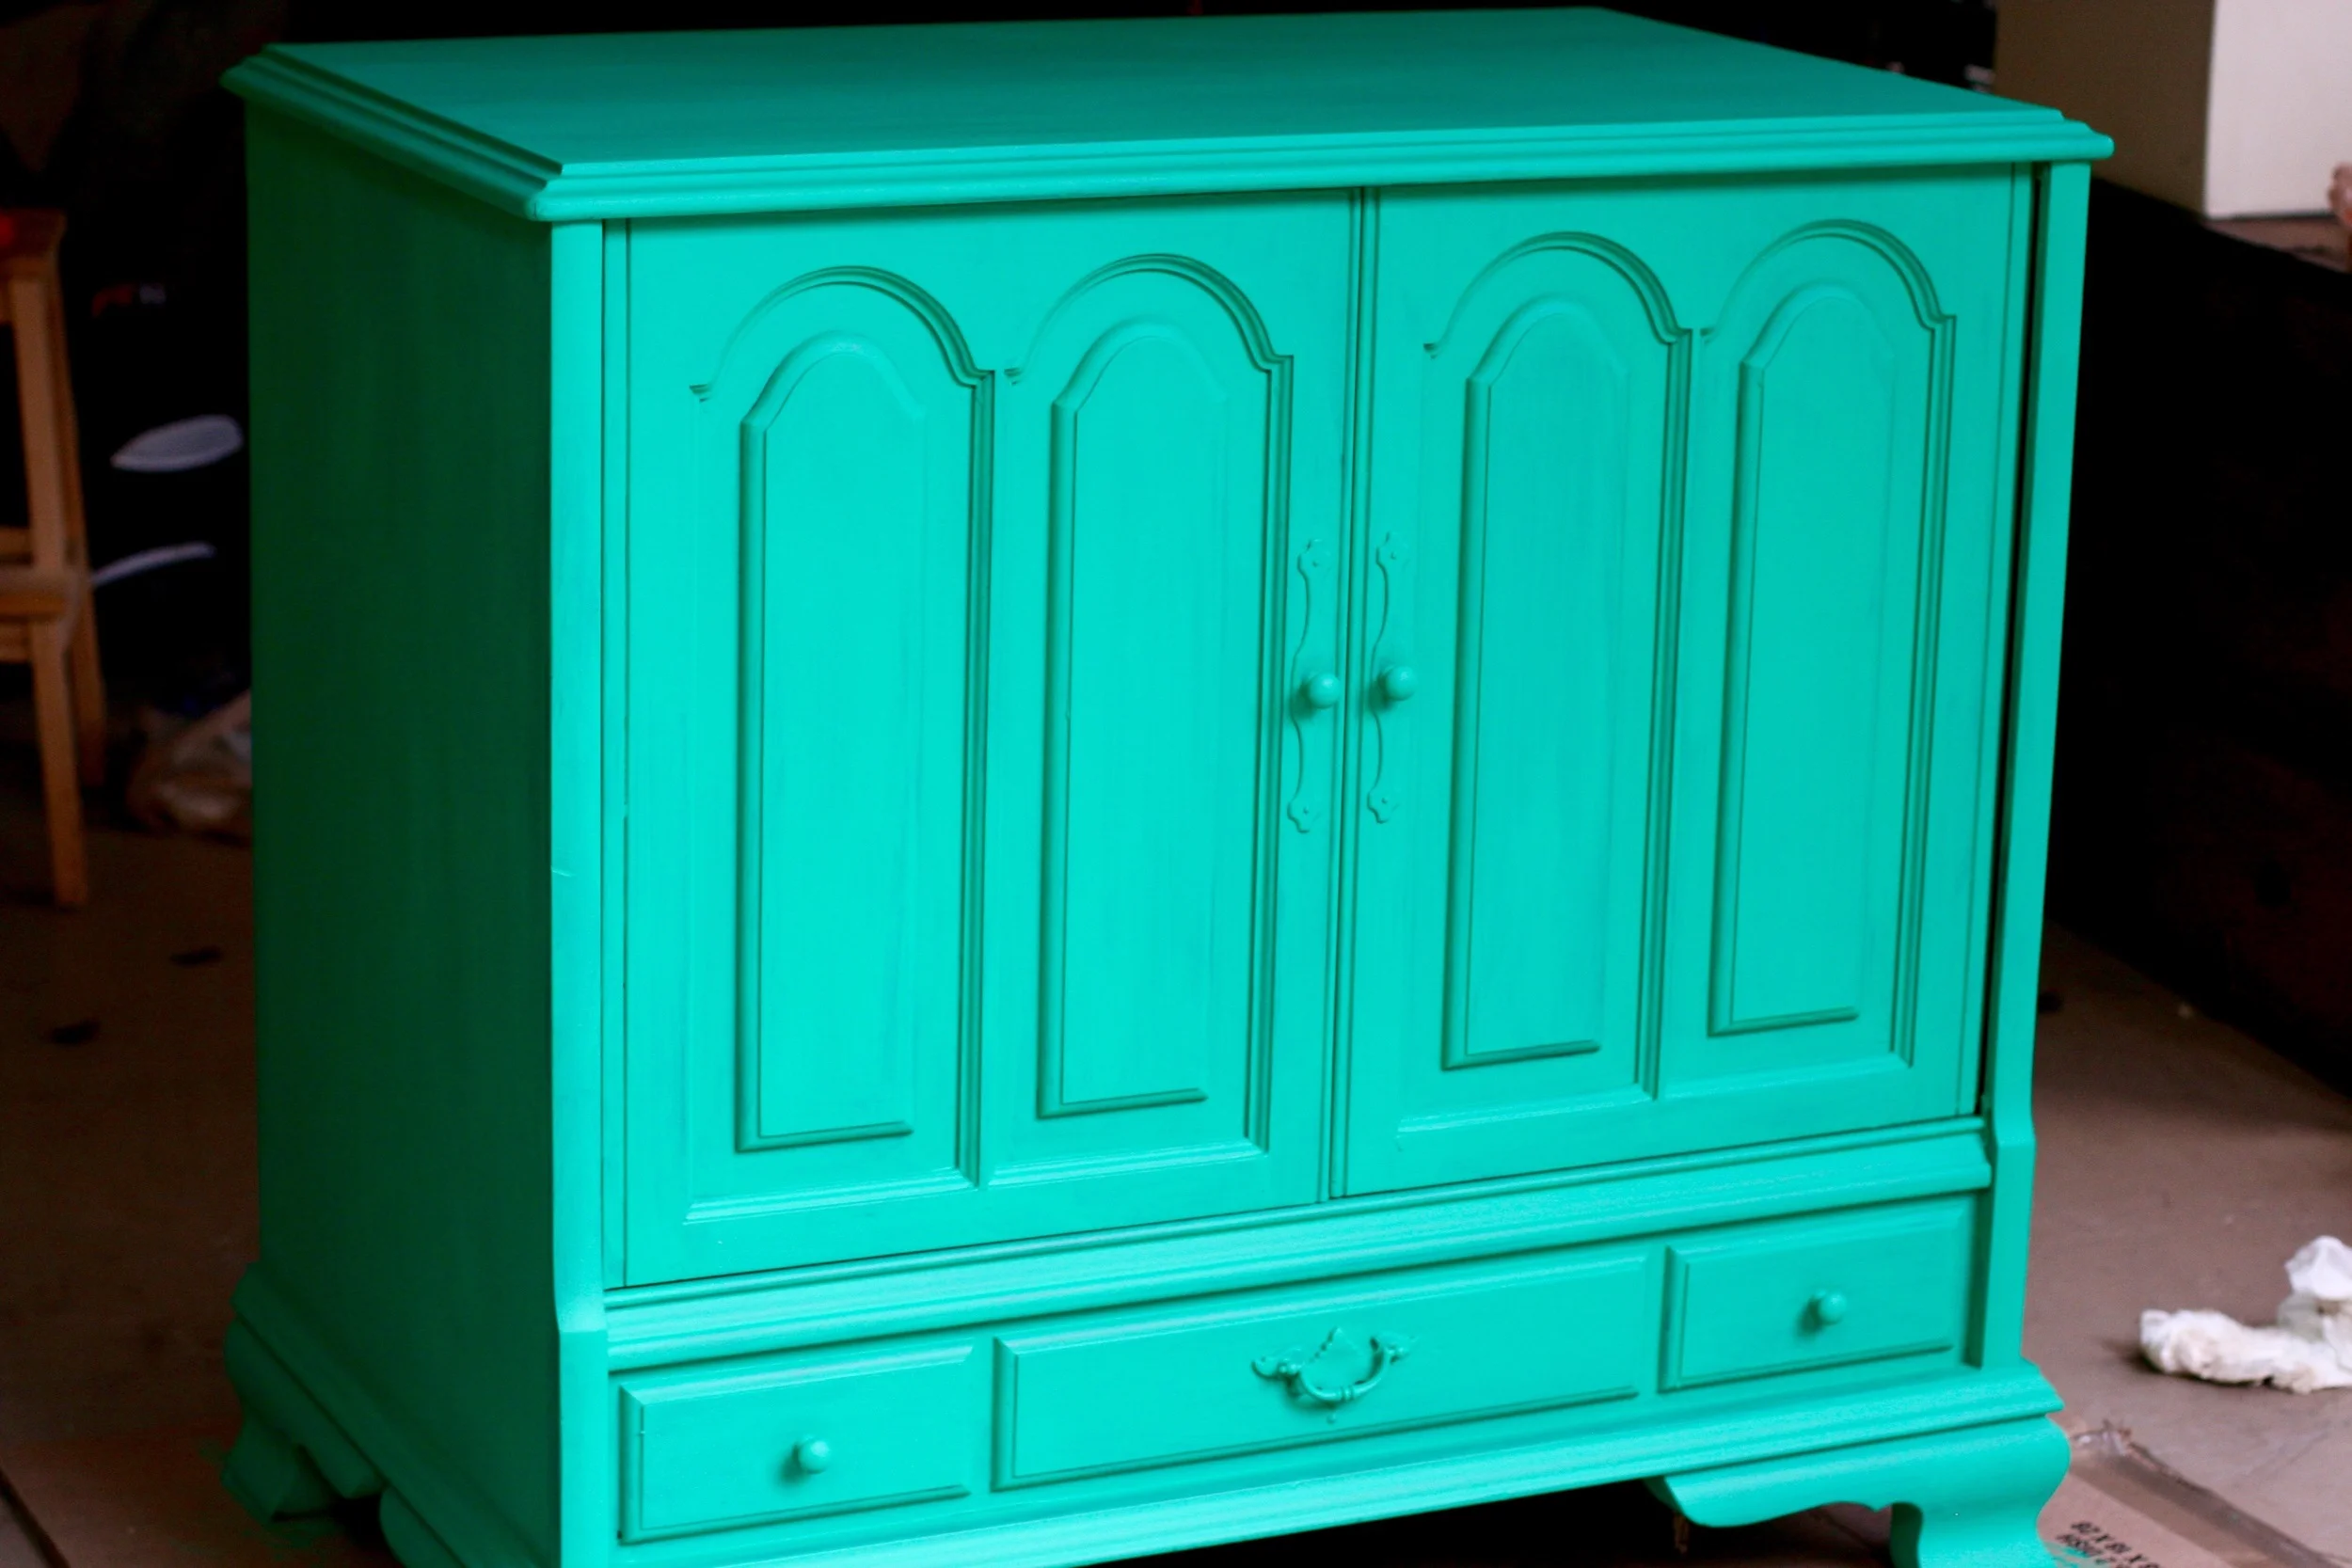
After the second coat, things were looking extremely matte and, well, bright. Like Sesame Street bright. Much brighter than I had expected. Again, I chose not to question the color choice. I knew I could tone it down in the steps to come.

The inside remained mahogany. Isn't it sort of sad looking? We will get to that in a minute.

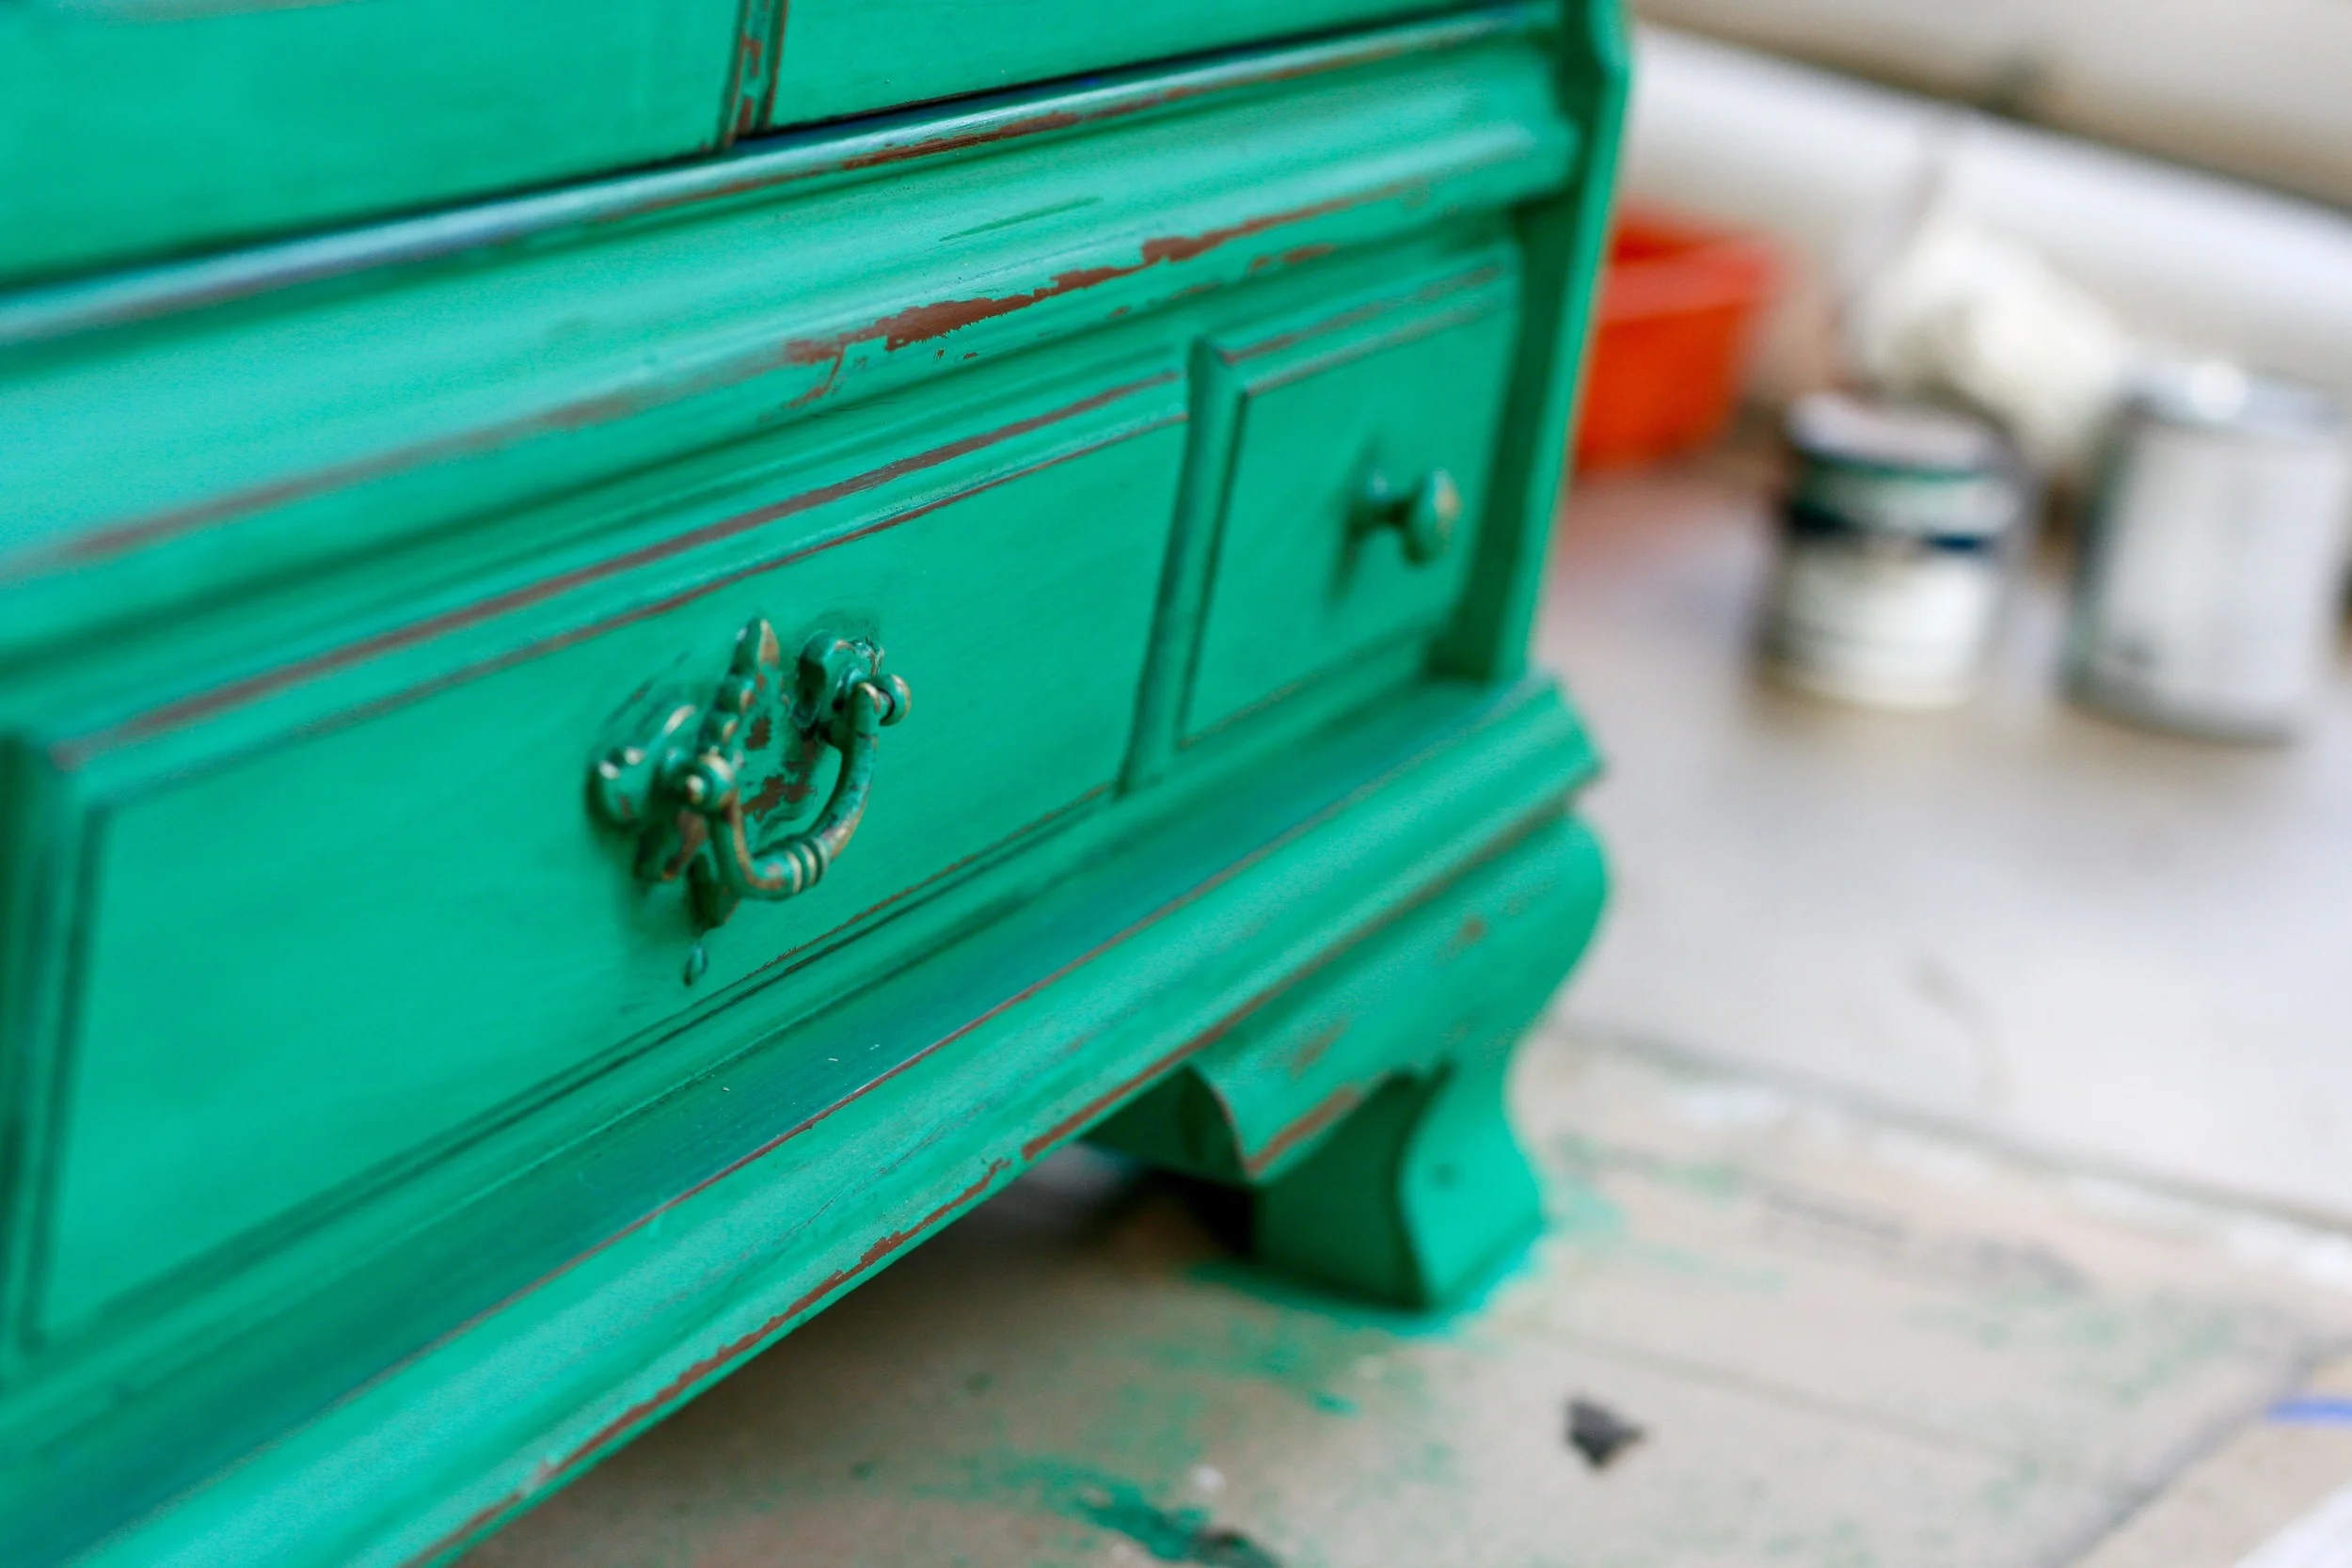
Next I sanded the furniture using an extremely course sand paper, 80 grit. I focused on all the edges, crevices, and hardware. Then I just kept going and sanded the surfaces as well, wearing it down to expose the brown underneath in some areas. Just for fun. Because who doesn't like beating stuff up?
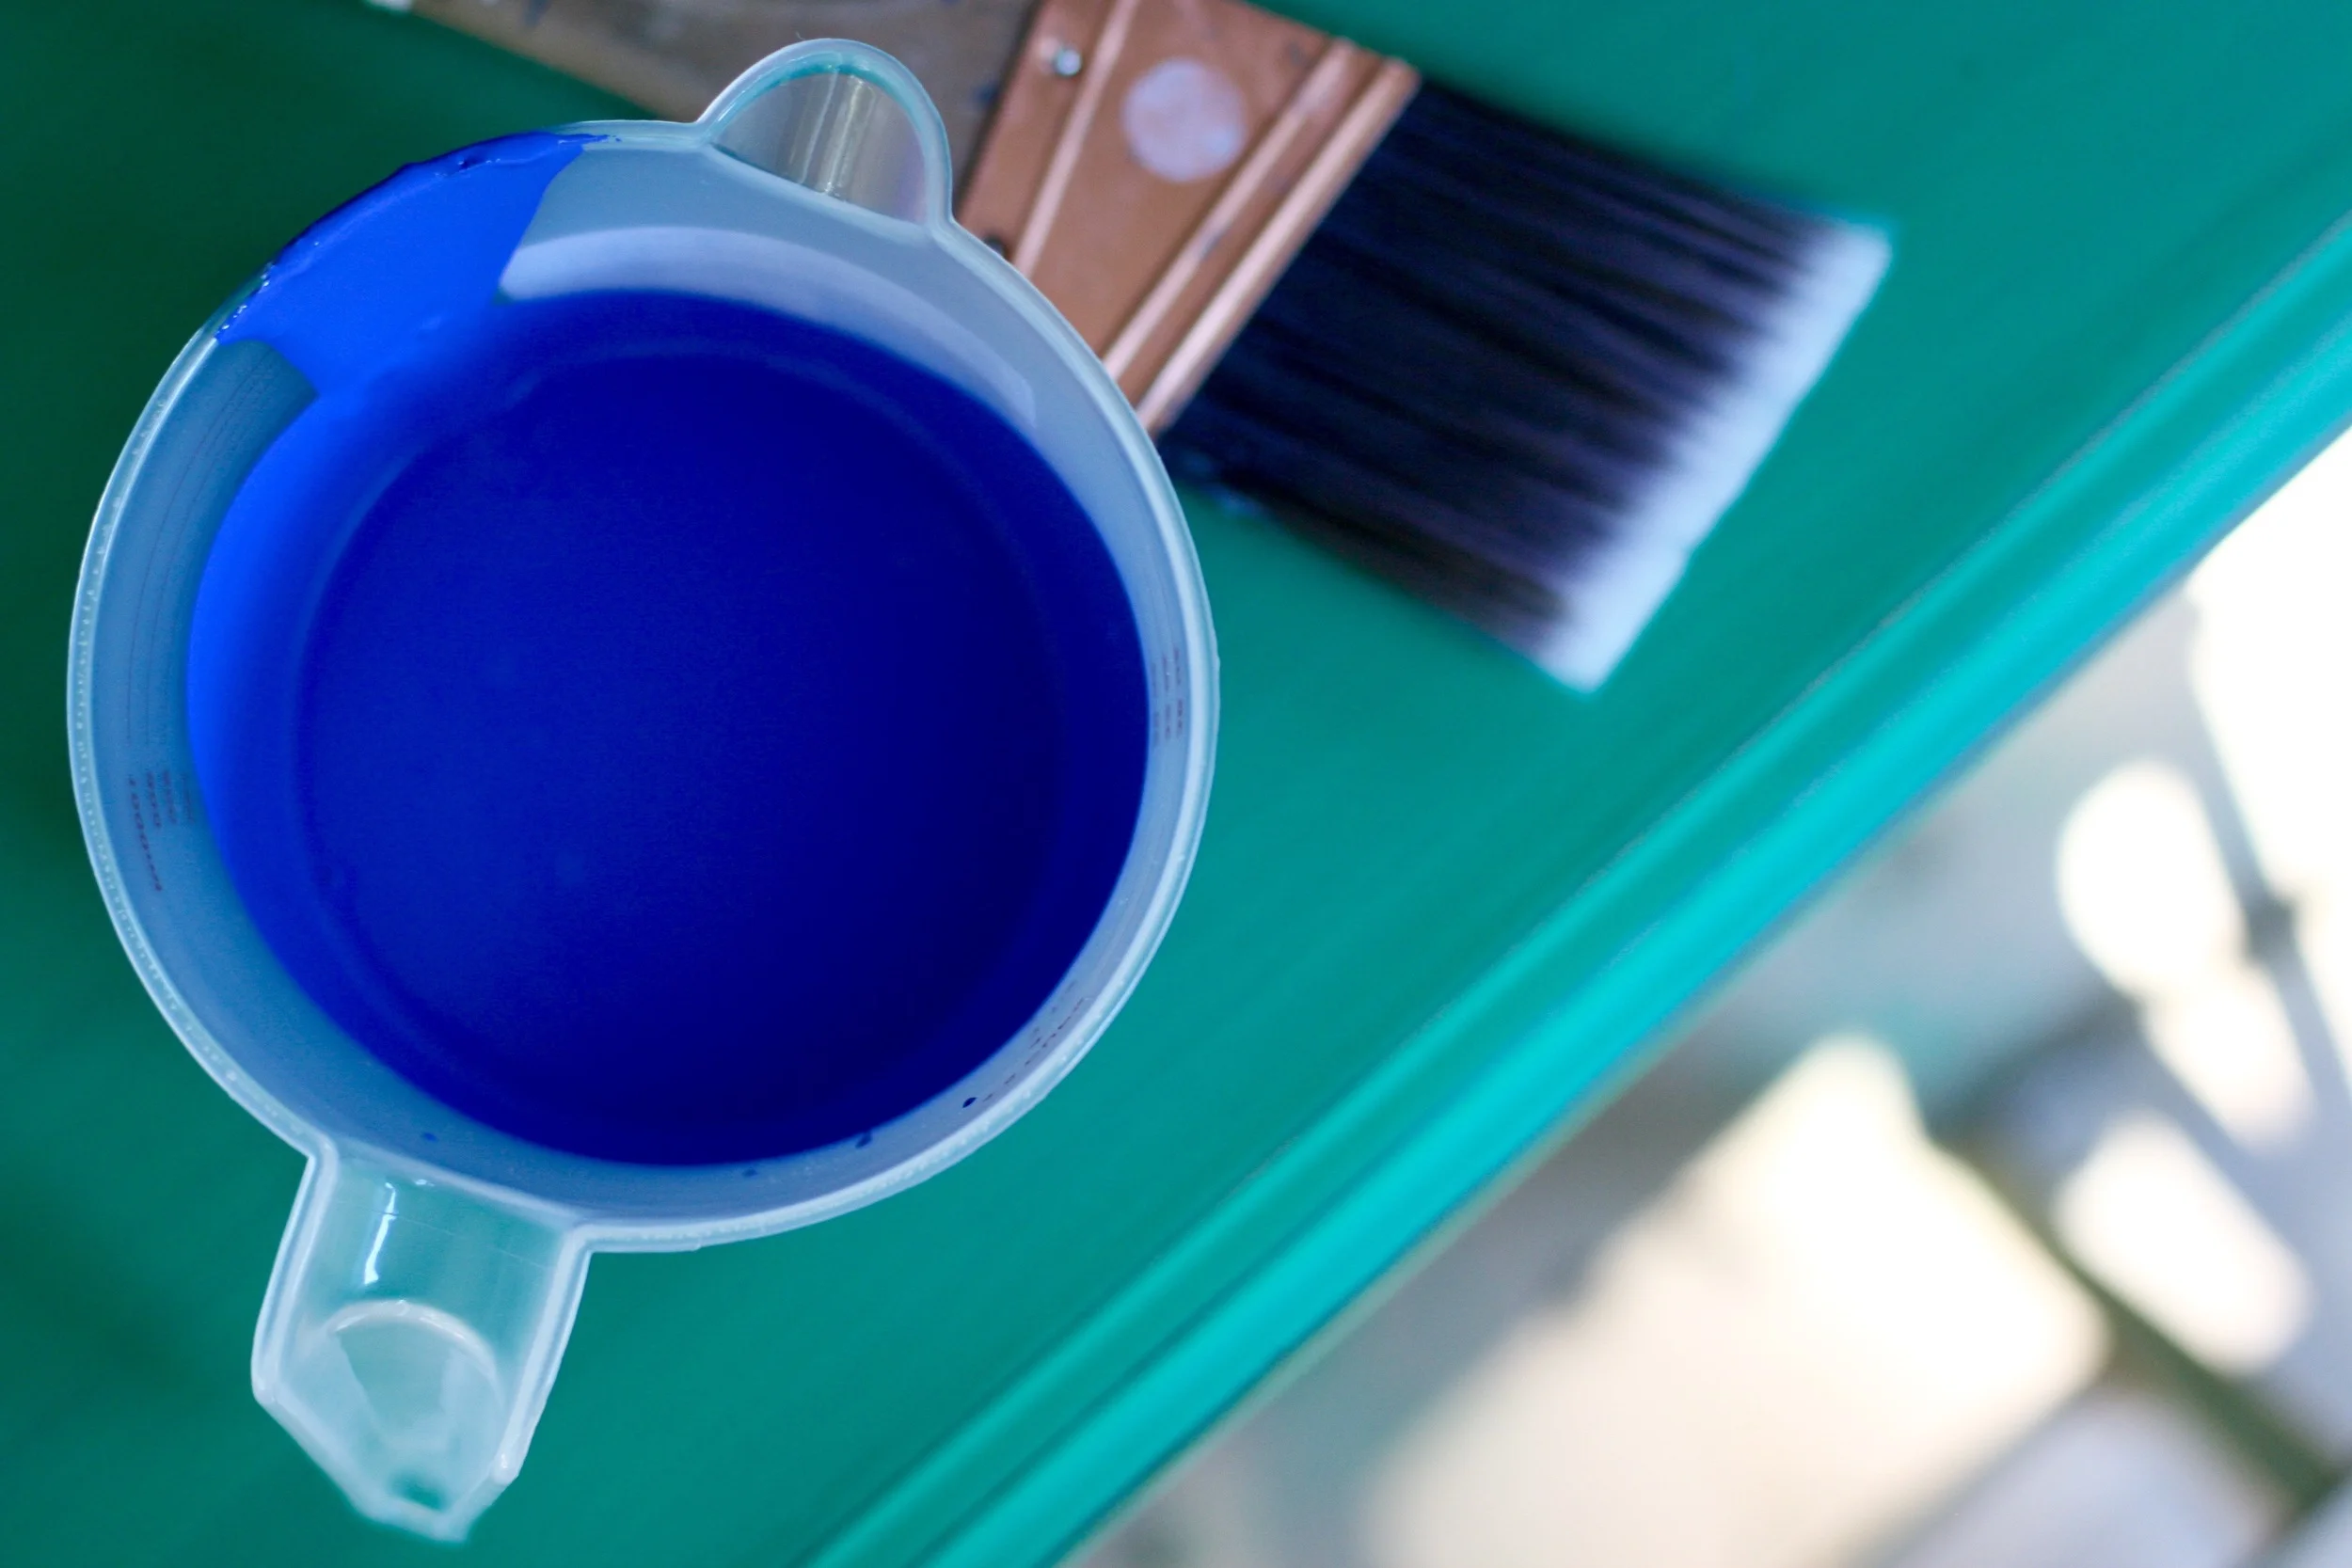
Then I decided to get a little crazy. Okay, crazier than painting a cabinet green. I grabbed another paint sample that I had chosen on a whim while I was at Home Depot, one that I had literally no plan for and just bought because I thought it was so pretty... and decided, what the heck? I'll coat the inside of the cabinet with this sapphire-esque blue! Because apparently I am turning my entertainment room into an arabian bazaar. So Behr Indigo Batik coated the inside of the cabinet. And my soul rejoiced.

Rejoice, oh soul. Rejoice.

Then things got really crafty. I used this Varathane Wood Stain in Kona to tone down the shade of the green and give the furniture an antique effect. There are a lot of antiquing waxes on the market, but this was by far the least expensive way to achieve the same effect. I used an old cut up tee shirt to rub on the stain in small sections, then I immediately wiped it off. The stain really soaked into the edges and crevices that I had sanded down, and made the whole piece look like it had been living in the dark corner of an a genie's lair for like a thousand years. Mission, accomplished.
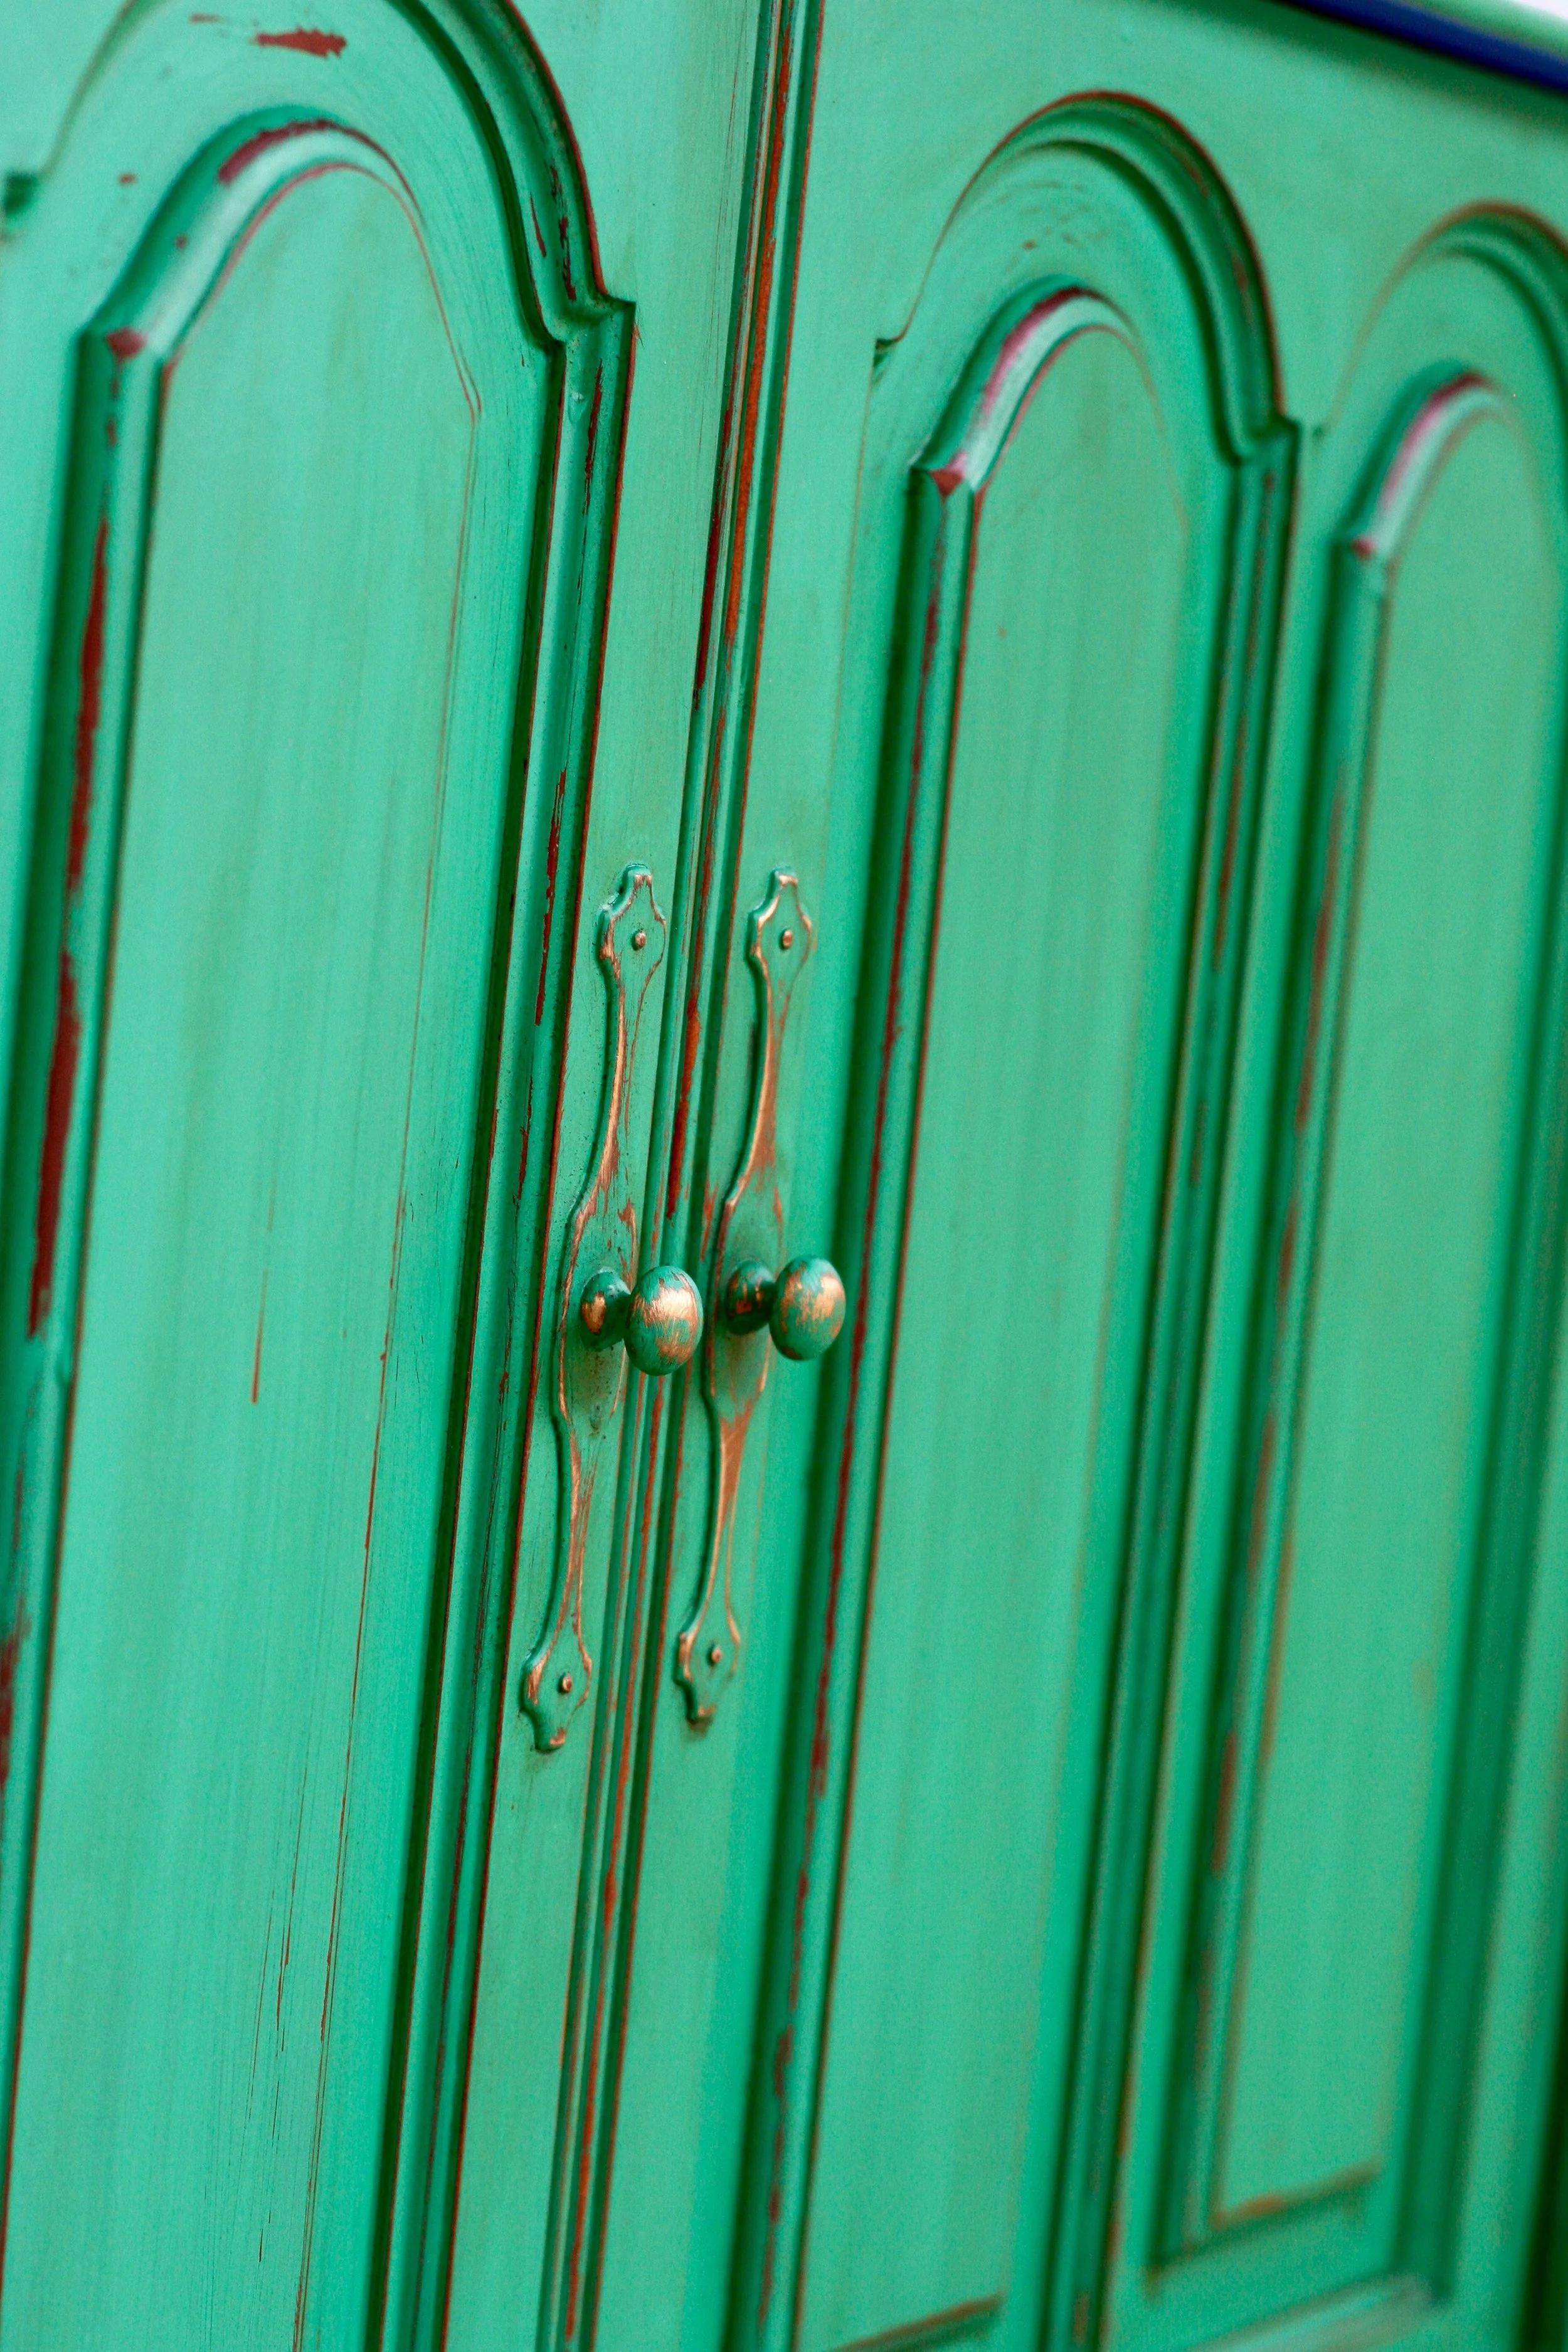
Yum. I couldn't be happier with the finished product.
After the stain dried, I coated the entire piece with Valspar's Chalky Finish Sealing Wax. This protects the paint, so that it doesn't further chip, and also gives it a nice matte sheen.
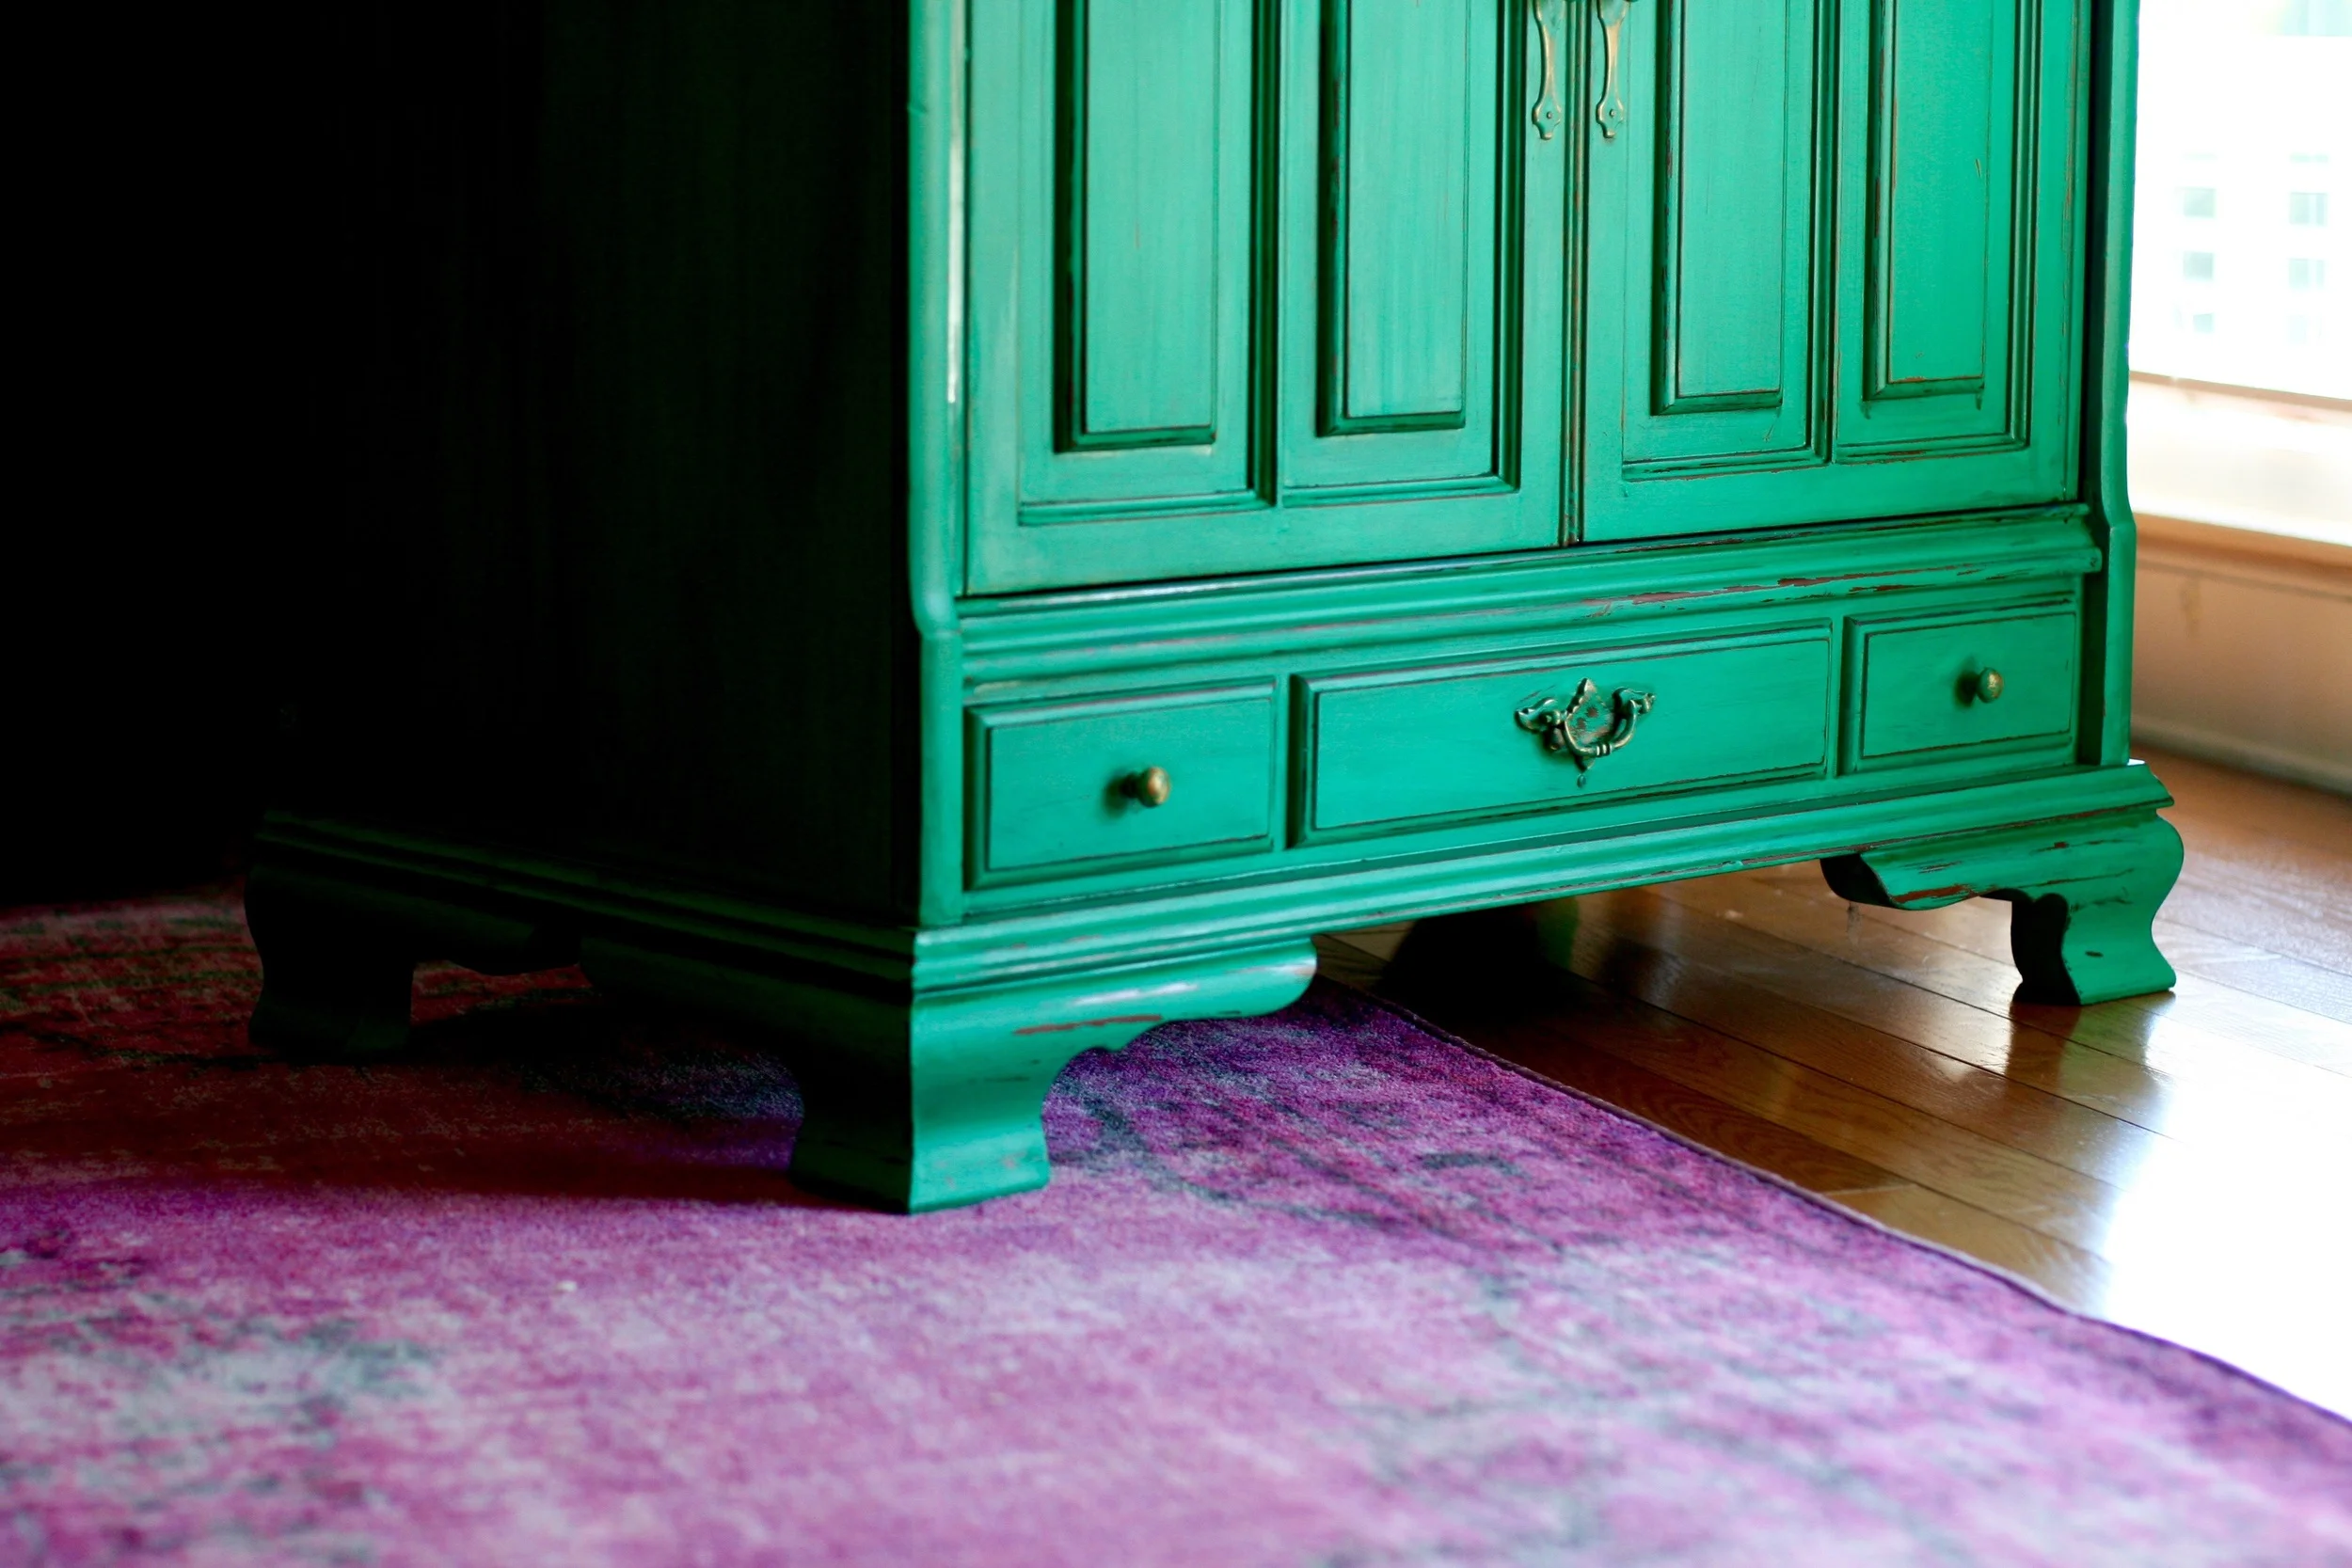
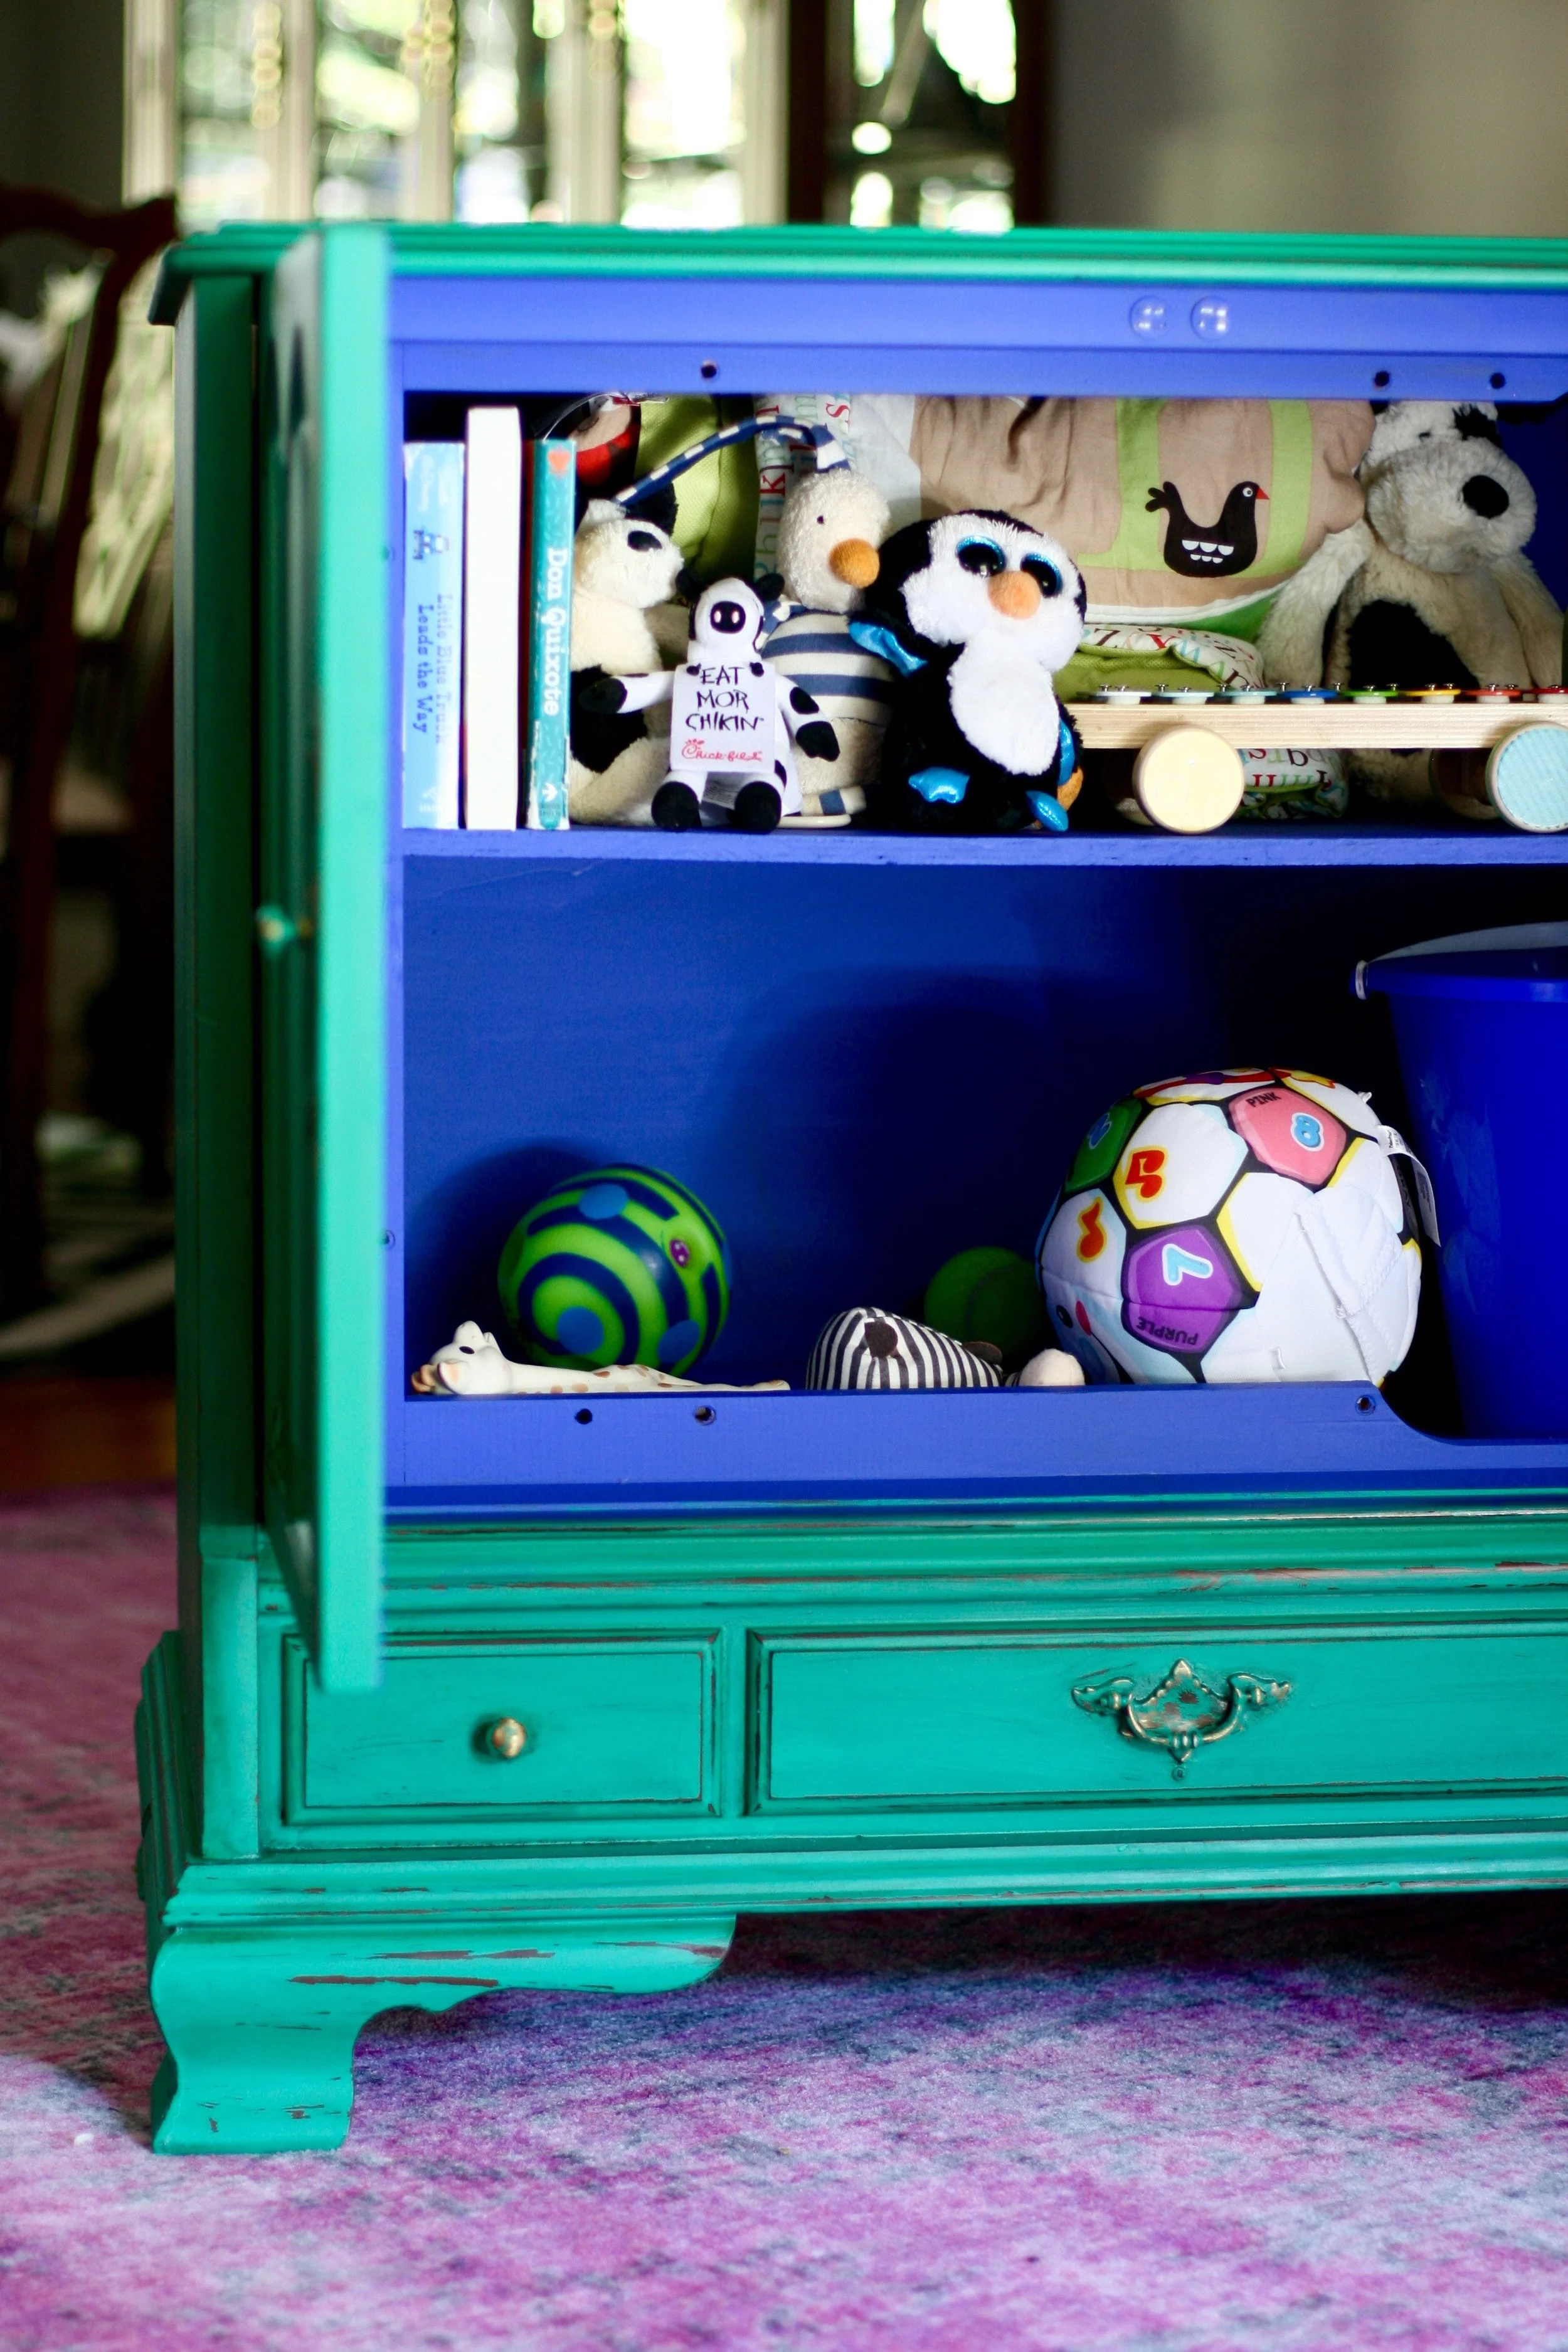
And there you have it! Everett's toy mecca in our entertainment room. I love the piece so much. I'll admit that my original plan was for the piece to look a bit darker and more Kelly green, but you never quite know how a color is going to turn out until you just go for it. I still love this shade and it's the perfect pop of color for the room. The total cost for this DIY? About $7 for the two paint samples. And that's rounding up. I had the wood stain and sealing wax already, and paid nothing for the furniture itself.
This has become the place to store all of Everett's toys and keeps them out of sight when we want the room to look clean. And he loves toddling over to his cabinet, throwing open both of the doors, and seeing all his stuffed animals and balls and trucks. I'll try to capture his expression soon so you can see it - it's so stinking darling. He loves and I love it and we are all happy in our bohemian living space.
So what do you think? Have you tried using chalky paint to refresh a piece of furniture before?


