6 Easy Tips for Styling Your Built Ins.

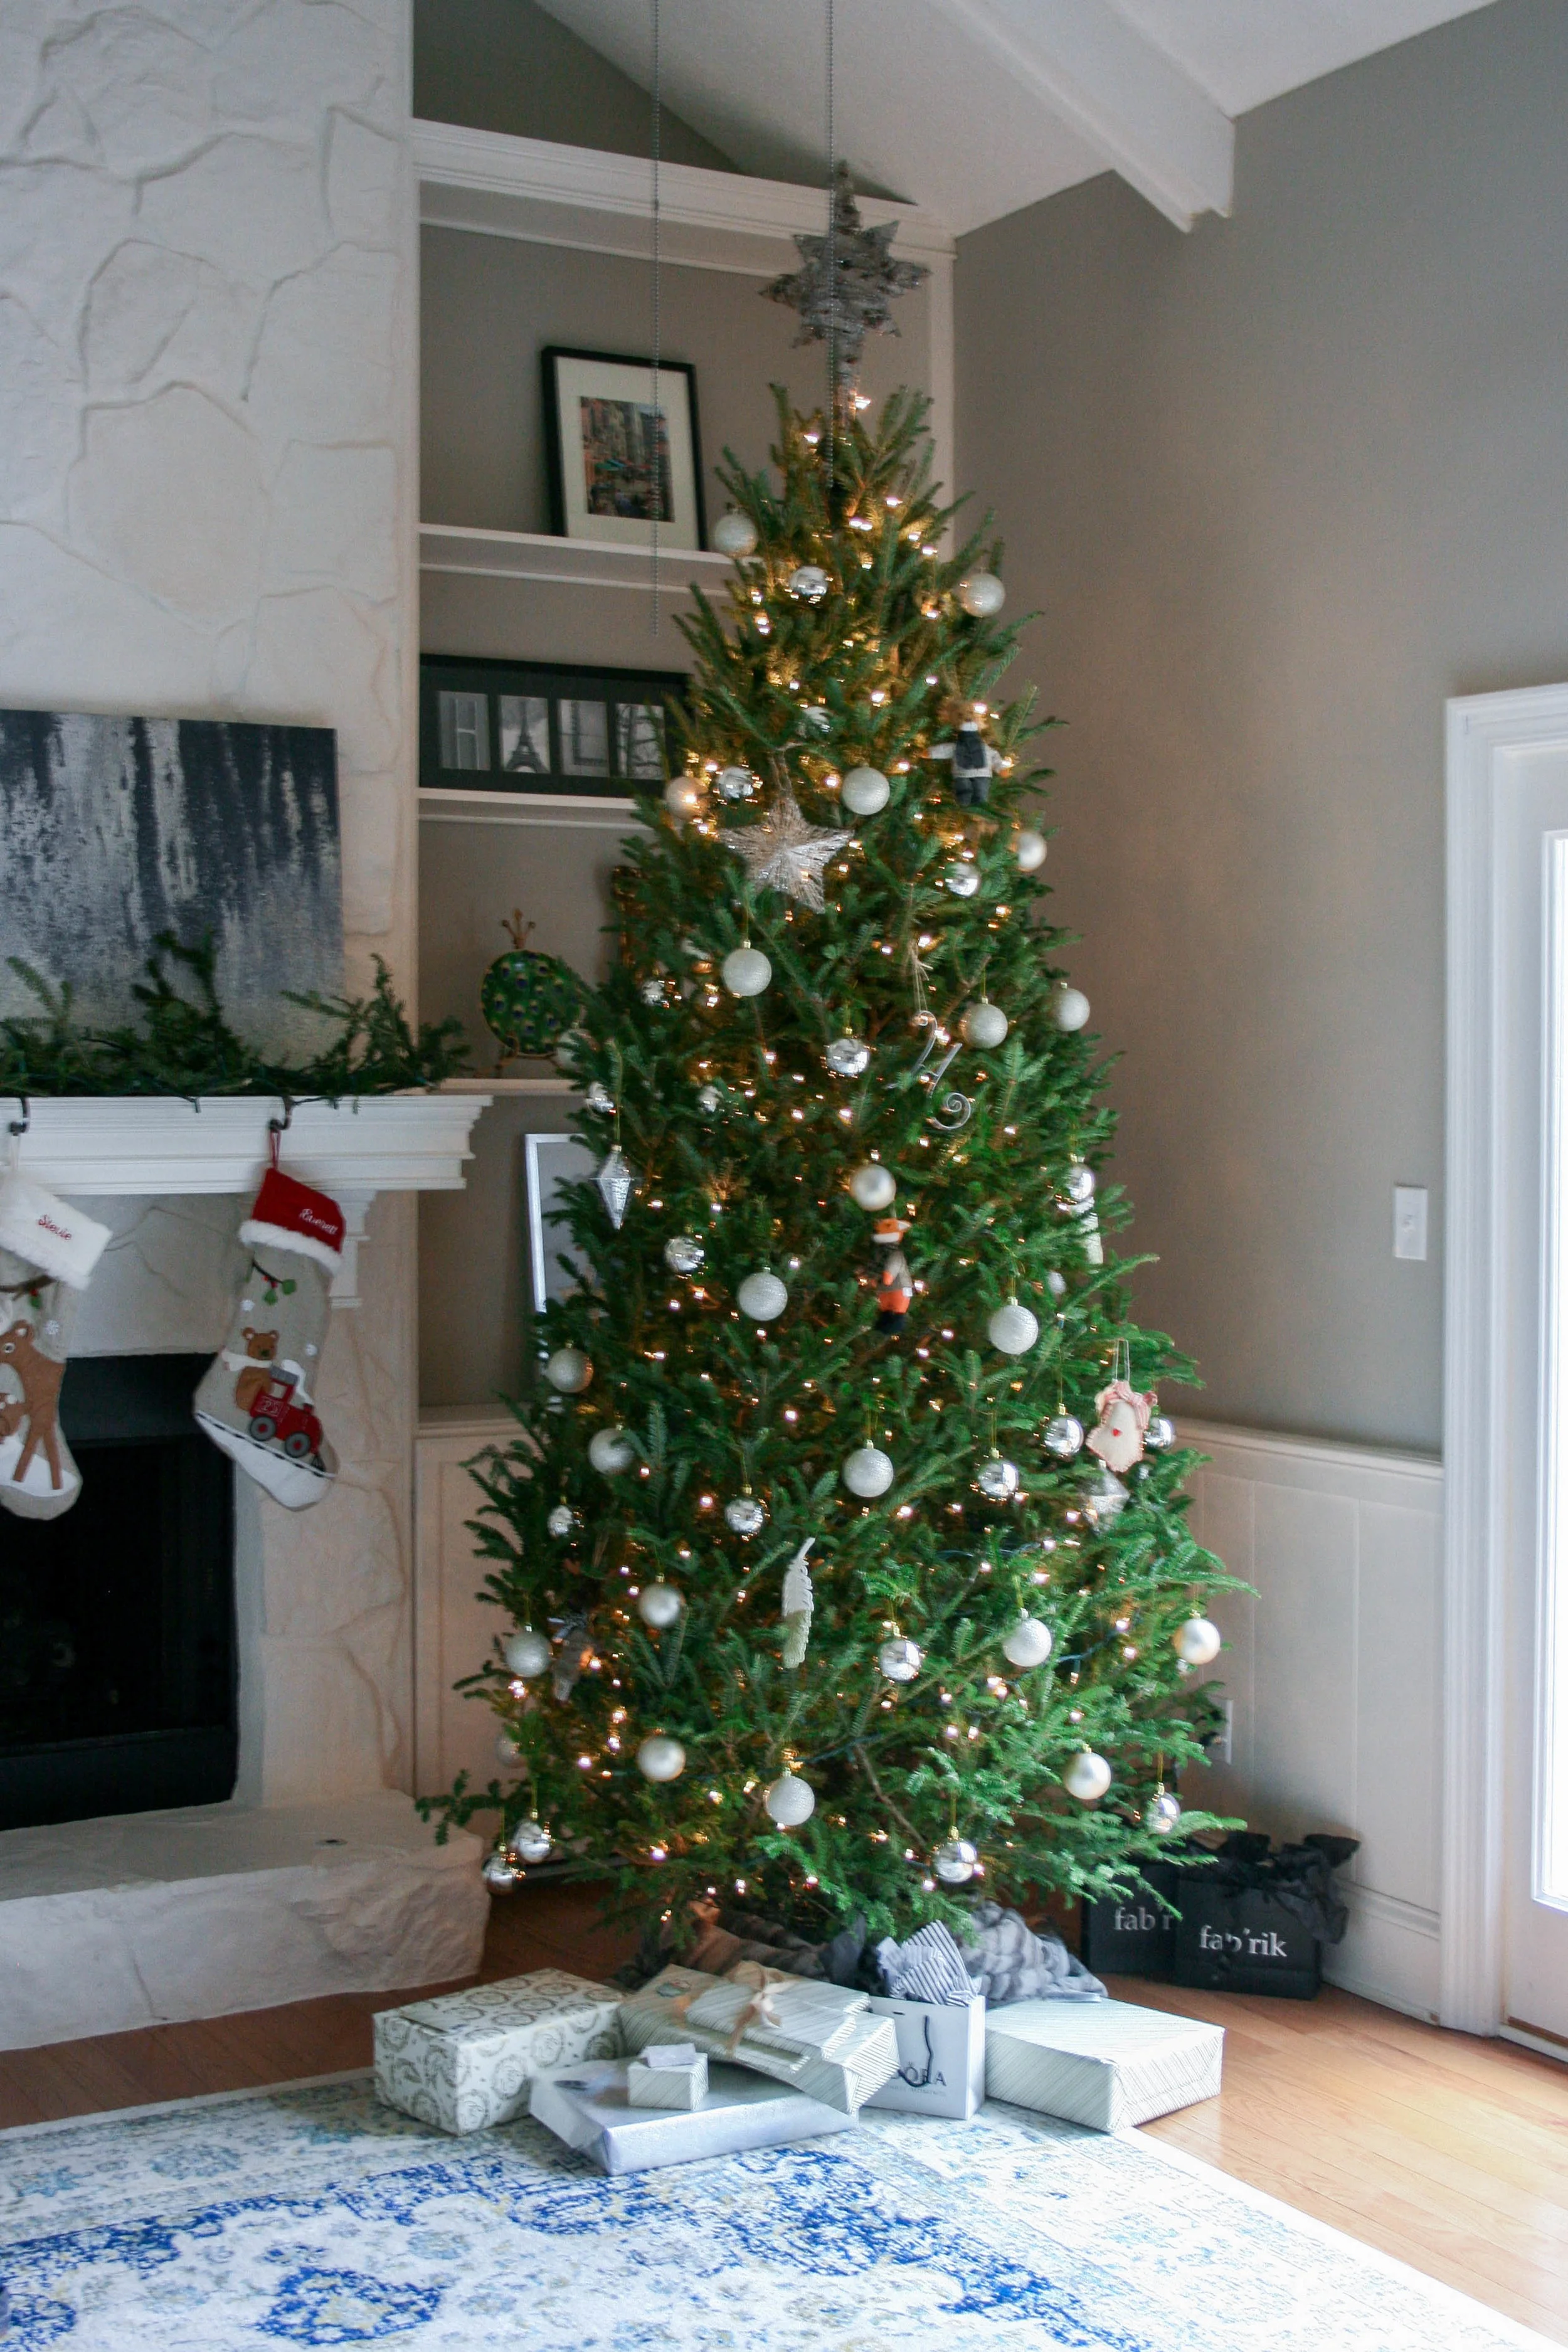
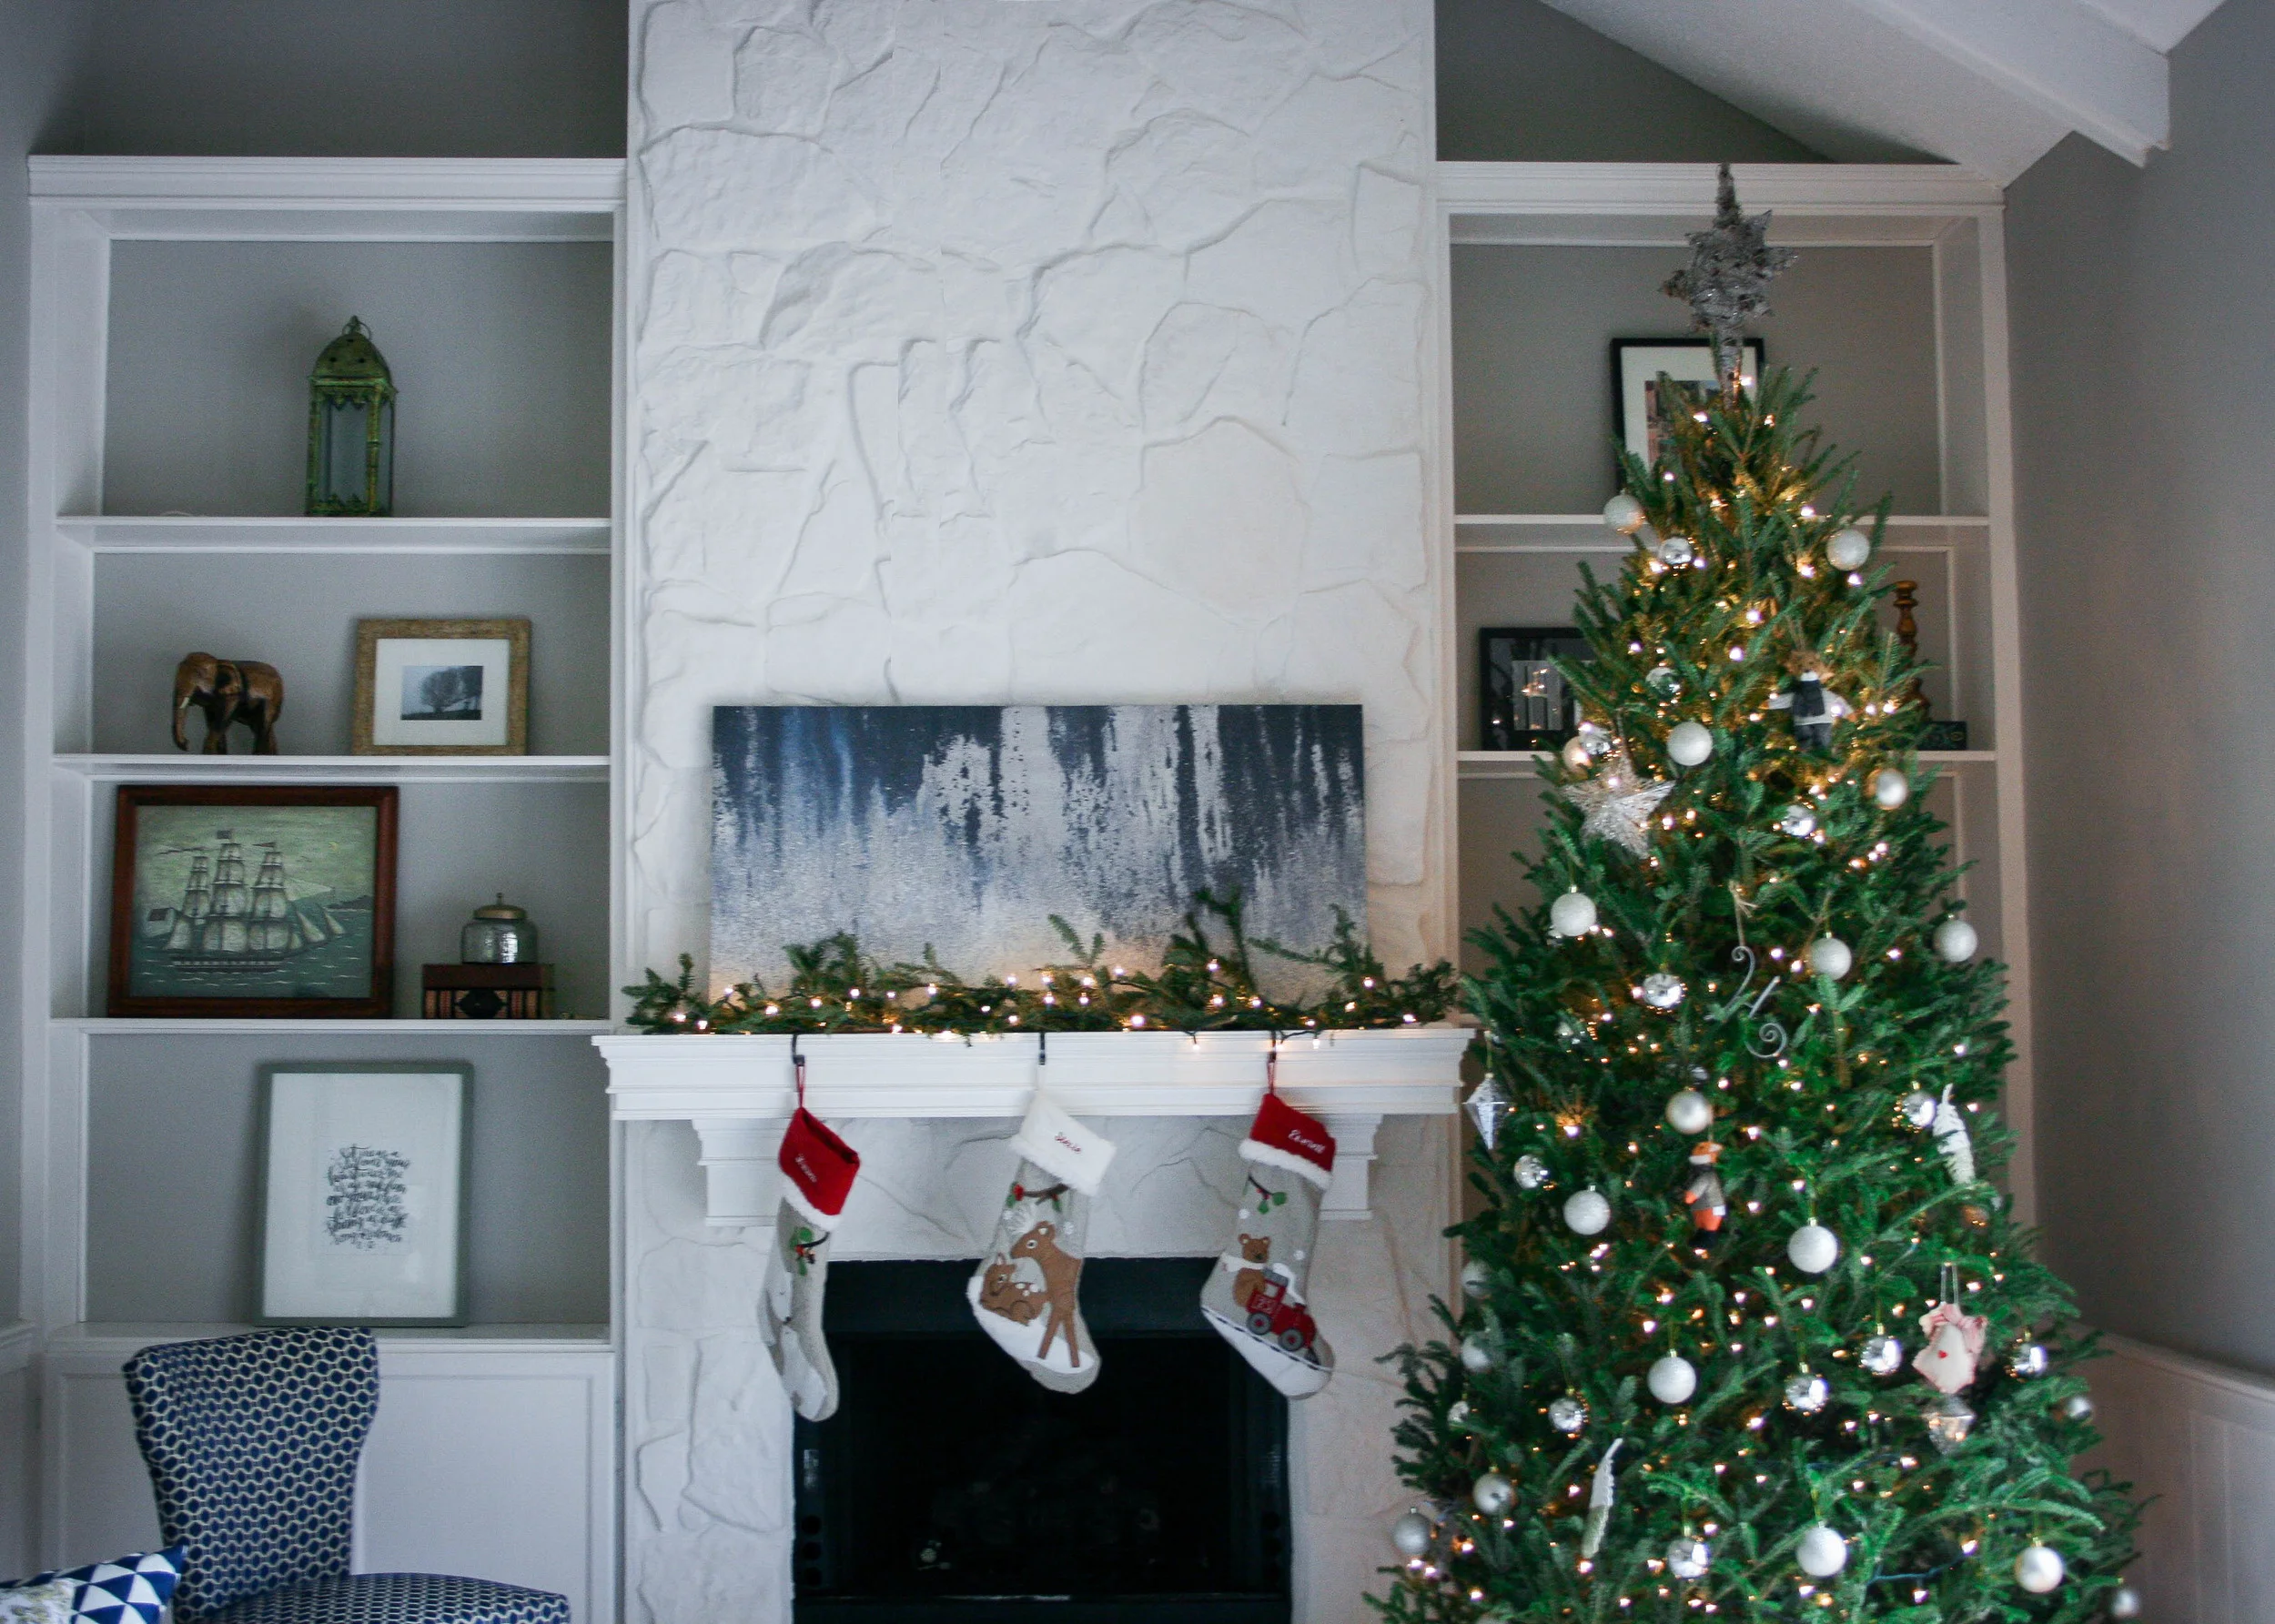
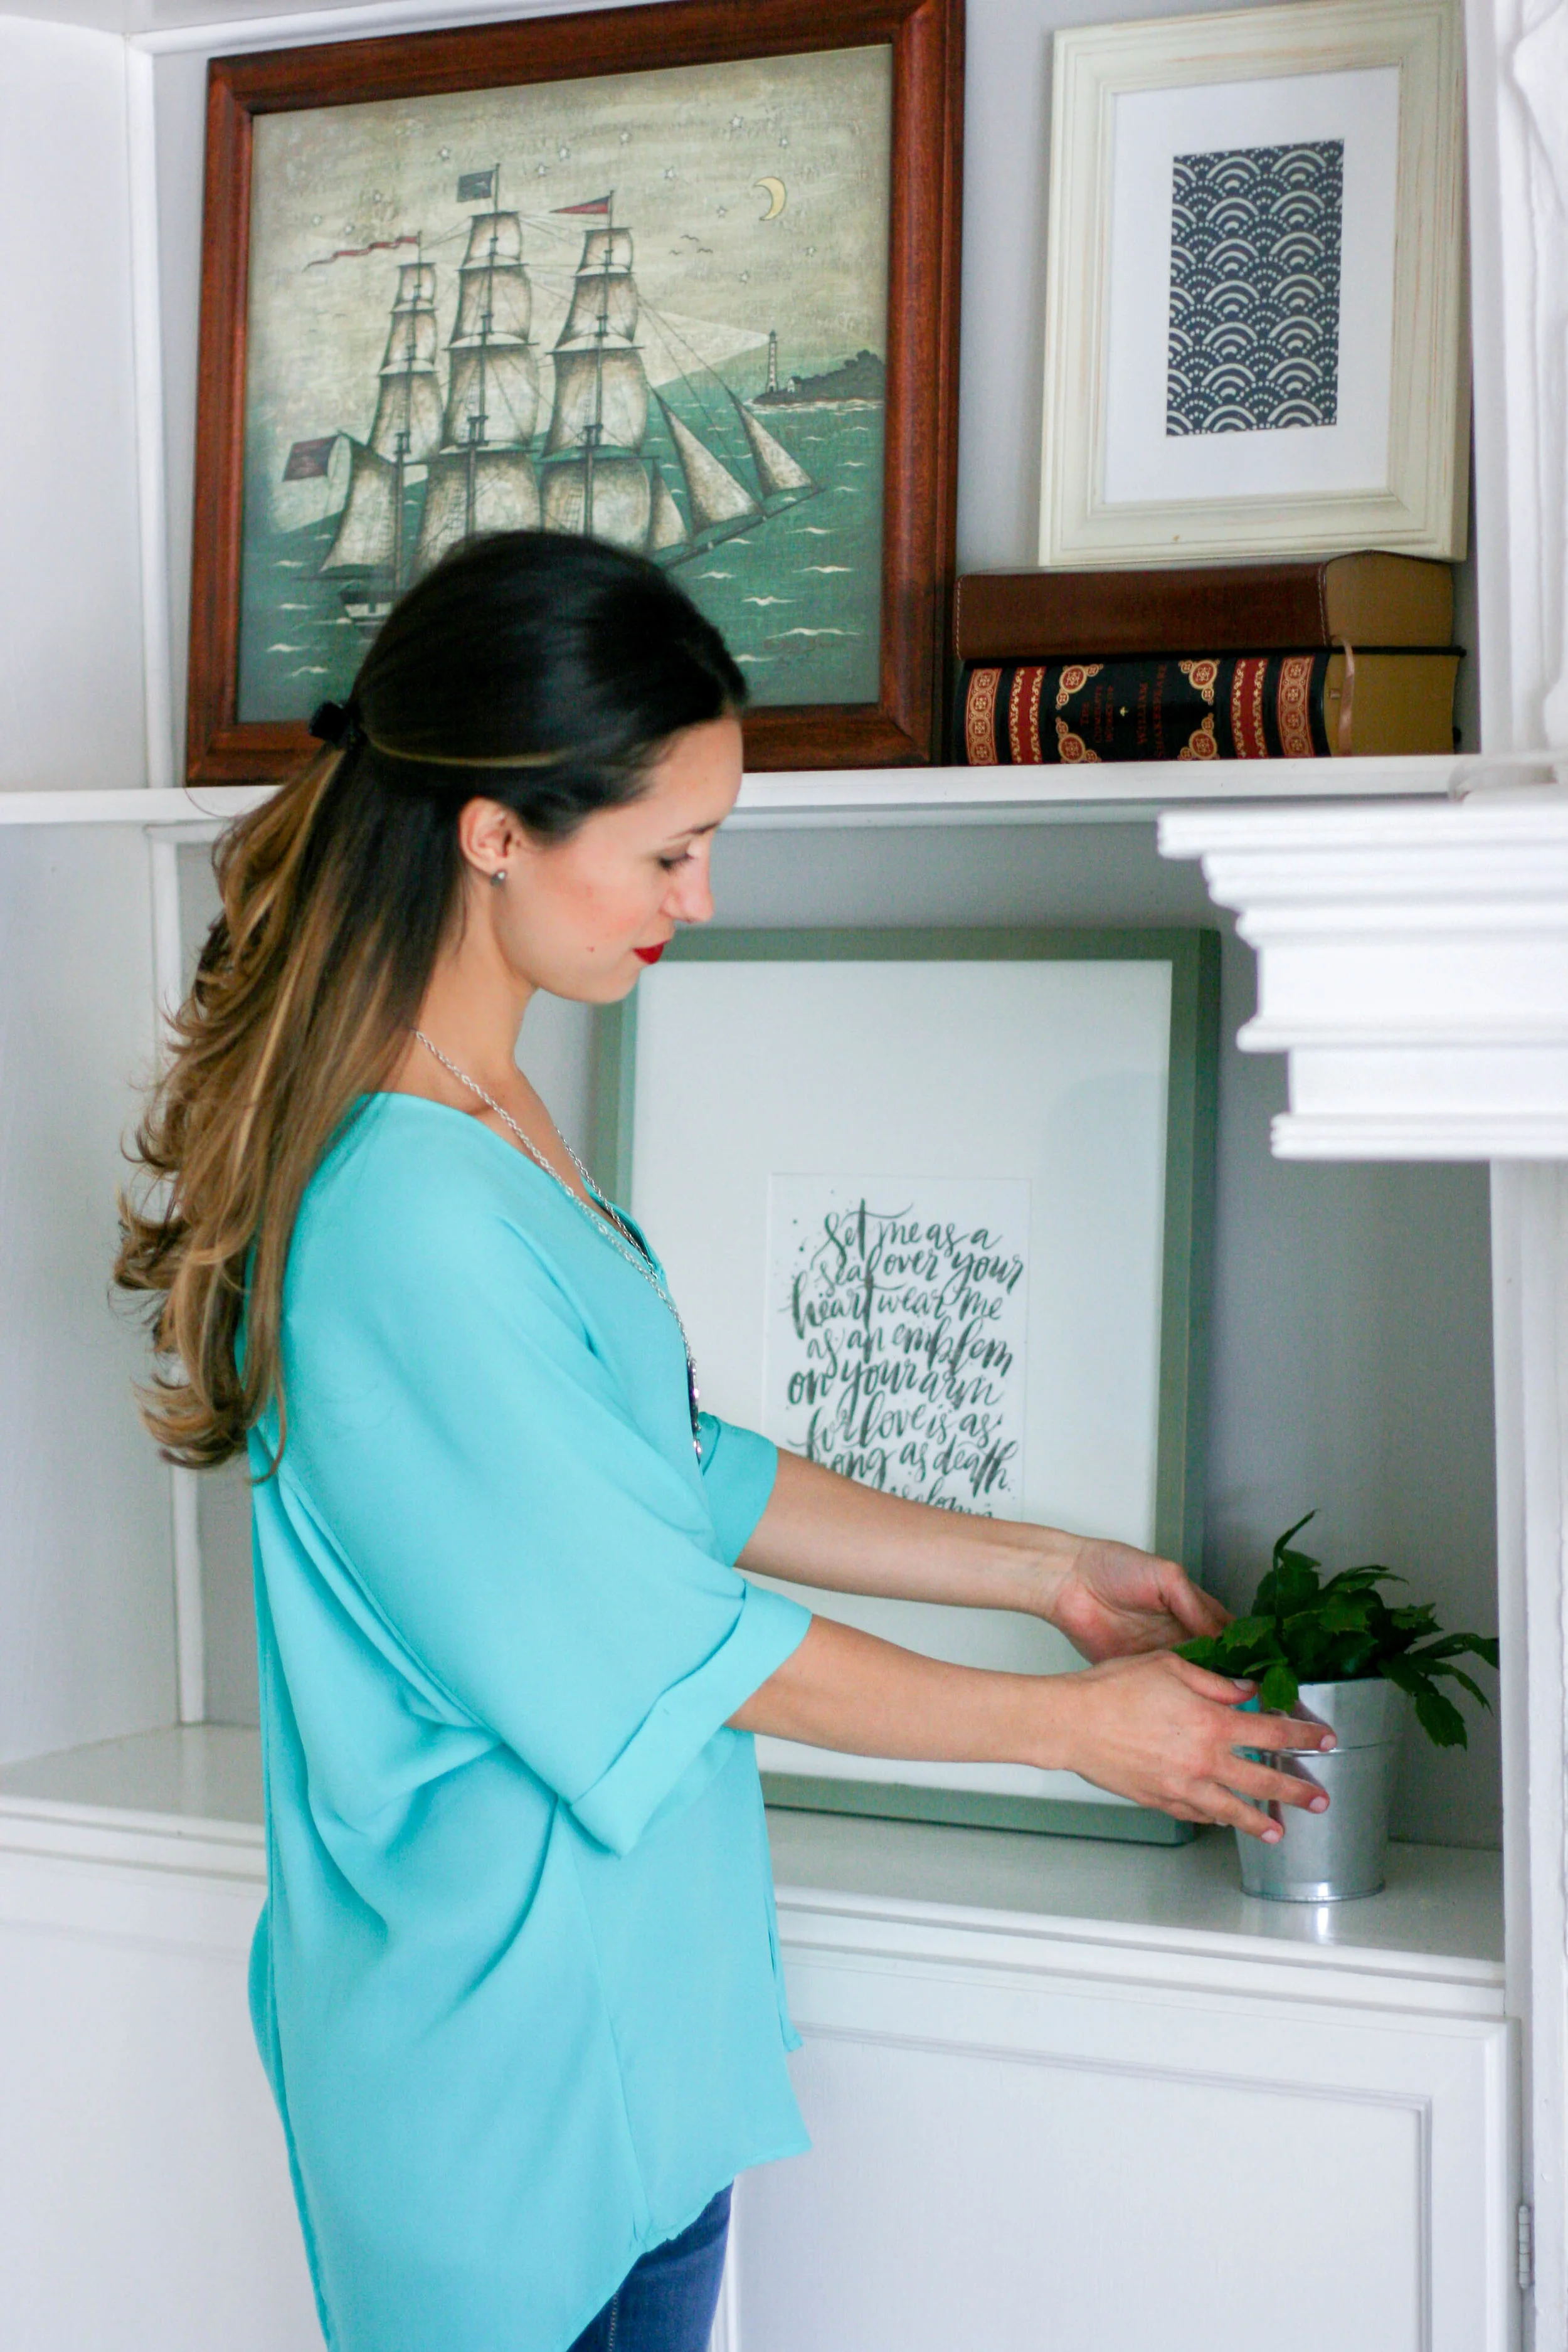
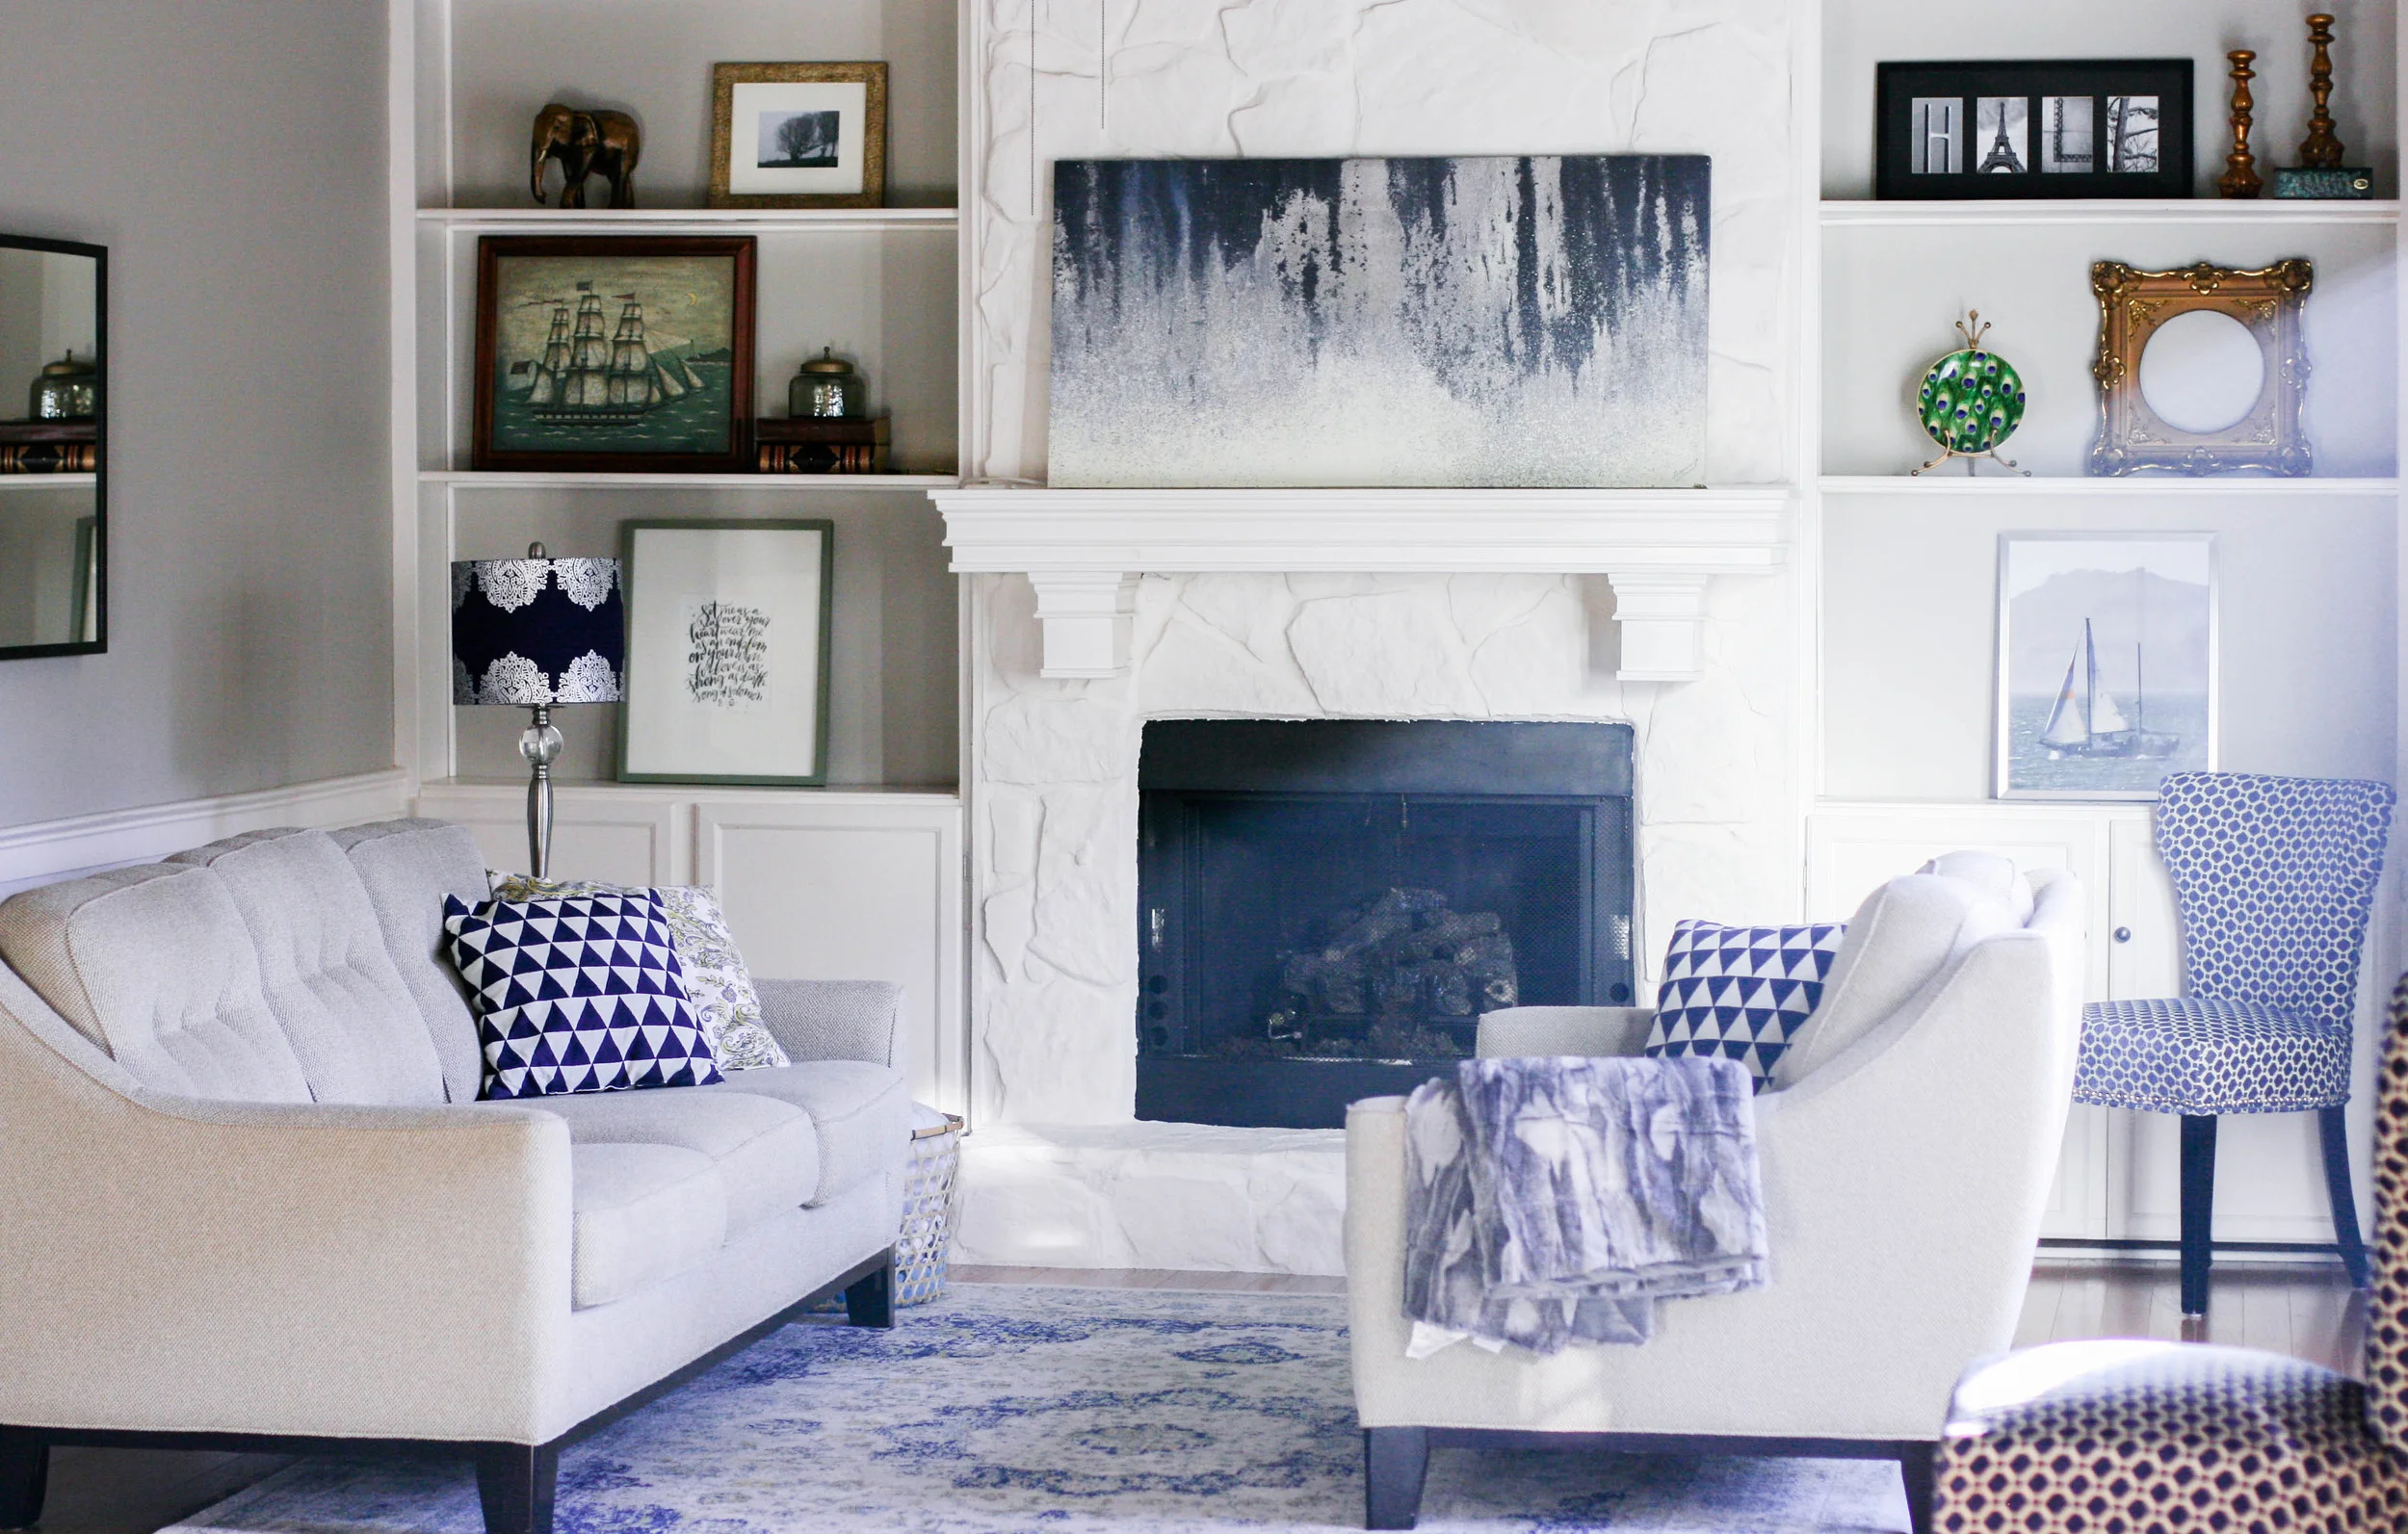
A few weeks ago I shared a peek at our living room and the concept that went into the design. In my opinion, the things that really "make" this room are the high ceilings, the built-in shelves and the natural lighting. None of that really has to do with the decor. But those elements certainly enhance the decor and showcase its best qualities! I am a bargain shopper and don't really have a lofty budget to spend on home decorating. So I've combined a lot of items that were given to me or that I picked up inexpensively (some of them, literally, for free on the street!) Today I want to share my 6 tips for how to style built-in shelves easily and inexpensively.

1. Only Use a Few Items.
You know what you will love the very most about your shelves? How clean they look. It's really important to use less items than you think you need on those shelves. Trust me - this is what will keep them looking fresh and chic. Only use a few items! Between 1-3 for each shelf.

2. Keep the color palette complimentary - and neutral.
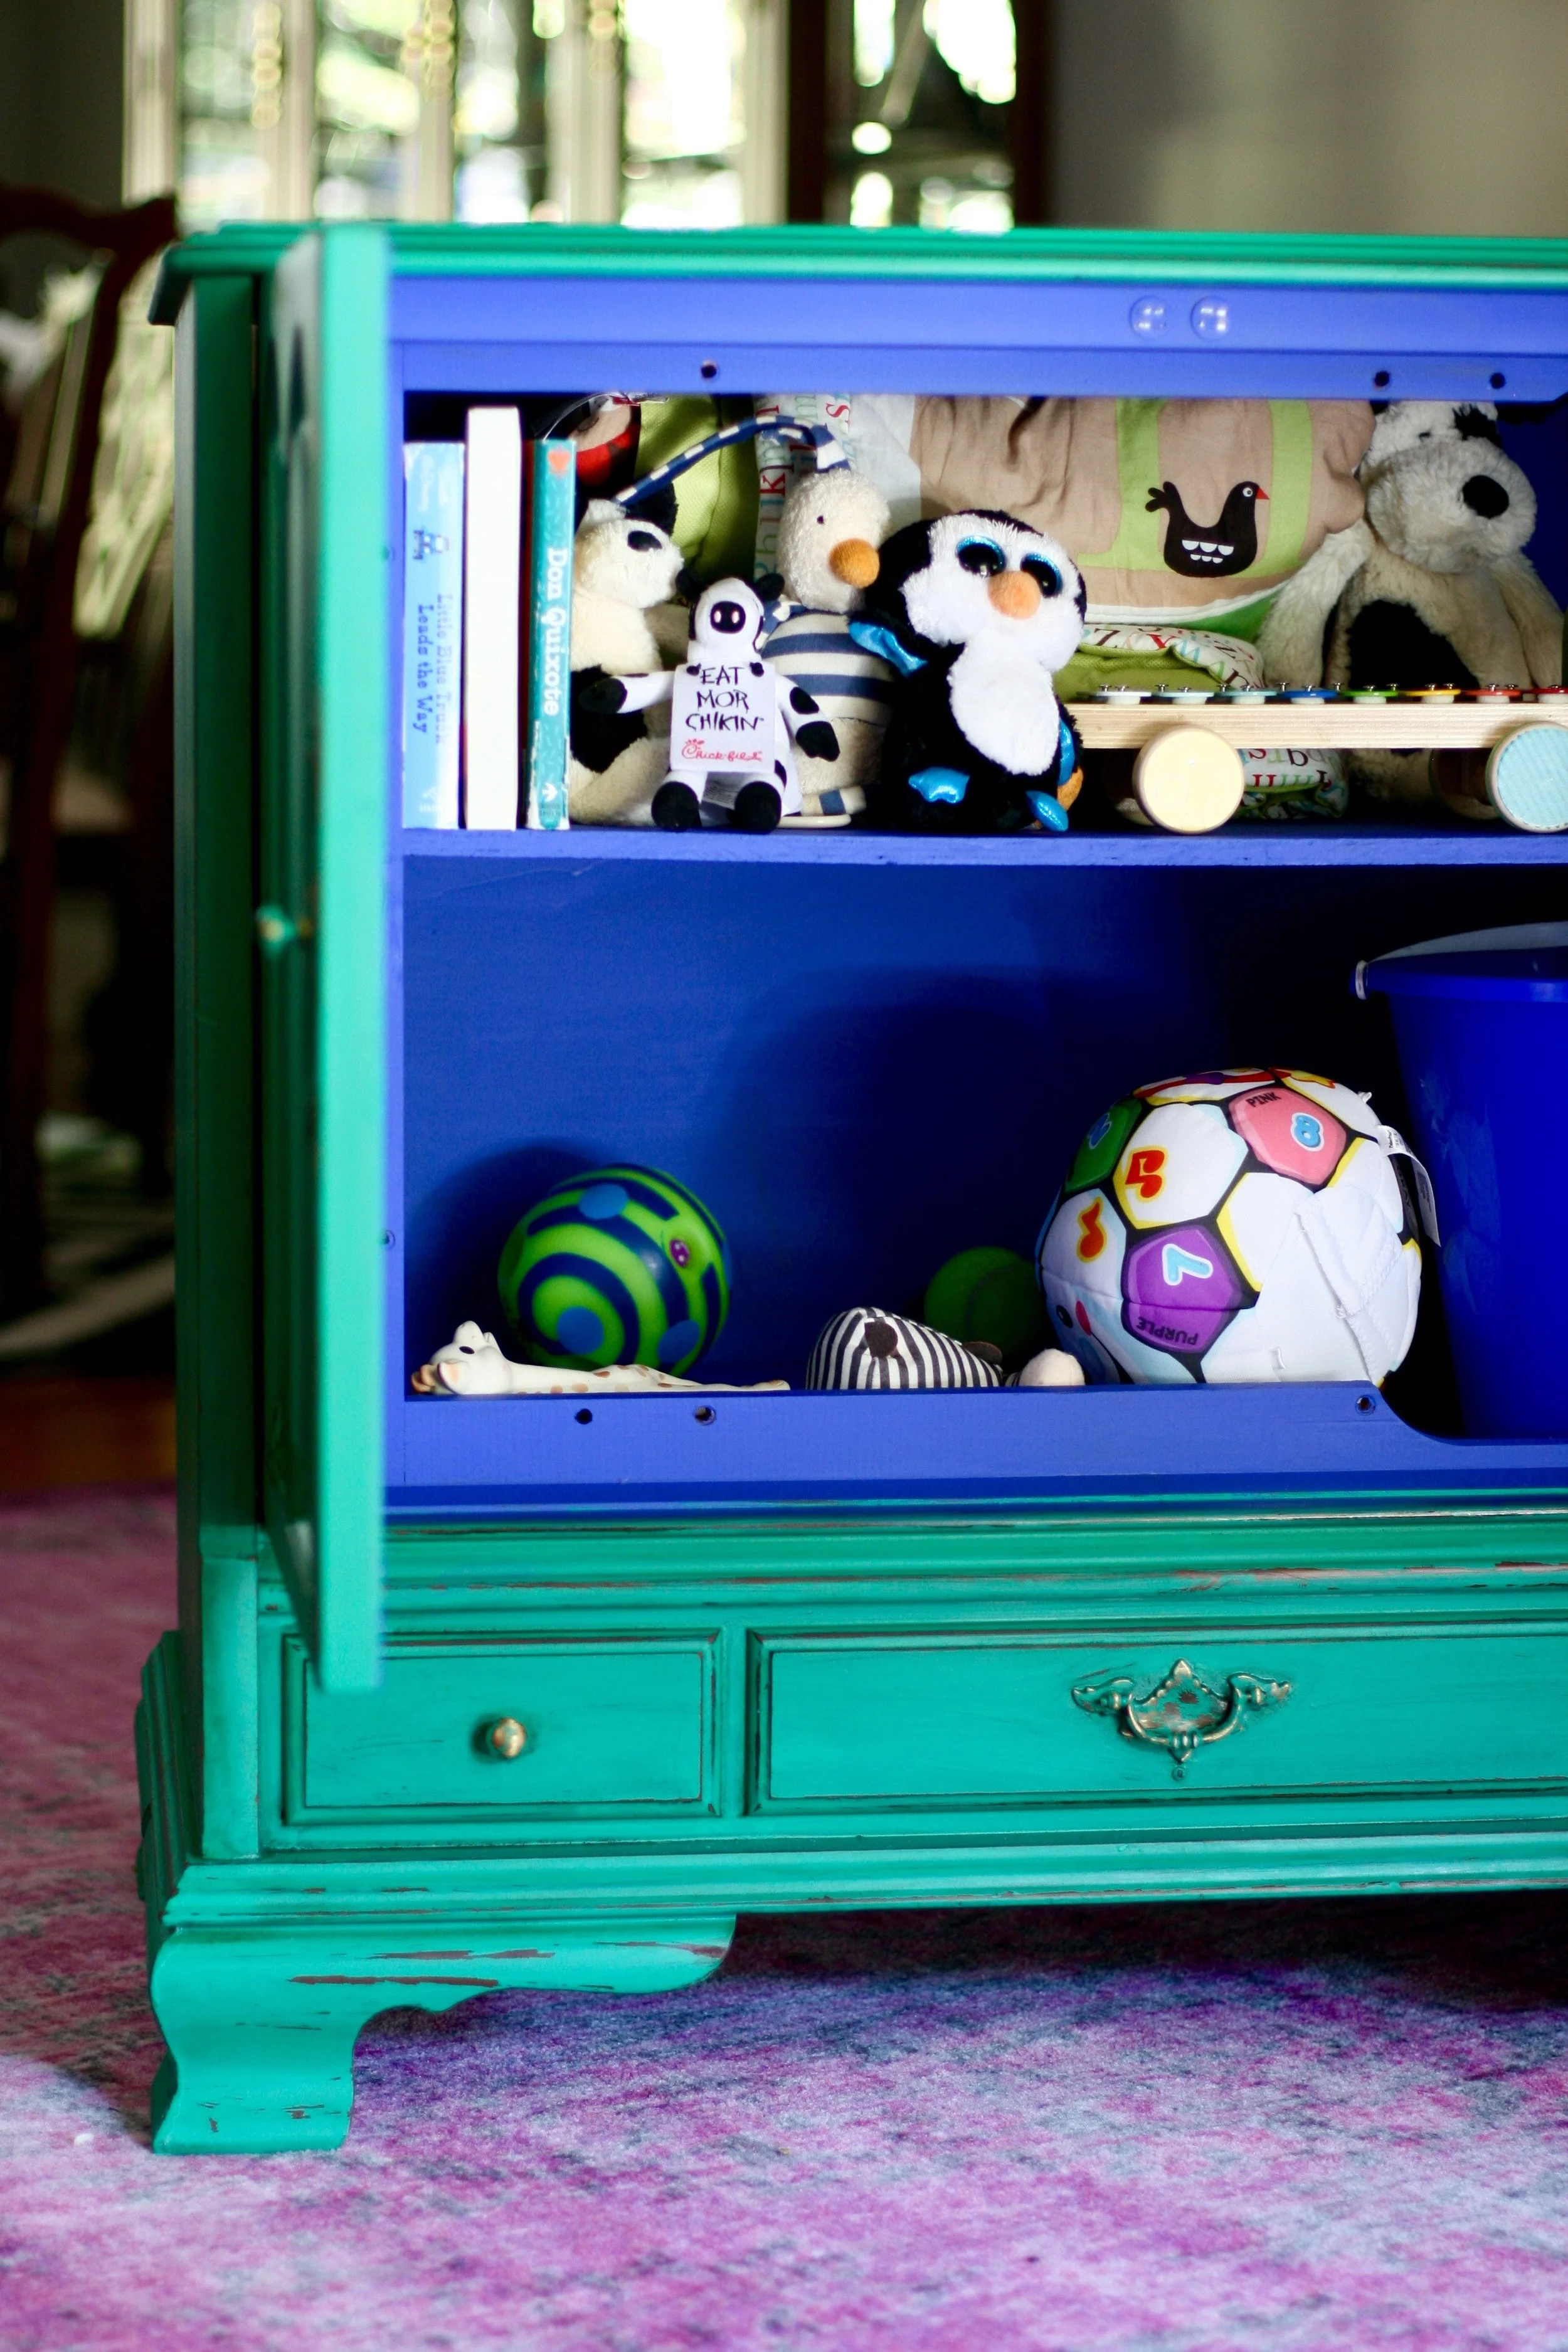
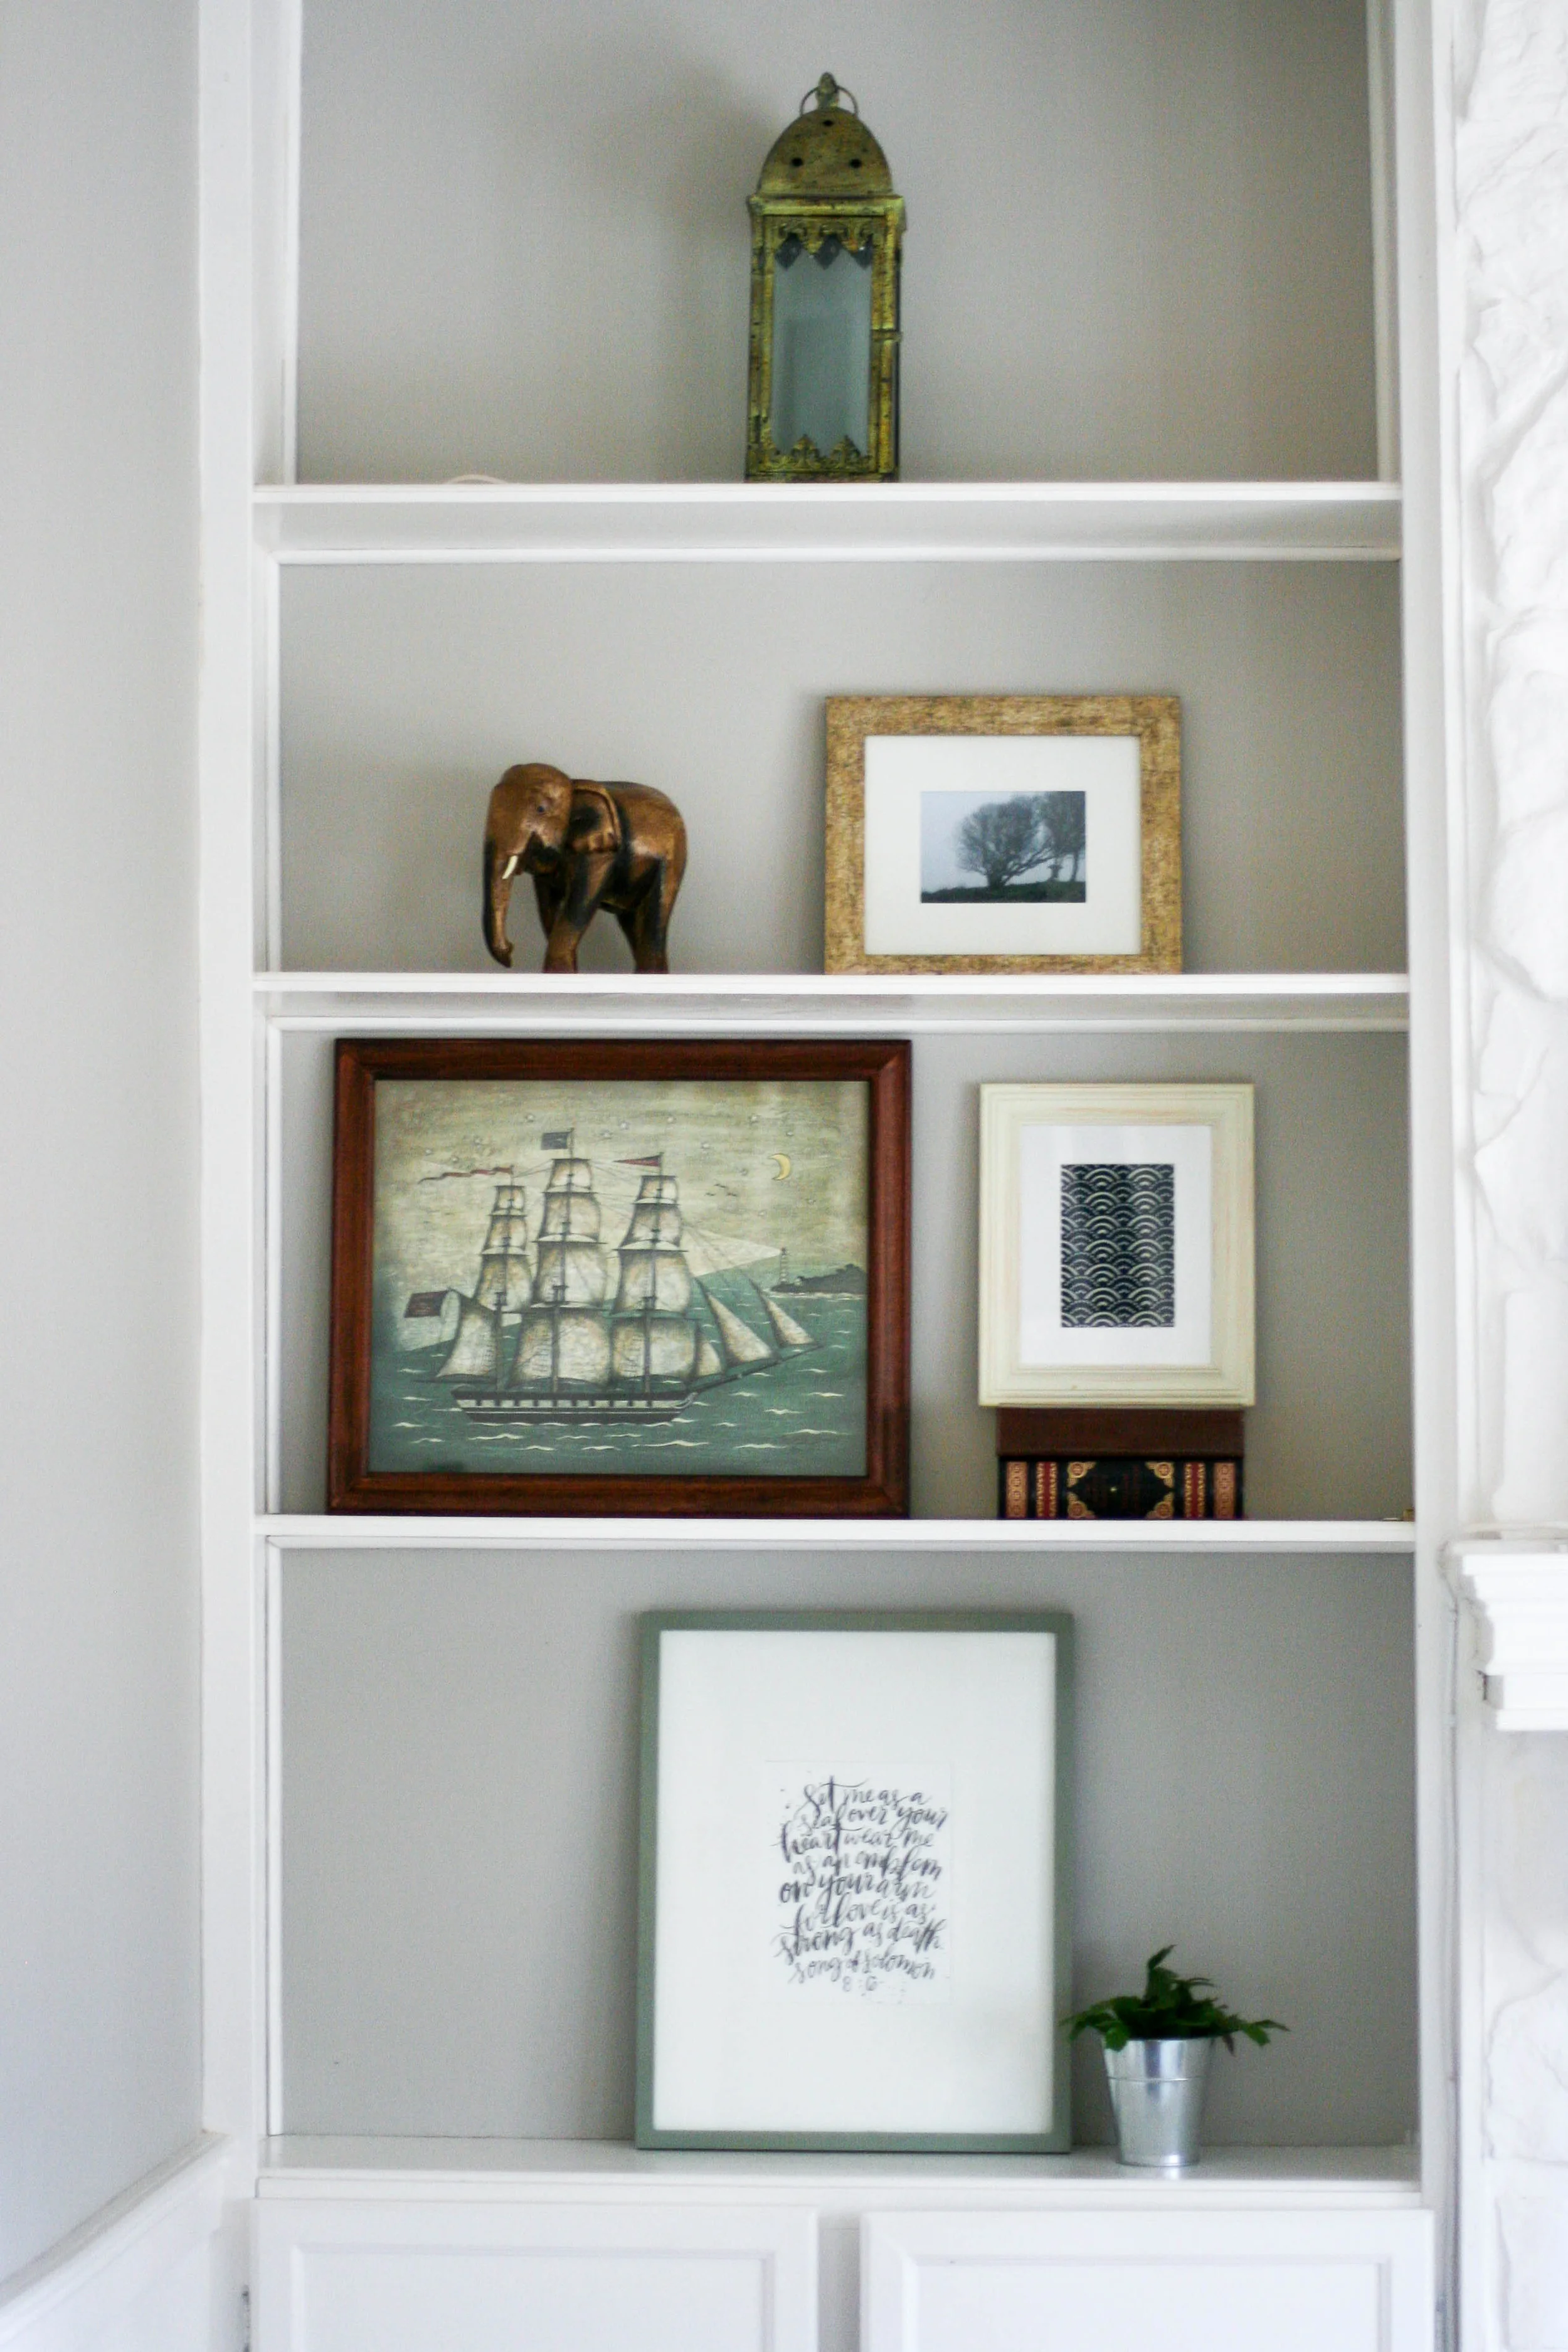
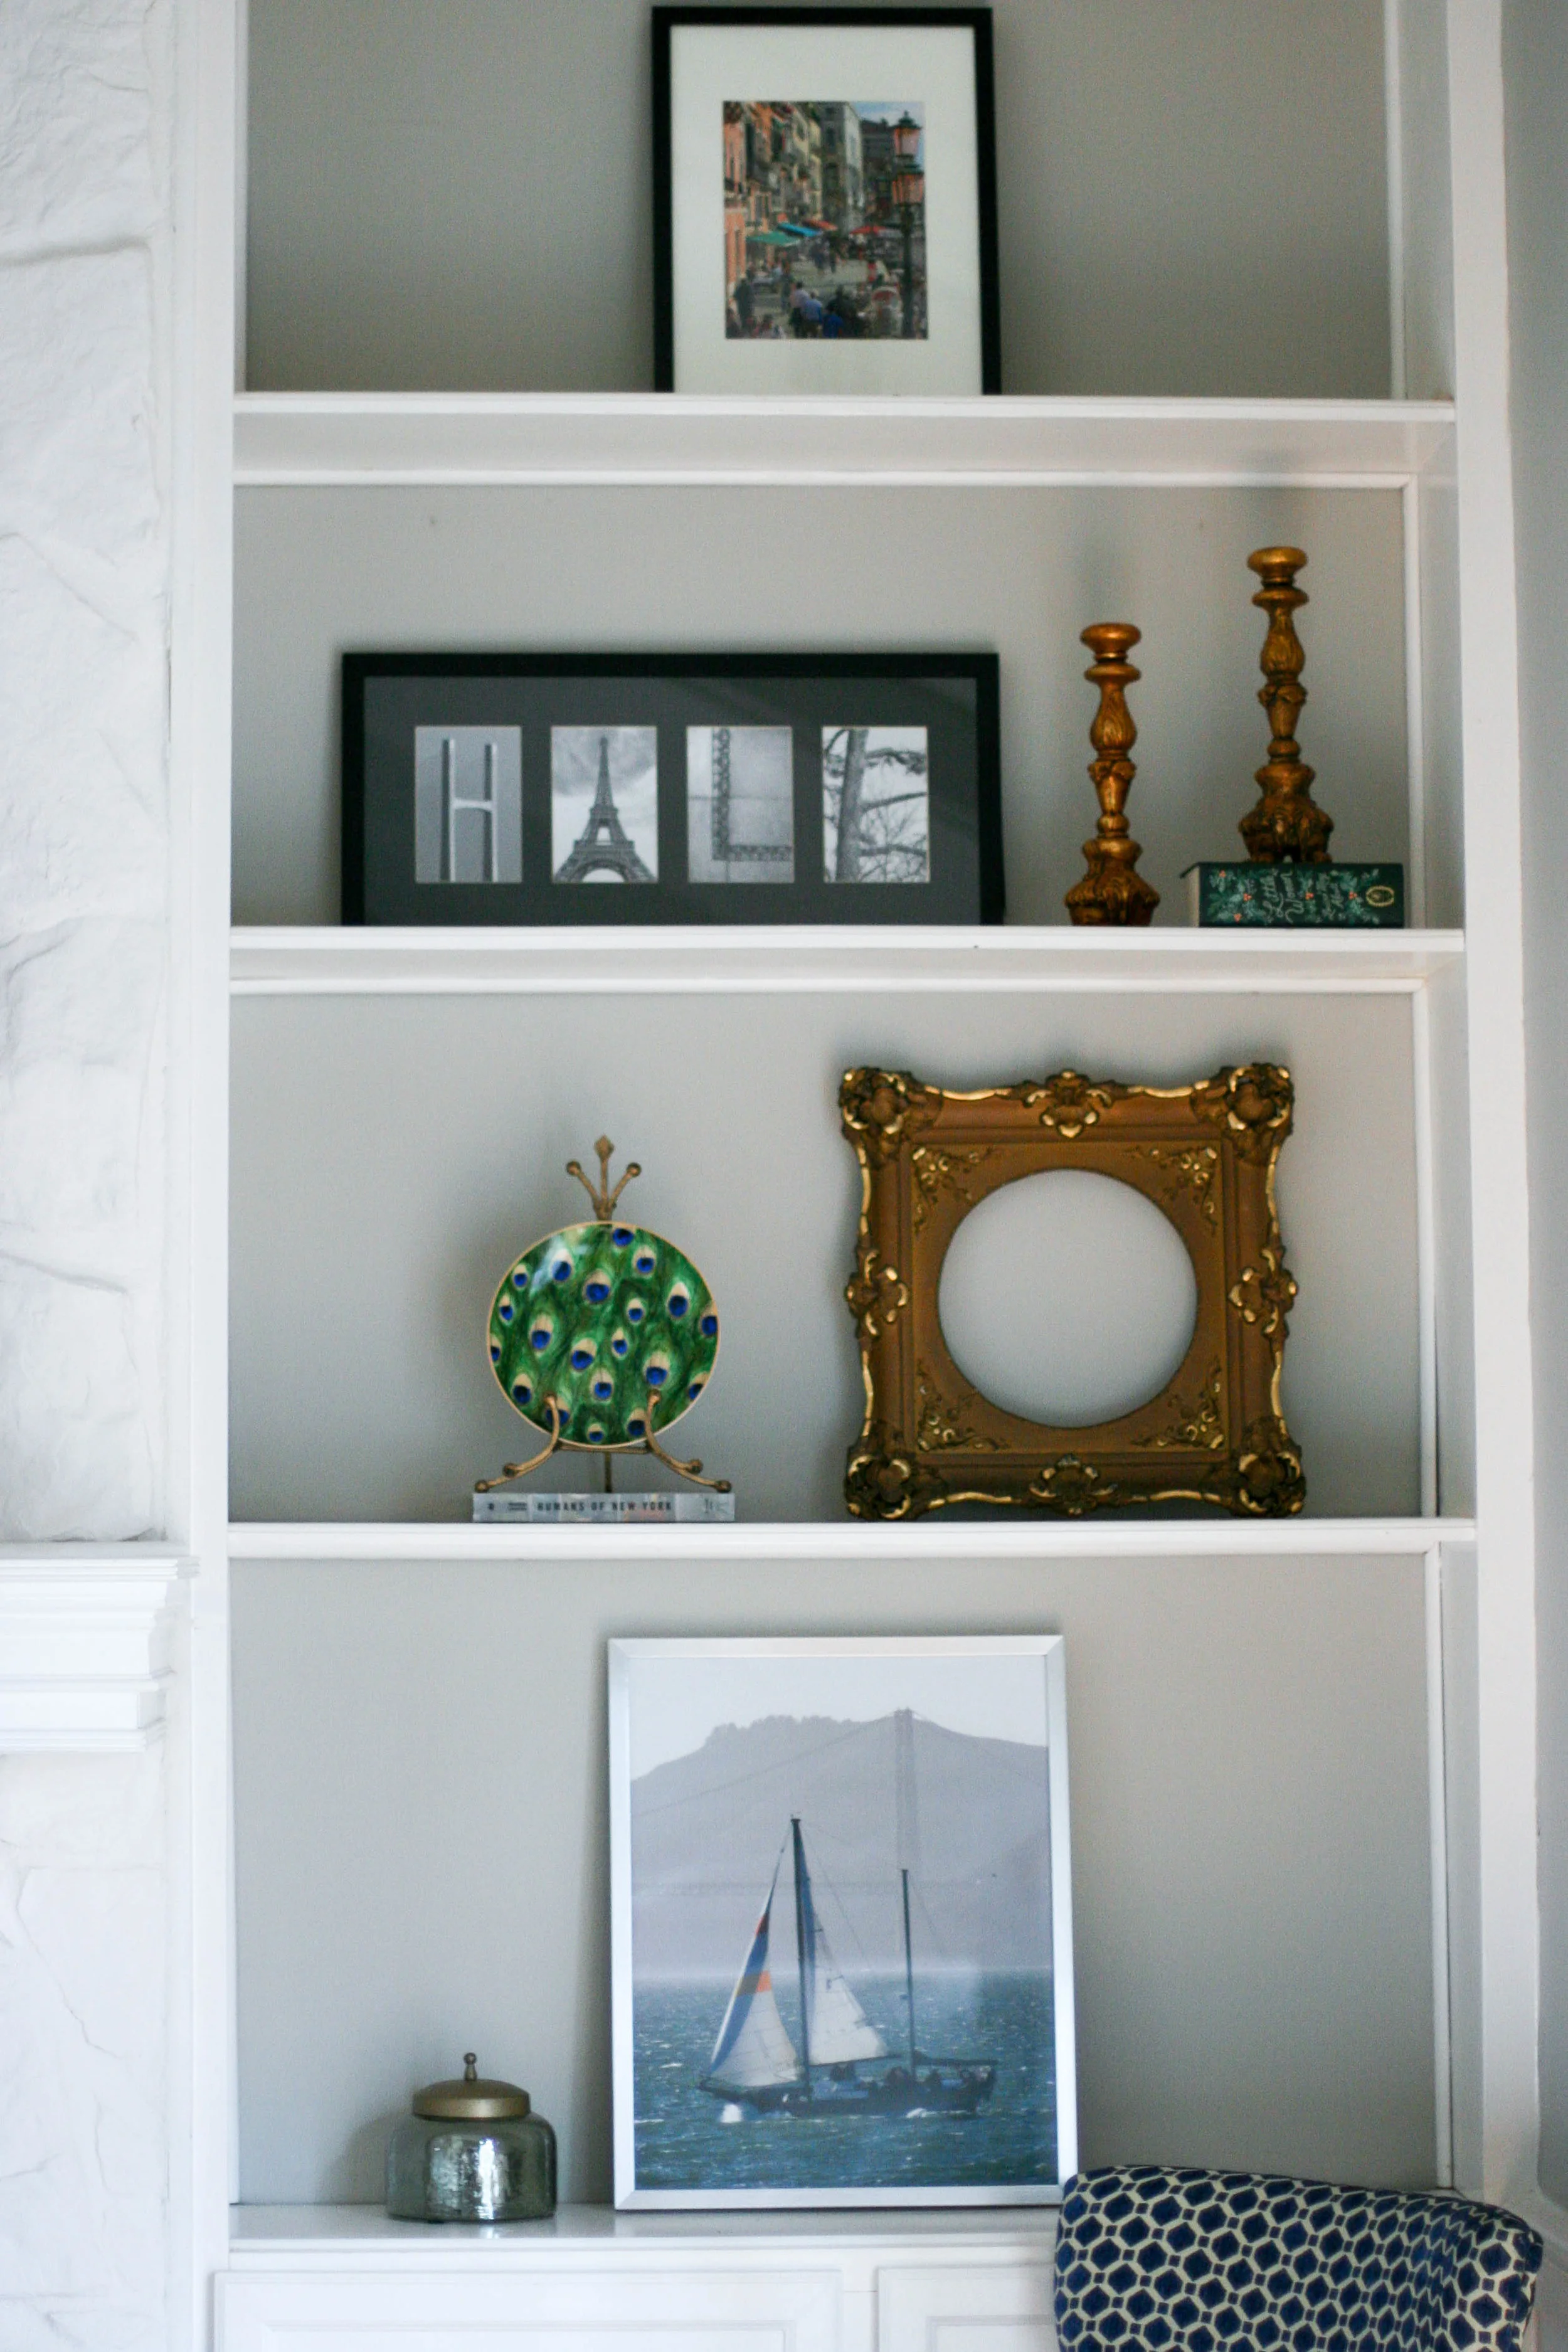
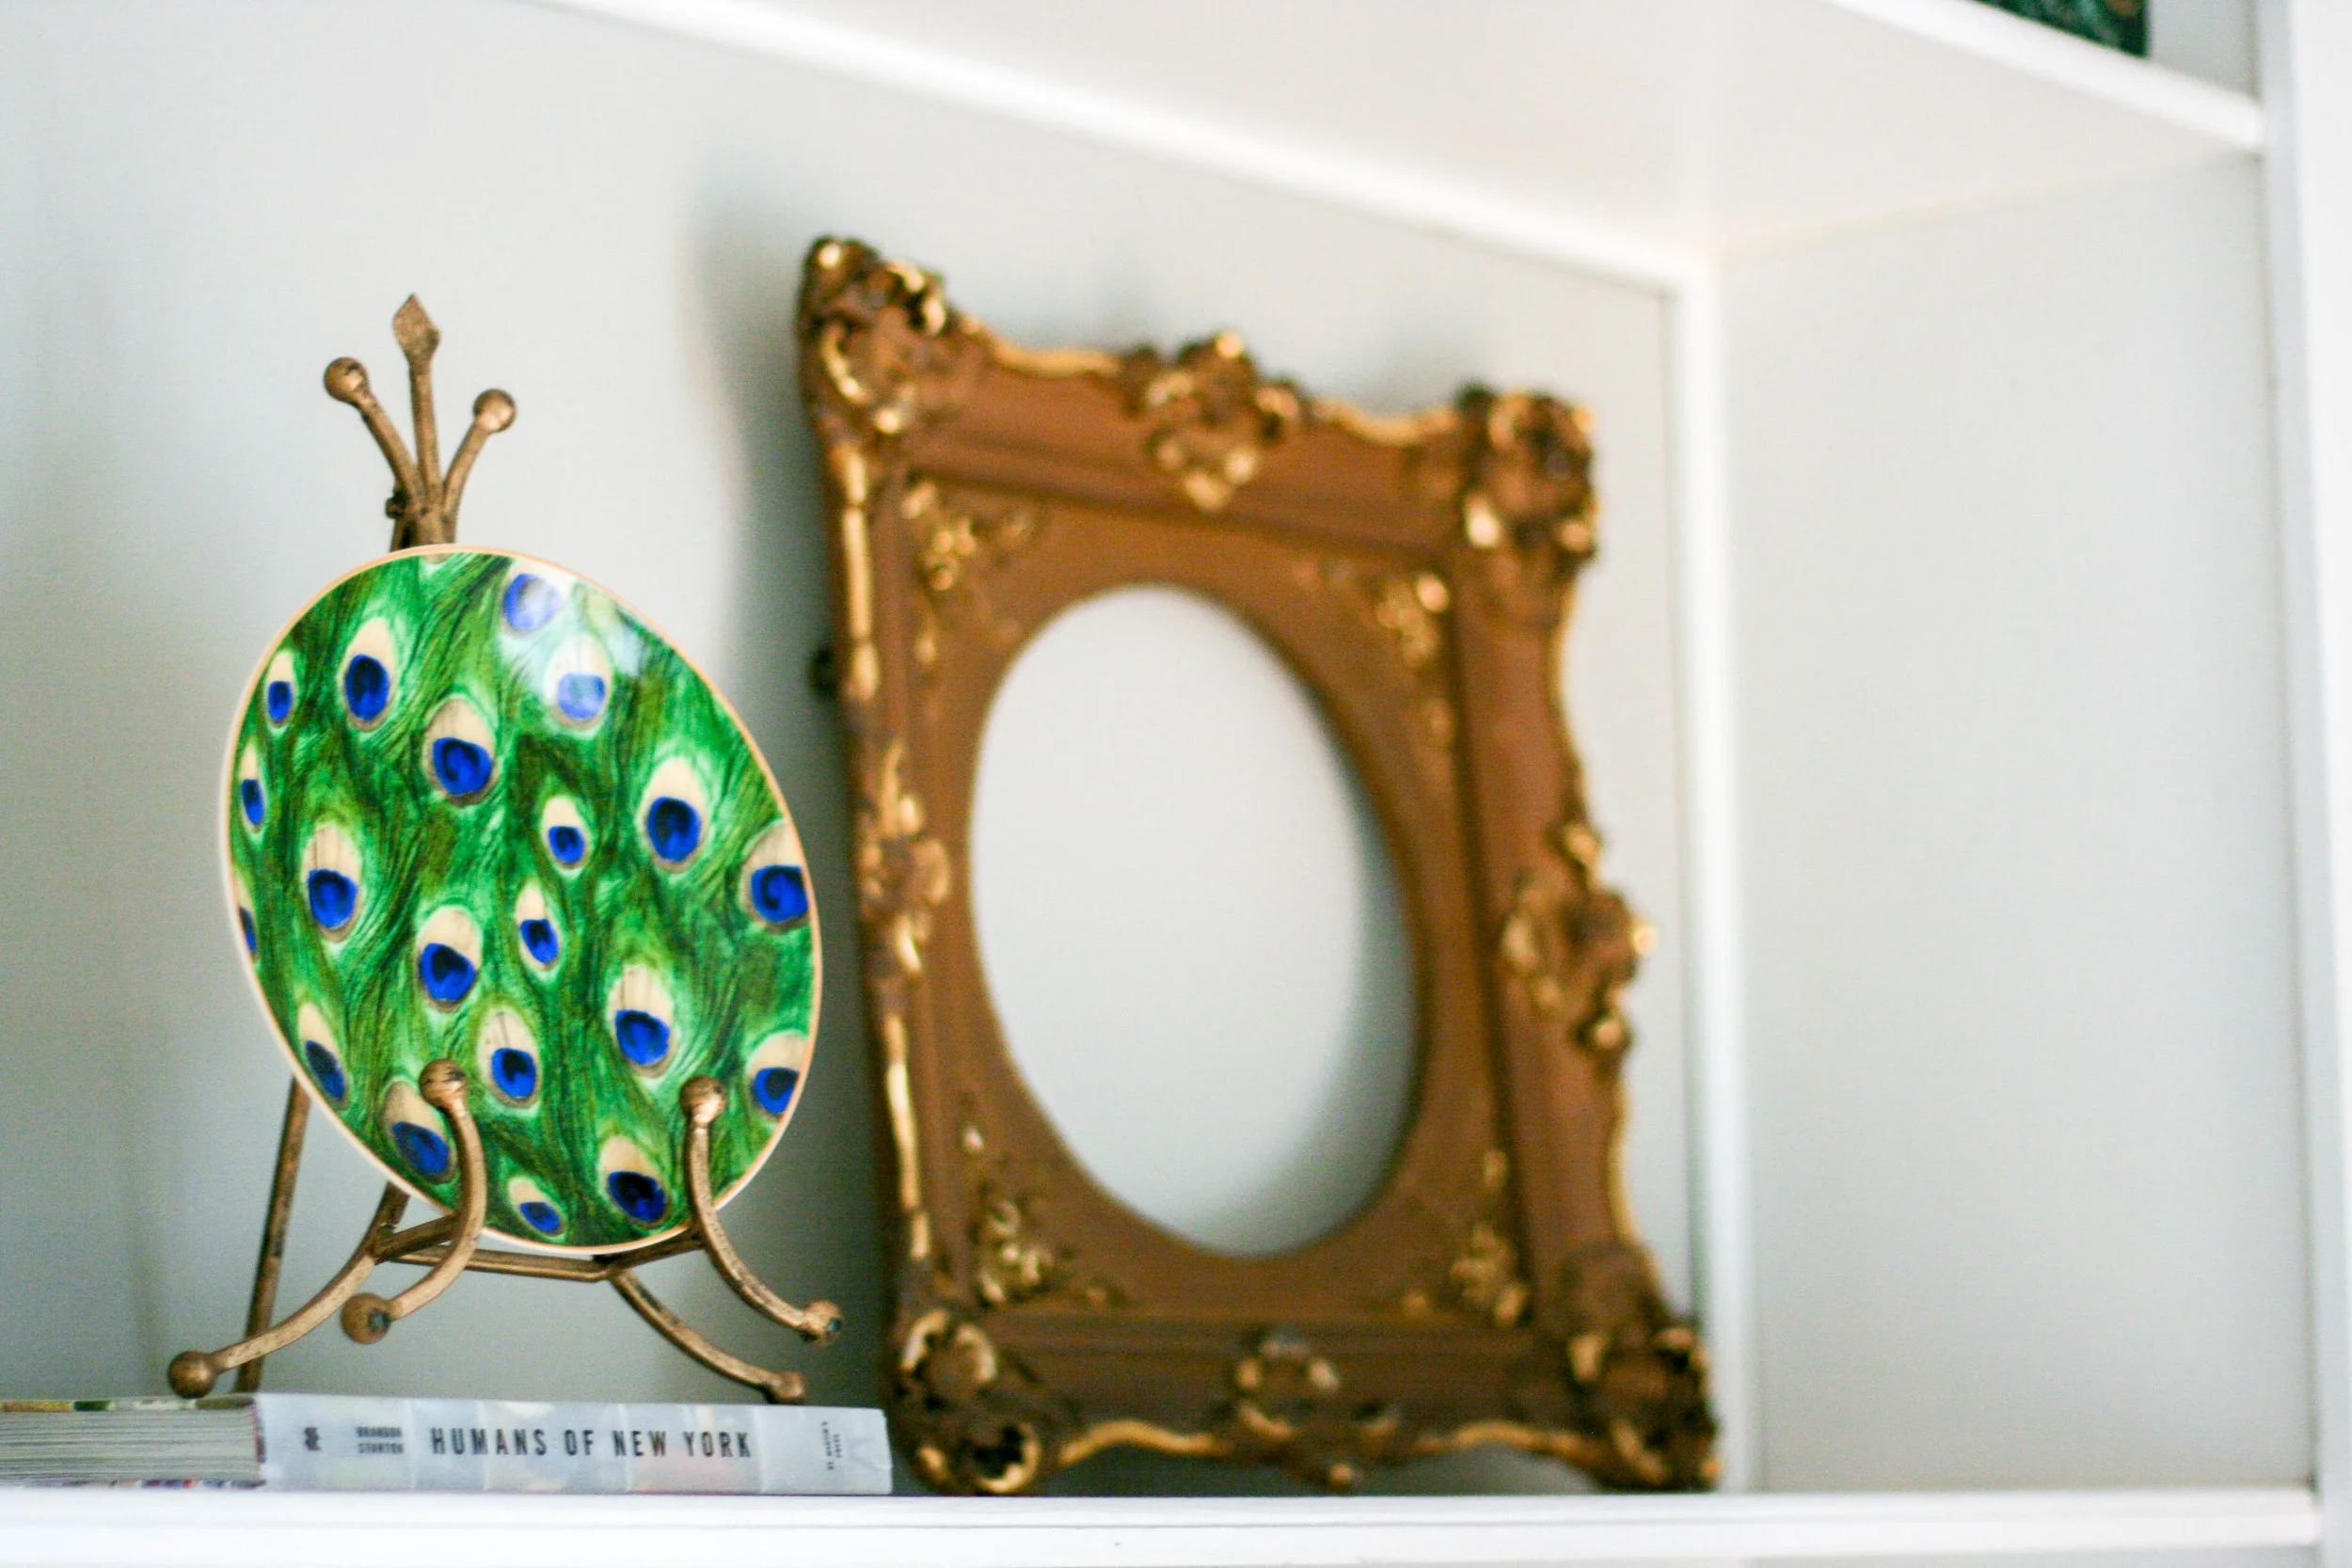
Pick a few shades that are represented in the room and stick to those tones. Your eyes will thank me. Because you will have so many different objects to look at, it's best to keep things in the family of neutral, with a hint of a color pop here and there. Use the colors already found in your room. In my case, I used a recurring theme of gold and silver elements, with lots of white space. Then I added a few pops of color, which coordinated with other colors in the room. The black frames coordinated with the black fireplace, the blue pictures coordinated with the main art piece and the rug, and the random pops of color came in the form of my green peacock-inspired plate and the wooden elephant.

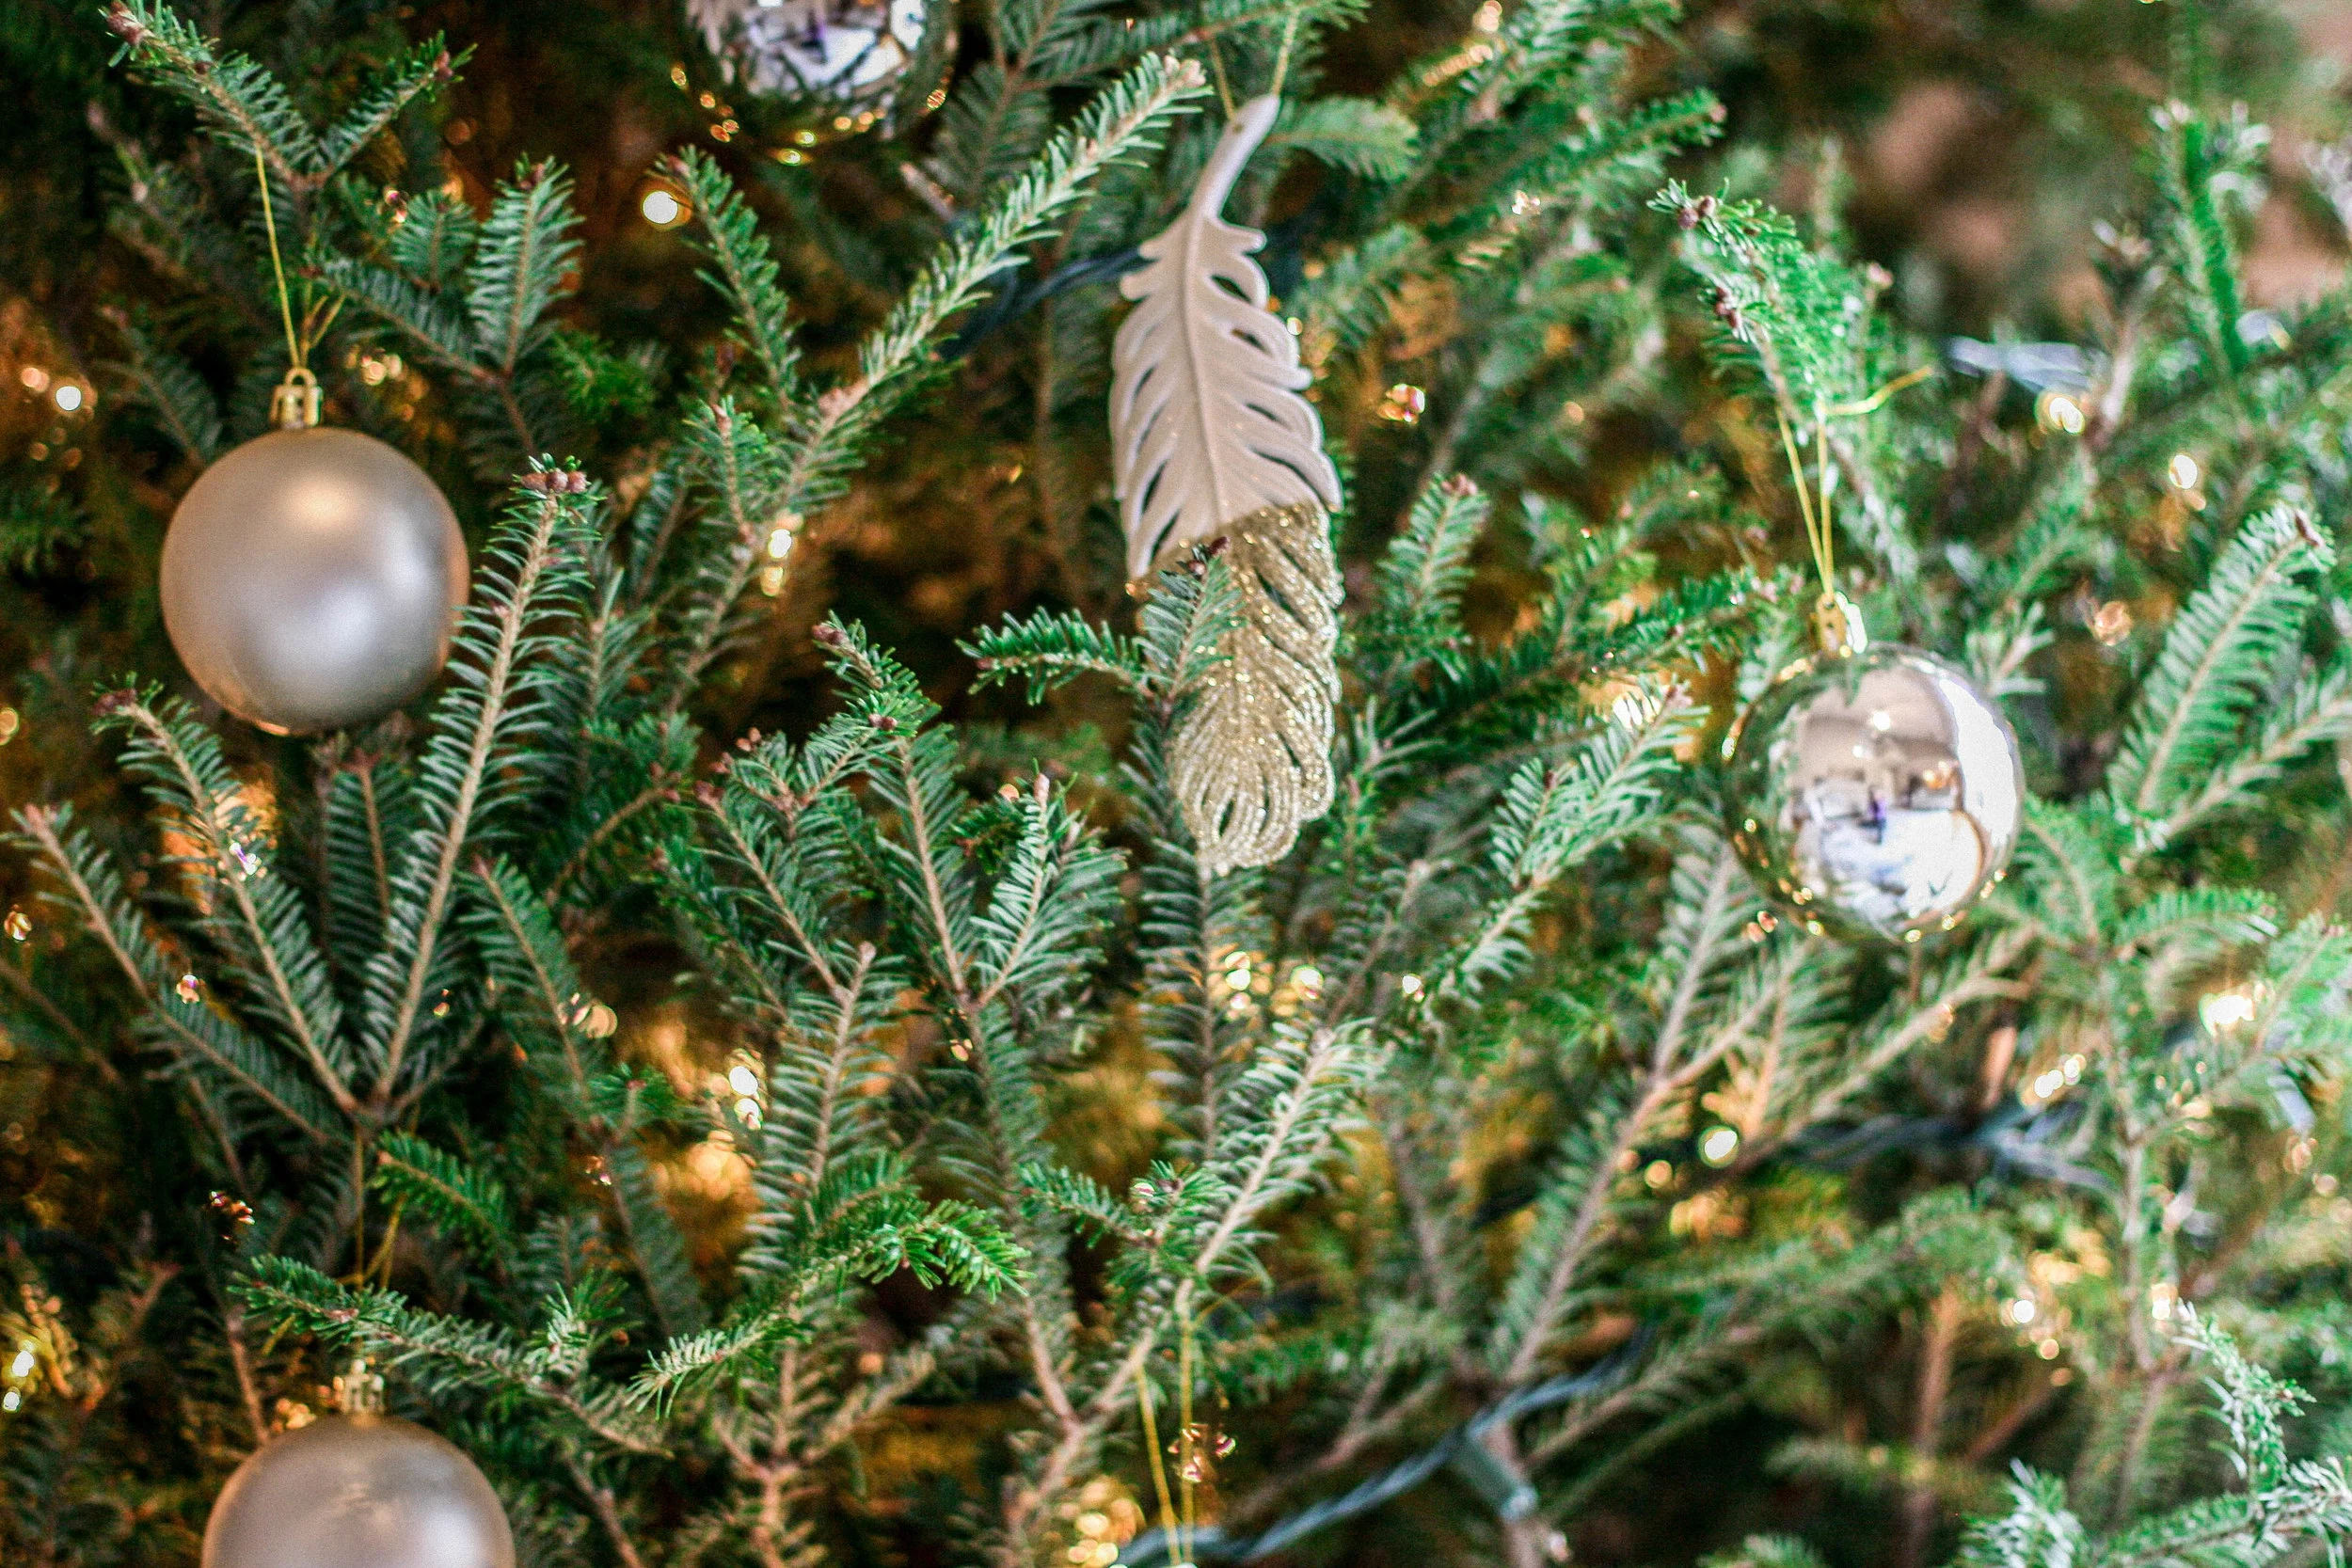
3. Use different textures.
Using an array of textures on your built-ins is what makes the uniform palette come to life. Though the colors may play it safe, the types of objects and the different textures create enough intention to keep your eye interested for a while. For this reason, I mixed the elements and included glass, wood, live plants, framed fabric, books, etc. to create dimension on the shelves.

4. Include things you want to look at.
This might seem silly, but its not. So often, we can look at others' homes or flip through books (or watch HGTV) and think that the way someone else does something is the right way. But if we try to replicate that same look, it might not feel natural. It's important to use others' experiences as a launching point for inspiration, but make sure that everything you personally use in your home, especially on your built-in, that you completely love. Because at the end of the day, it's not a designer looking at your shelves everyday, it's you and your family. Make sure you love each of those items and want to look at them.

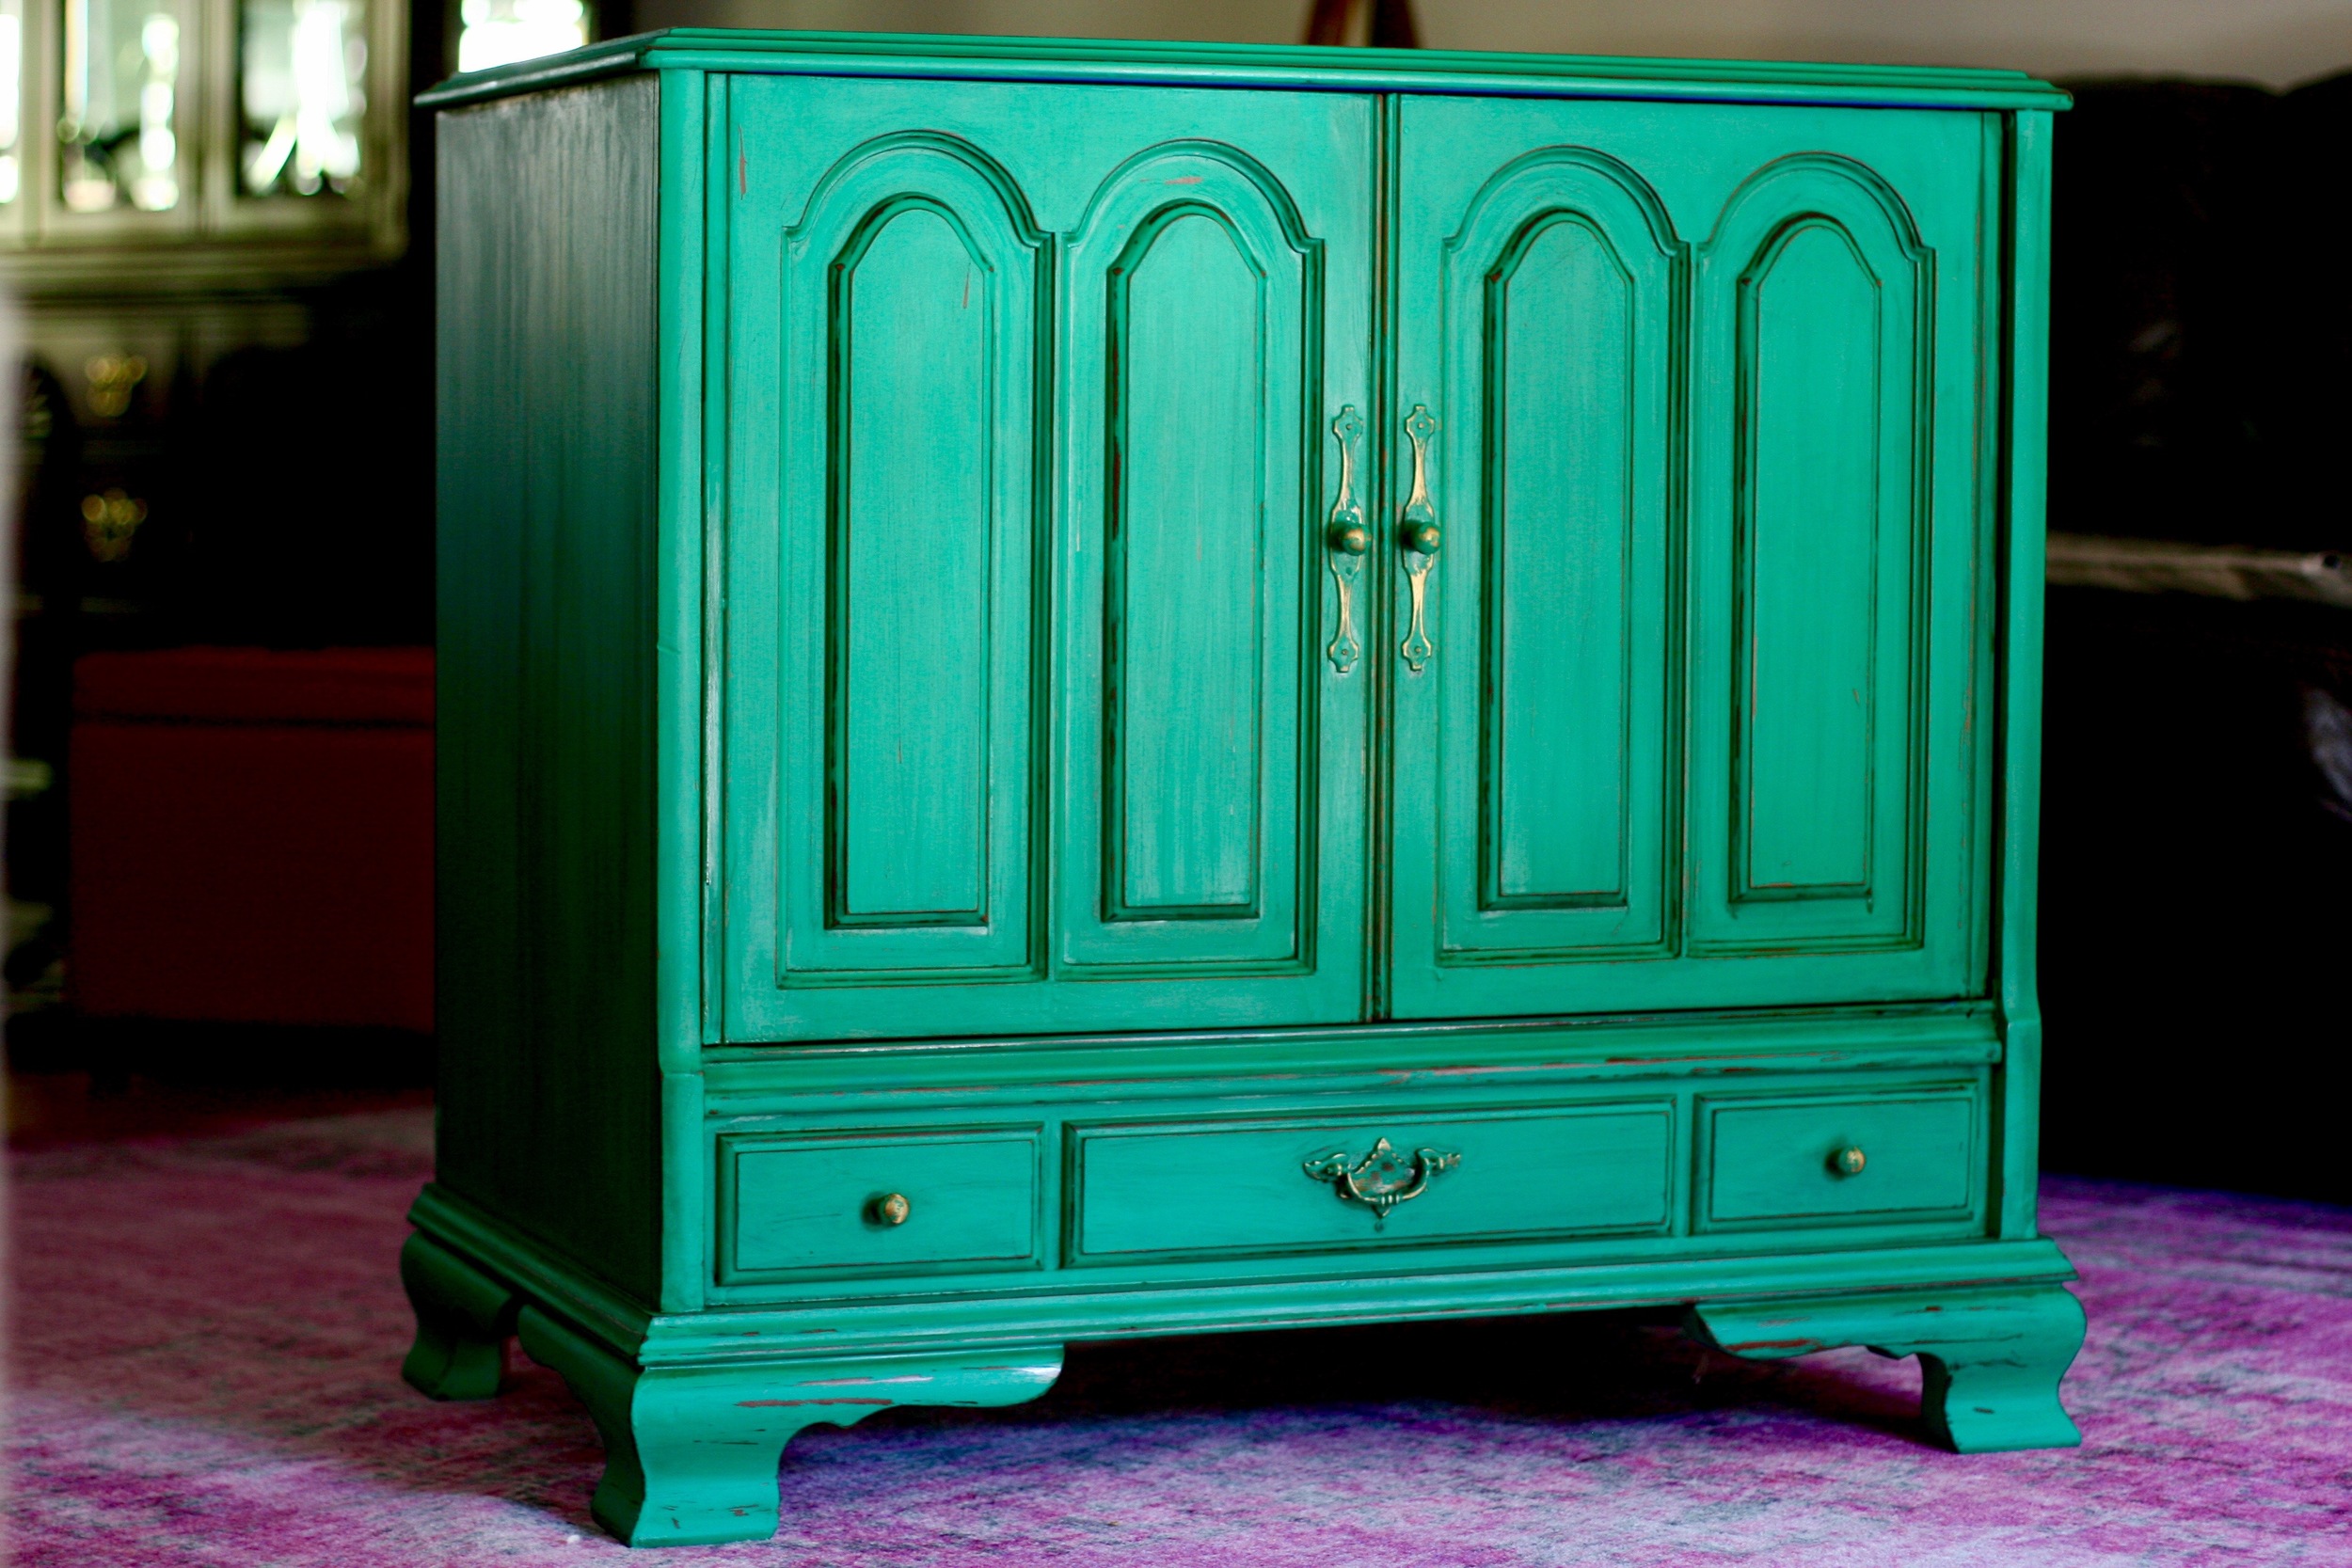
5. Consider the Scale.
In this case, the scale really matters. If your book shelves are enormous, you are going to want to use larger items to fill that space. Using tiny items in a big space can make the shelves look cluttered, which is the opposite effect you want to have. Make sure to choose varying sizes and shapes of items that fit to the scale of the shelves.
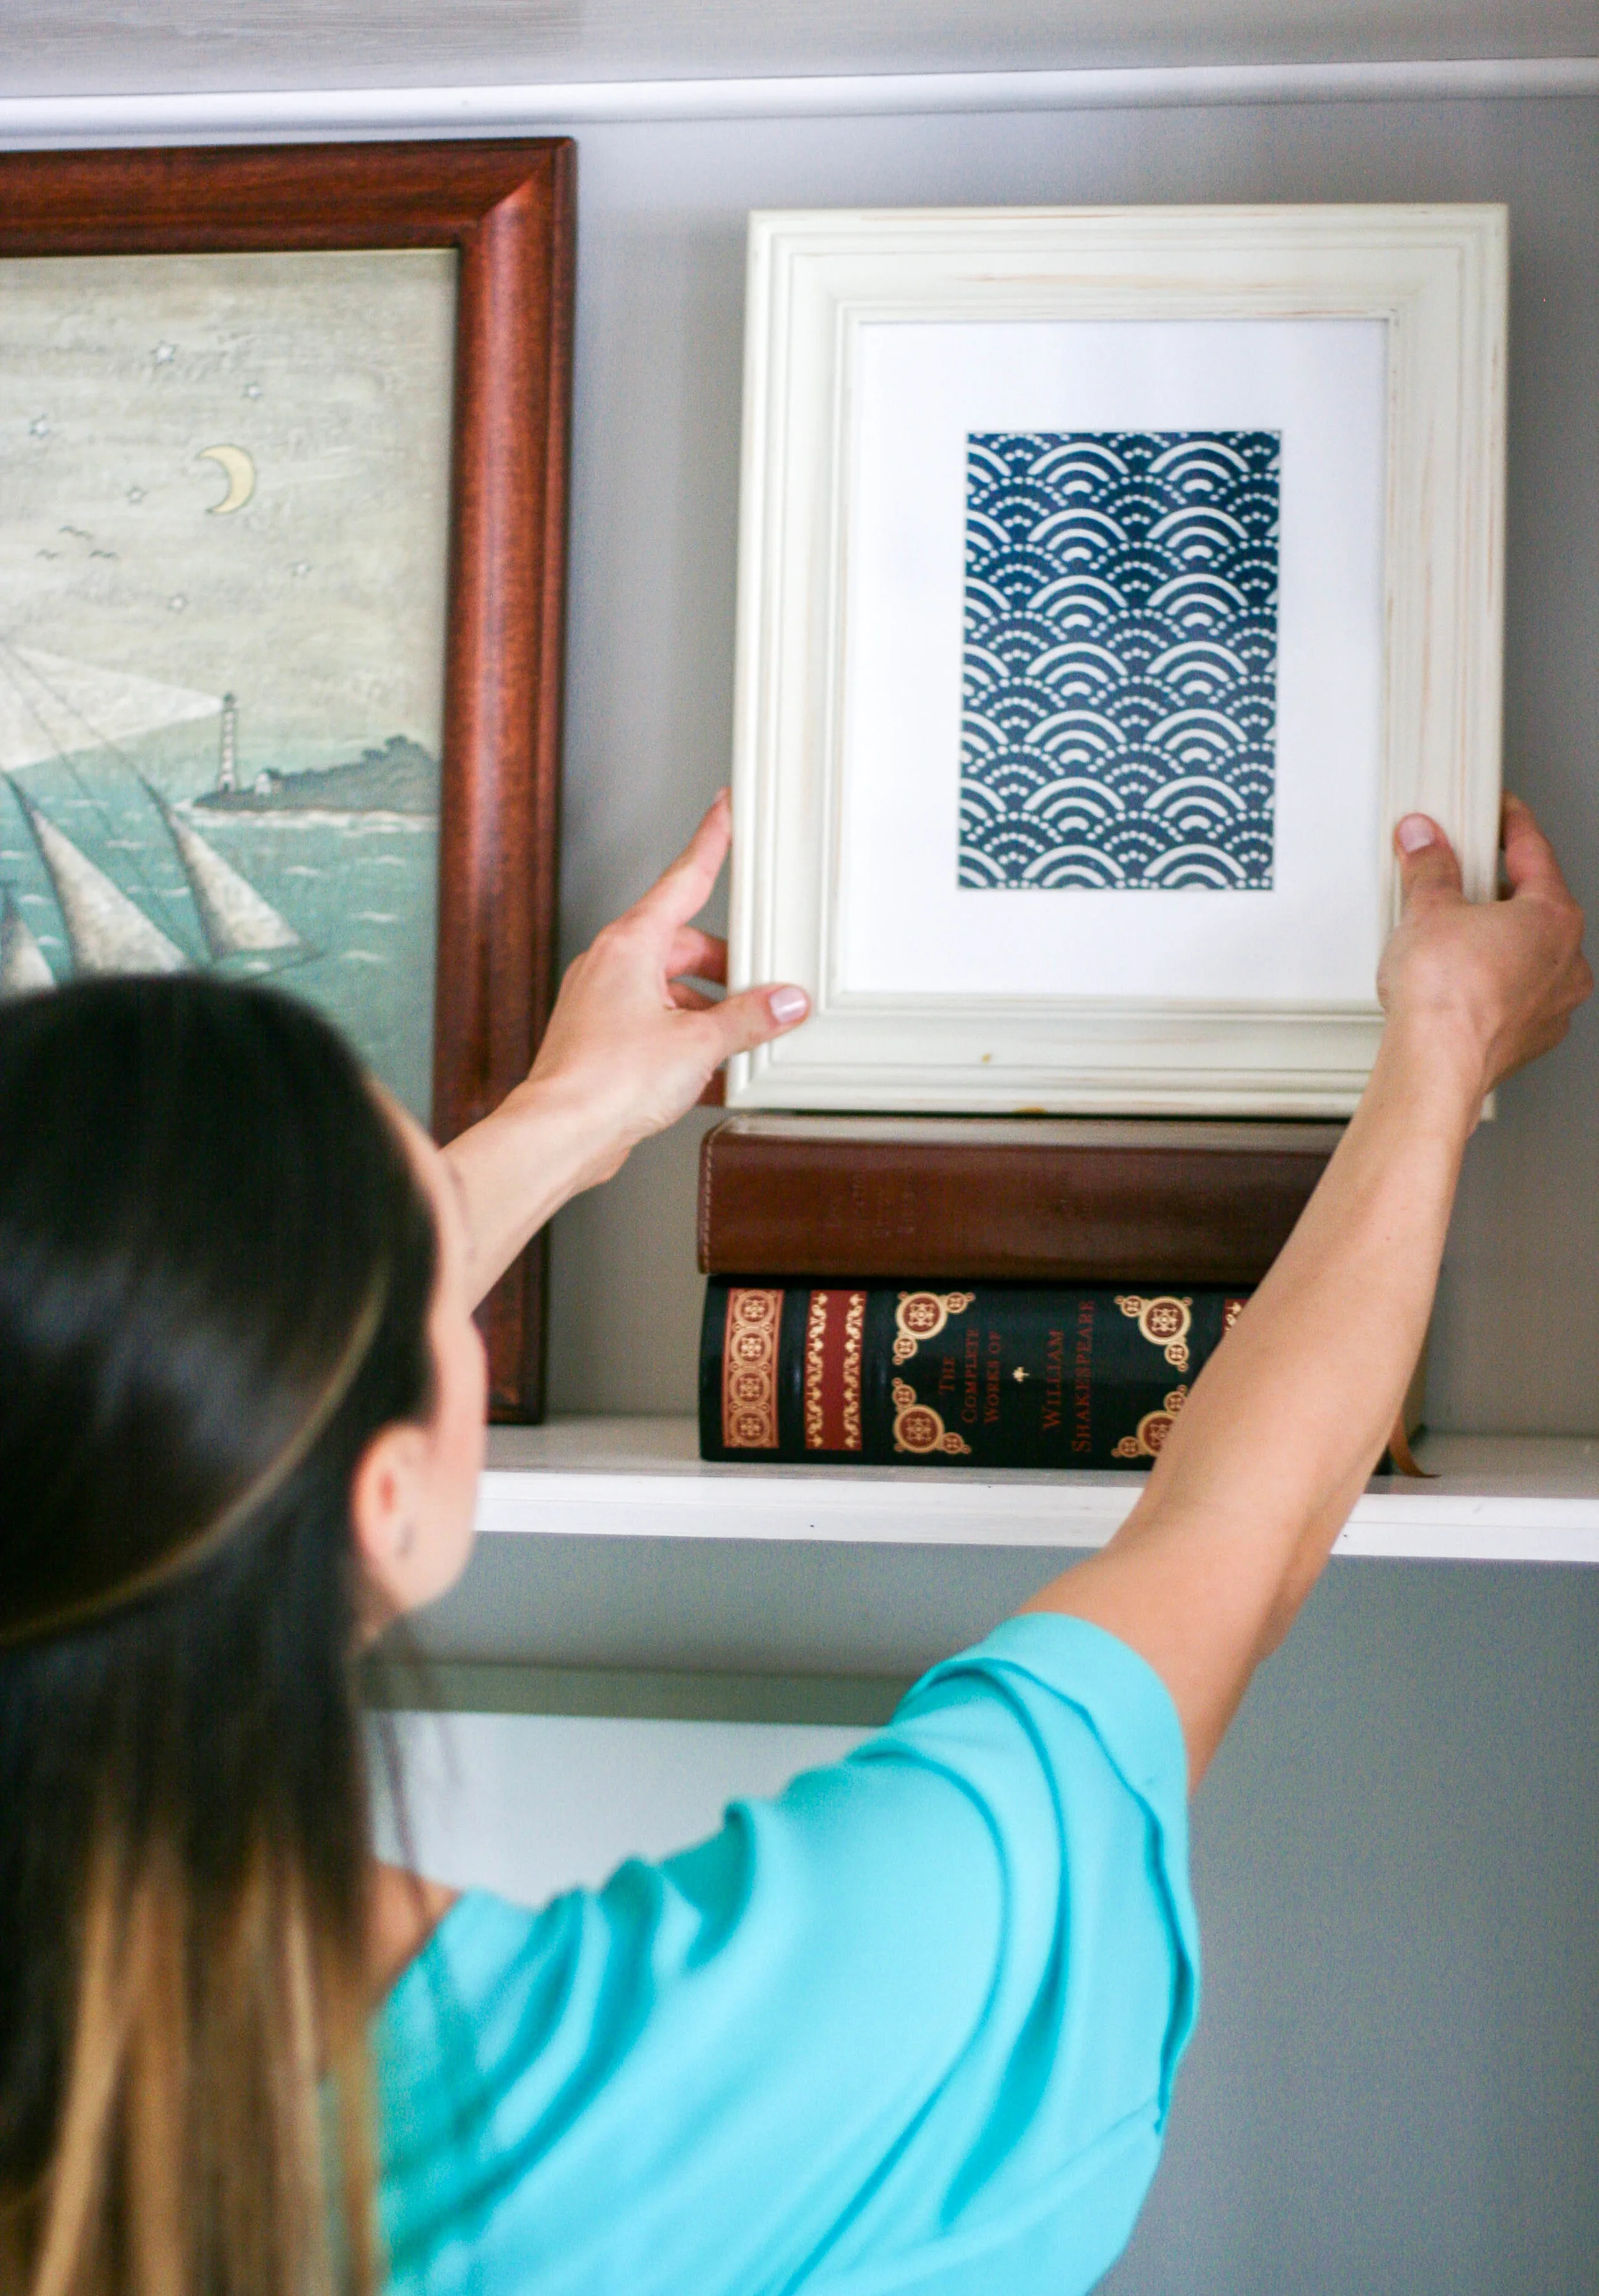
6. Never finish.
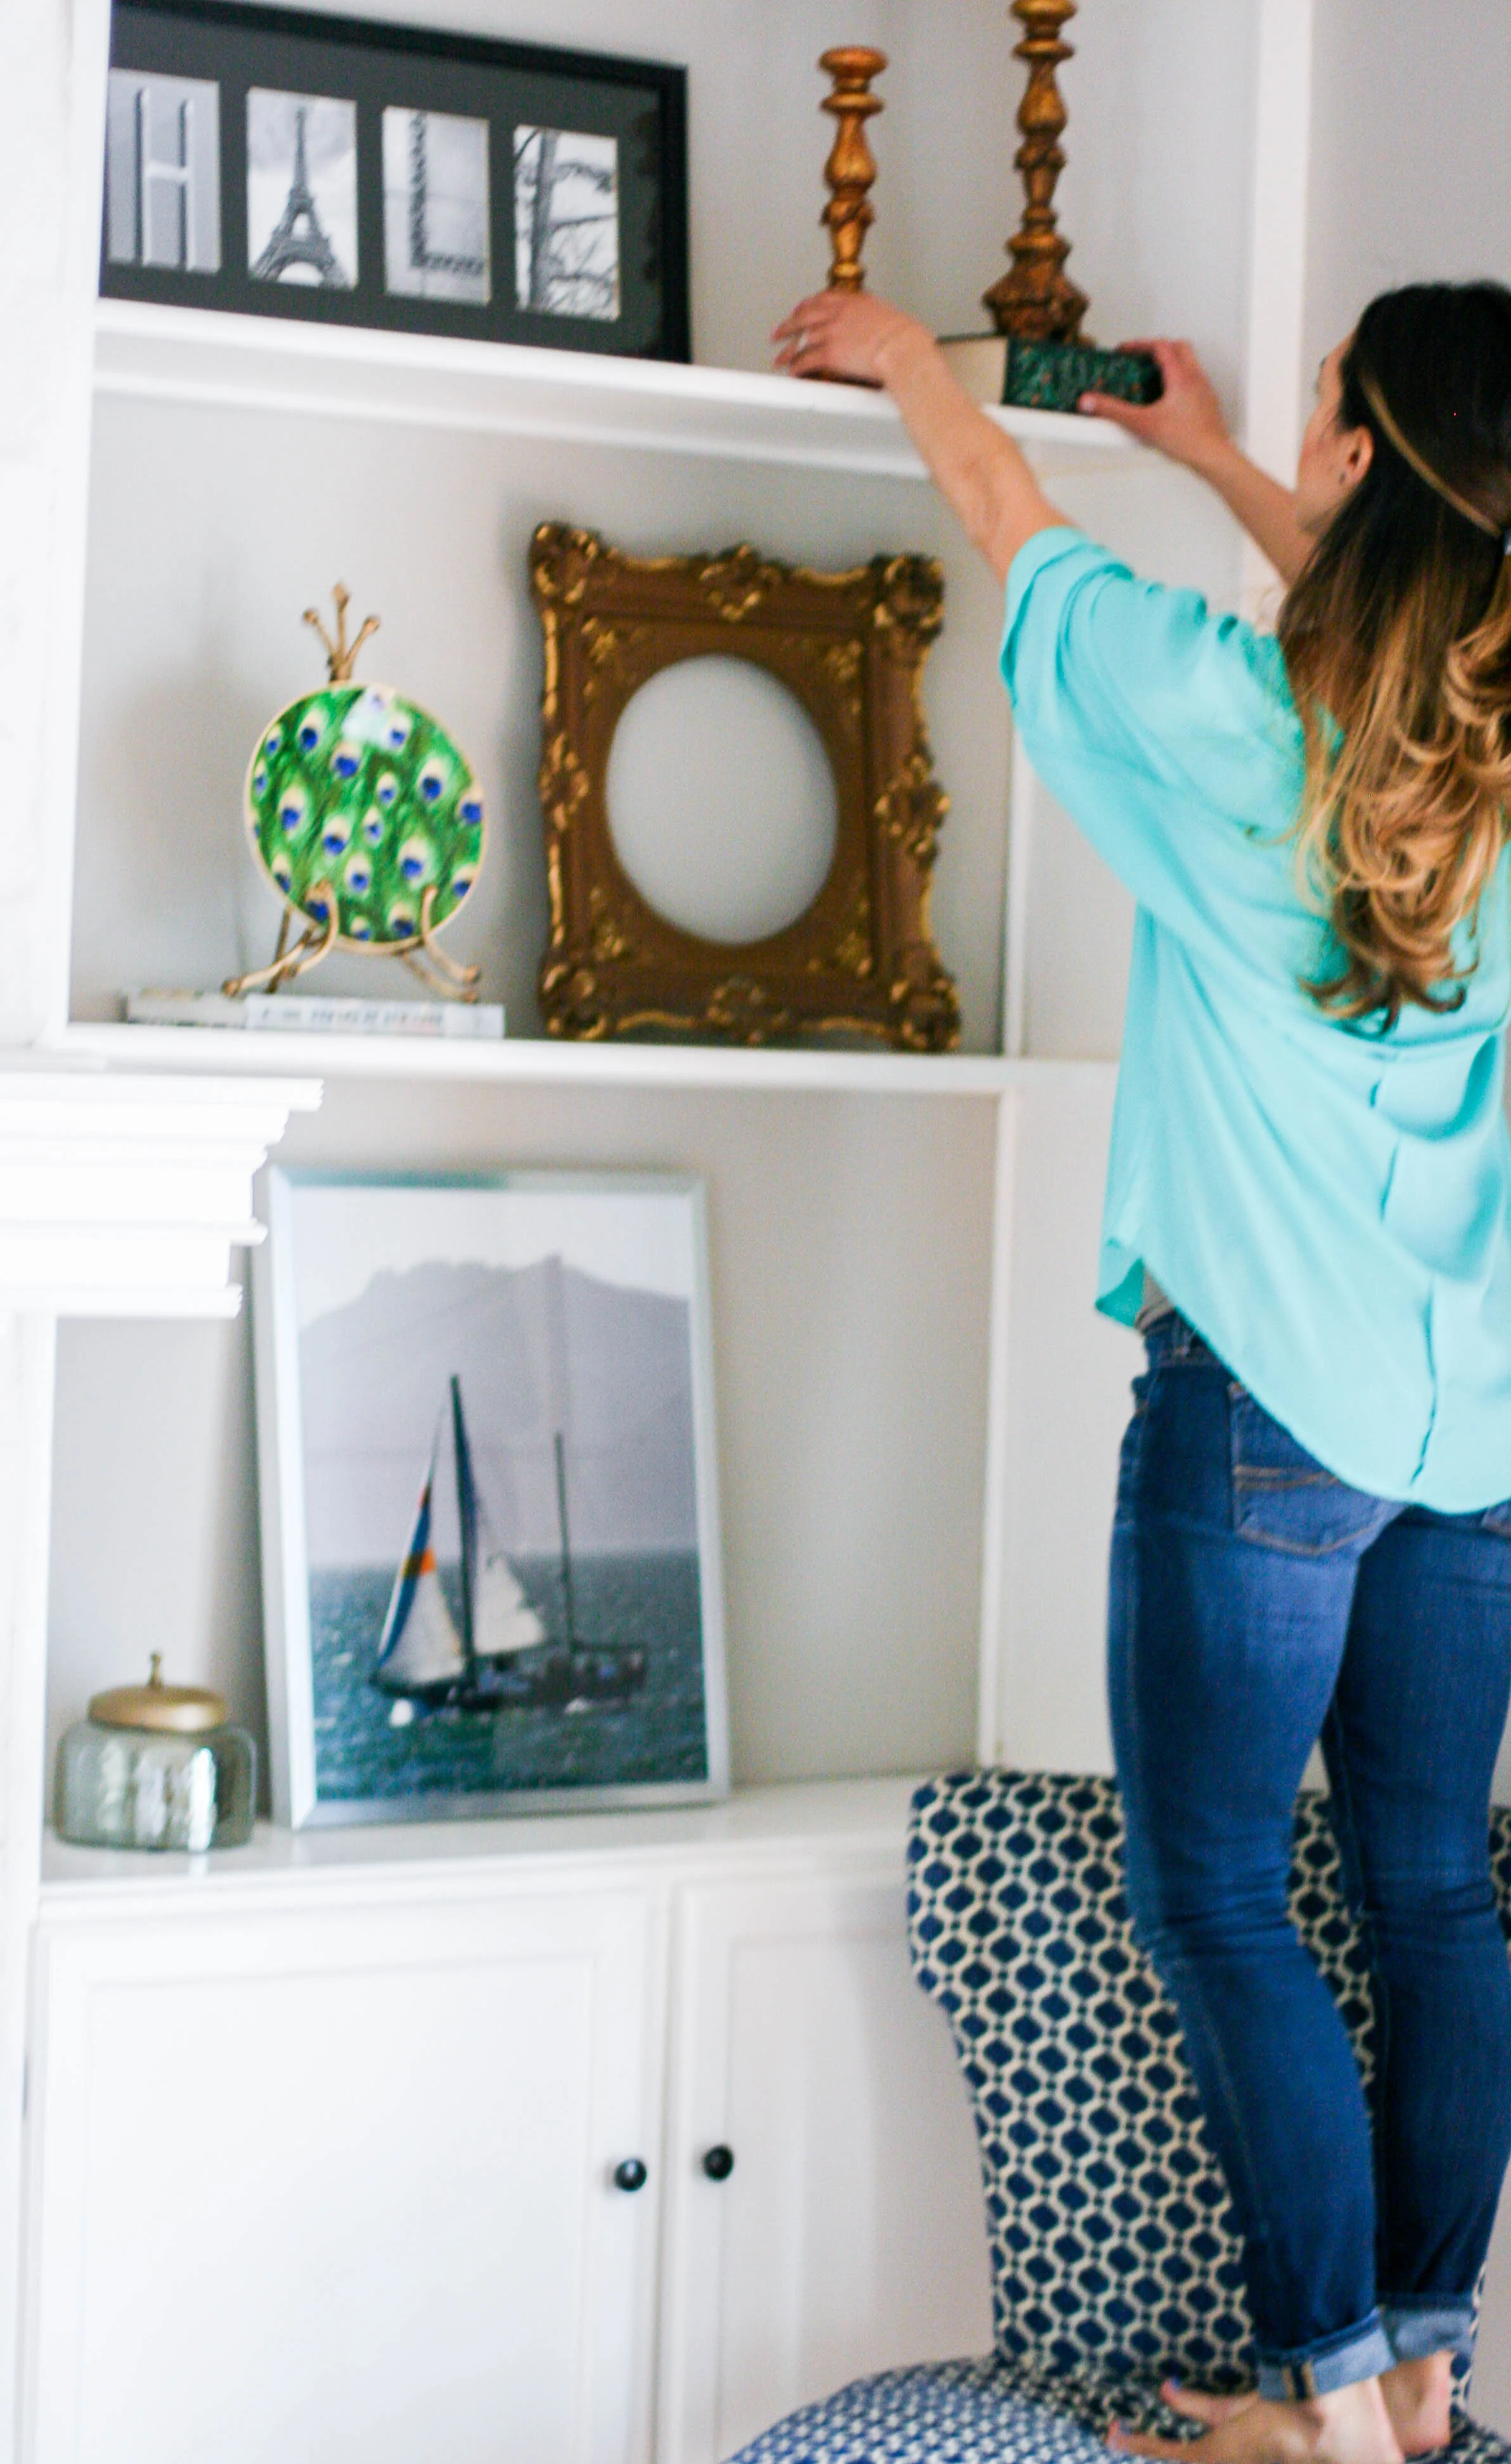
The most important (and often most frustrating) part of home decor is the journey: it's always a work in progress. But instead of letting this get you down, treat it like an exciting journey. There is always something inspiring on the horizon! Keep an eye out for items that you want to trade in and out on your built-ins. It will keep the scene fresh and hopefully keep your inspiration hat on. I am often walking books down stair and pictures upstairs, swapping their position in the house and finding where something feels "final". That almost never happens, but I like to put items somewhere on display for three months or so, then move it again, until it finally feels done. Let yourself enjoy the journey!

Thanks for reading! For more information about the items in this room, you can check the Living Room Home Tour post.

Deck the Halls.

I had a LOT of fun decorating for Christmas this year. We have a new home, the first house we've ever lived in, and it feels really special to be able to make this space completely our own. Before Thanksgiving, I spent a lot of time getting our trees (yes - we got two!!) up and decorated, getting presents wrapped, and hanging the stockings. There is something a little bit magical about "decking the halls" for Christmas, isn't there? You've got to have a hot beverage to return to over and over again, while you assess the progress of your work. And you've got to have Amy Grant Christmas songs in the background, because, I don't know. I just always have. Thanks for programming me, Mom. And you've got to have that wriggly little toddler clobbering around, ready to tear into the presents at any moment, because he just makes it all the more exciting. We had to let him open at least ONE. Because we are the parents. And we get to make that call :)

Shhhhhh! Stevie doesn't know that the stockings actually have gifts in them yet :)

Shhhhhh! Stevie doesn't know that the stockings actually have gifts in them yet :)

Little target finds. Aren't they the cutest?

Little target finds. Aren't they the cutest?

I might have made them kiss.

I might have made them kiss.

Thanks to my sister Rachel for taking these pics. And fishtailing my hair. She's so talented.

Thanks to my sister Rachel for taking these pics. And fishtailing my hair. She's so talented.

Present time!

Present time!

He loves Elmo these days!

He loves Elmo these days!

// Woodland Stockings - Pottery Barn Kids // Ornaments - Mostly Target // Tree Topper - The Nest // Hand-Lettered Print (Bottom Left) - Jenny Highsmith //

// Woodland Stockings - Pottery Barn Kids // Ornaments - Mostly Target // Tree Topper - The Nest // Hand-Lettered Print (Bottom Left) - Jenny Highsmith //

I hope your Christmas decorating is going merrily! We might do a little more on the outside of the house. Having Stevie climb up on the roof makes me nervous, but a few lights in the bushes couldn't be all that bad :)

Merry Christmas friends! Have fun decking your halls!

P.S. - A Christmas giveaway you don't want to miss.

Upcycled Living Room Toy Cabinet.

Kelly Green Toy Cabinet

This is perhaps my favorite upcycled piece I've ever done. I was given an old TV cabinet in the slew of free furniture we were given when we moved, and I knew I wanted to turn it into a storage space for Everett's toys in our entertainment room. This actually belonged to my elementary school librarian, Ms. Olham, and was given to someone else, who then gave it to us, so this particular piece of furniture actually has a bit of sentimental value. I was kind of a book nerd, and spent a lot of time in the library as a kid, so I knew I wanted to keep this piece and make it something special. Because of it's largeness and depth, Stevie wasn't sure it would work in the entertainment room, but I knew I had to find a way to make it work. Because, Mrs. Oldham! As I brainstormed about what I wanted for this piece, I was feeling so inspired by the rich shade of Kelly green. I couldn't shake it. So I went with it! Our entertainment room has taken on a vivid, bohemian vibe, and I can't wait to share photos of the entire space once I'm finally finished with it. This piece is one of the centerpieces of the room and I am so so thrilled with how it turned out.

Here is the before:

As you can see, the piece was a lovely mohaghany cabinet with brassy hardware, but it felt a bit bulky and dated. Since I had some success with chalky paint on my bedroom furniture, I decided to tackle this one with the same approach. But this time - I made my own chalky paint! I will share how incredibly easy it is next week on the blog. But trust me - you will never want to pay high dollar for chalk paint again.

It's a little challenging to capture the exact color, but I chose Behr Balsam, a flat interior/exterior paint. And I managed to cover this entire cabinet with just one sample size! Hello, savings. I love you.

After the first coat, things were looking a bit streaky and turquoise-y. I chose not to be fearful.

After the second coat, things were looking extremely matte and, well, bright. Like Sesame Street bright. Much brighter than I had expected. Again, I chose not to question the color choice. I knew I could tone it down in the steps to come.

The inside remained mahogany. Isn't it sort of sad looking? We will get to that in a minute.

Next I sanded the furniture using an extremely course sand paper, 80 grit. I focused on all the edges, crevices, and hardware. Then I just kept going and sanded the surfaces as well, wearing it down to expose the brown underneath in some areas. Just for fun. Because who doesn't like beating stuff up?

Then I decided to get a little crazy. Okay, crazier than painting a cabinet green. I grabbed another paint sample that I had chosen on a whim while I was at Home Depot, one that I had literally no plan for and just bought because I thought it was so pretty... and decided, what the heck? I'll coat the inside of the cabinet with this sapphire-esque blue! Because apparently I am turning my entertainment room into an arabian bazaar. So Behr Indigo Batik coated the inside of the cabinet. And my soul rejoiced.

Rejoice, oh soul. Rejoice.

Then things got really crafty. I used this Varathane Wood Stain in Kona to tone down the shade of the green and give the furniture an antique effect. There are a lot of antiquing waxes on the market, but this was by far the least expensive way to achieve the same effect. I used an old cut up tee shirt to rub on the stain in small sections, then I immediately wiped it off. The stain really soaked into the edges and crevices that I had sanded down, and made the whole piece look like it had been living in the dark corner of an a genie's lair for like a thousand years. Mission, accomplished.

Yum. I couldn't be happier with the finished product.

After the stain dried, I coated the entire piece with Valspar's Chalky Finish Sealing Wax. This protects the paint, so that it doesn't further chip, and also gives it a nice matte sheen.

And there you have it! Everett's toy mecca in our entertainment room. I love the piece so much. I'll admit that my original plan was for the piece to look a bit darker and more Kelly green, but you never quite know how a color is going to turn out until you just go for it. I still love this shade and it's the perfect pop of color for the room. The total cost for this DIY? About $7 for the two paint samples. And that's rounding up. I had the wood stain and sealing wax already, and paid nothing for the furniture itself.

This has become the place to store all of Everett's toys and keeps them out of sight when we want the room to look clean. And he loves toddling over to his cabinet, throwing open both of the doors, and seeing all his stuffed animals and balls and trucks. I'll try to capture his expression soon so you can see it - it's so stinking darling. He loves and I love it and we are all happy in our bohemian living space.

So what do you think? Have you tried using chalky paint to refresh a piece of furniture before?