

How to Make Your Own Chalky Paint.
/
I've been a painting fiend as of late. Moving into my new house, I've been up to my ears in home decor projects. One small way that I've saved some cash is by making my own chalky finish furniture paint, instead of buying the expensive brands found at most home improvement stores. And I've discovered that this is even better than the store-bought stuff! I want to share a few tips for how to make your own paint and save cash on your furniture renovations.
In case some of you are wondering what is the allure of chalky finish paint is, I'm here to help. The beauty of this type of paint is that you don't have to sand or prime the furniture before you you paint. It simply takes care of those steps for you, which saves hours of time. Here is the method I used and a few tips for making your own batch :)
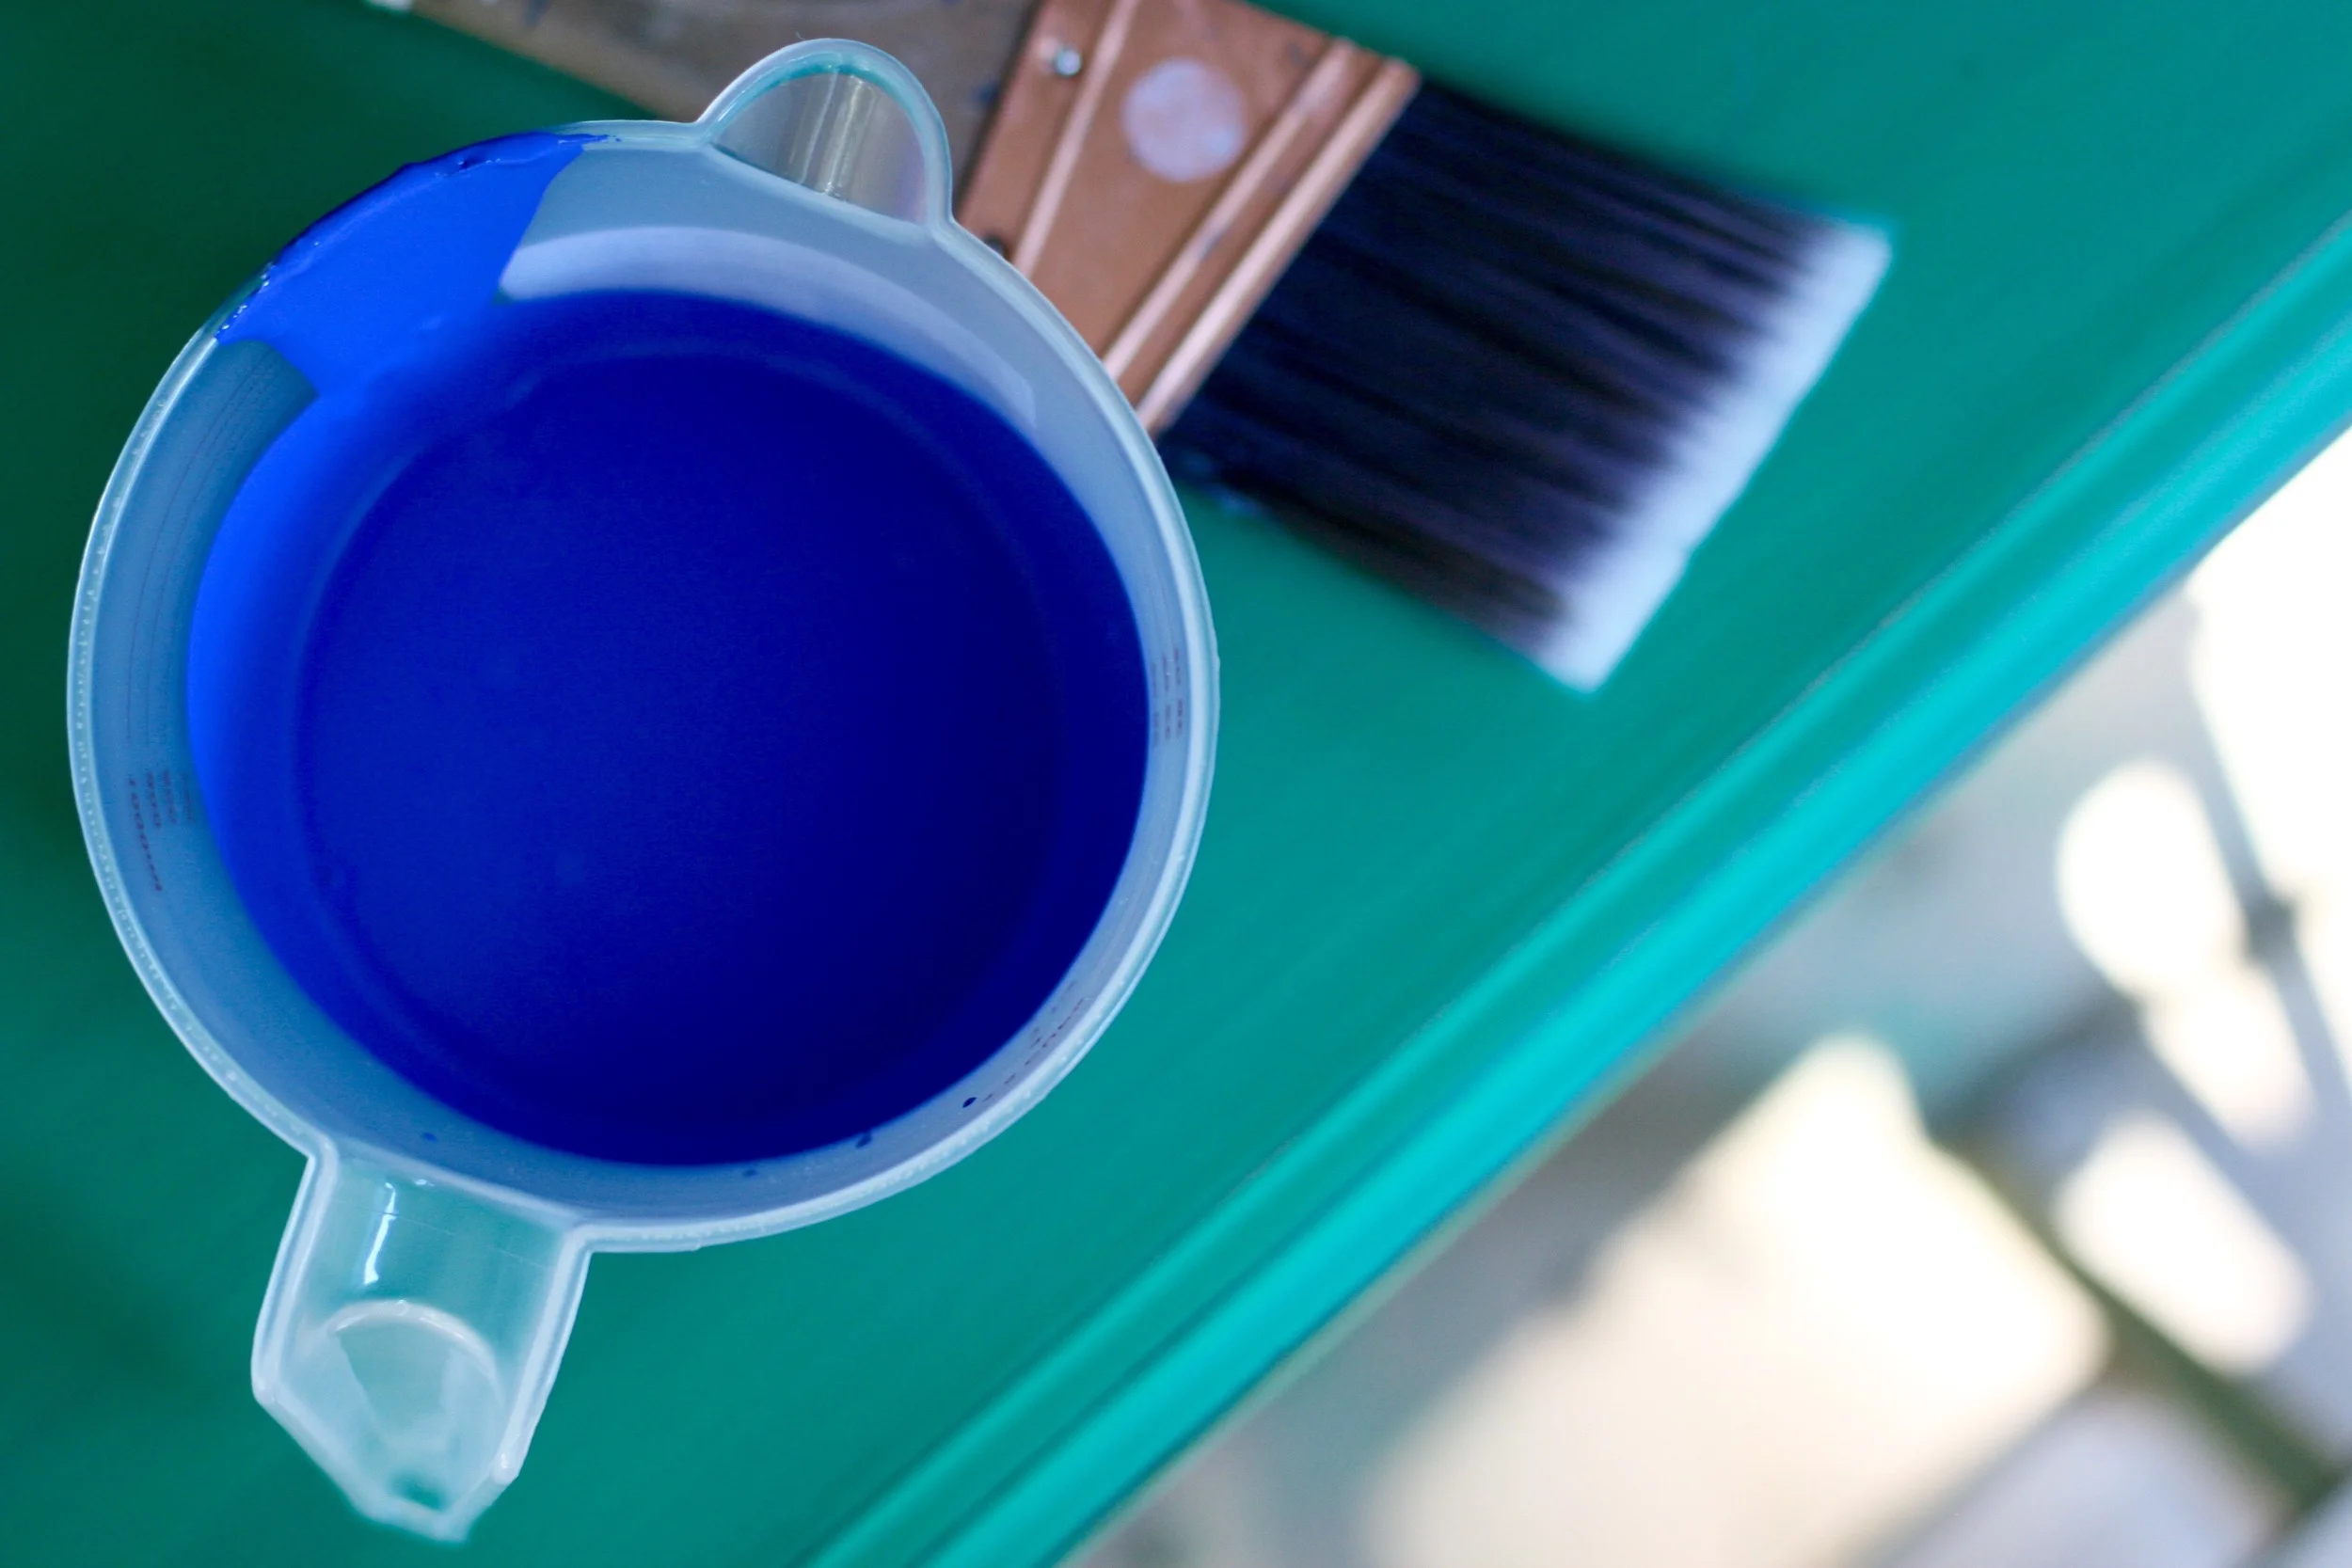
Chalky Paint Ingredients:
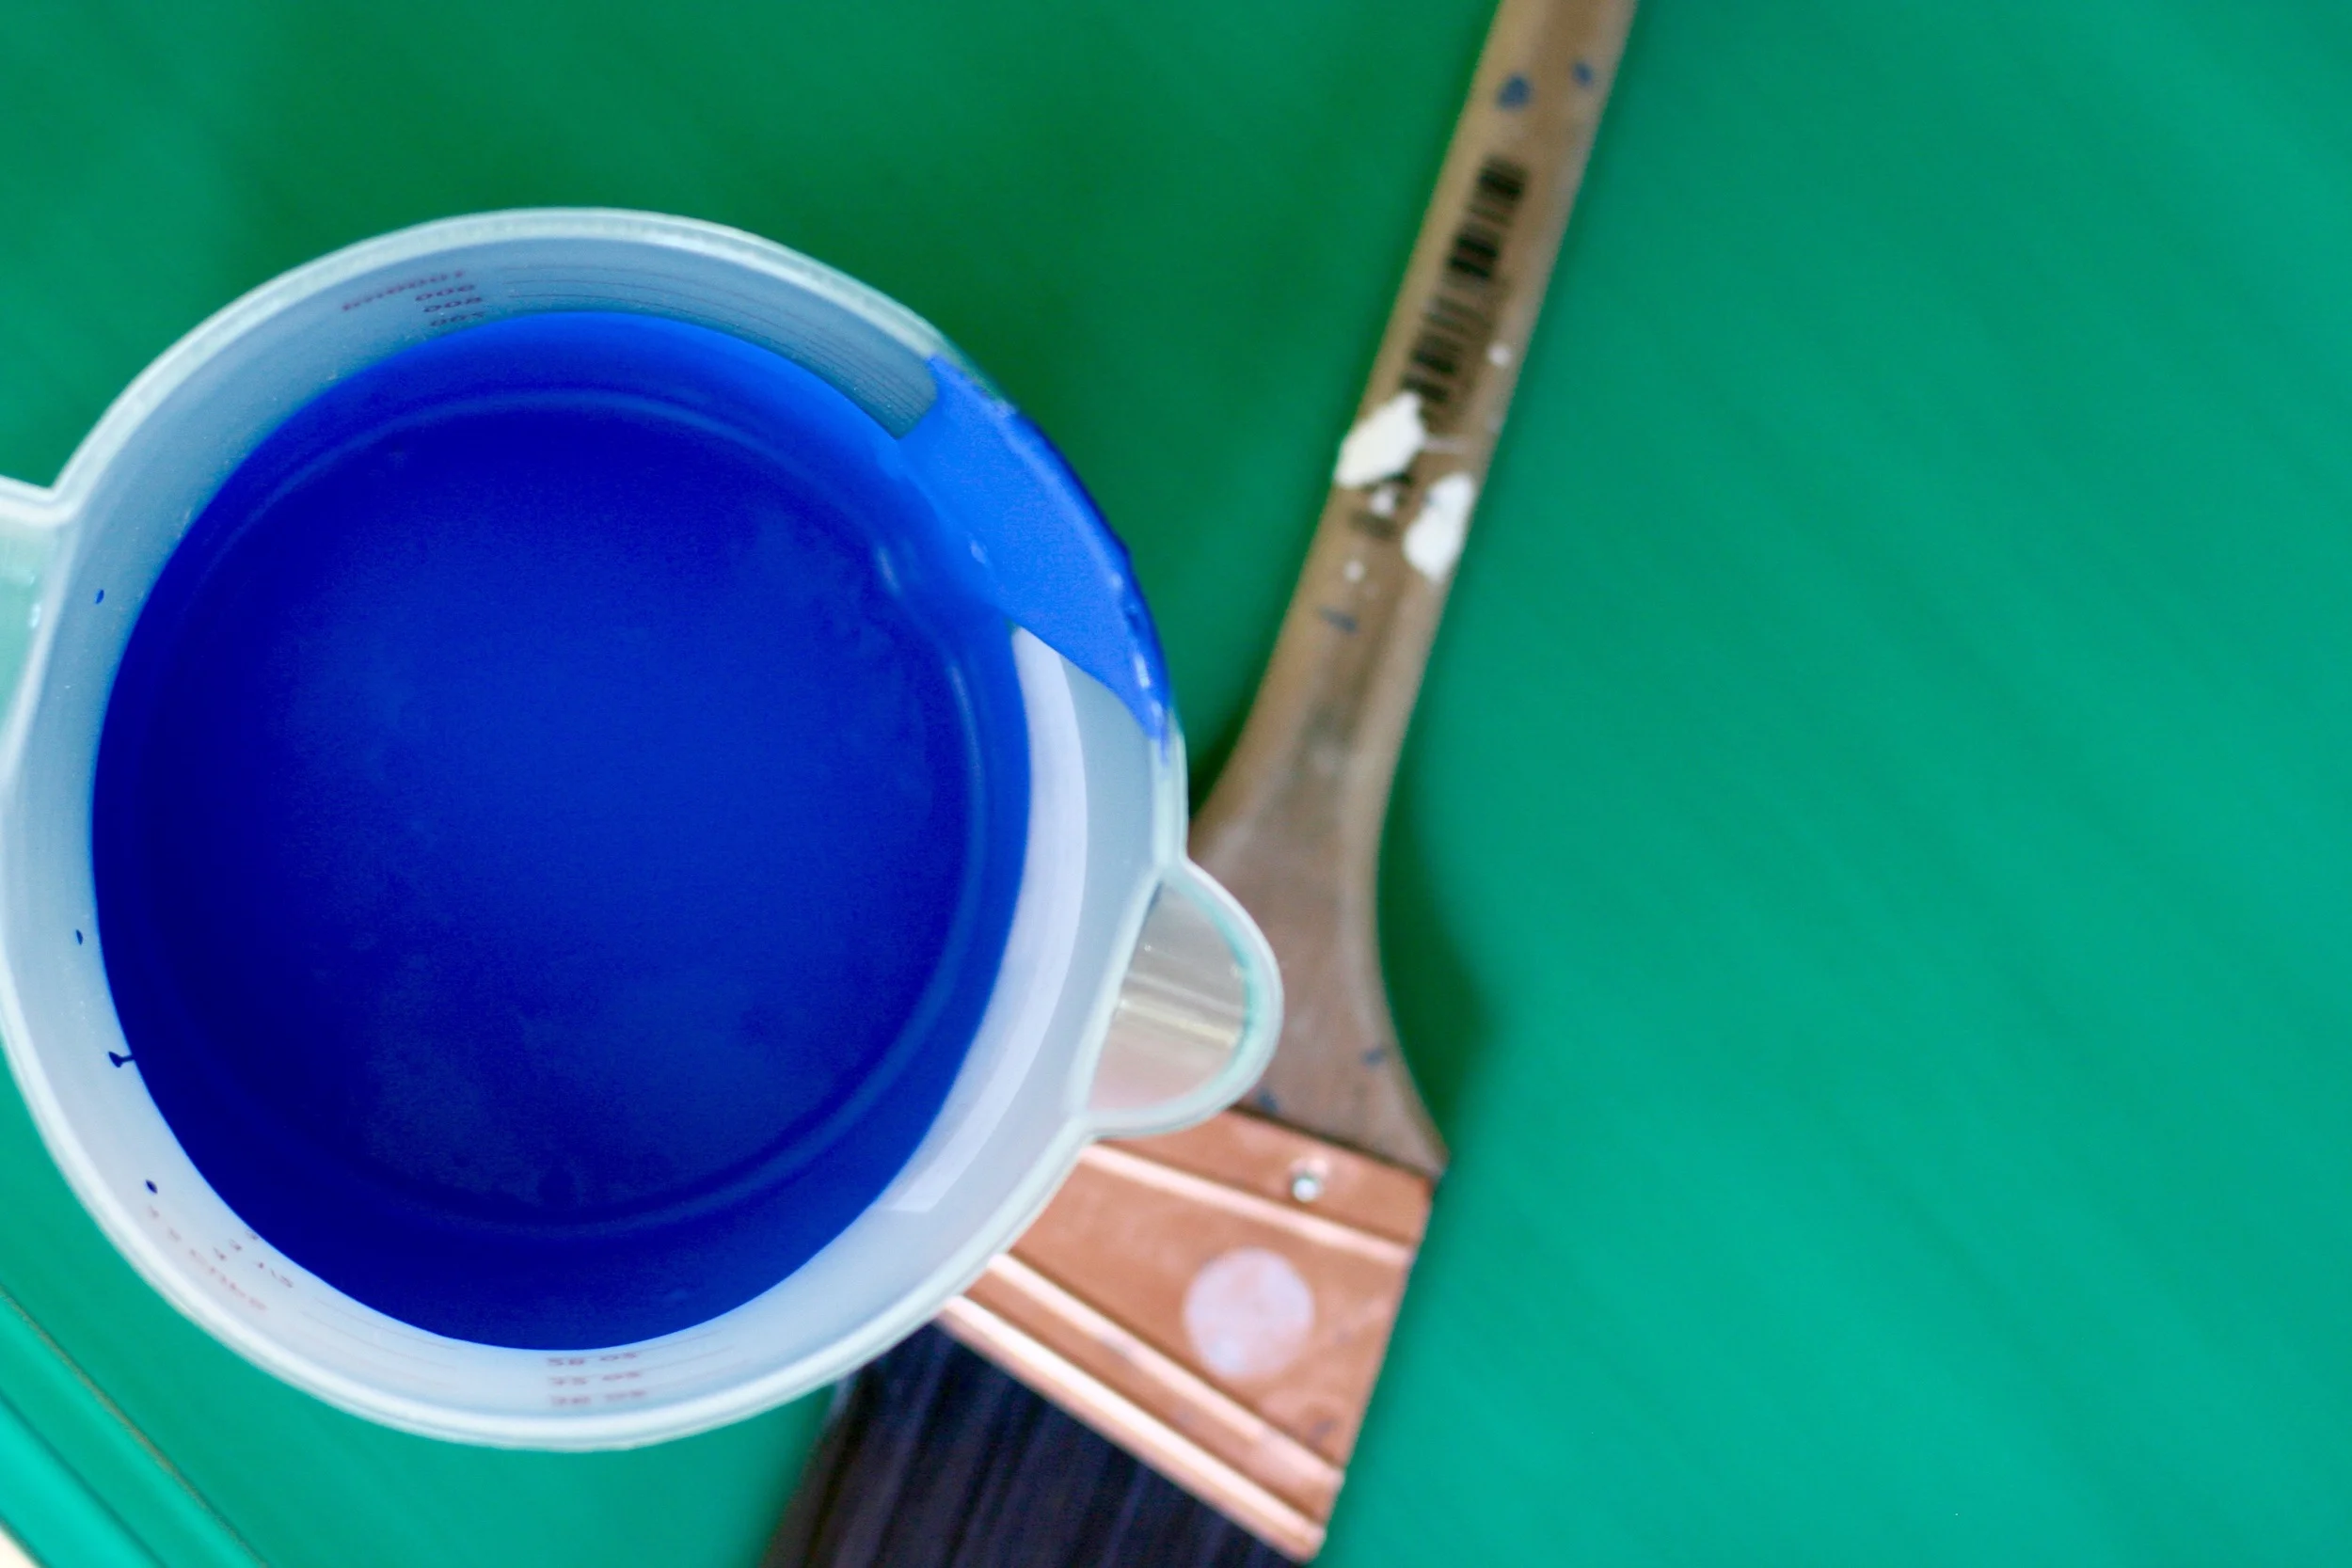
- Any shade of any kind of paint you like to use. The sky is the limit.
- 1 box of Paris of Plaster
- 1 Paint stirrer
- 1 plastic bucket
- A few tablespoons of water

Method:
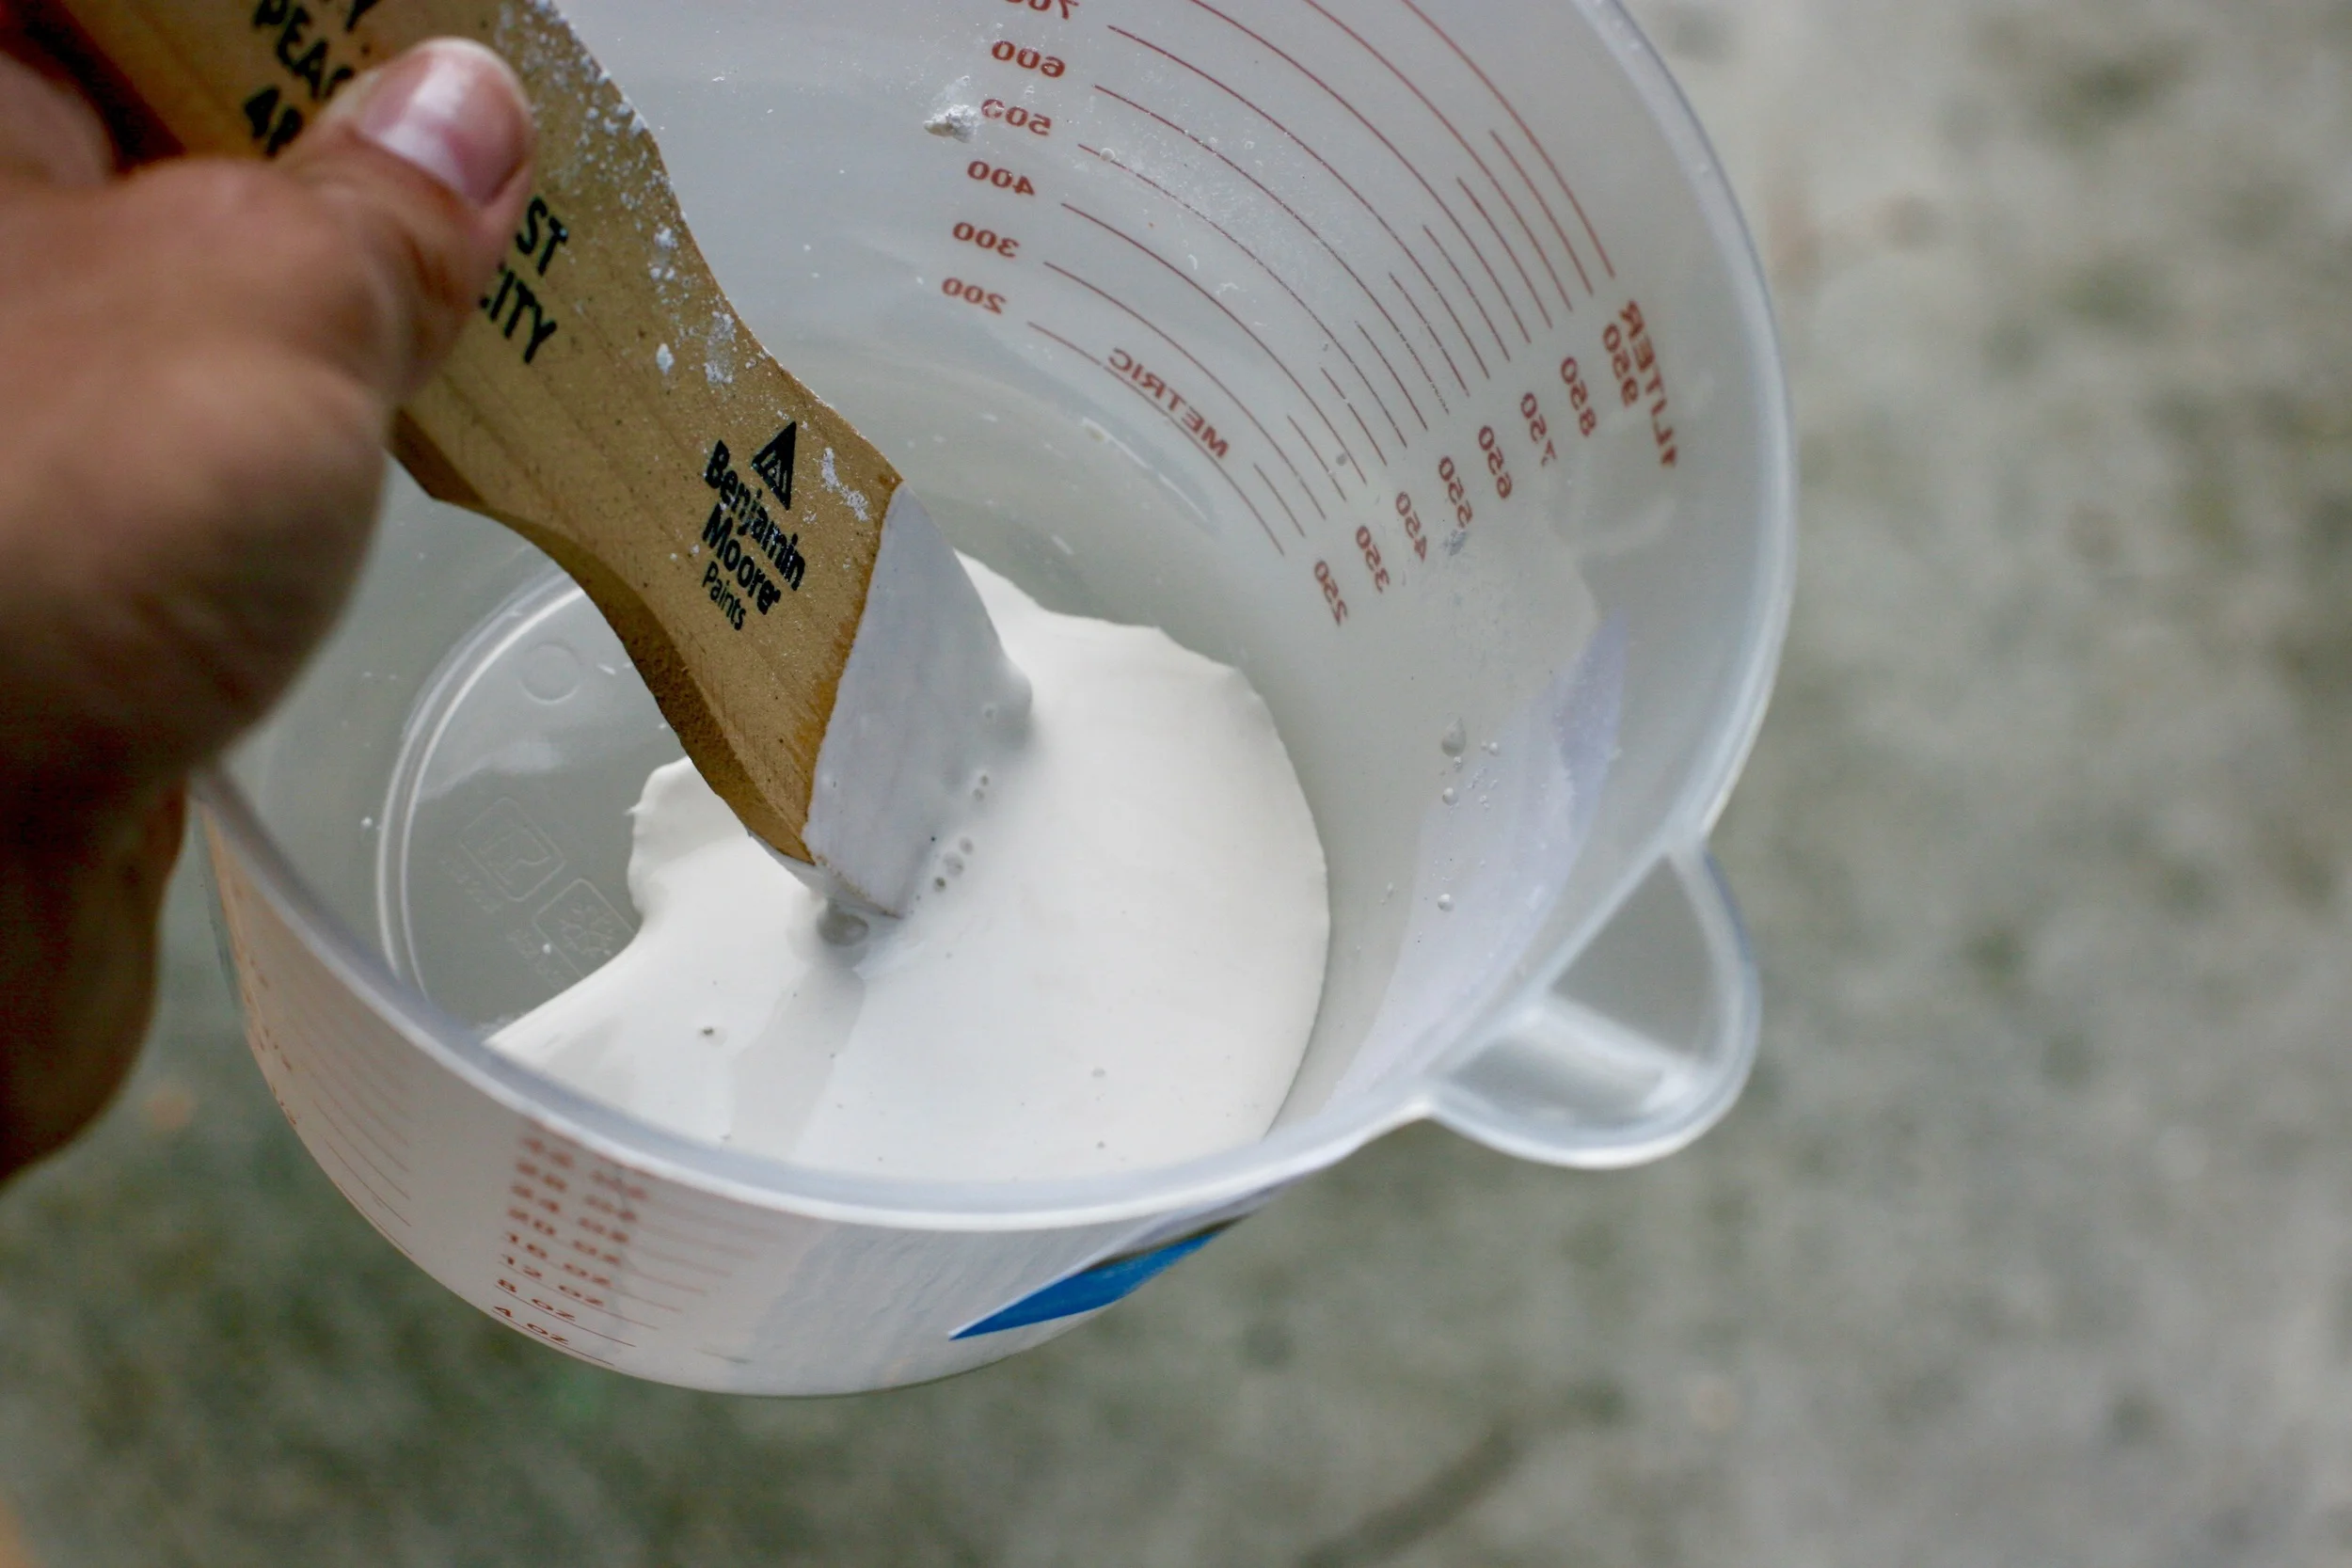
1. Combine 2 tbsp. of water with 2 heaping tbsp. of Paris of Plaster.
2. Using the paint stirrer, mix well until the combination is a smooth, liquid consistency. This batch can be combined with 8 oz. of paint. If you want to make a larger batch, you can double or triple this recipe. Just remember that for every 8 oz. of paint, add another 2 tbsp. of both water and Paris of Plaster. *I like to keep my batches small by using only 8 oz. of paint at a time, see the tips below for my reasoning.
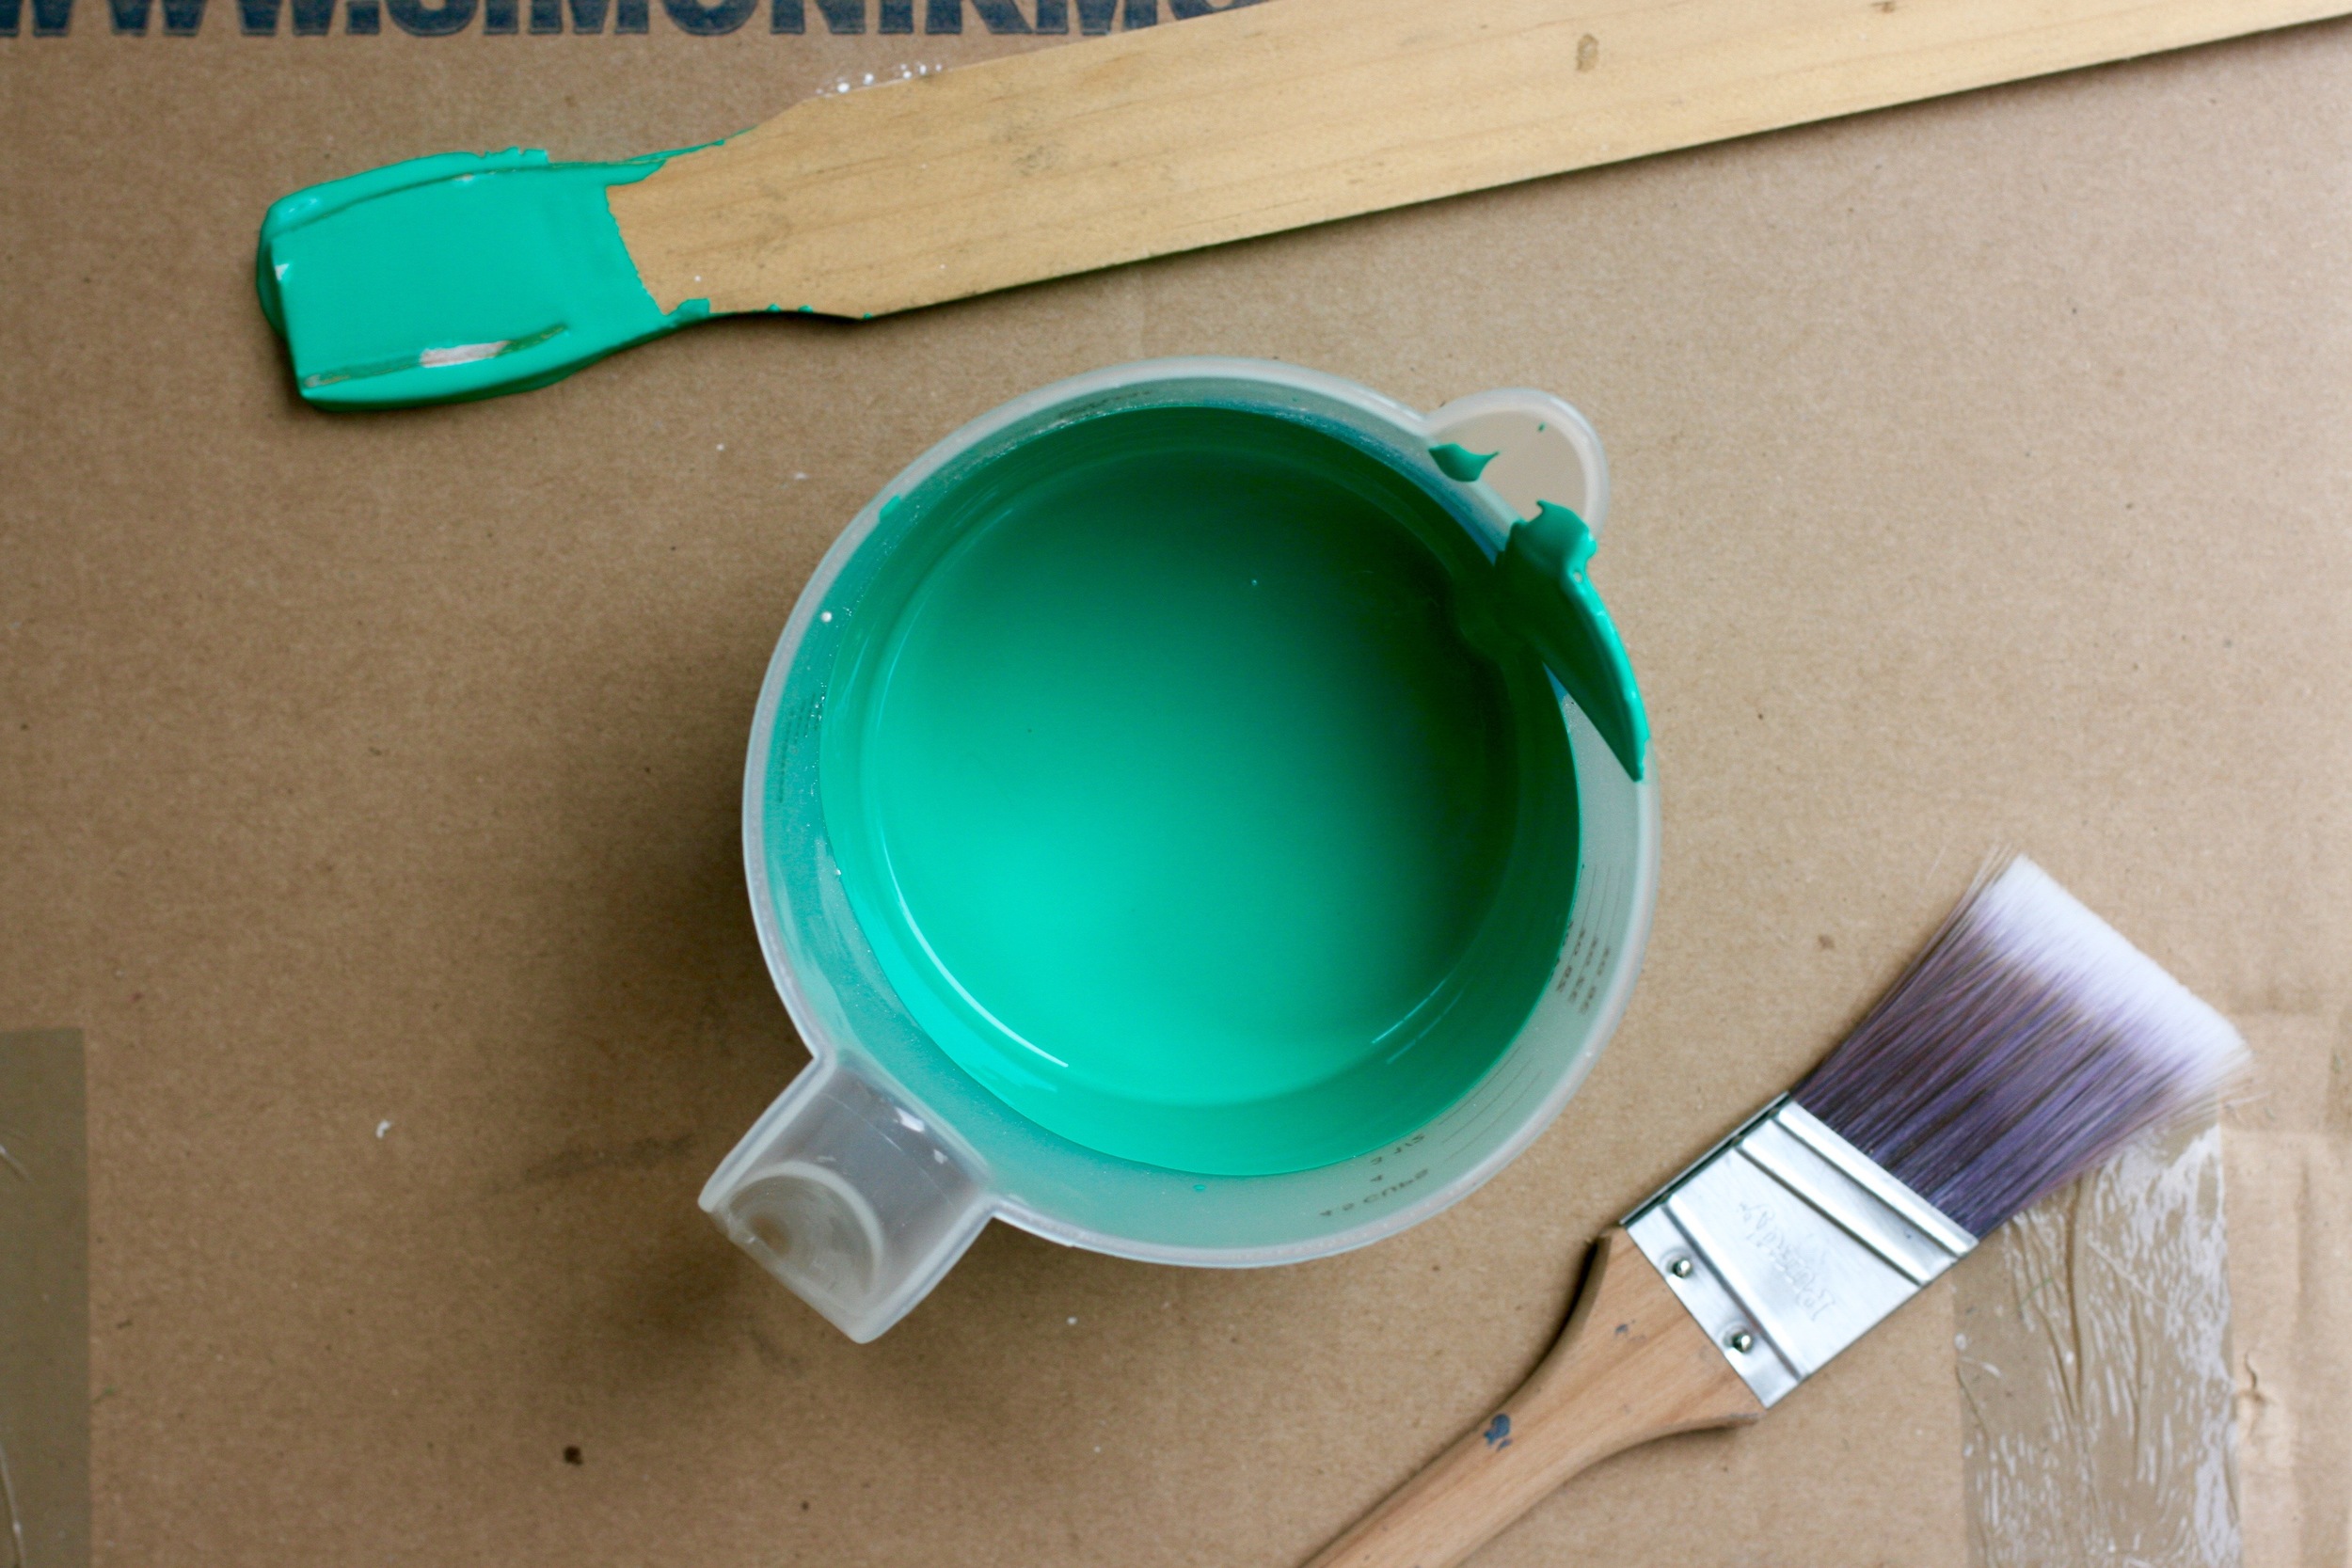
3. Once the paint is combined, you are ready to paint! It's that easy. Seriously. Get your paint on, my friend.
A Few Tips:
1. Choose a shade slightly more vivid than you intend.
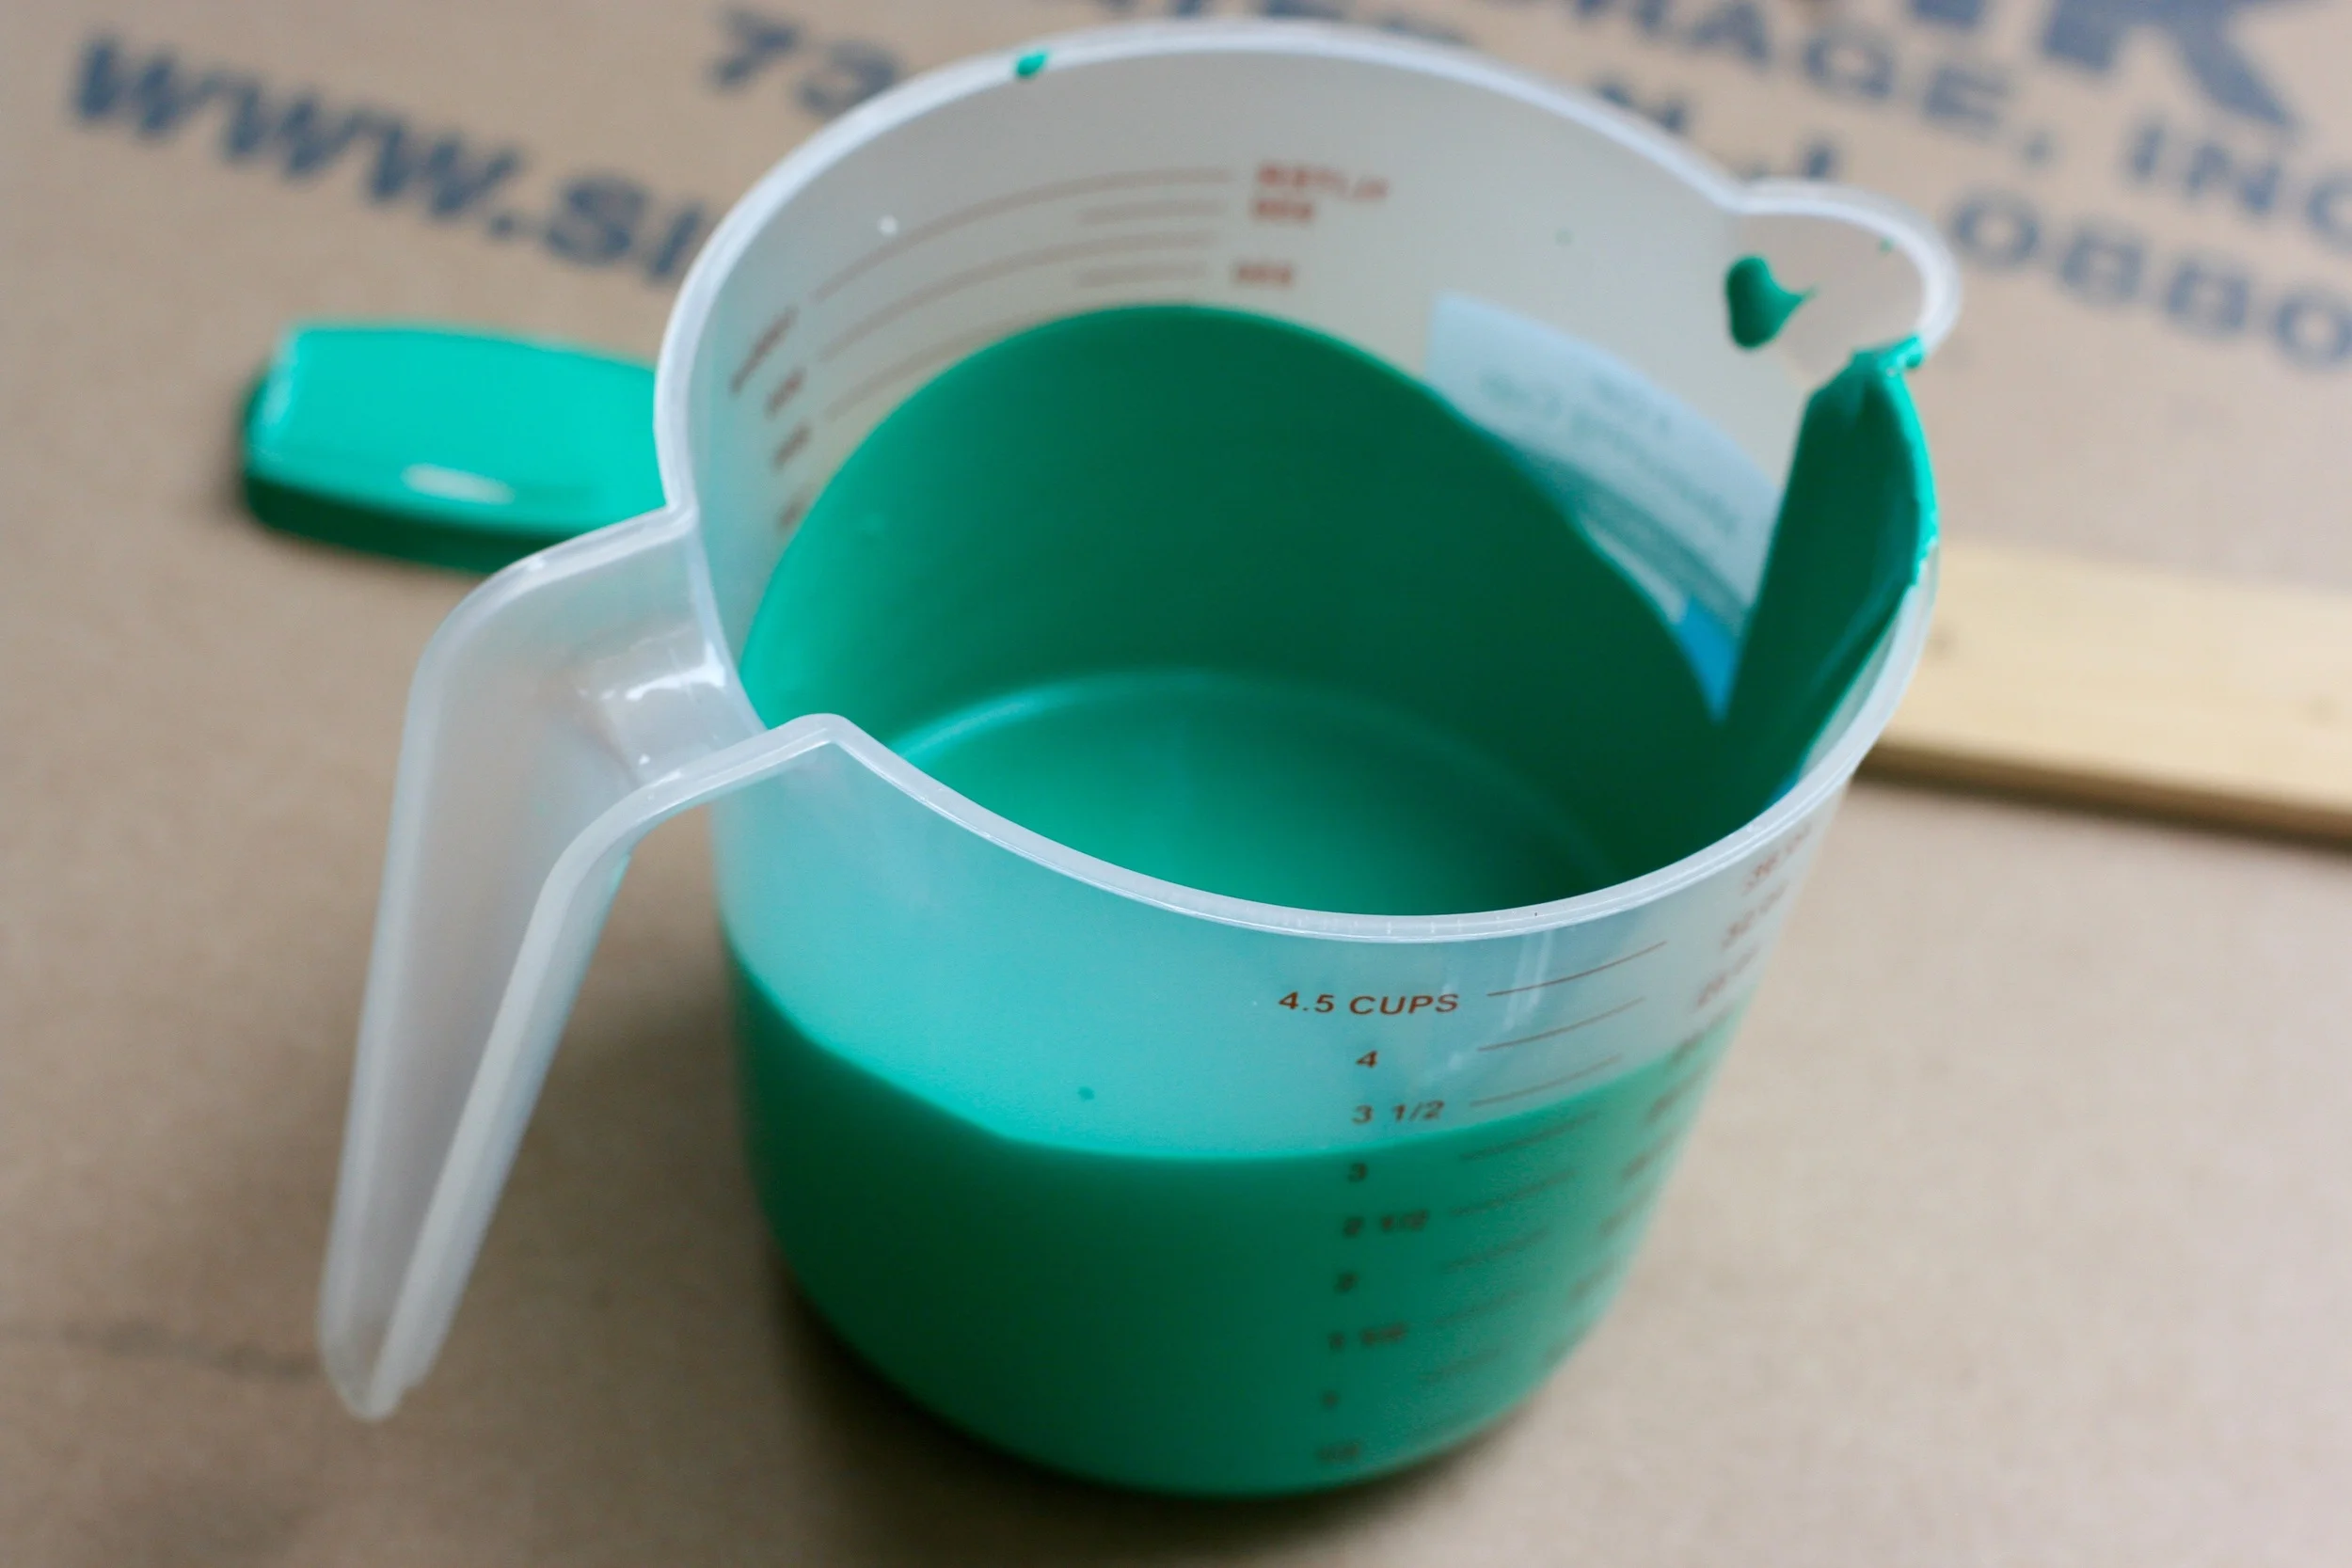
When you make your own Chalky finish paint, there will be a slight lightening of the color because of the water and plaster additions. They thin out the paint a bit. Go ahead and choose one shade darker/more vivid than you prefer, so that the color will balance out correctly.
2. Use the entire batch at once.
Because of the ingredients in this mixture, you cannot save any leftover paint for later. The plaster eventually settles and becomes chunky, and you cannot remix it to the exact same consistency. So when you're ready to paint, go ahead and use the entire batch. Then if you want to paint additional coats, you will have to remix another batch. For this reason, I like to make small batches and use up what I have.
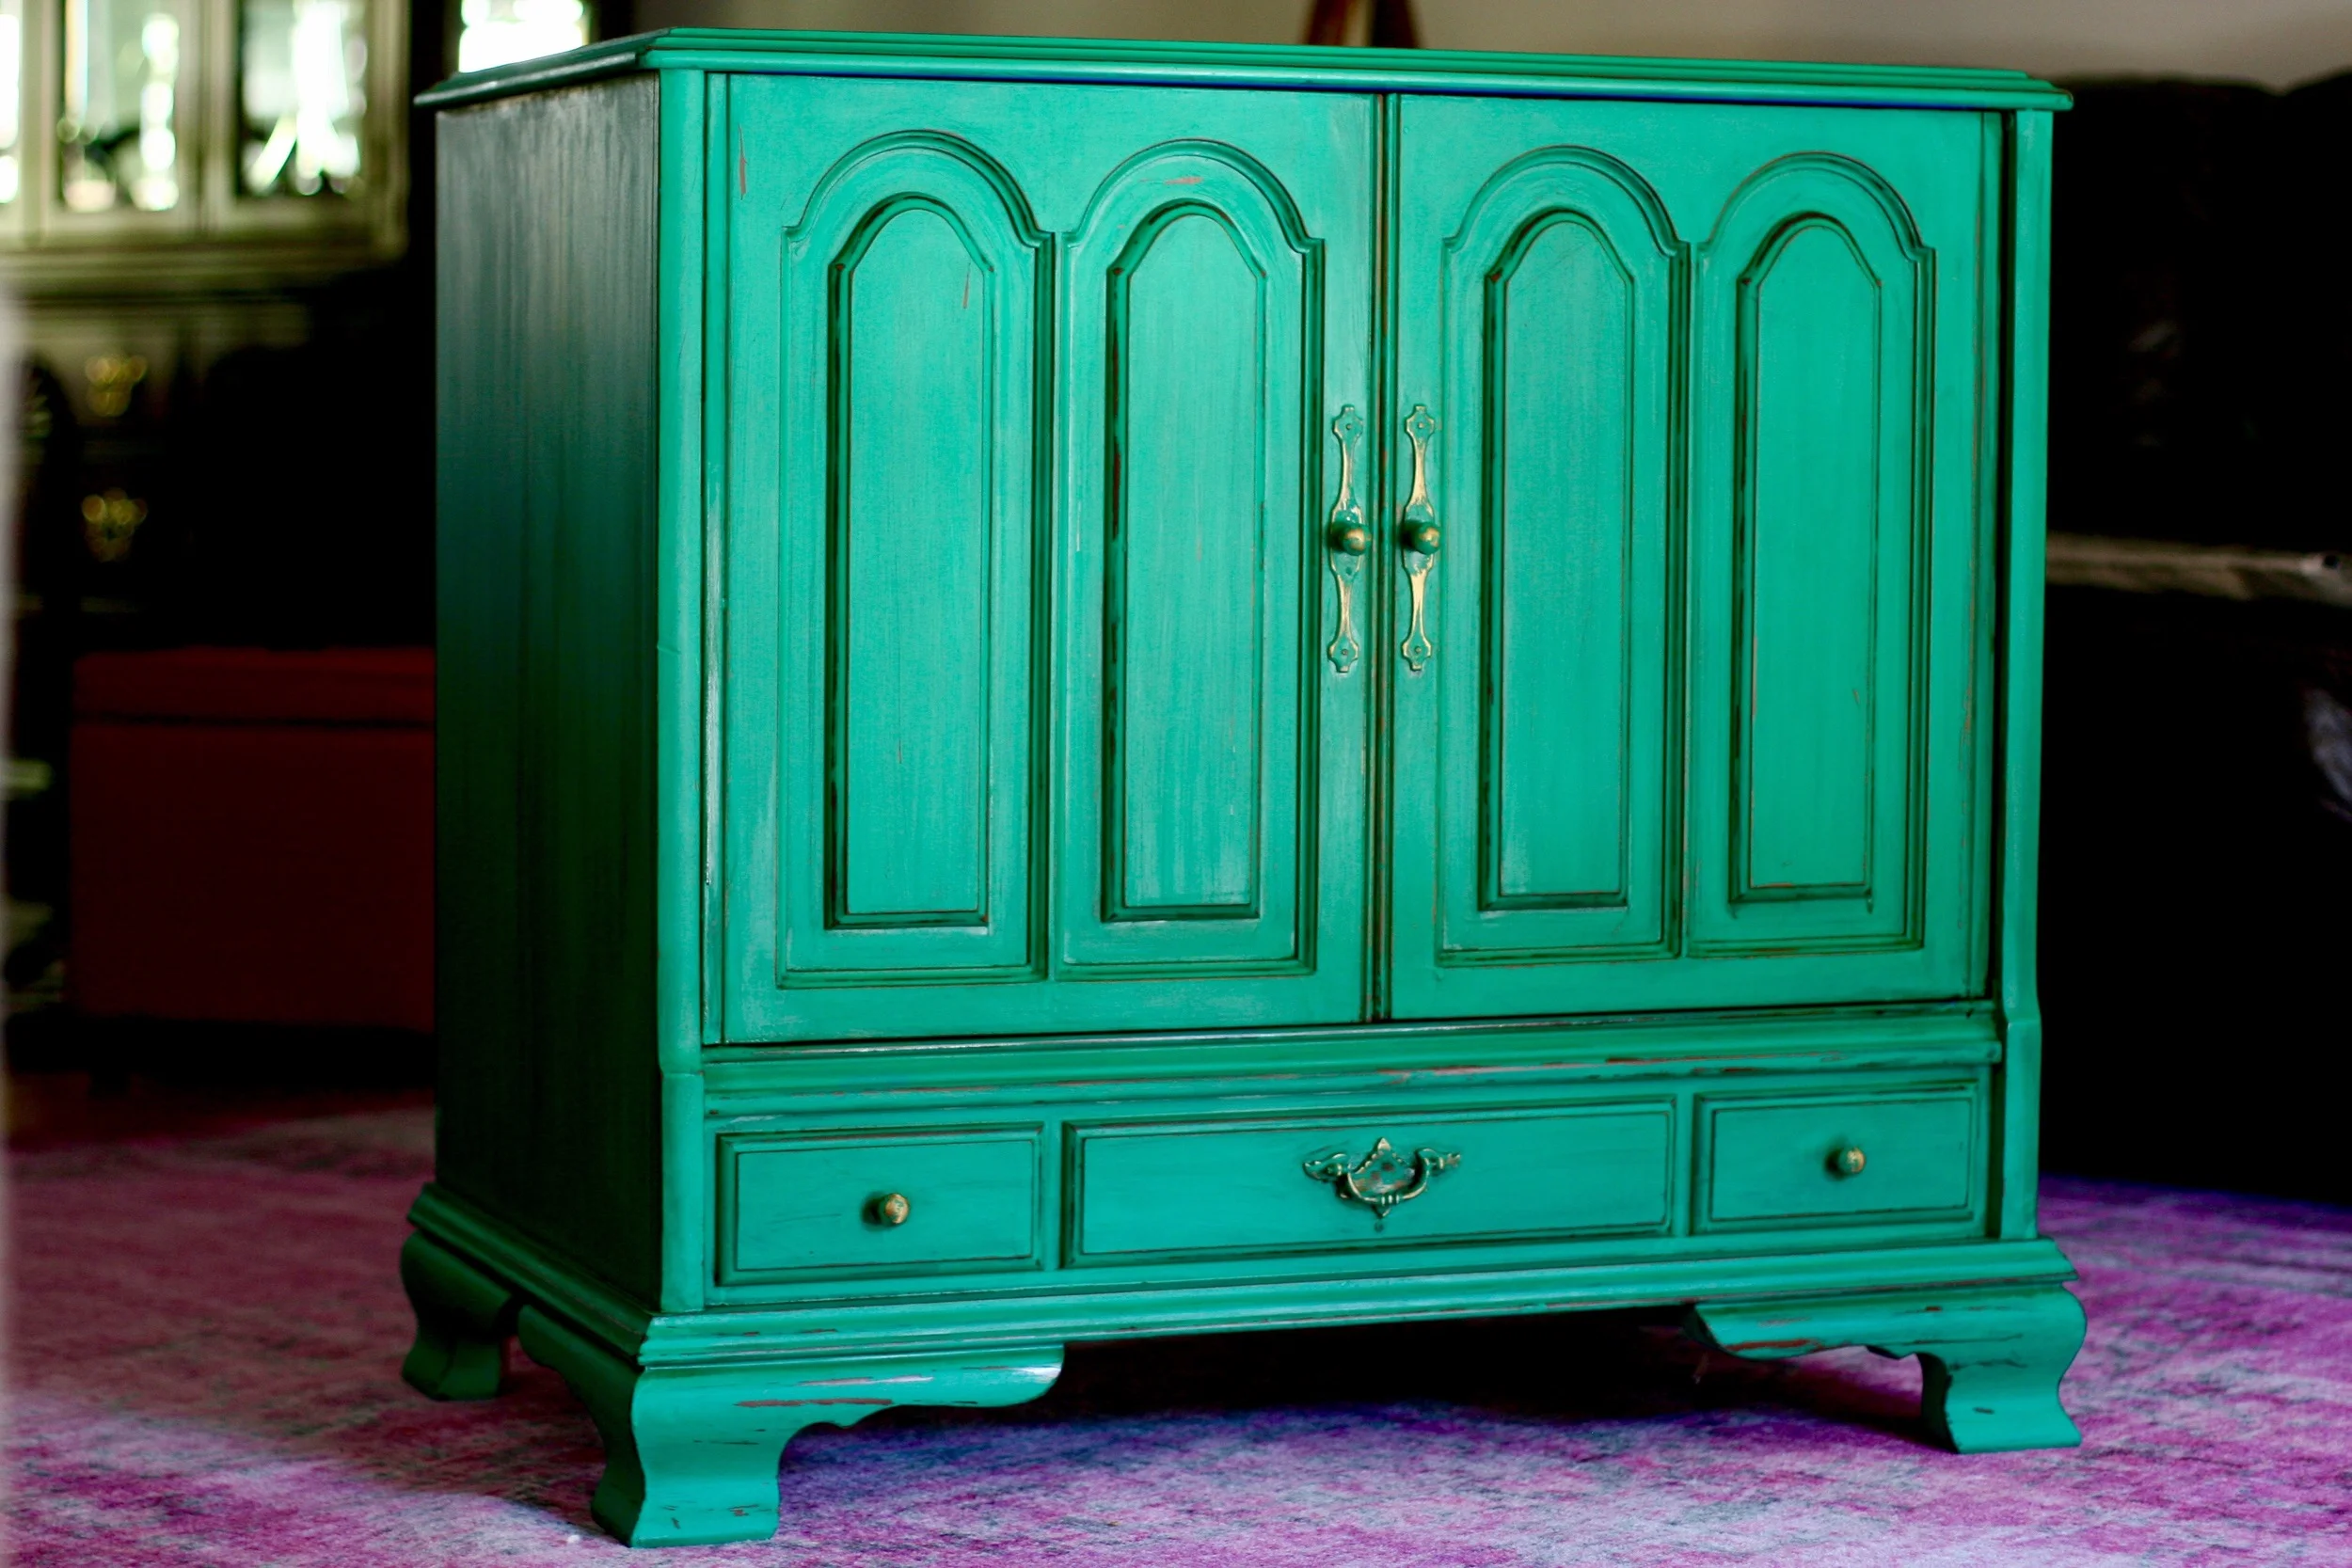
3. Sanding and Finishing will add more texture.
Chalky paint dries to a very matte finish. If you want a little more contrast, depth and texture, I would follow up with some light sanding, perhaps some antiquing (you can see how I distressed and antiqued this Living Room Toy Cabinet), and a finishing coat for protection. If you like a high gloss, you can go with a polyurethane, or if you like something more satin-y, I like this Valspar Chalky Finish Sealing Wax.
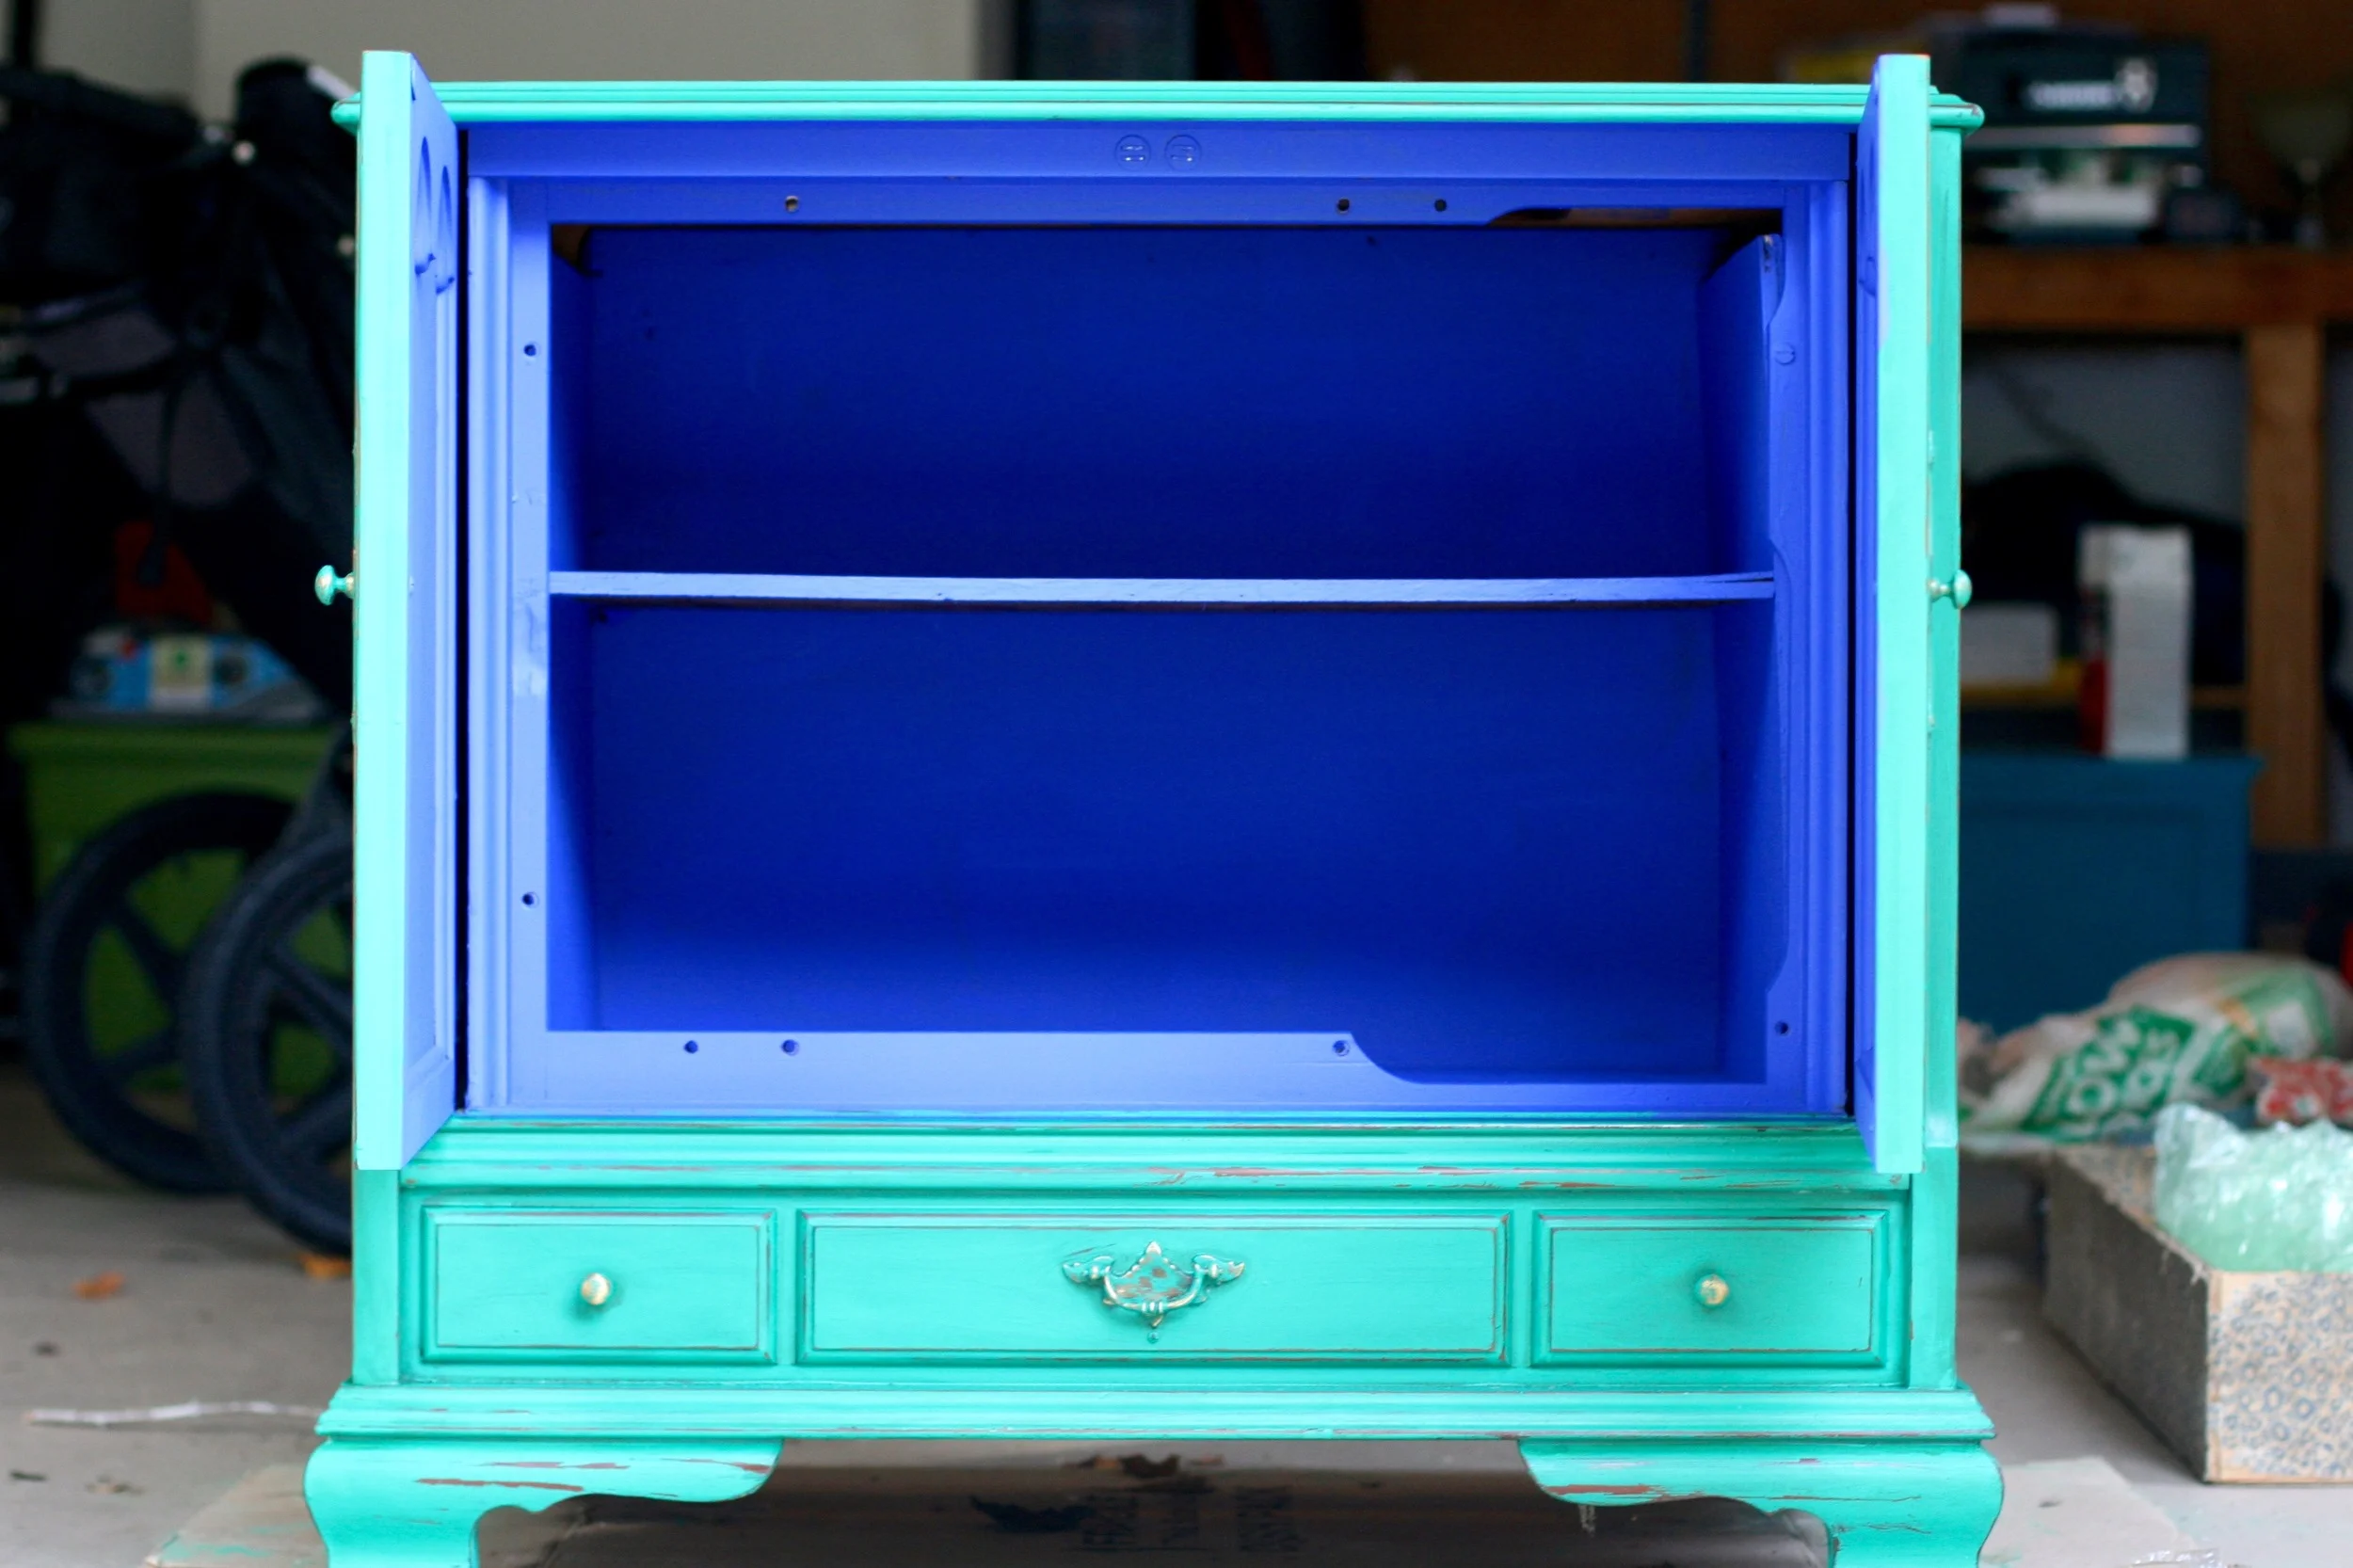
As you can see above, this is my recent homemade chalky paint labor of love. And I am certainly in love with it! Especially the price tag, which was about $15 total, for all the gear and ingredients. Can't beat that!
Let me know if you try this recipe out and how it works for you. Happy painting, friends!


