Upcycled Buffet Table.

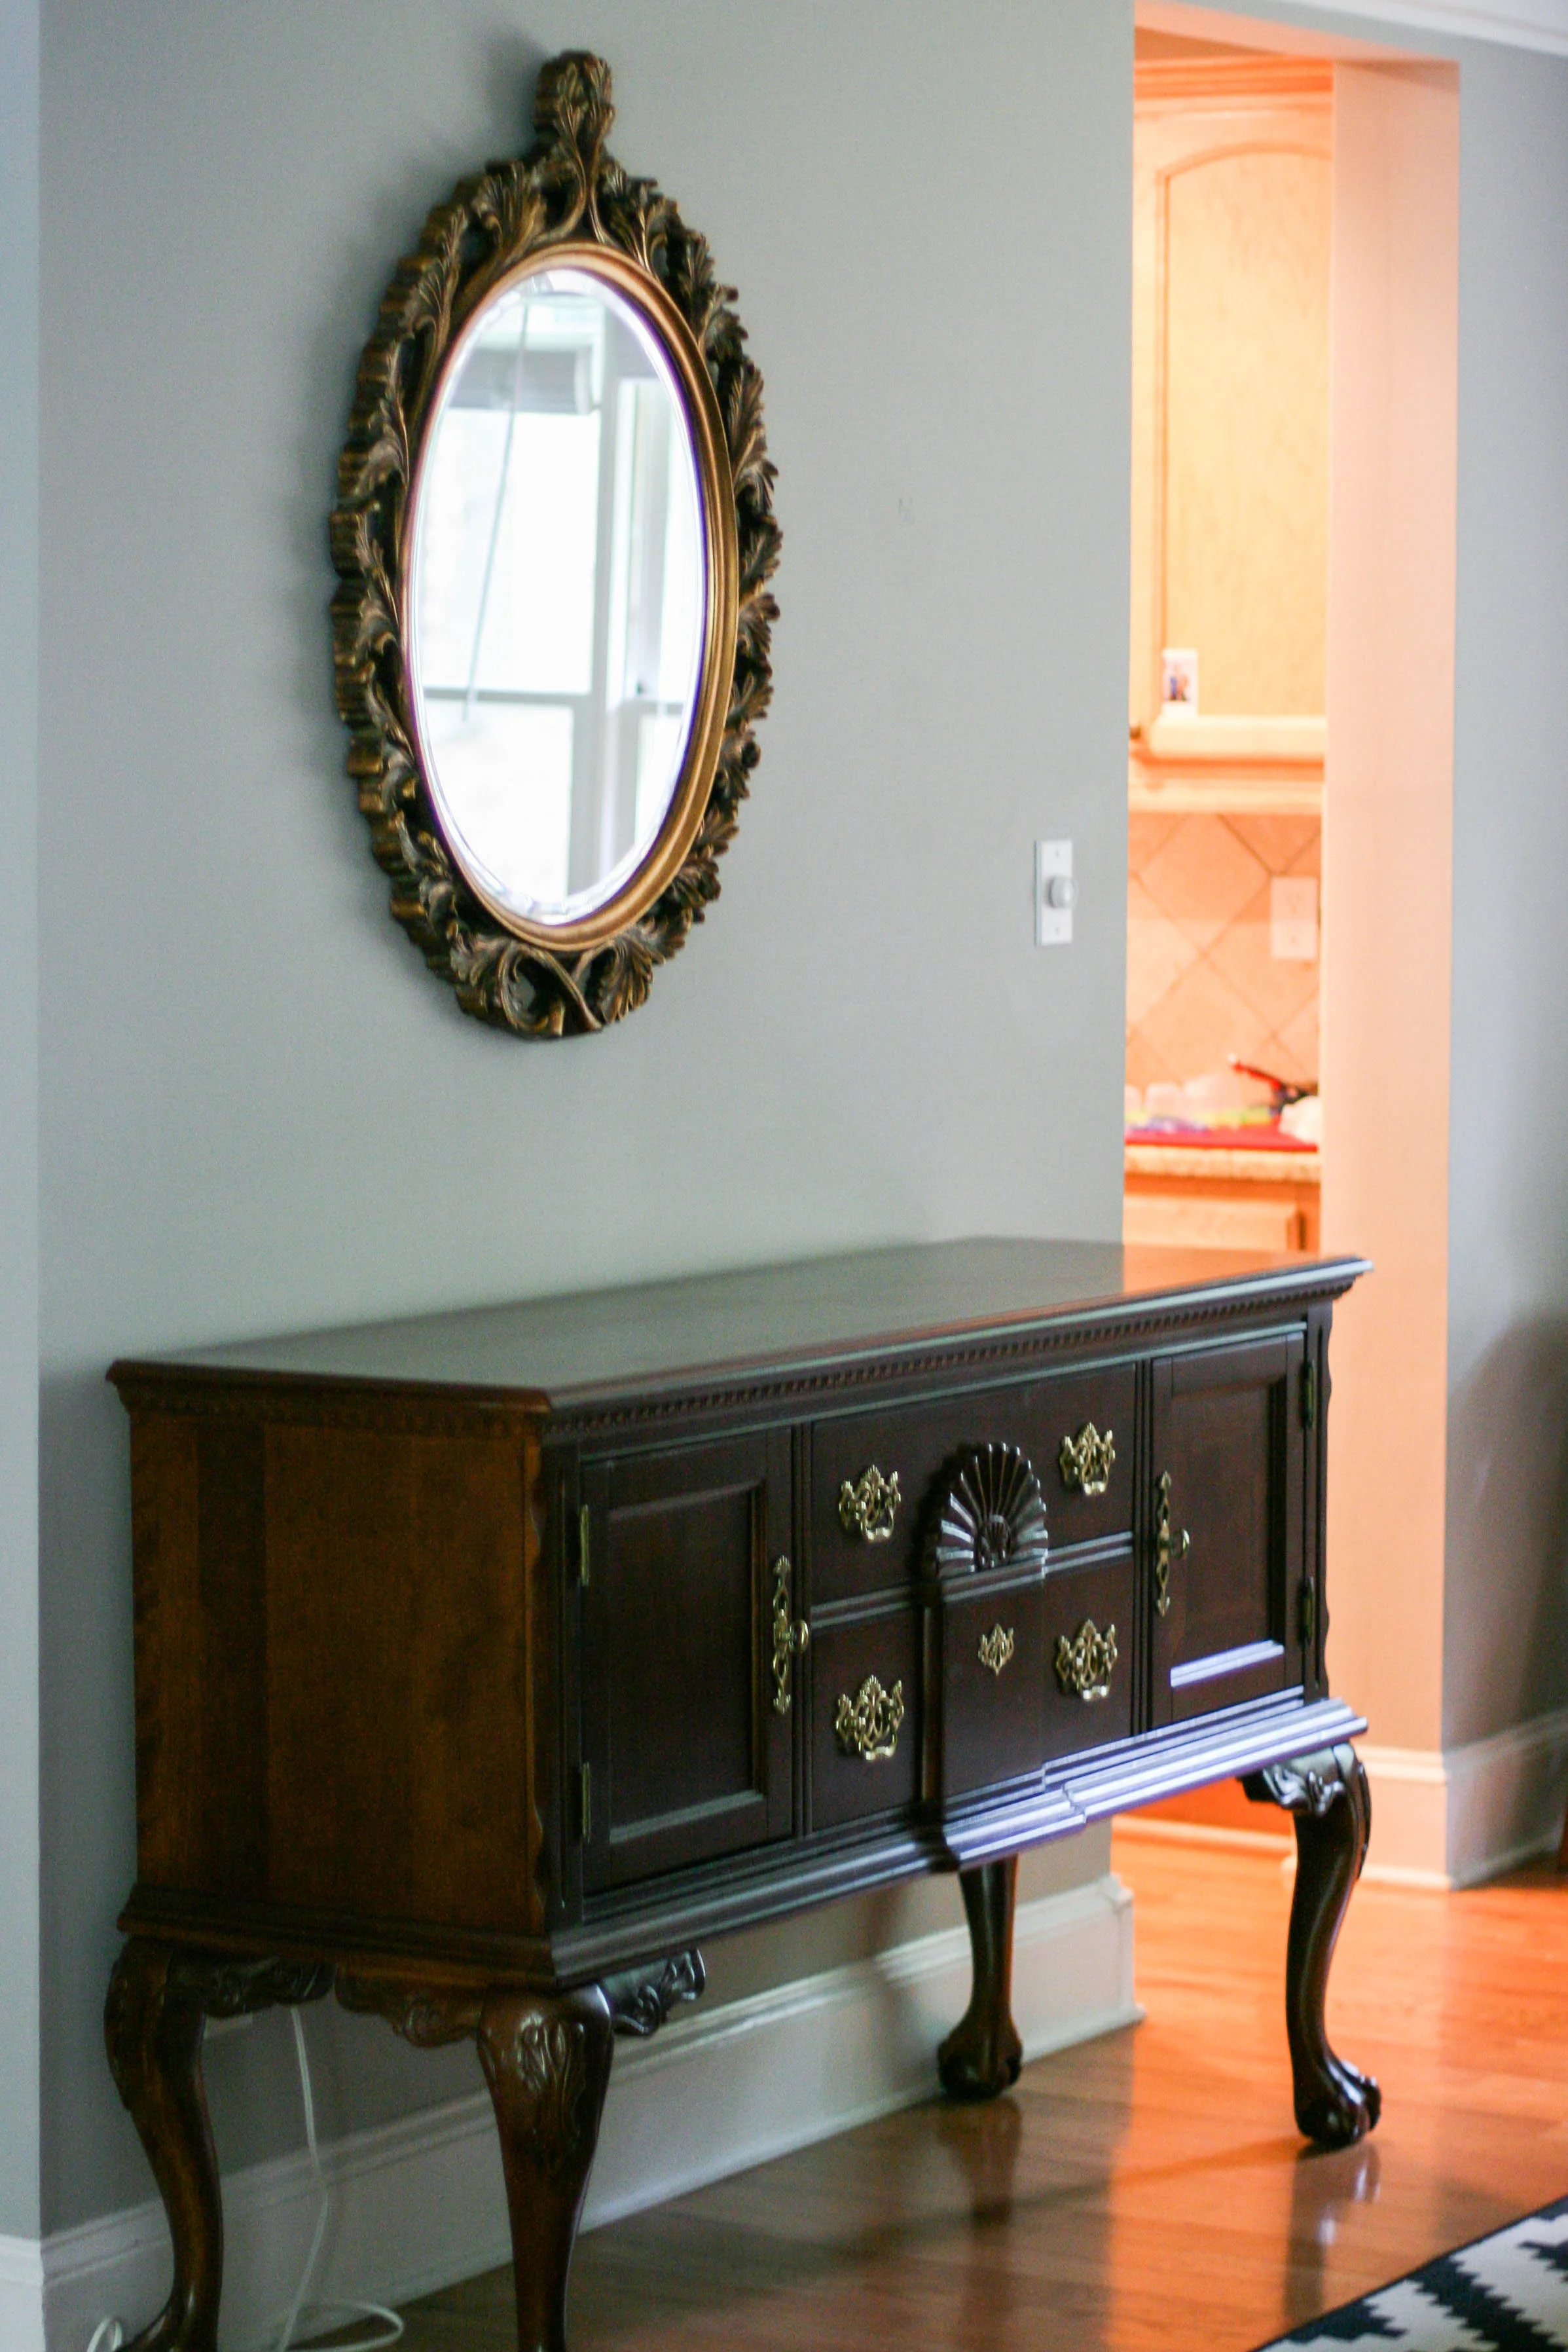
When we moved into our house a little over a year ago, we were given a set of dining room furniture. Yes, given. An entire set of furniture. We were crazy blessed, considering we had no furniture to our name at the time. While the furniture was extremely well-made and in mint condition, it was a little old-fashioned for my taste. Visions of DIY projects filled my dreams, and I had grand plans to flip this furniture and give it a shabby-chic makeover. Little did I factor in the 40+ other home improvement projects, a husband in and out of town with his job, and getting knocked up again into that plan. Those things shifted the priority list, and for over a year I stared at this furniture day in and day out, as it towered over me with its mahogany ferociousness.

It seems like it would have a frenchy accent, right?

I would like to say there's a happy ending to this story, but I'm still mid-story. I managed to finish re-doing the dining room buffet before this little guy arrived, and I am so thrilled with how it turned out. However, I still have a gigantic china cabinet and dining room table to finish... so I'm about 1/3 done with the set. But still! Progress!

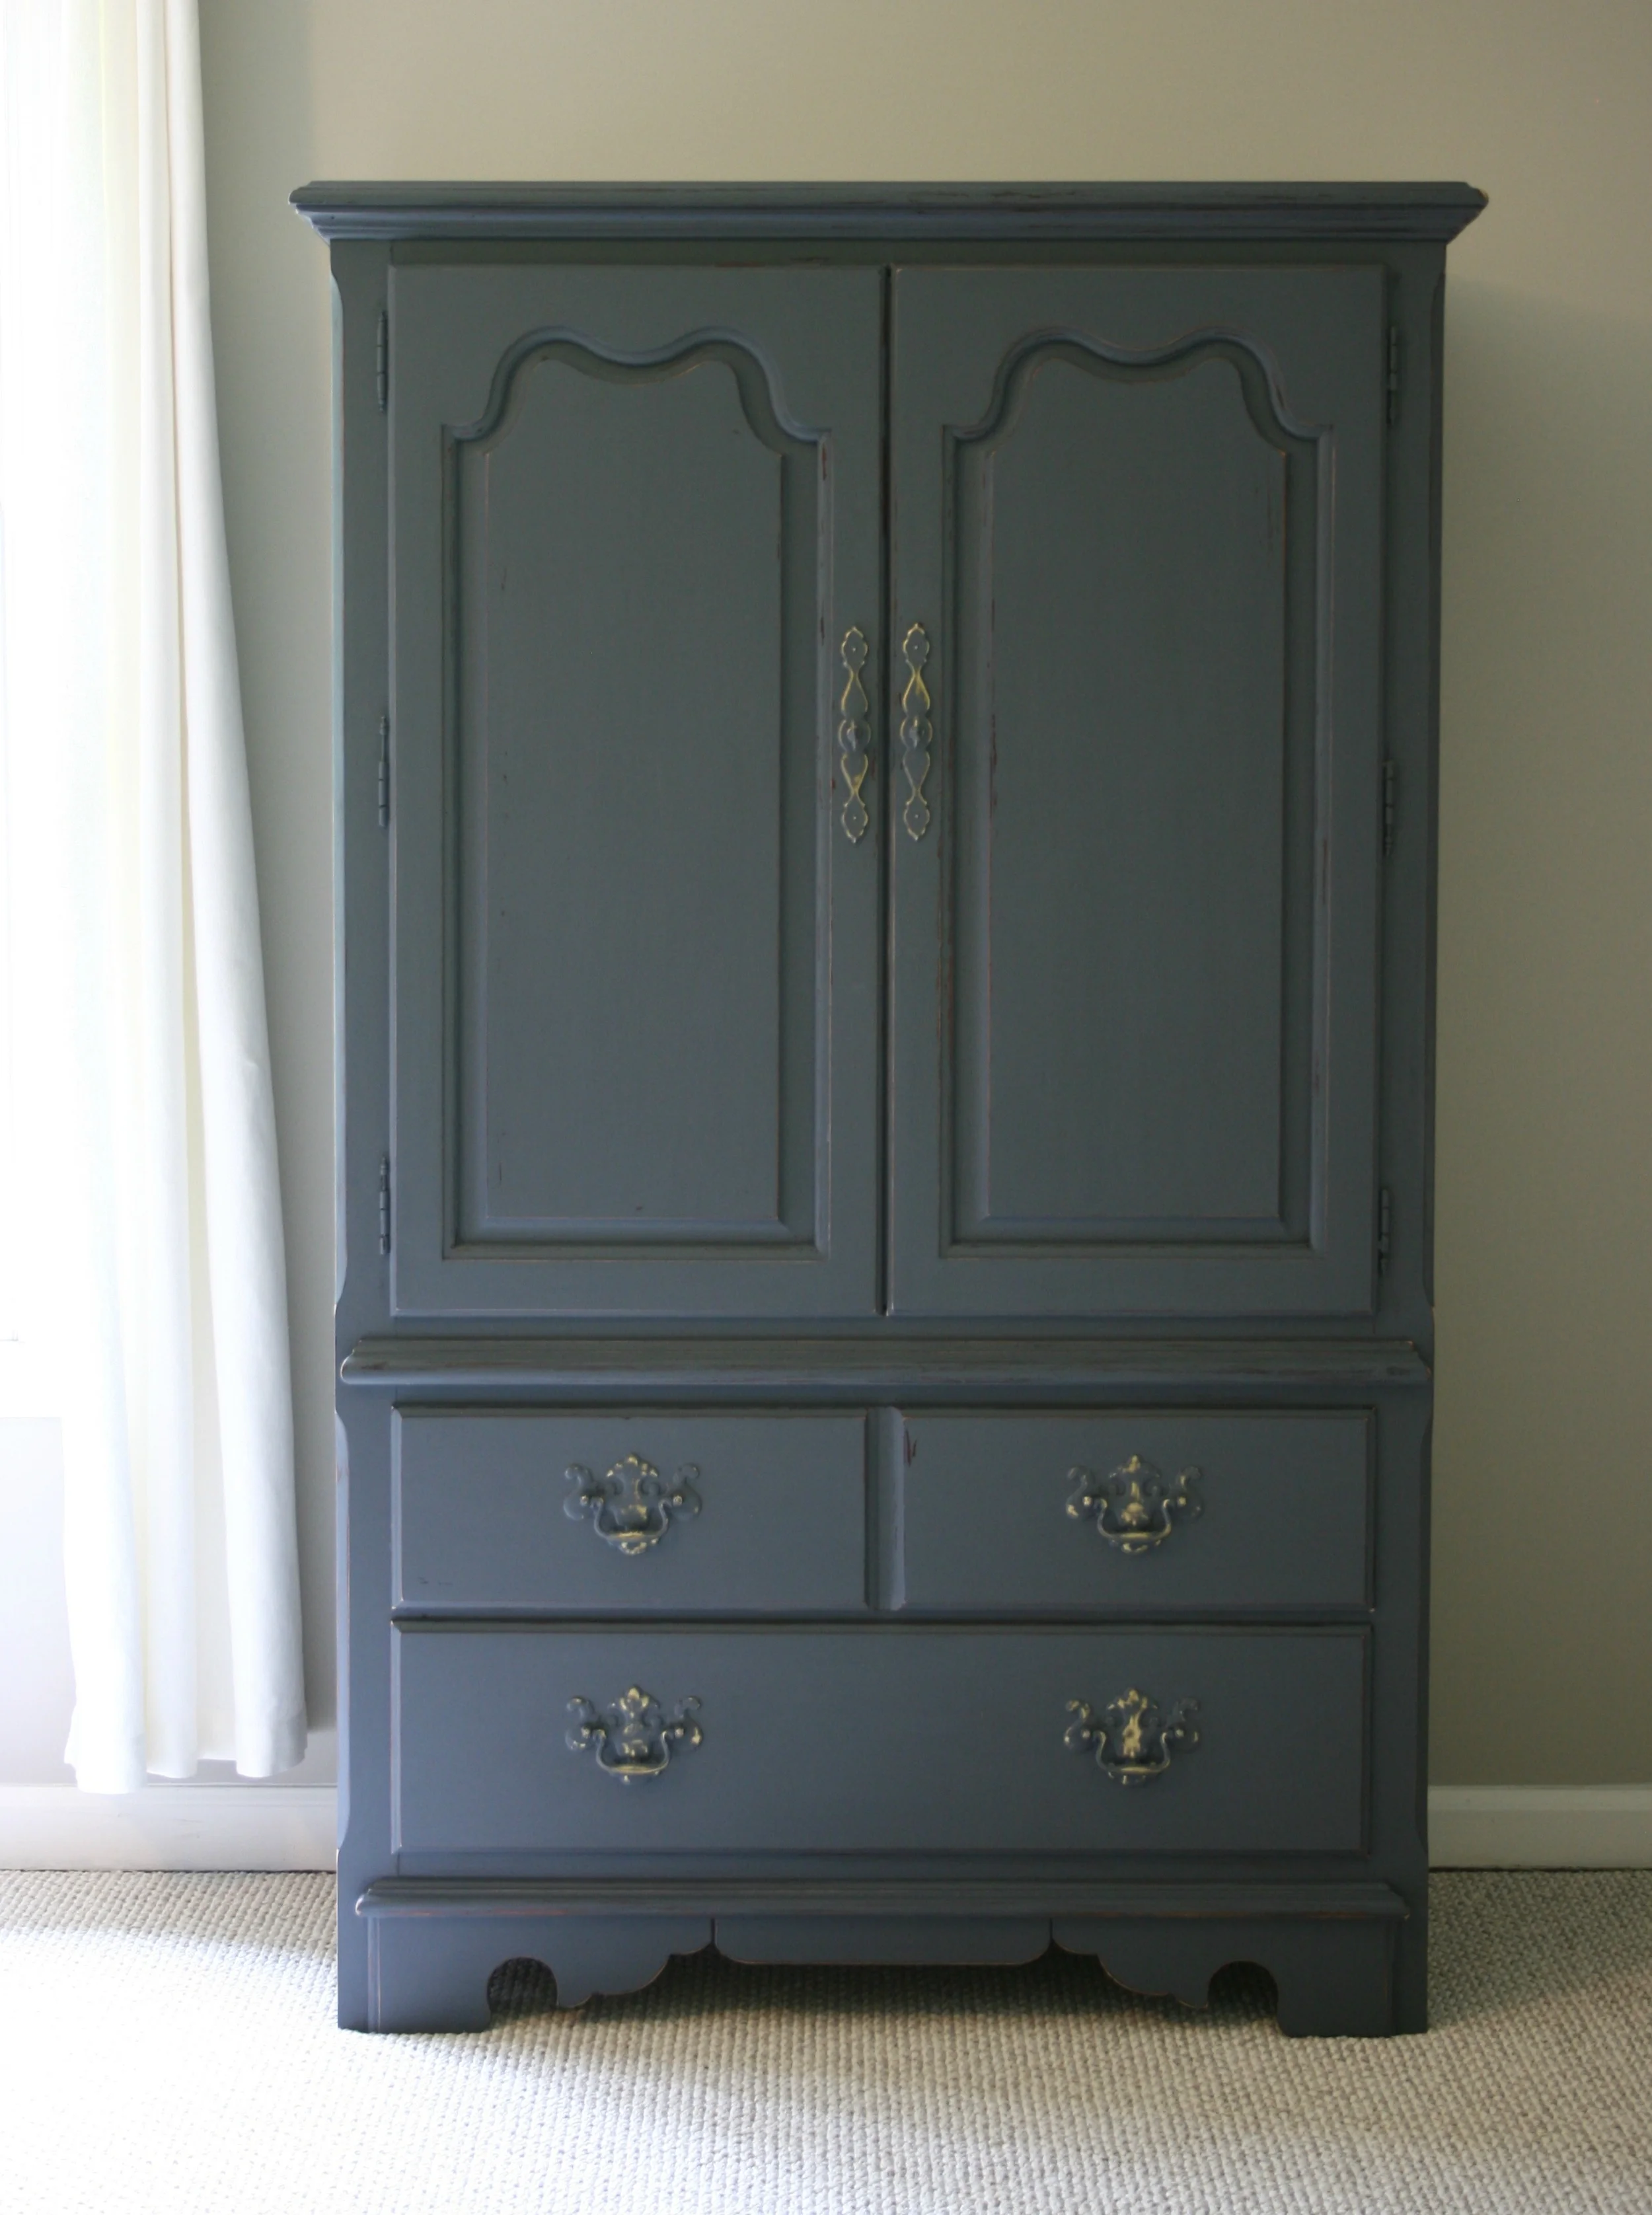
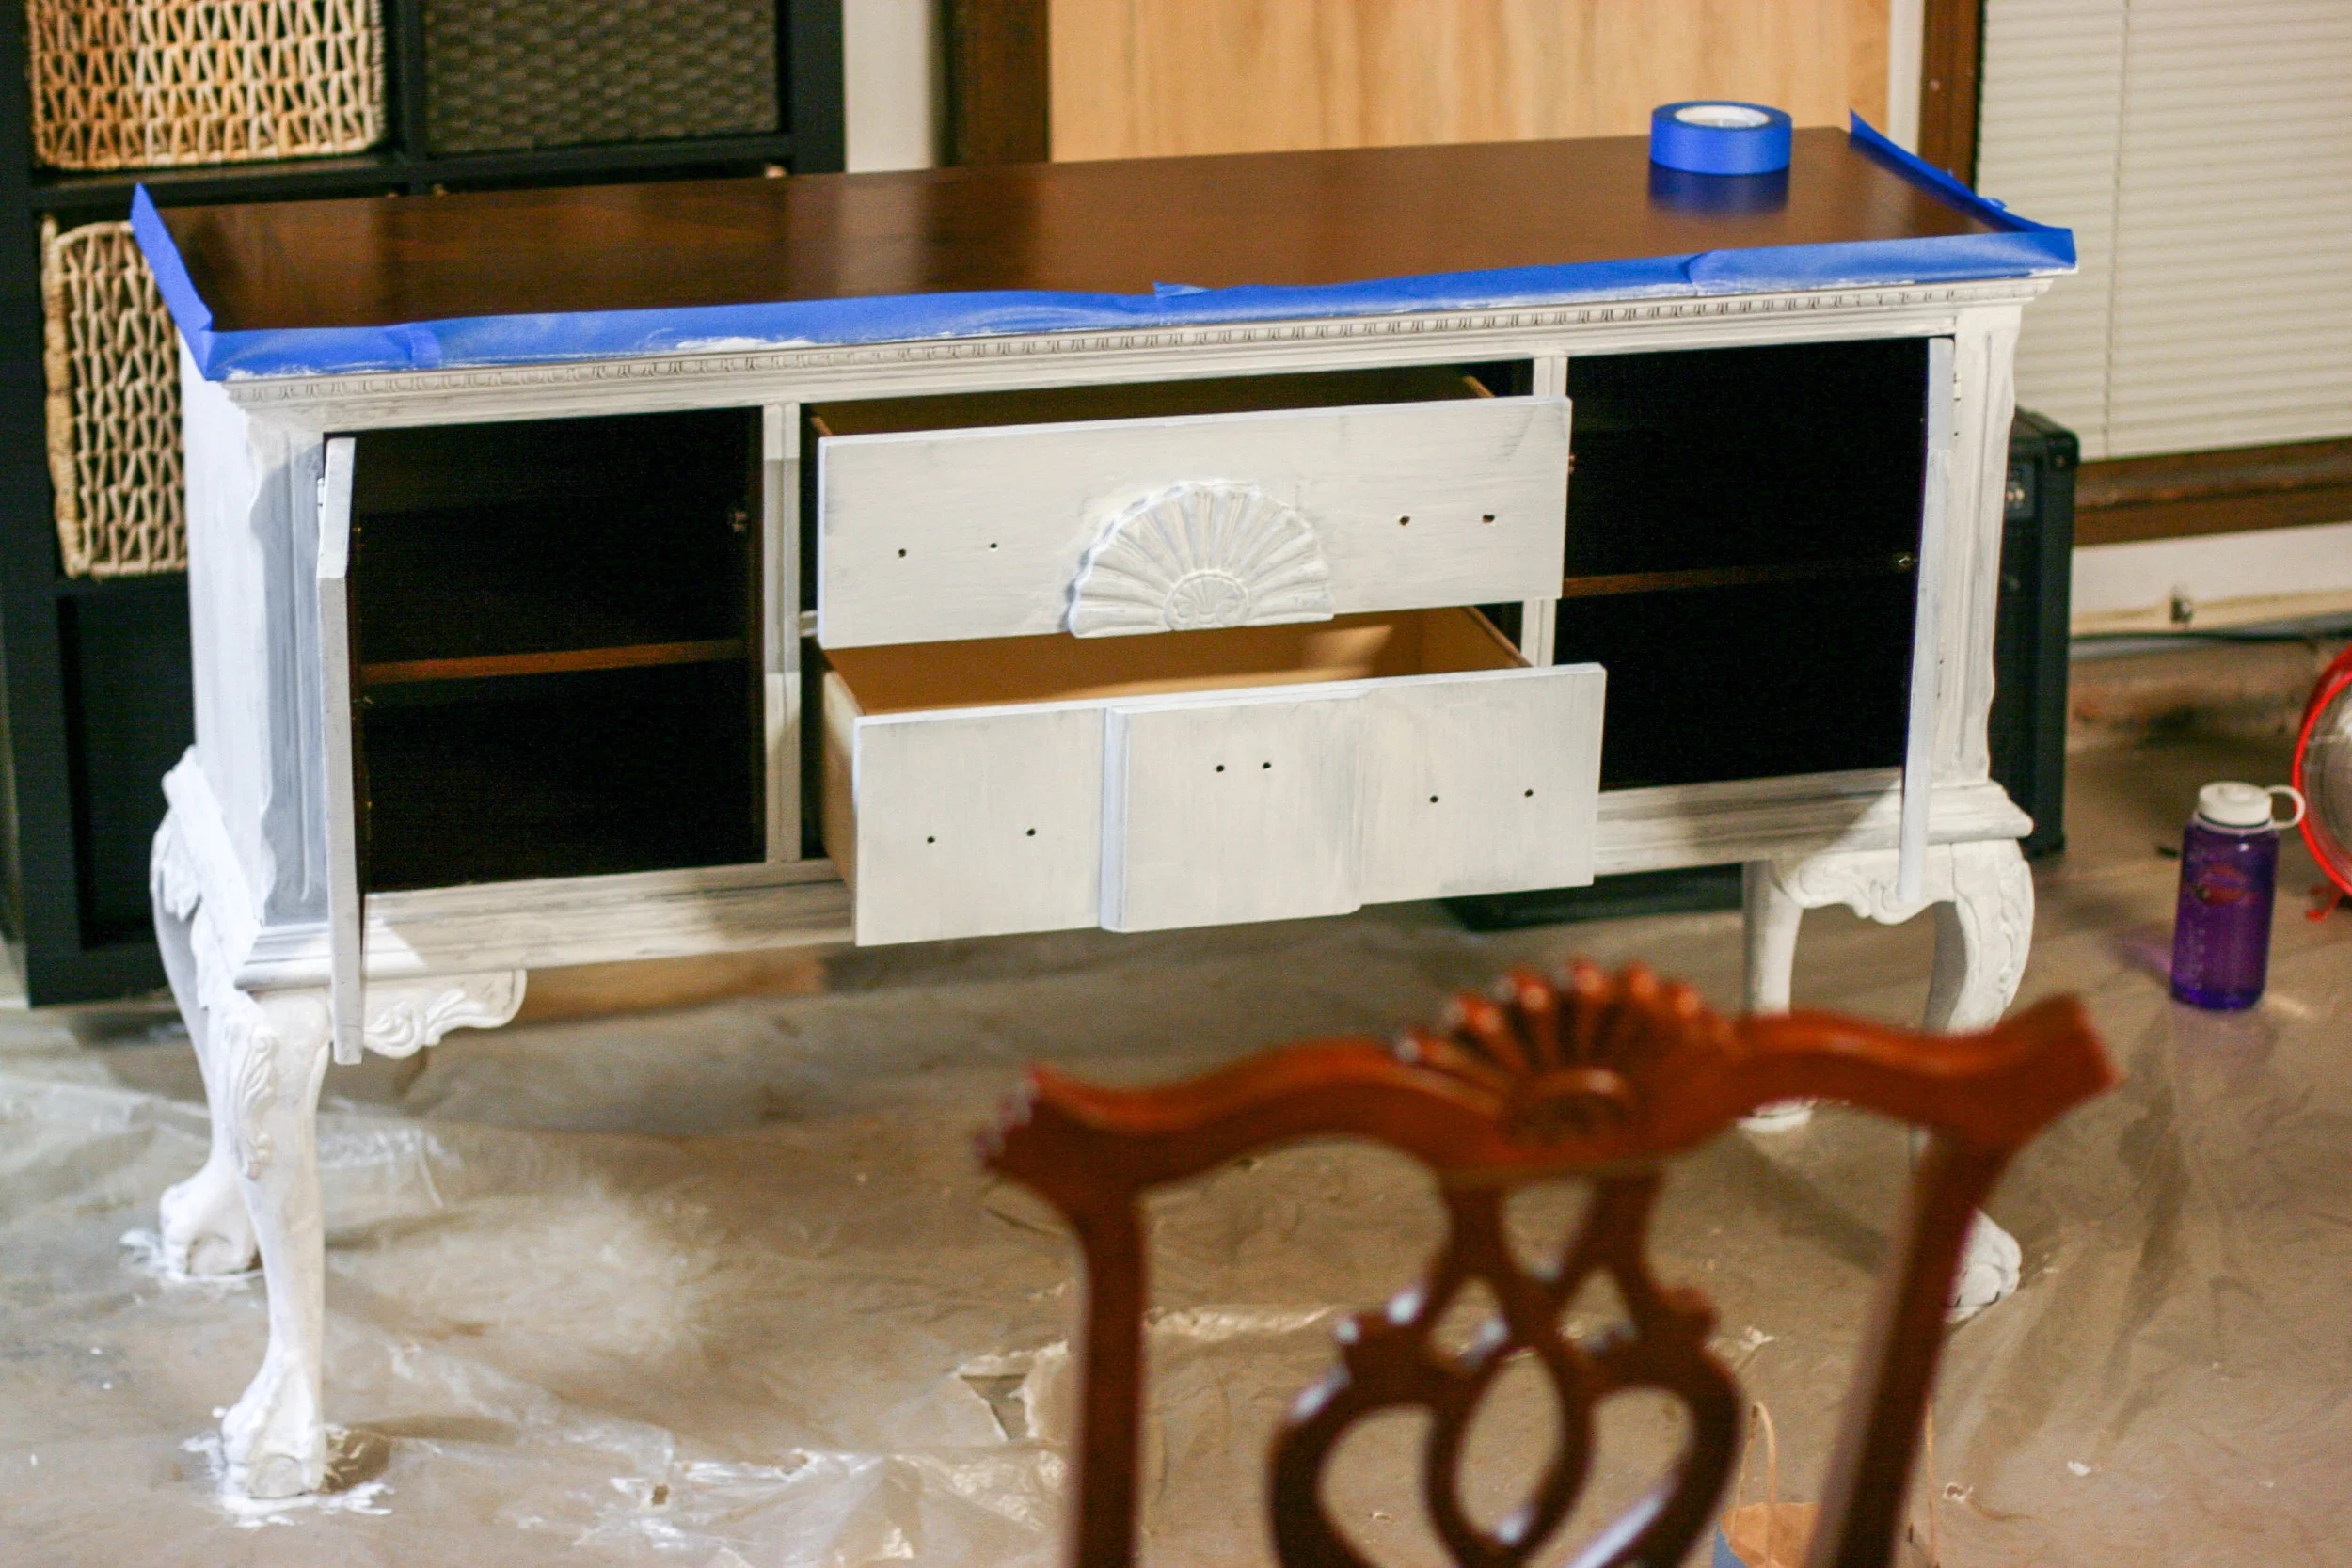
Here is the "before":

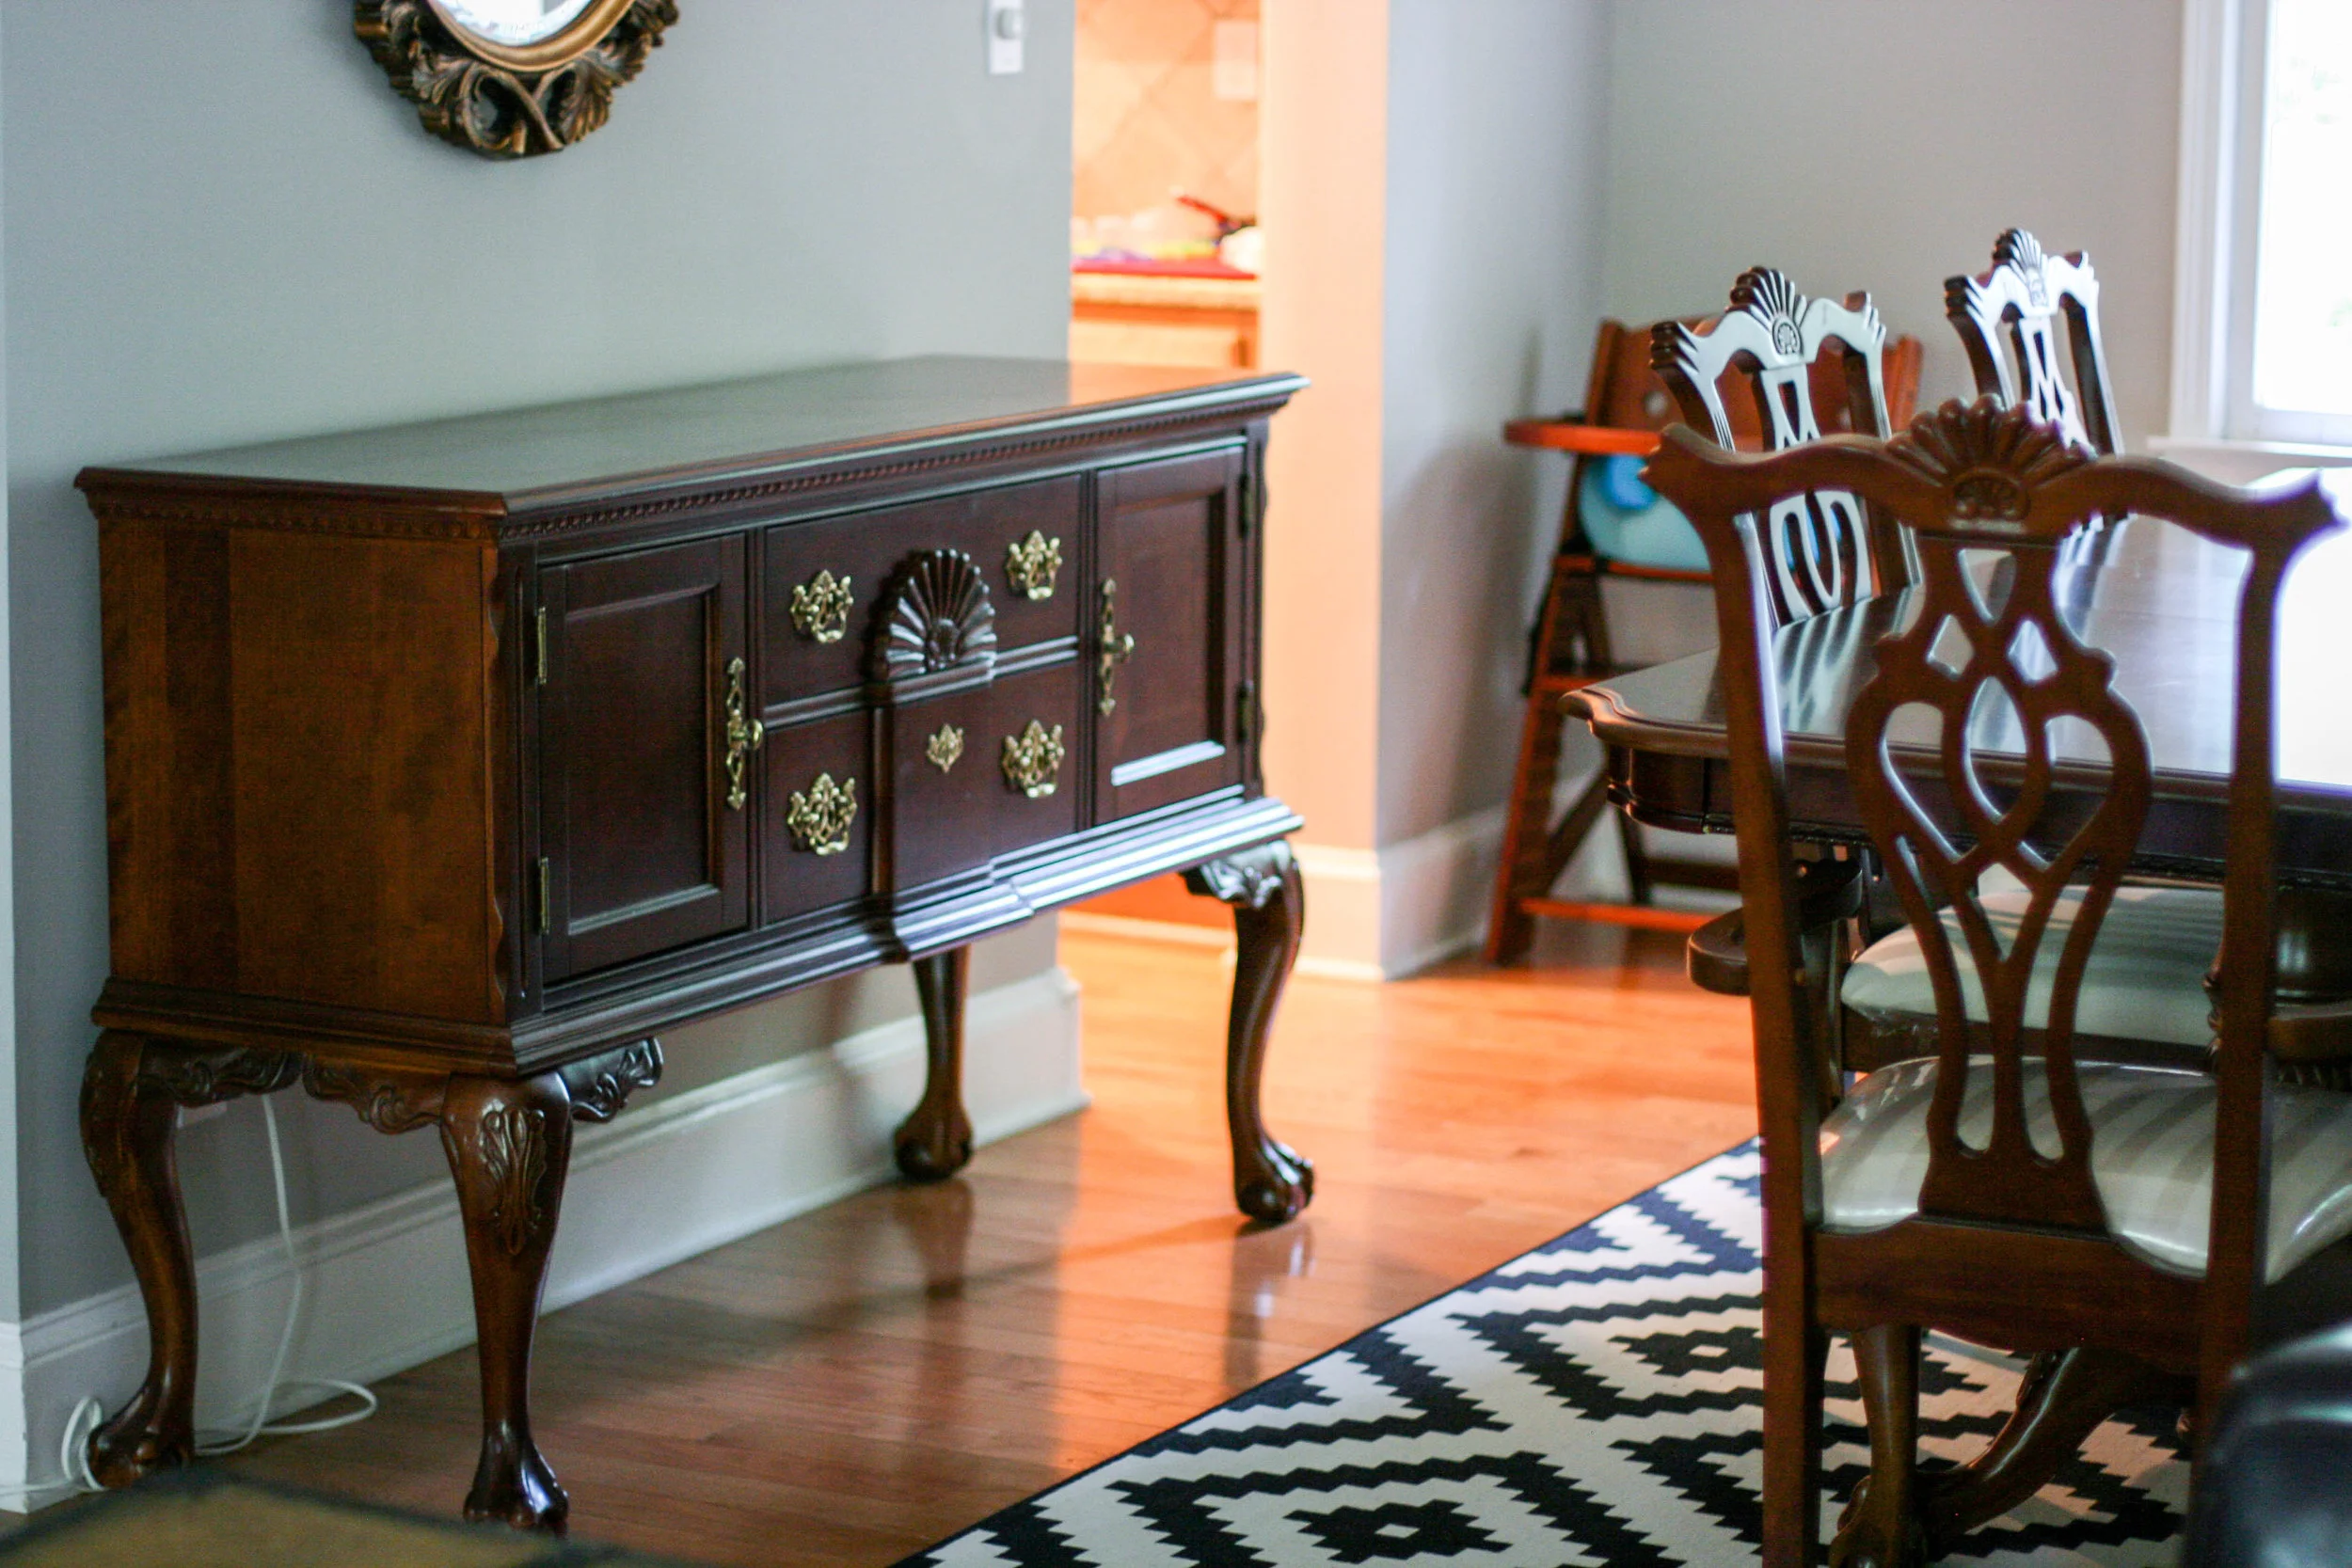
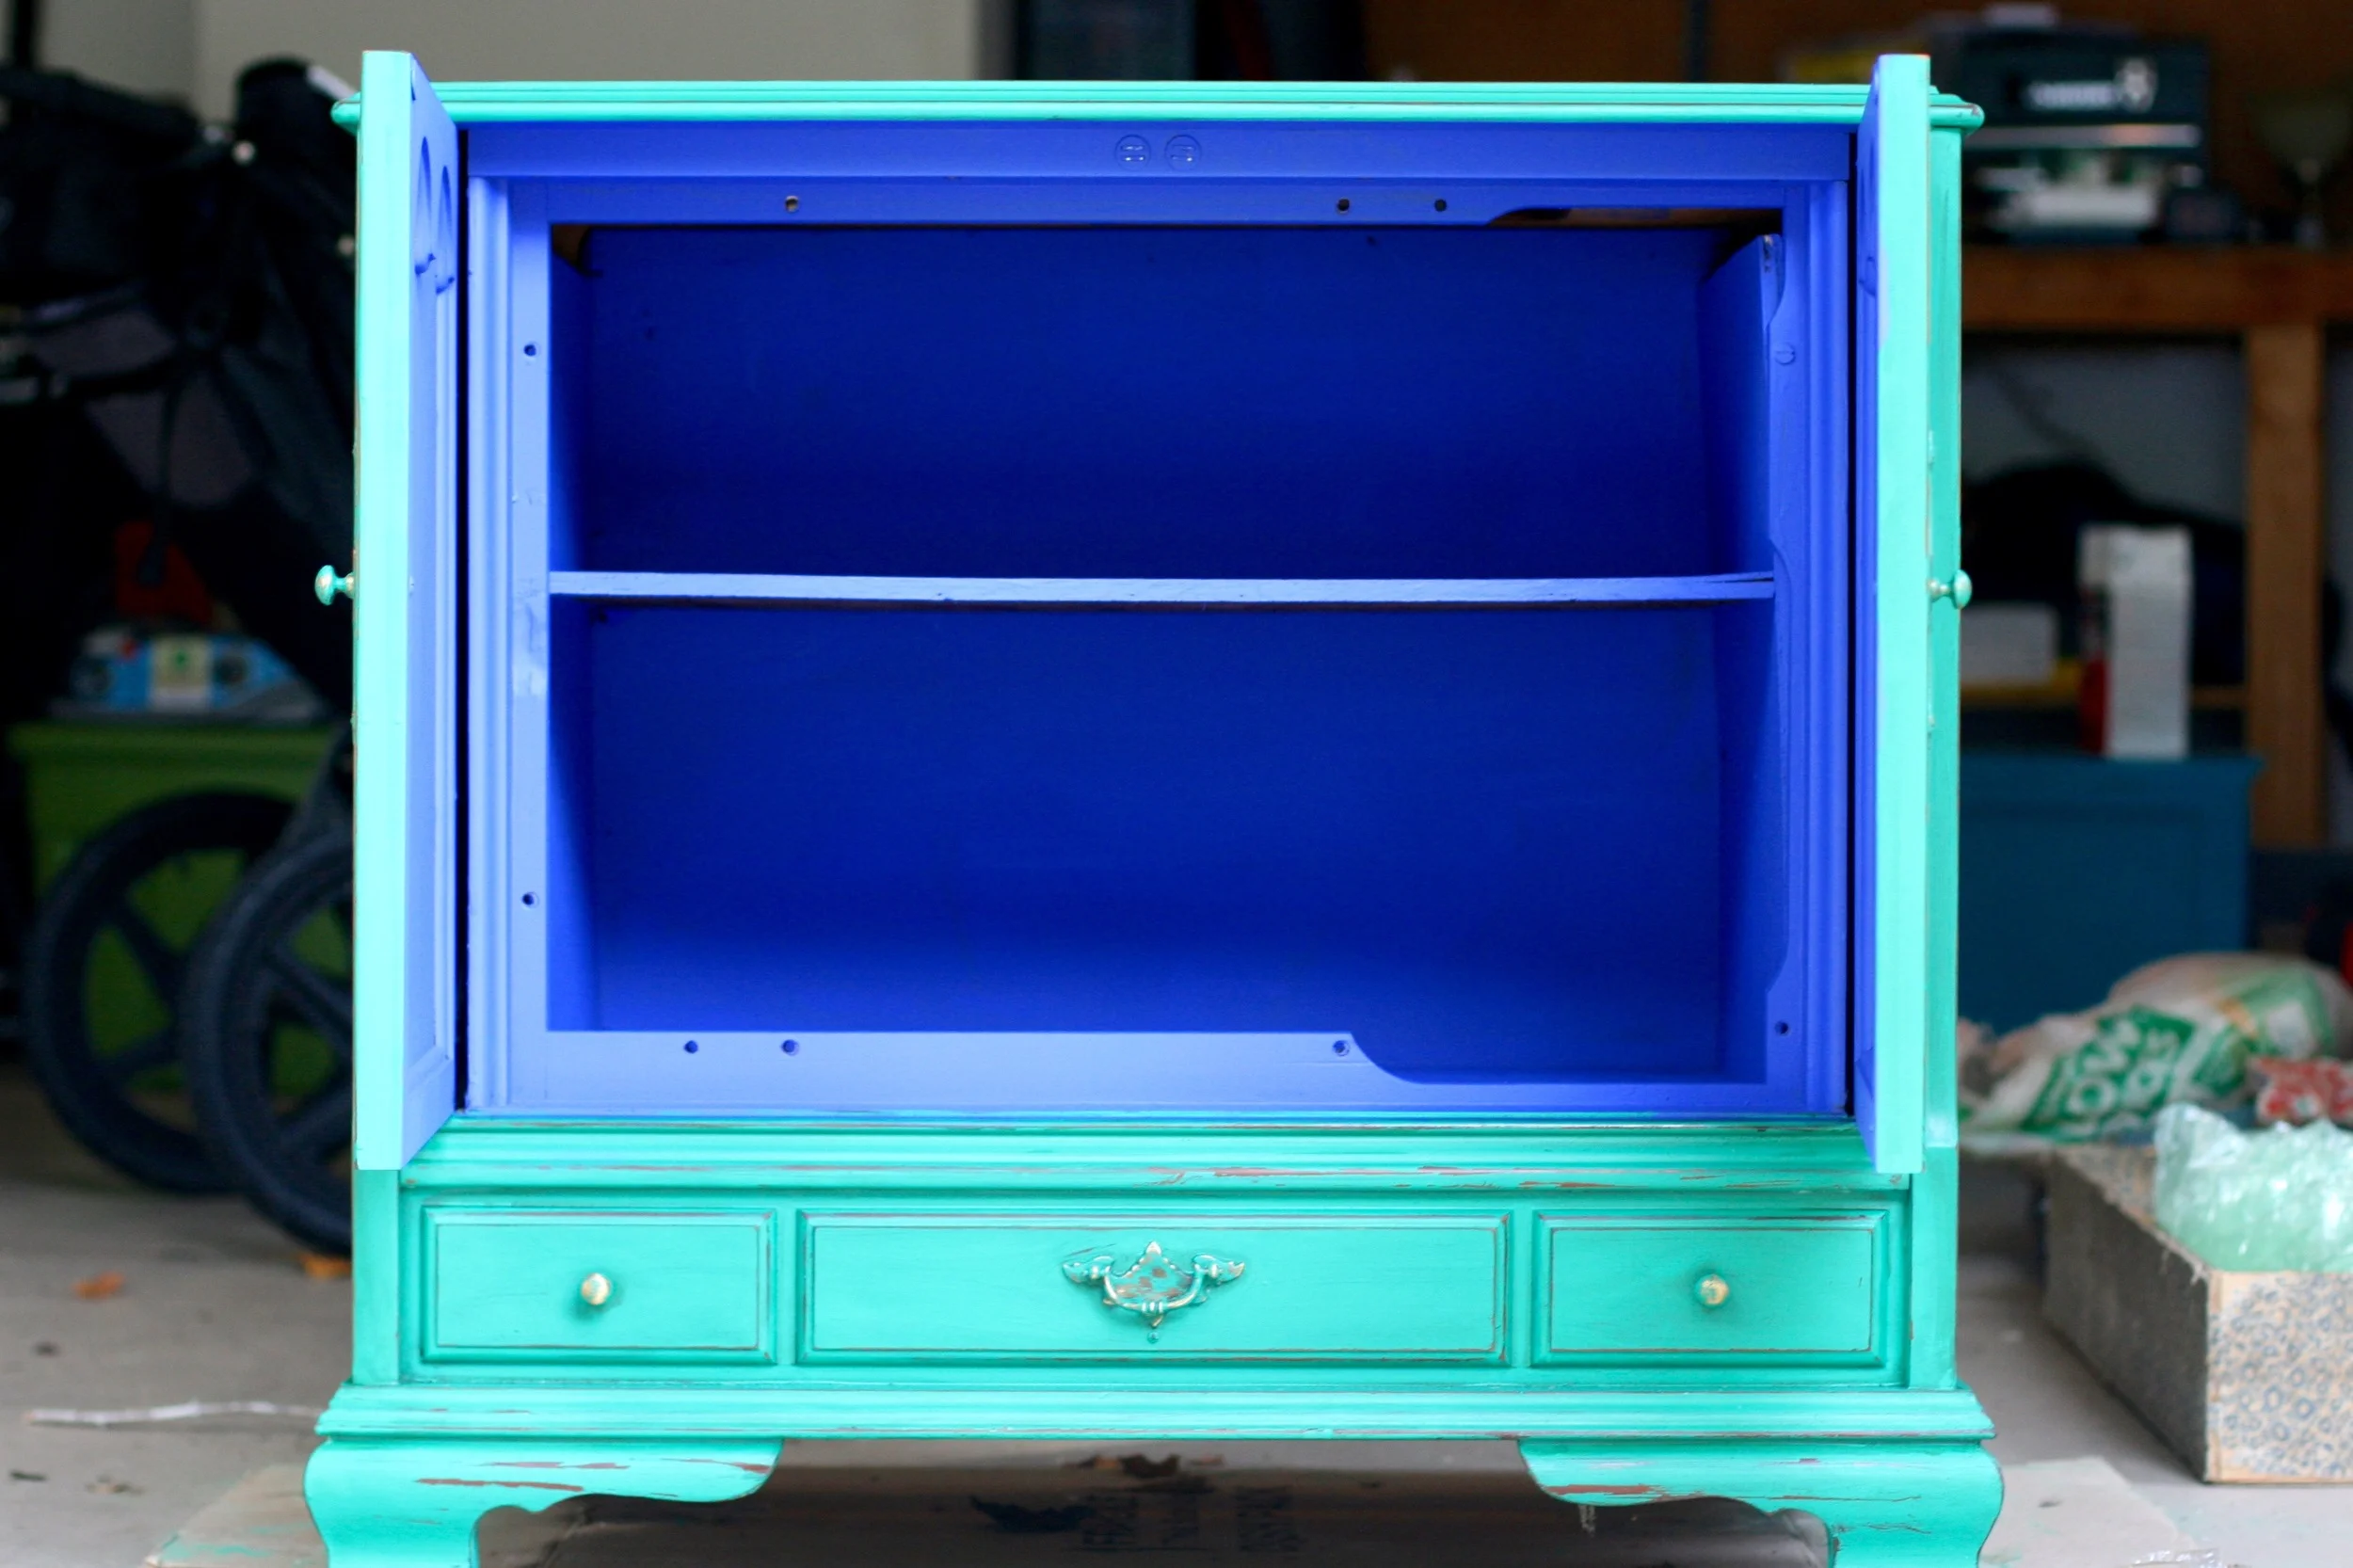
Here is the piece with 1 coat of paint:

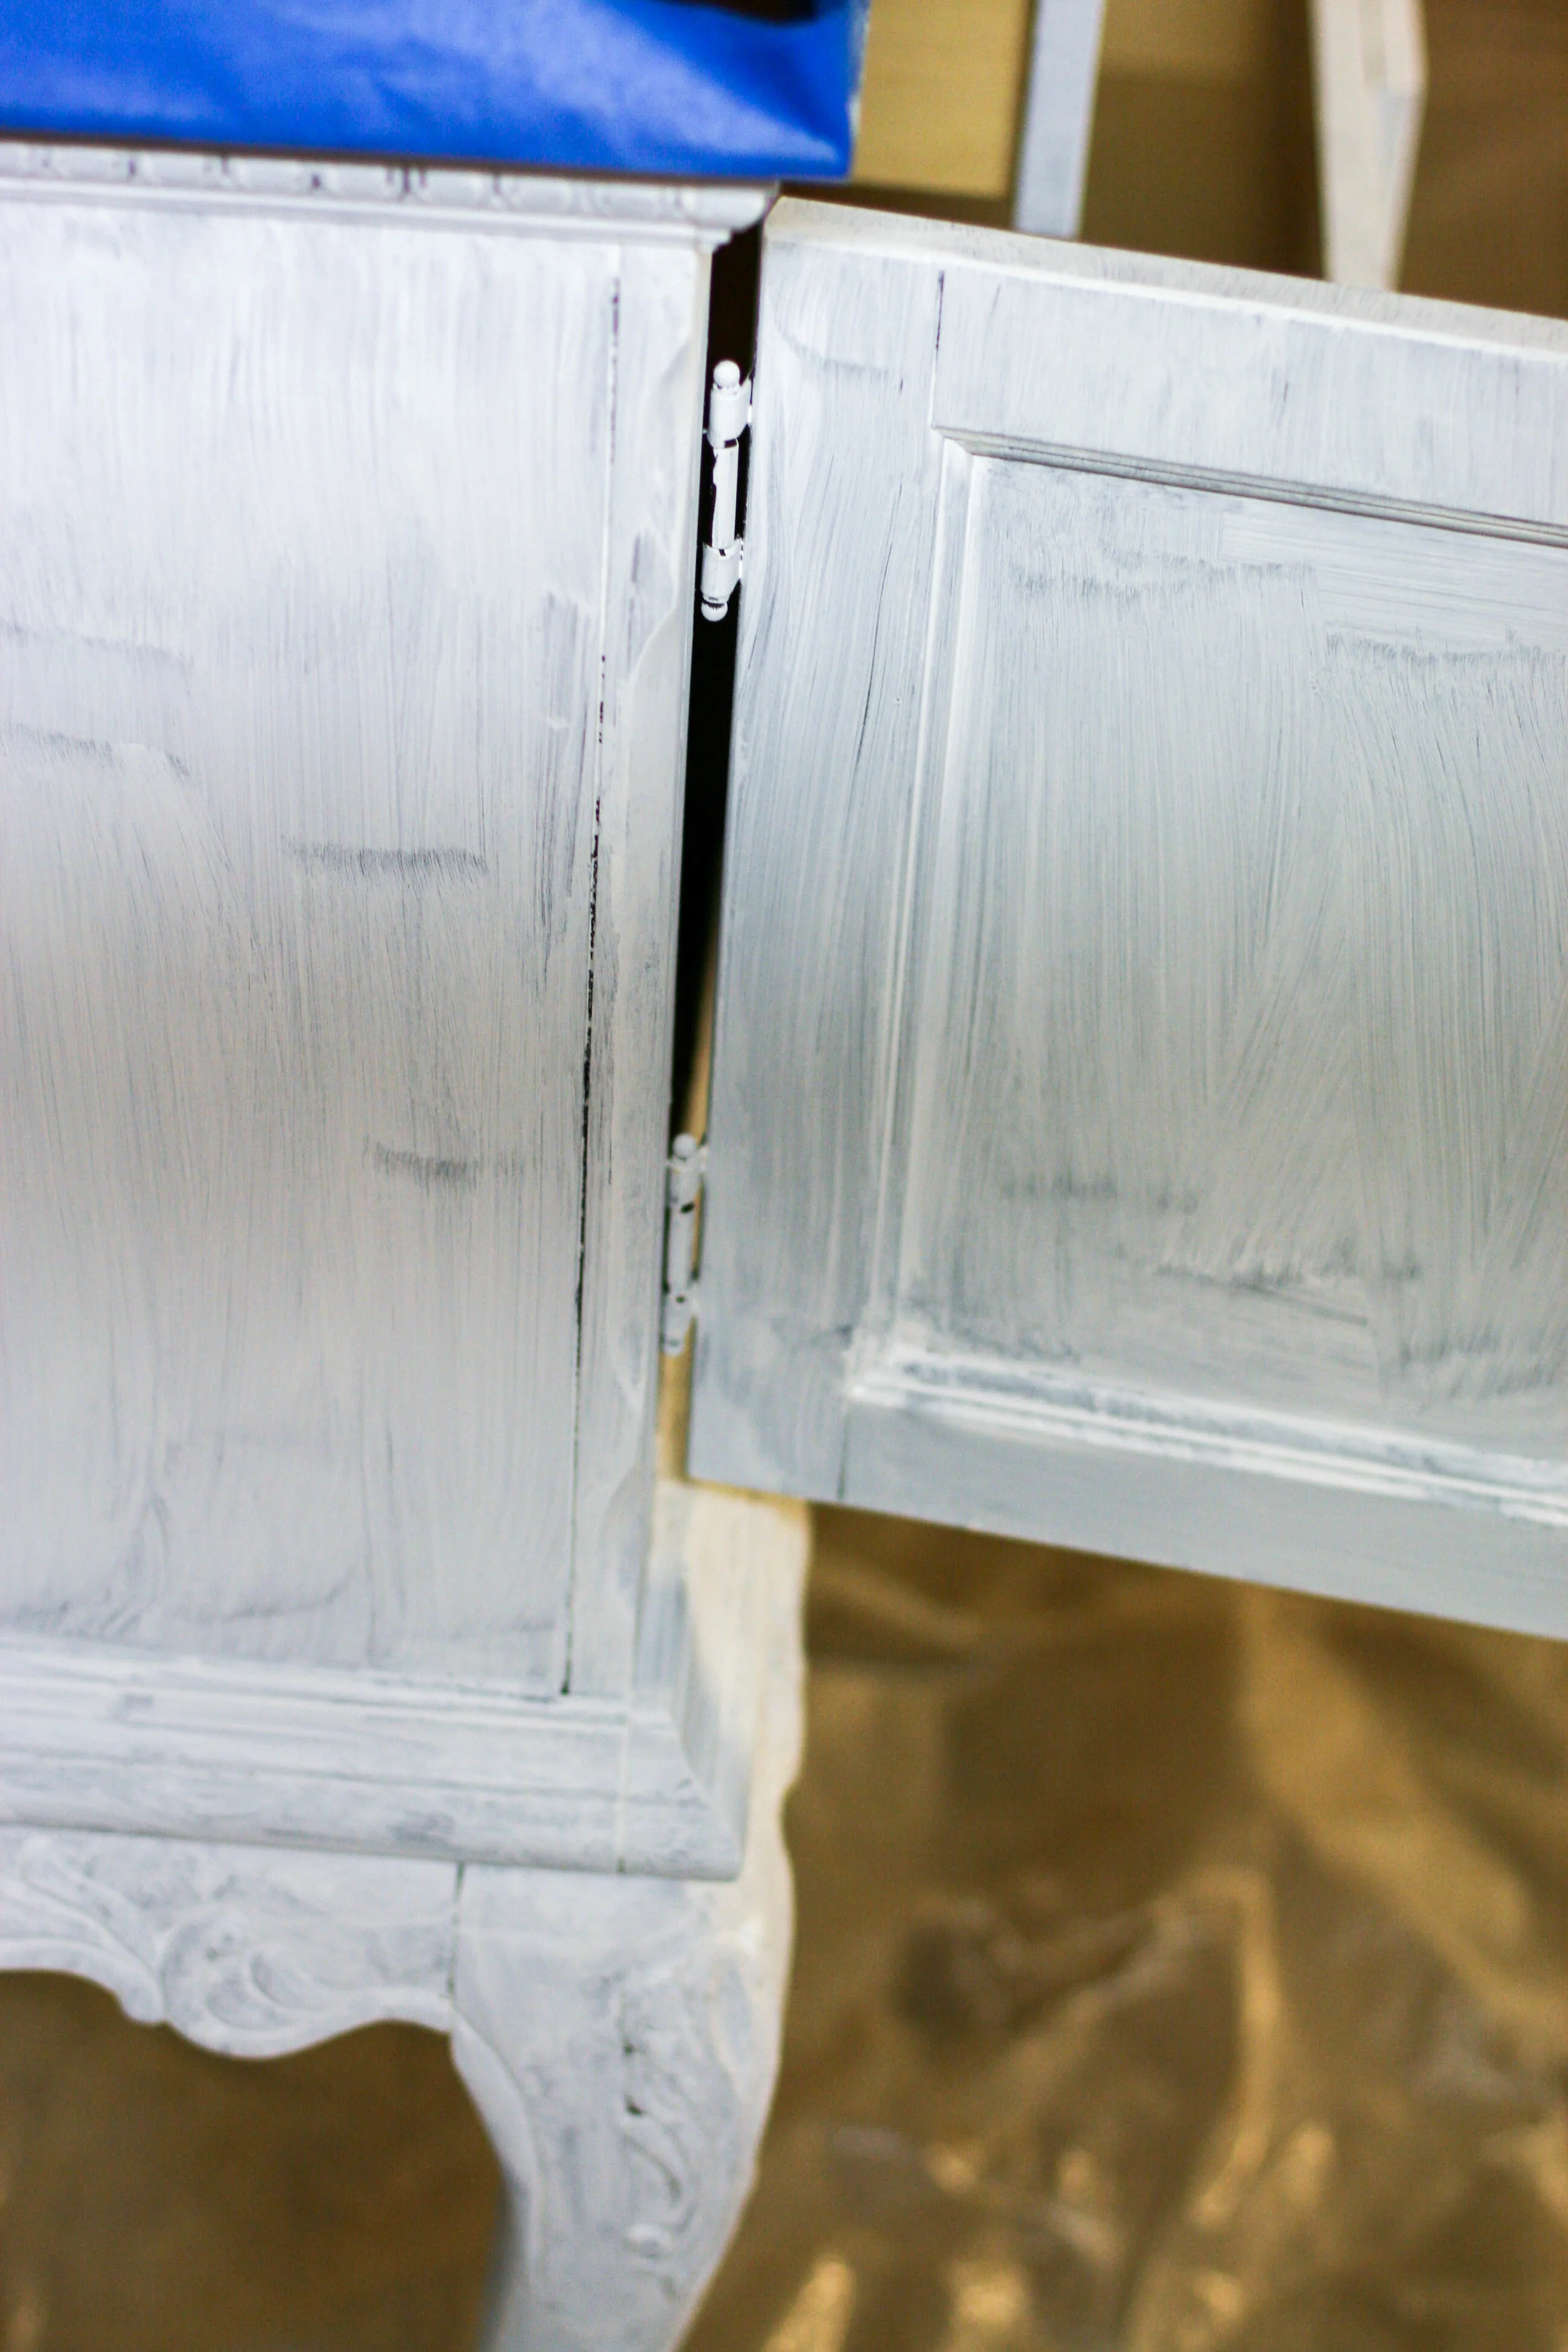
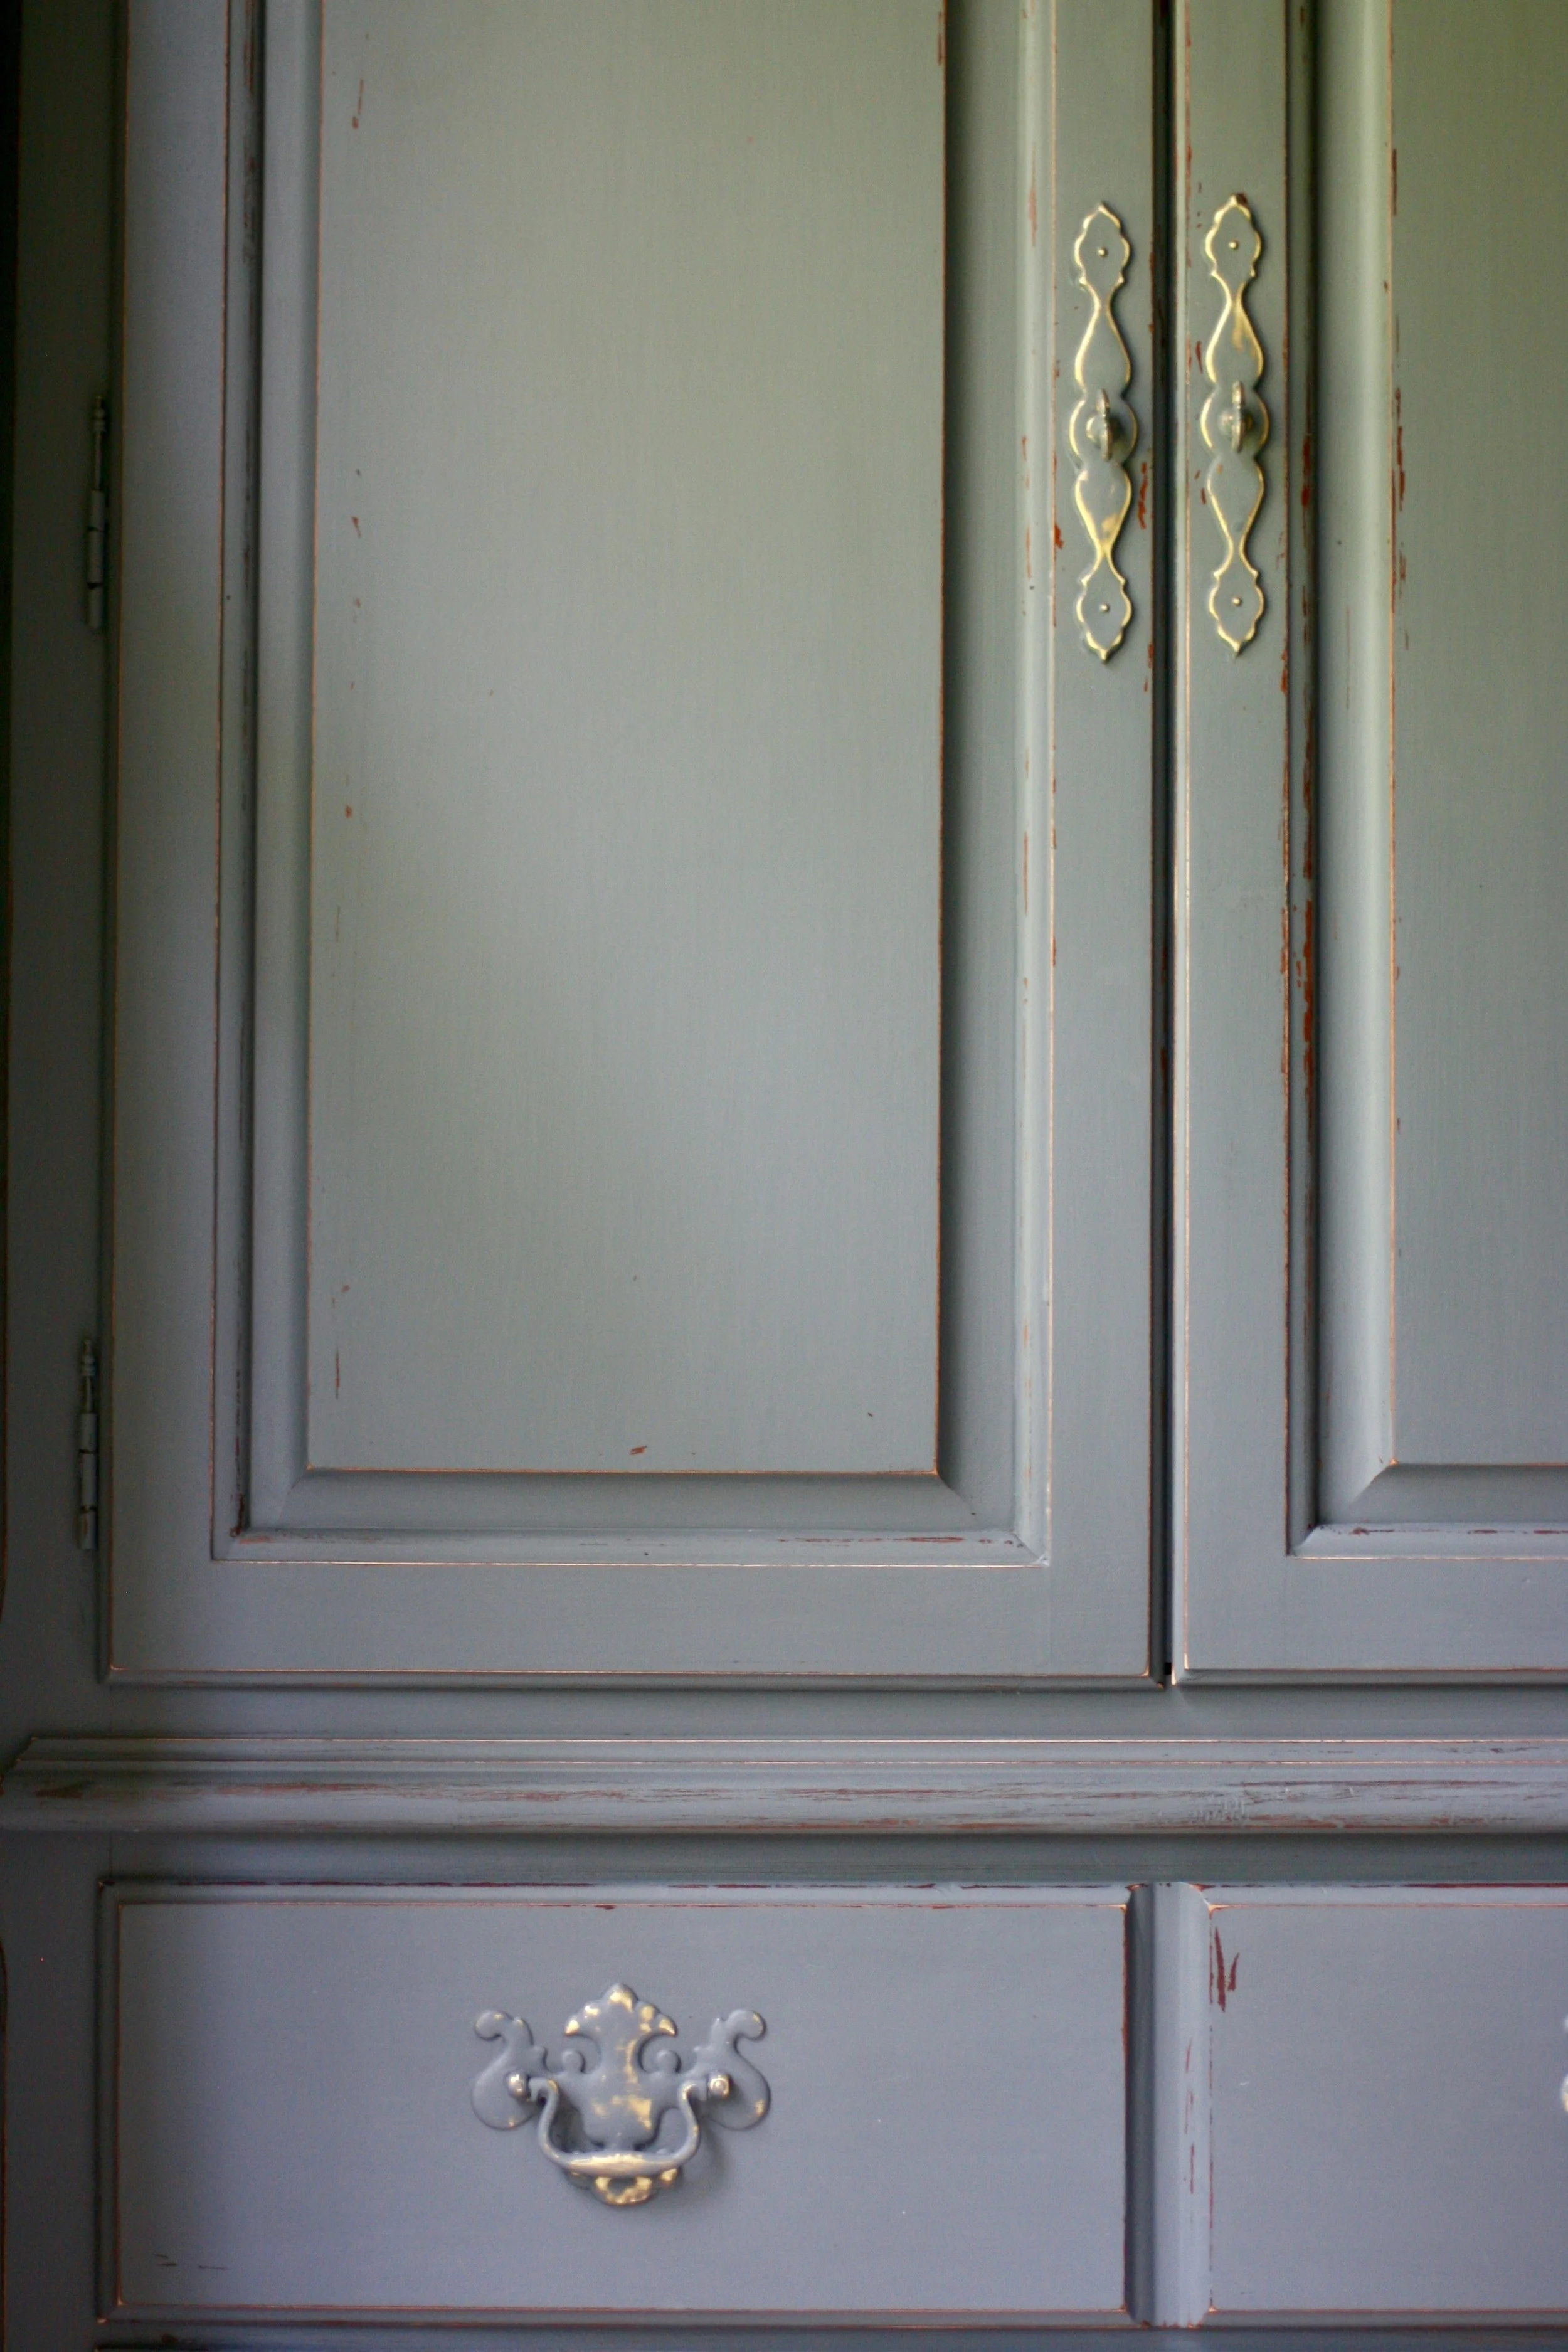
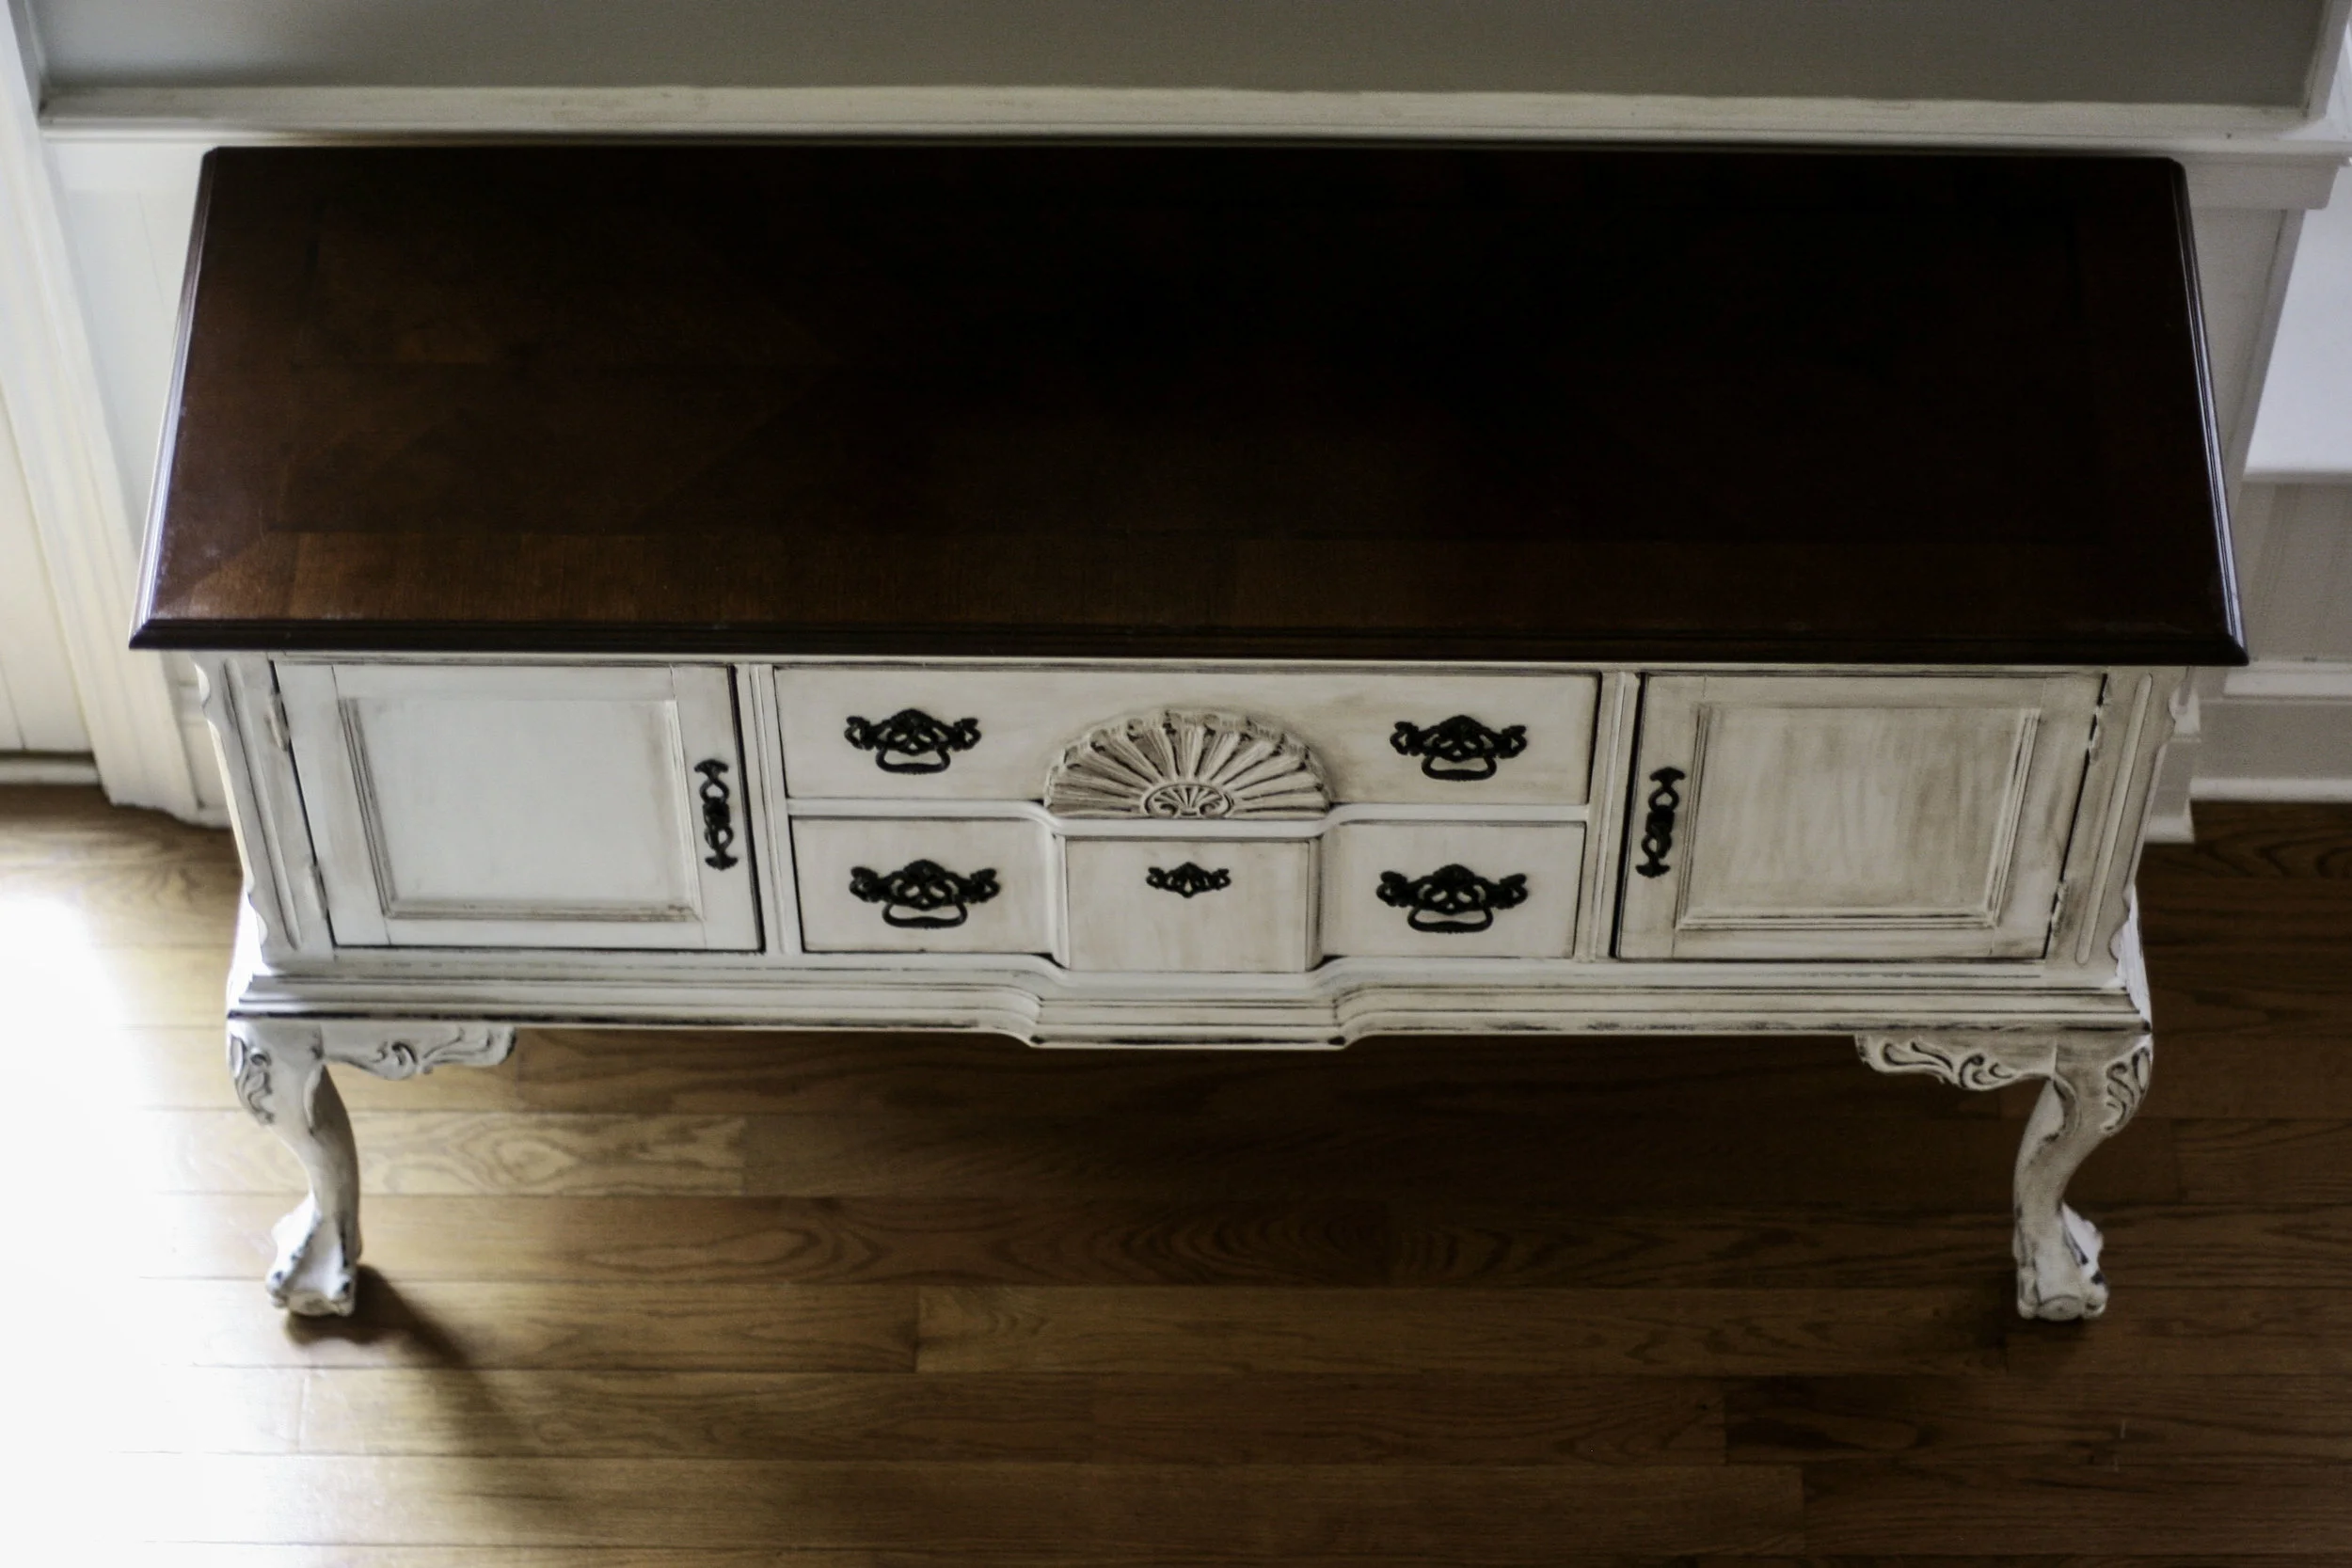
And here is the piece with 2 coats of paint:

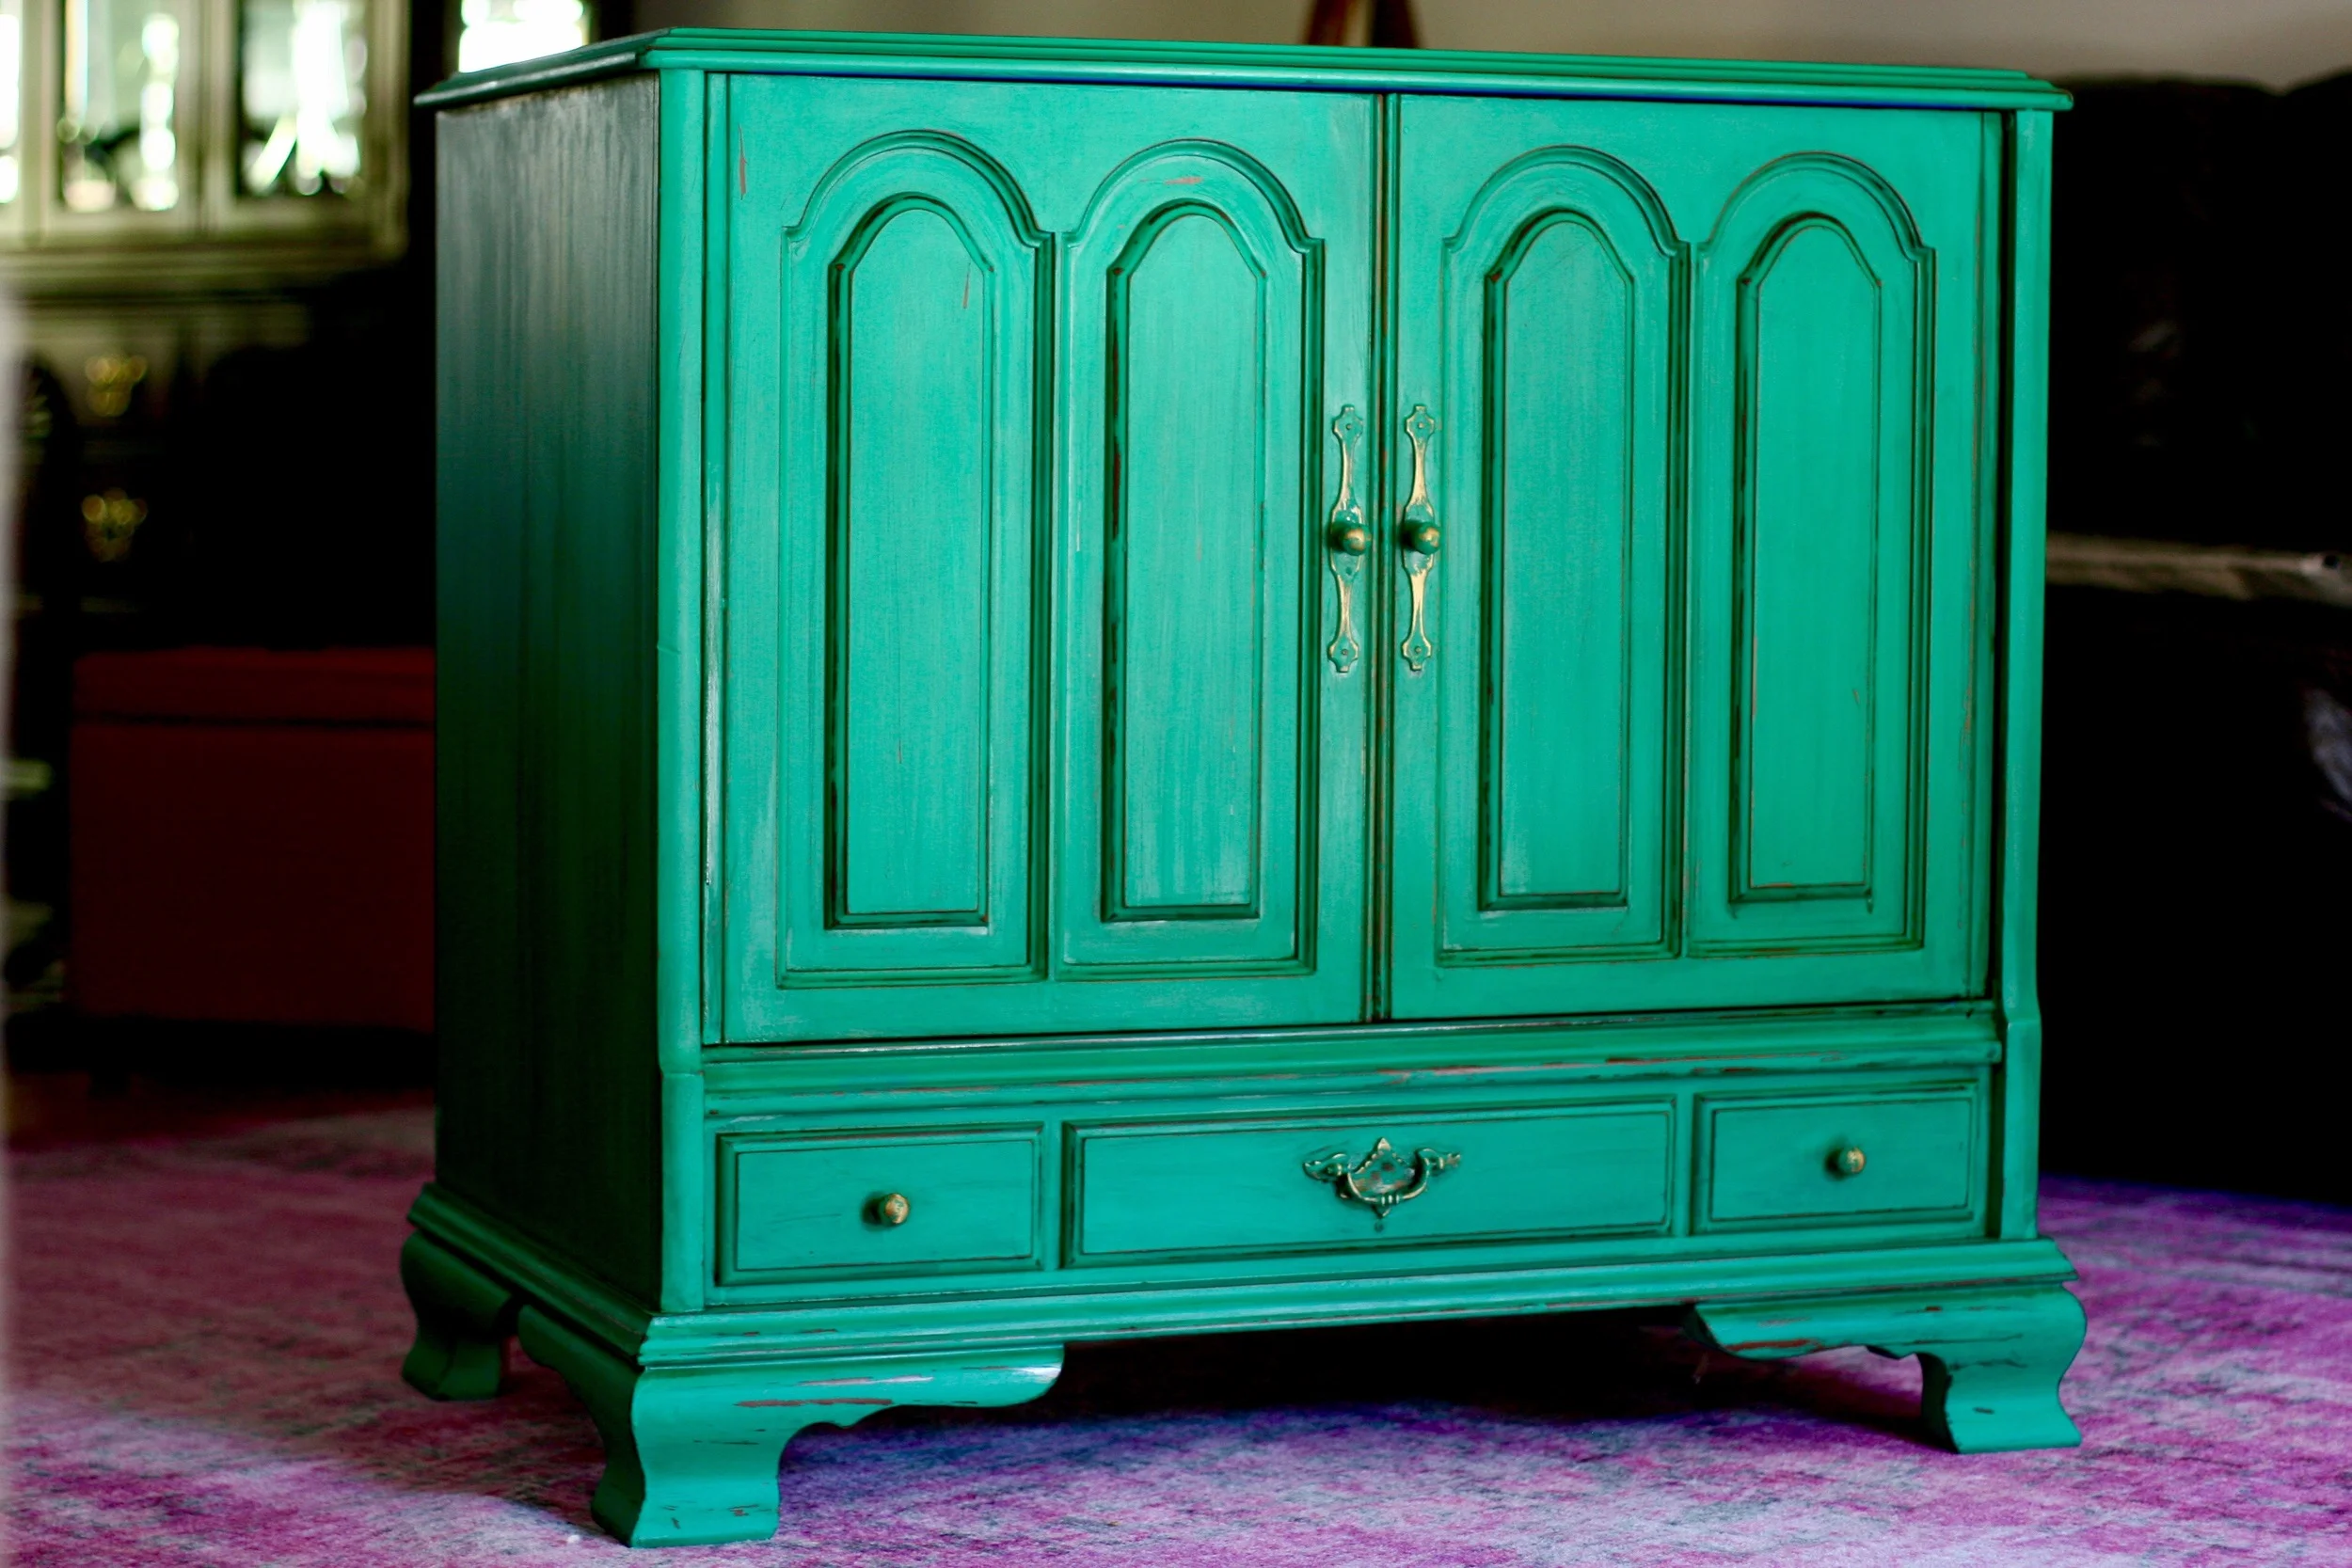
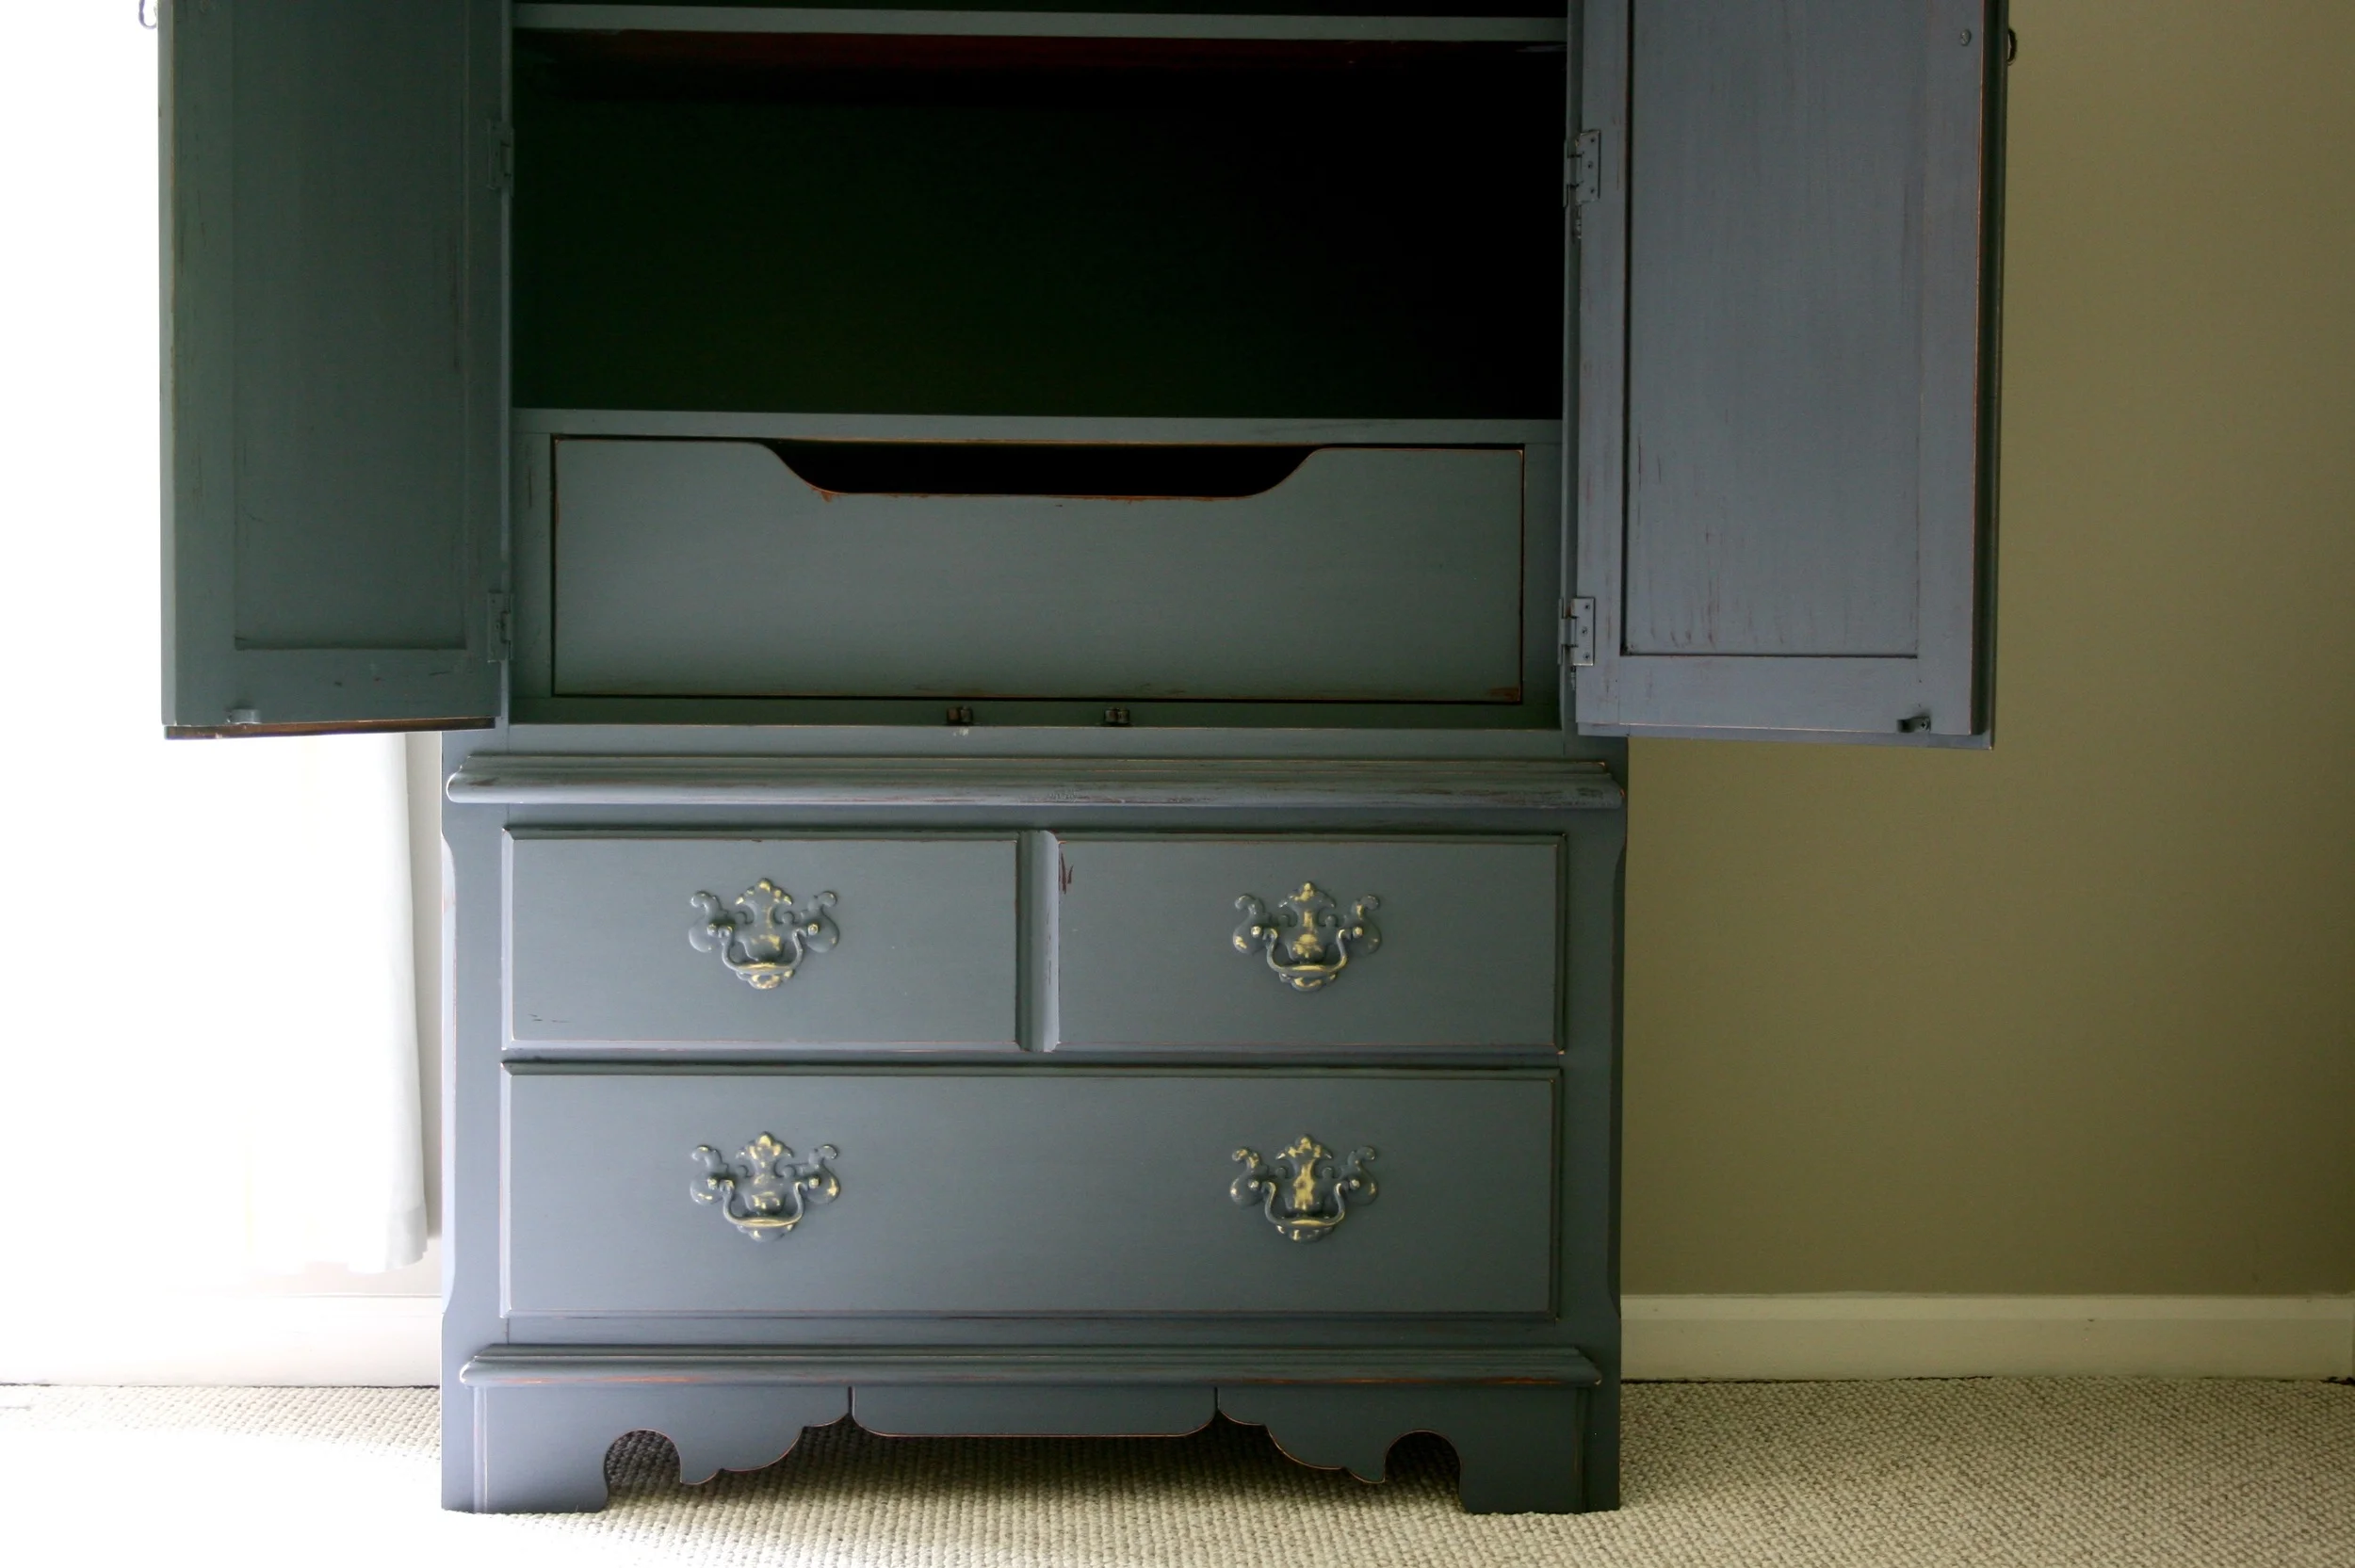
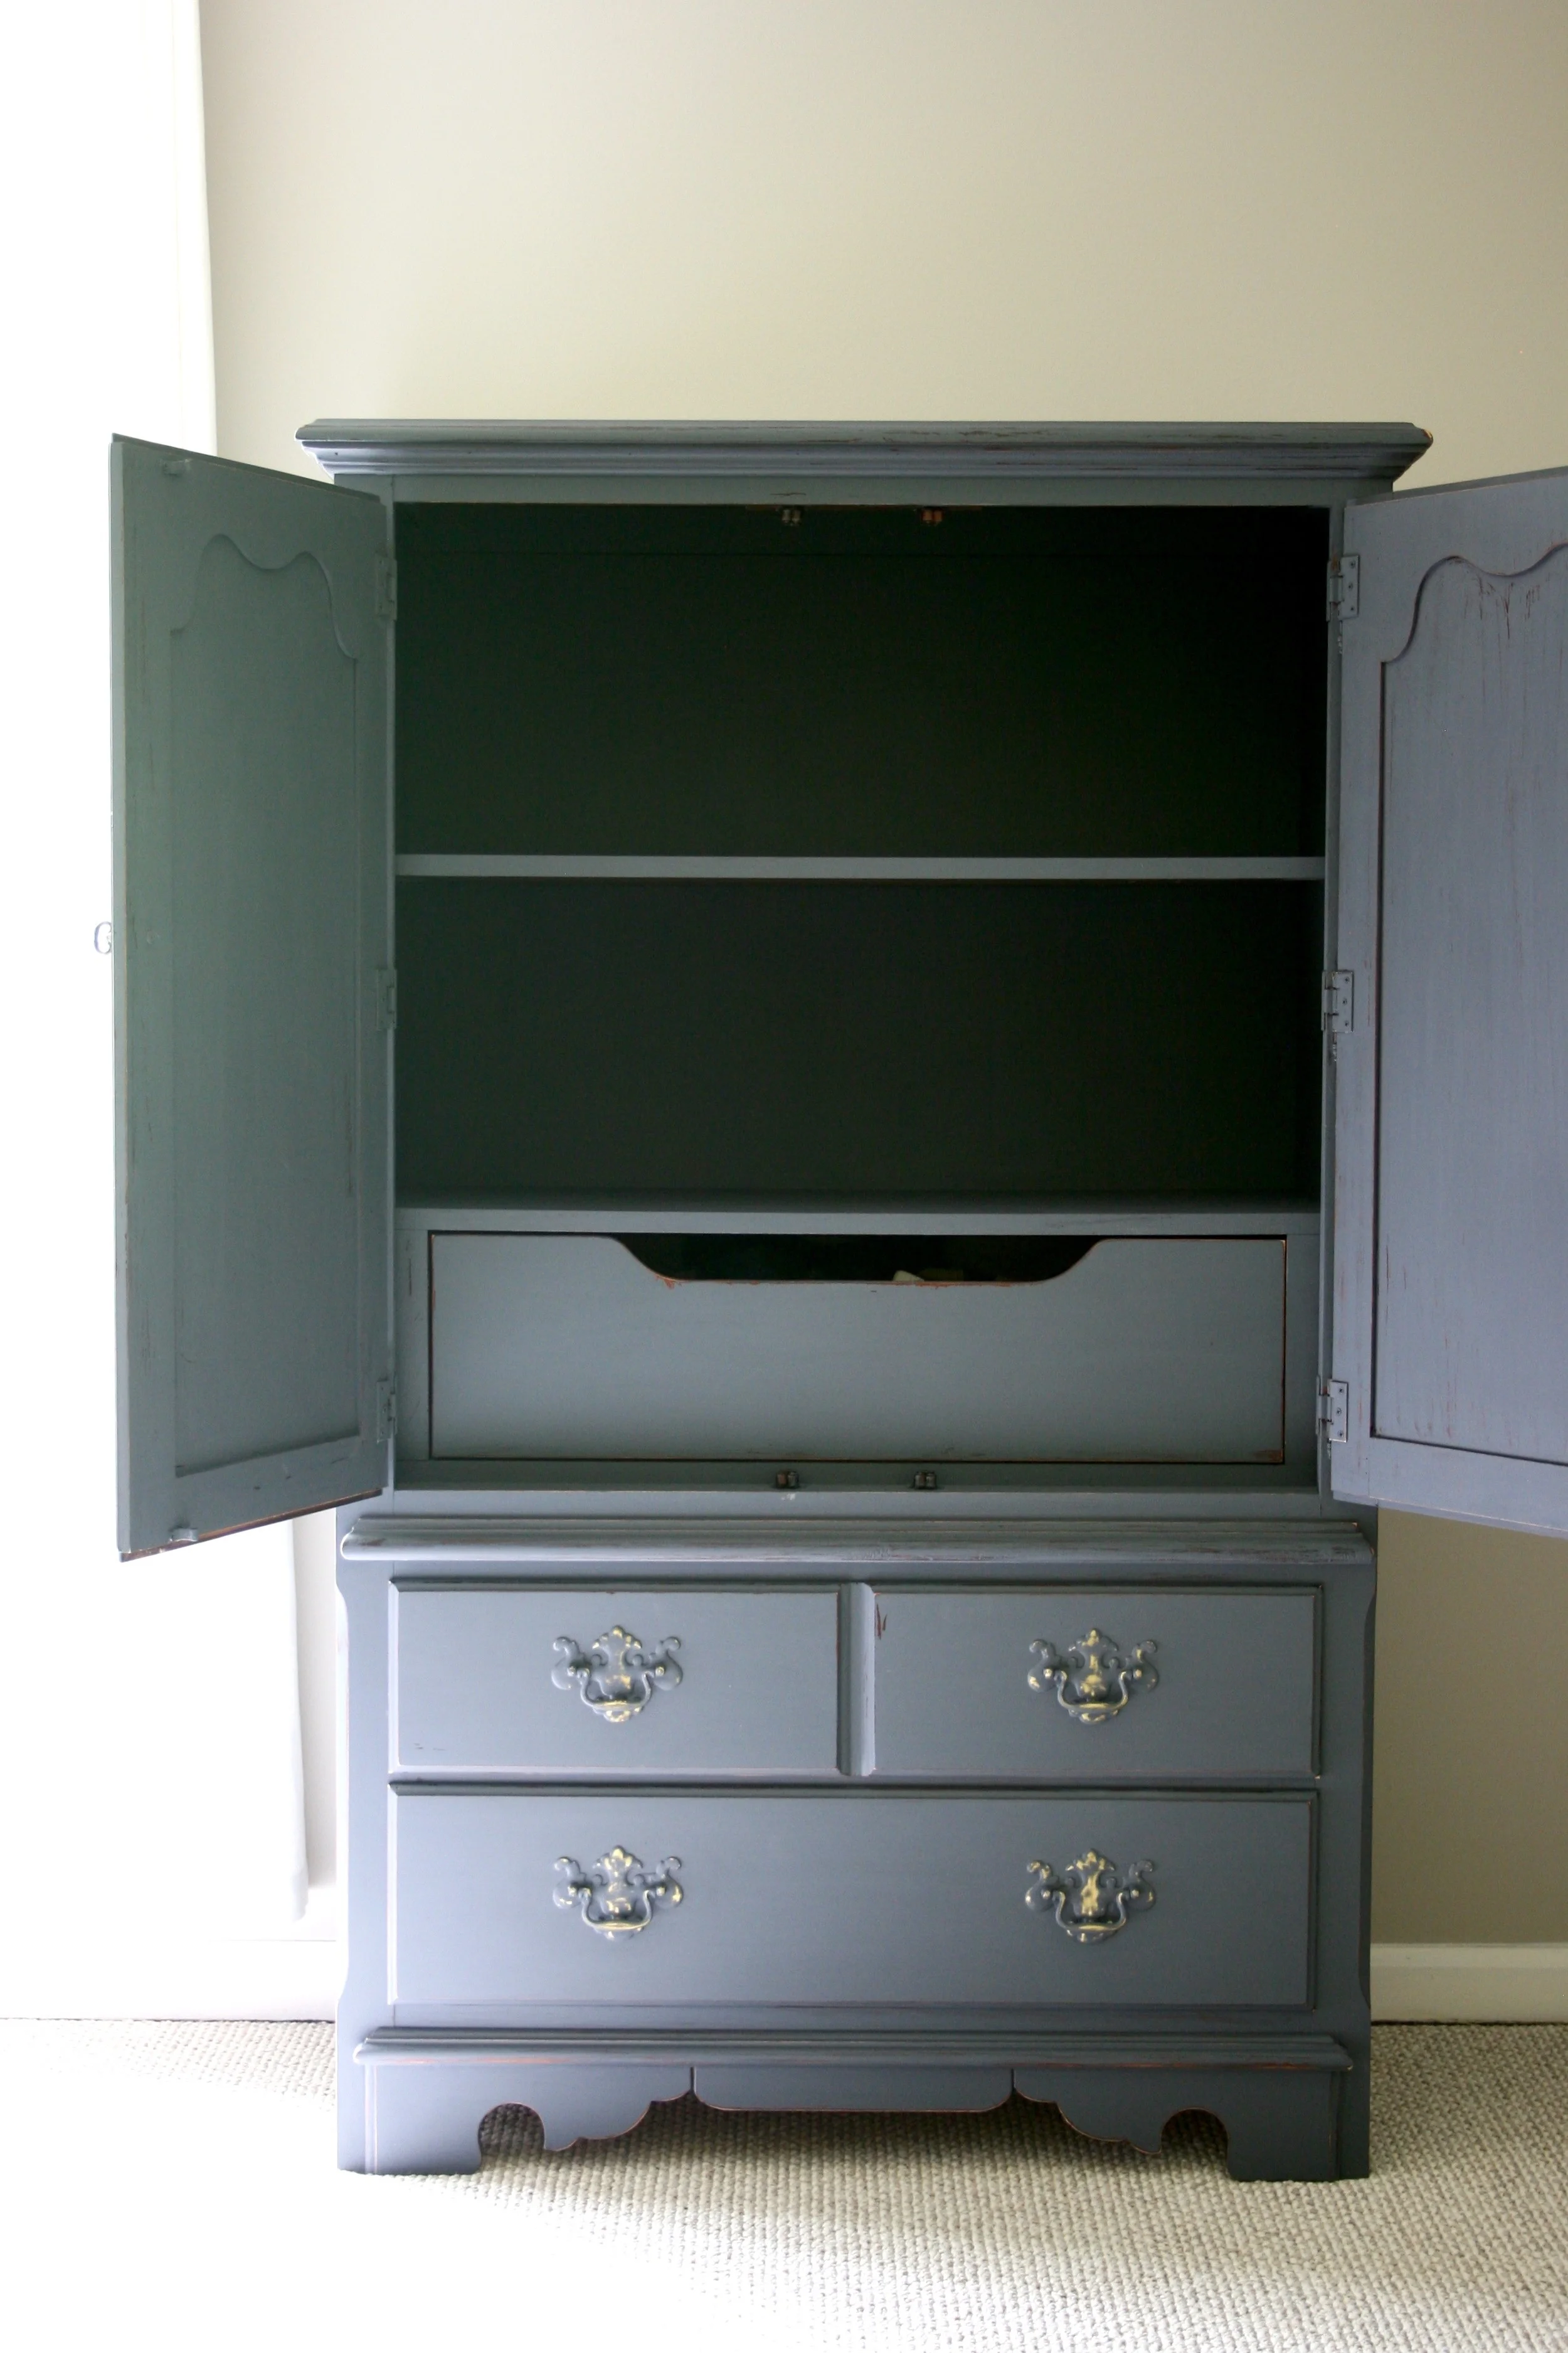
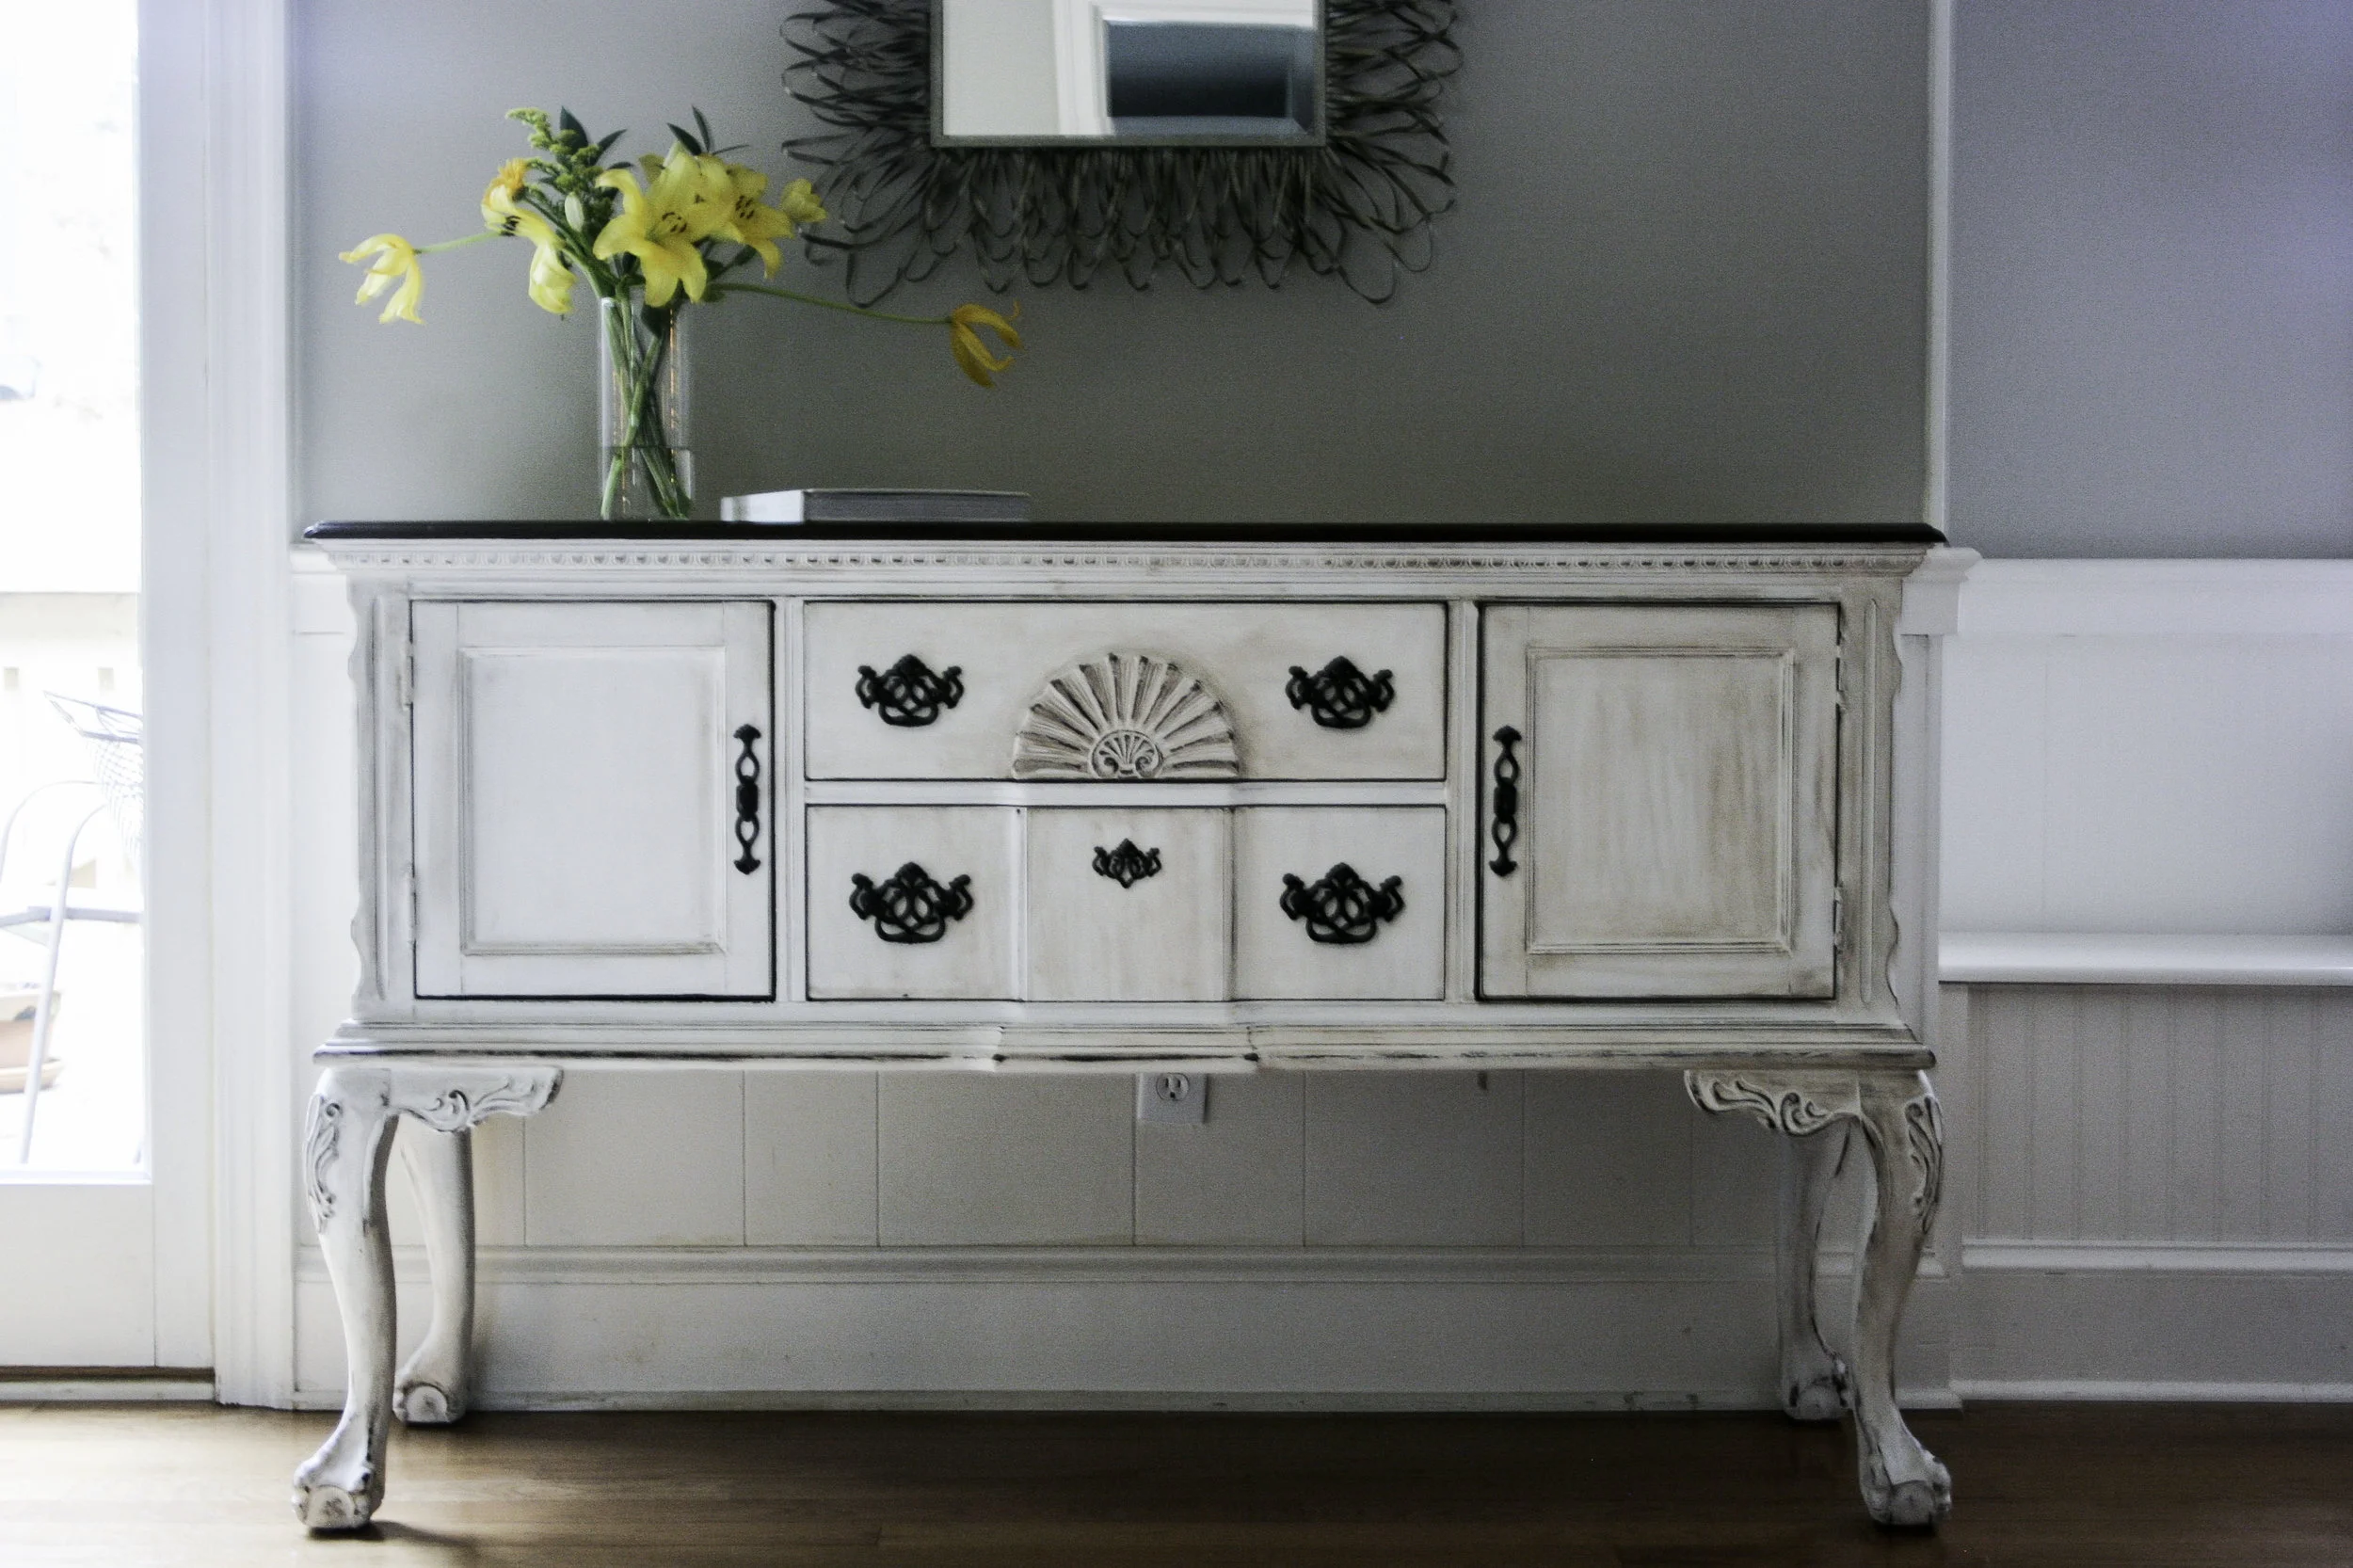
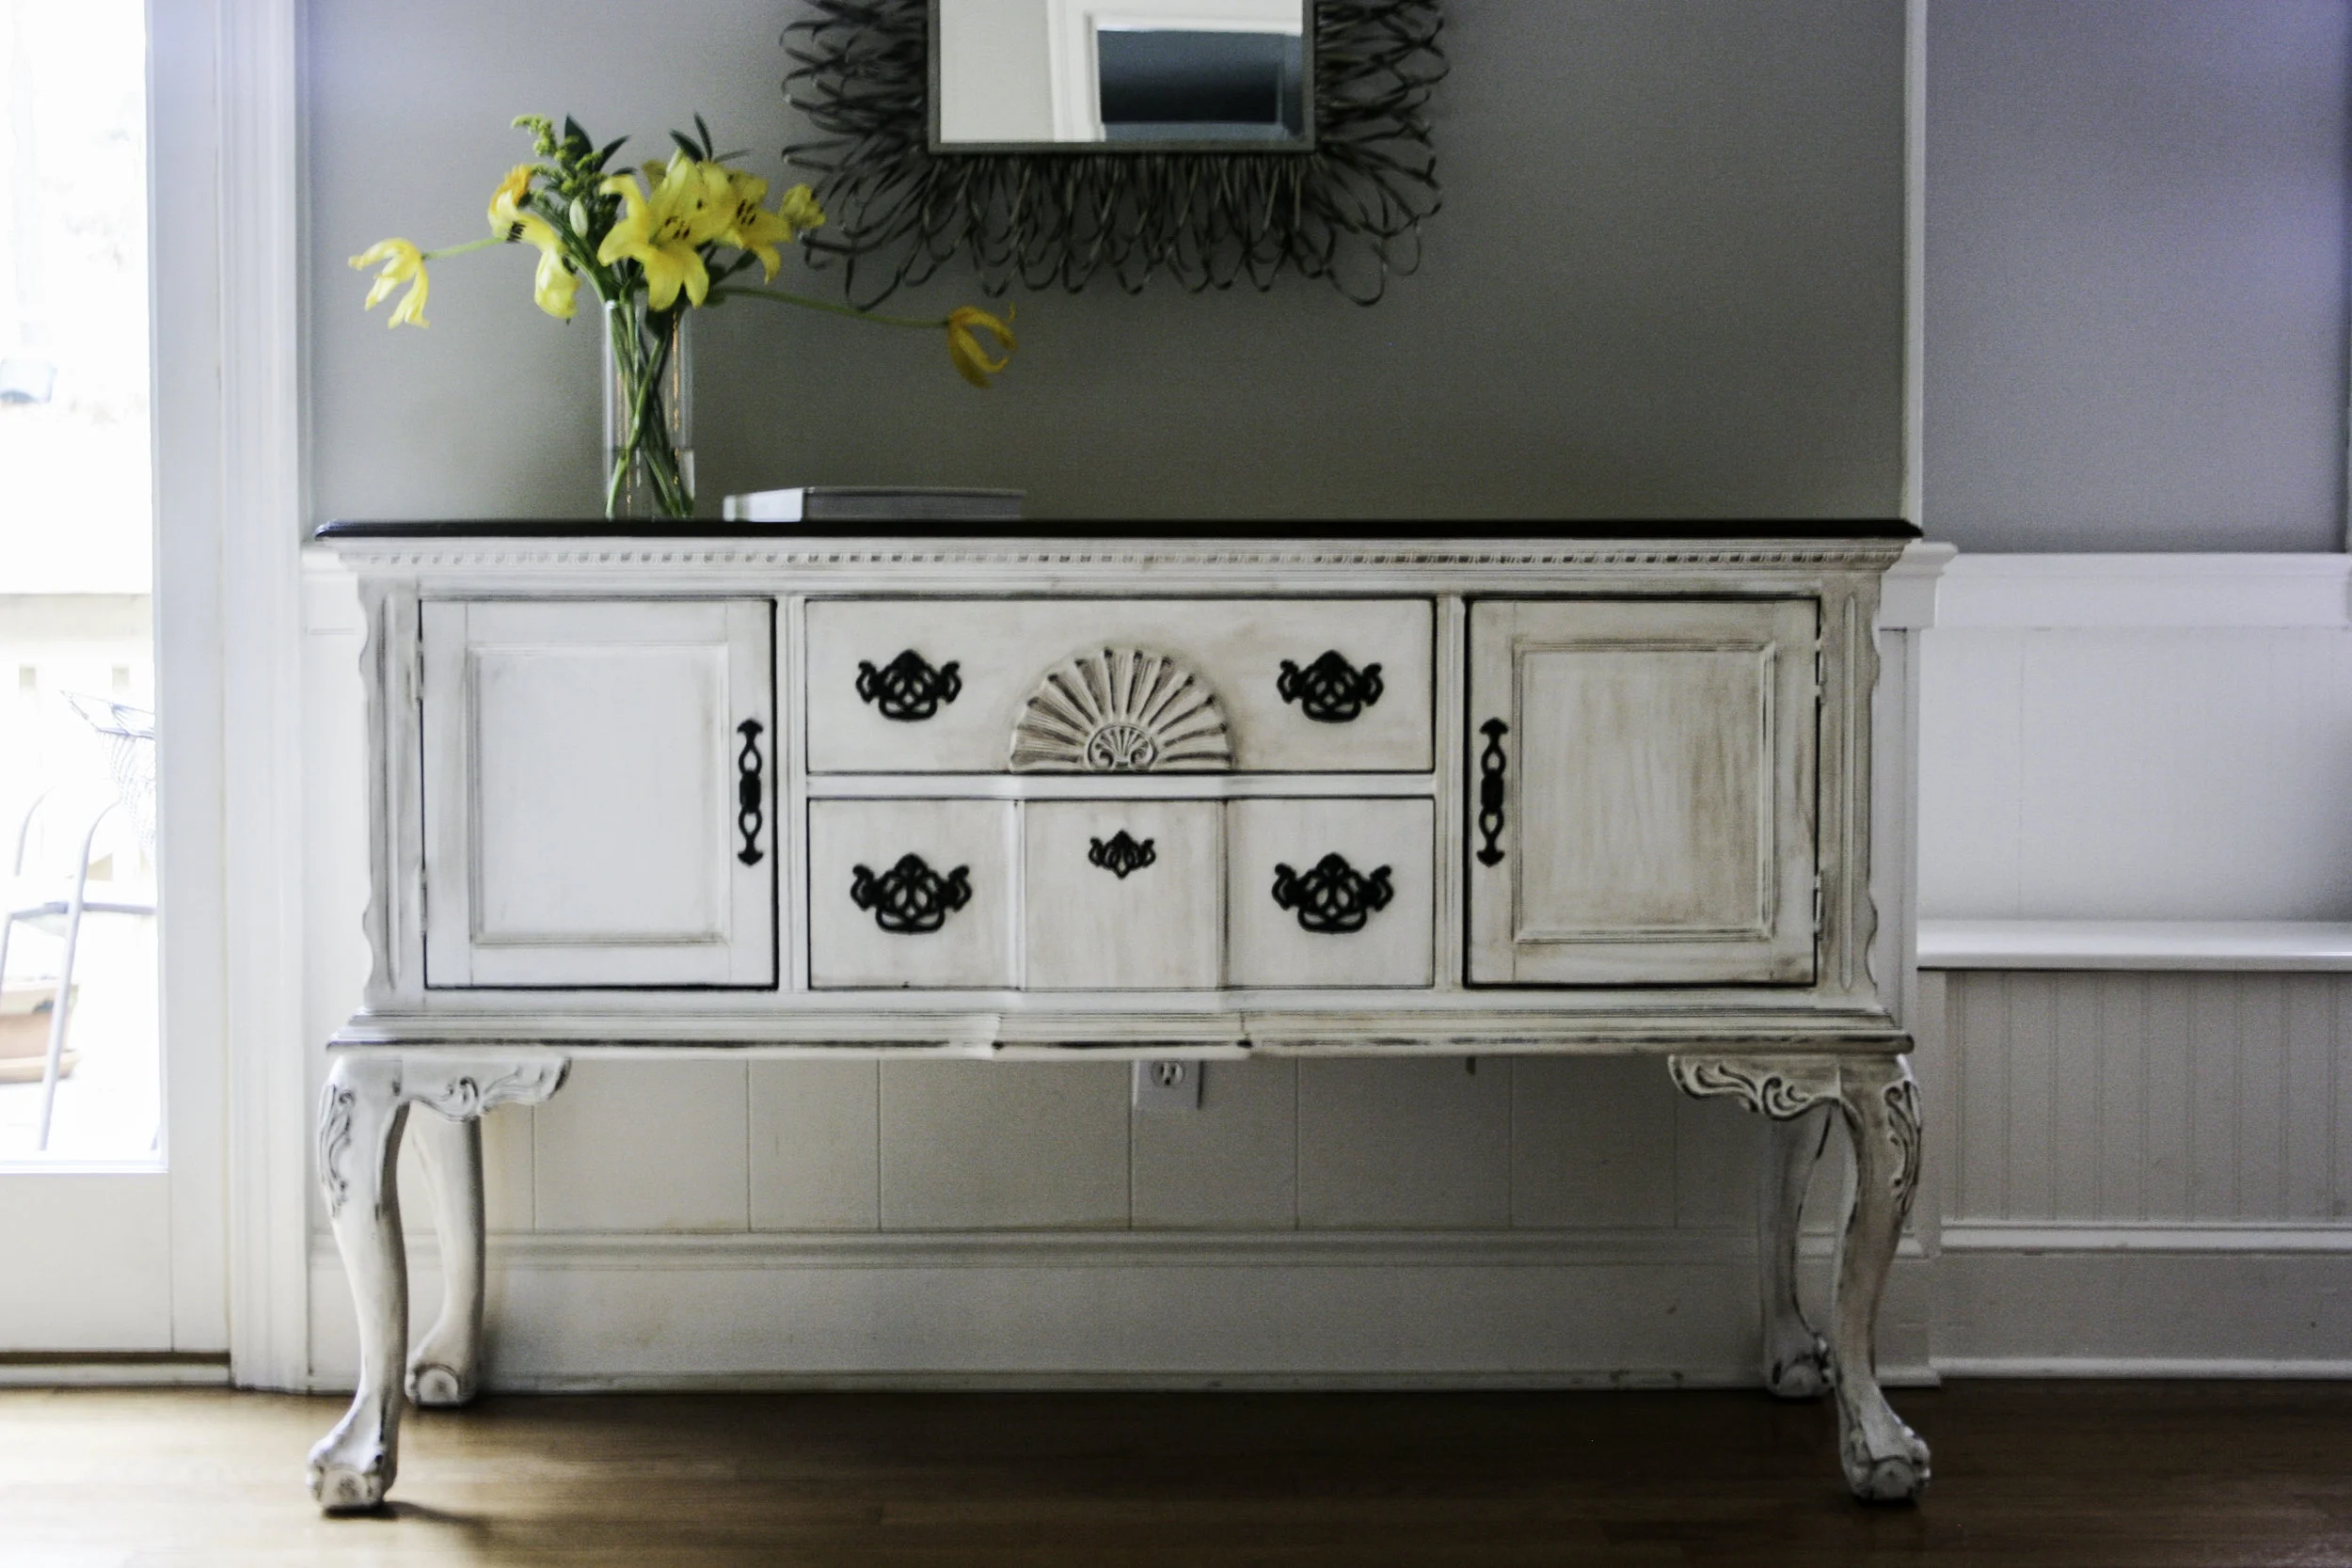
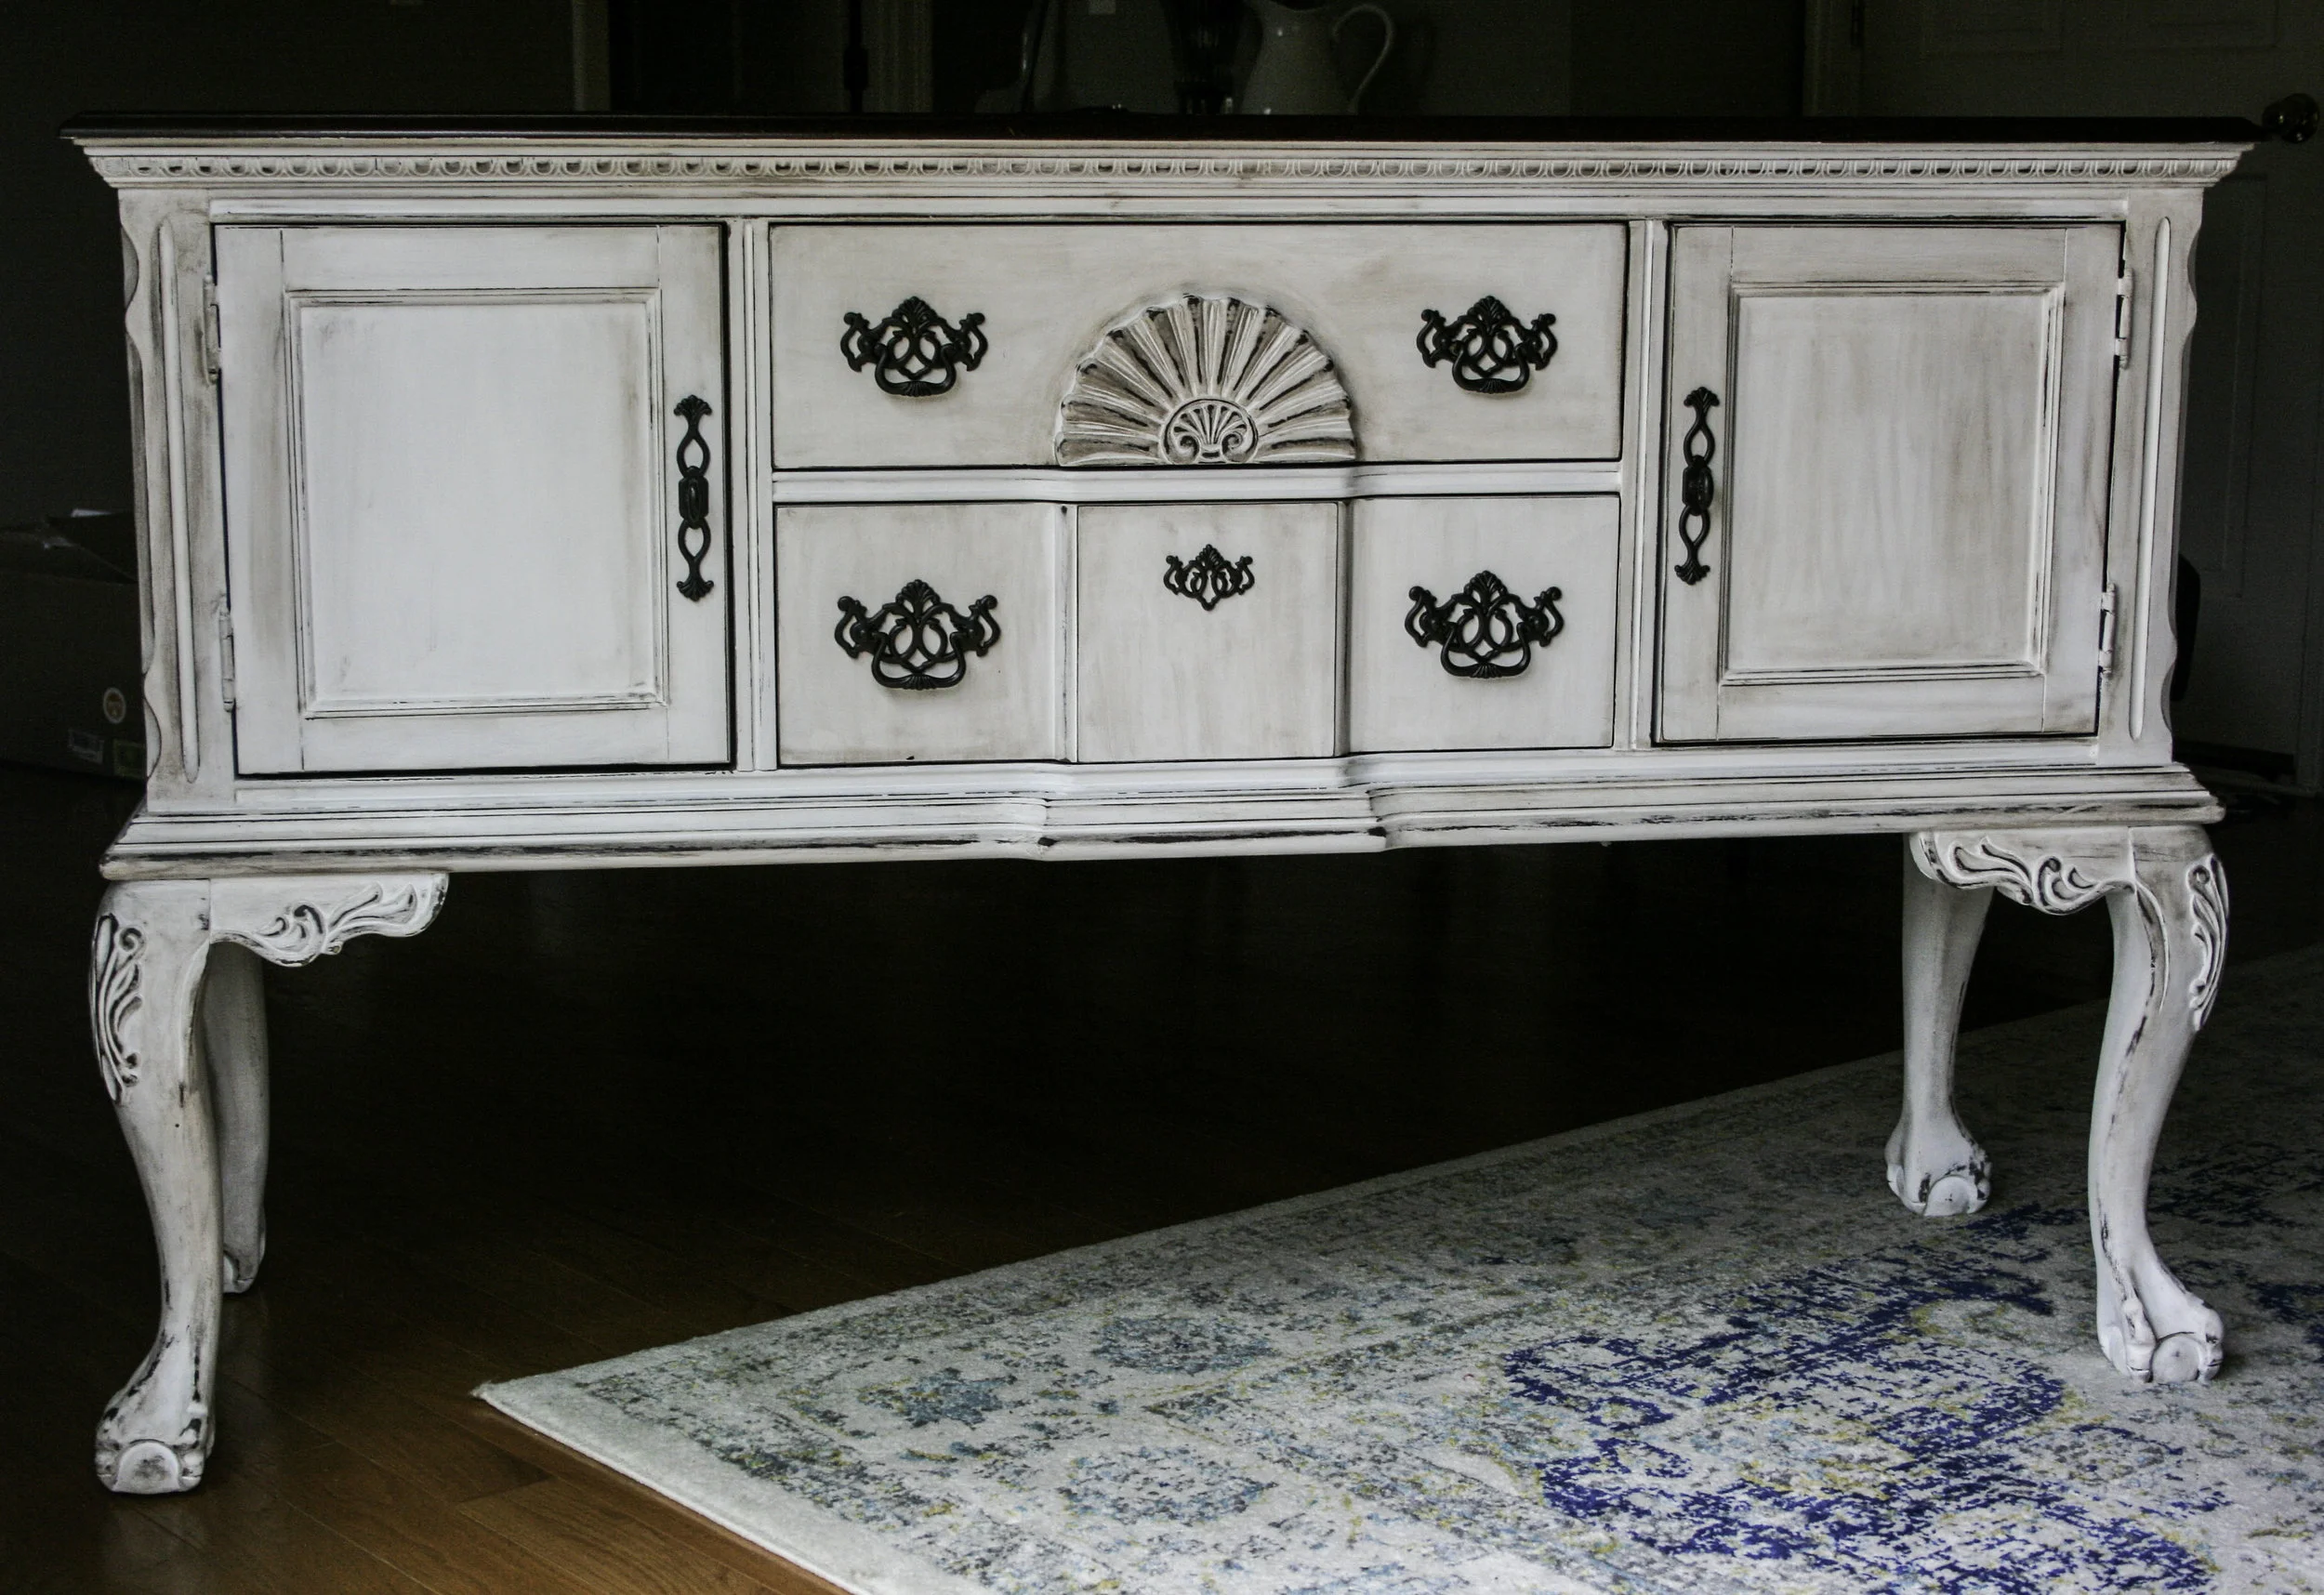
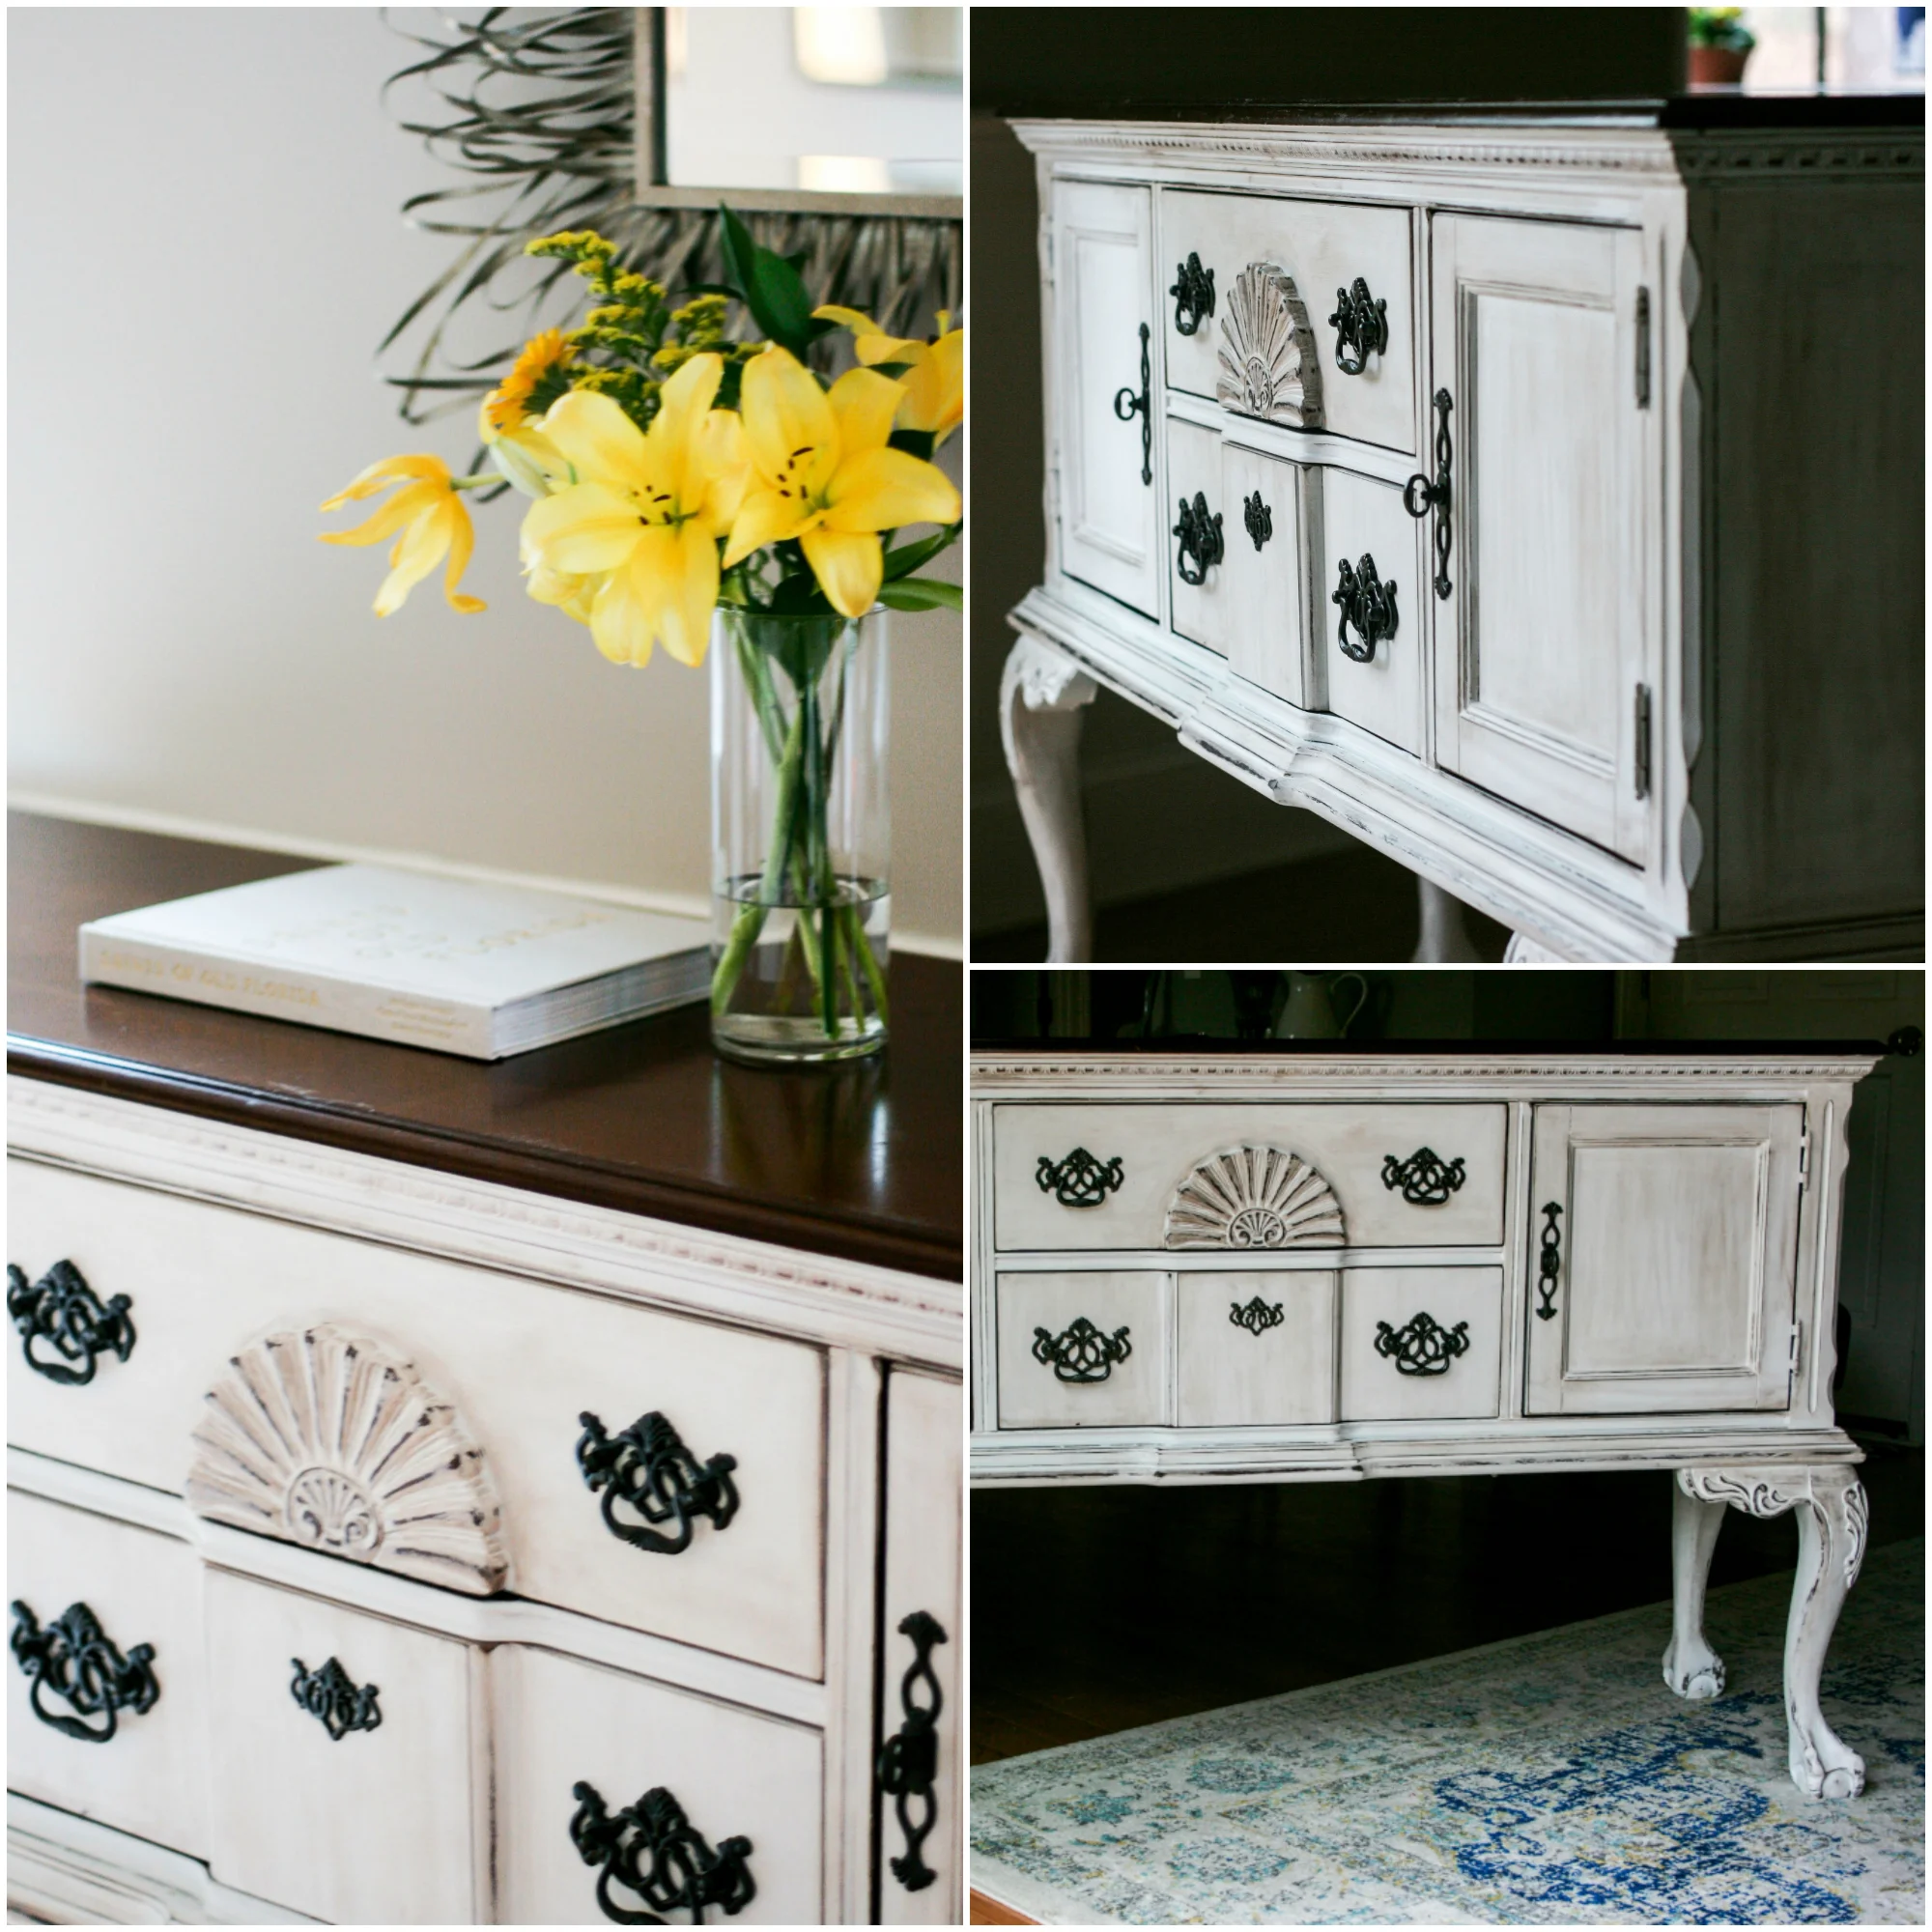
And here is the "after":

The Process.
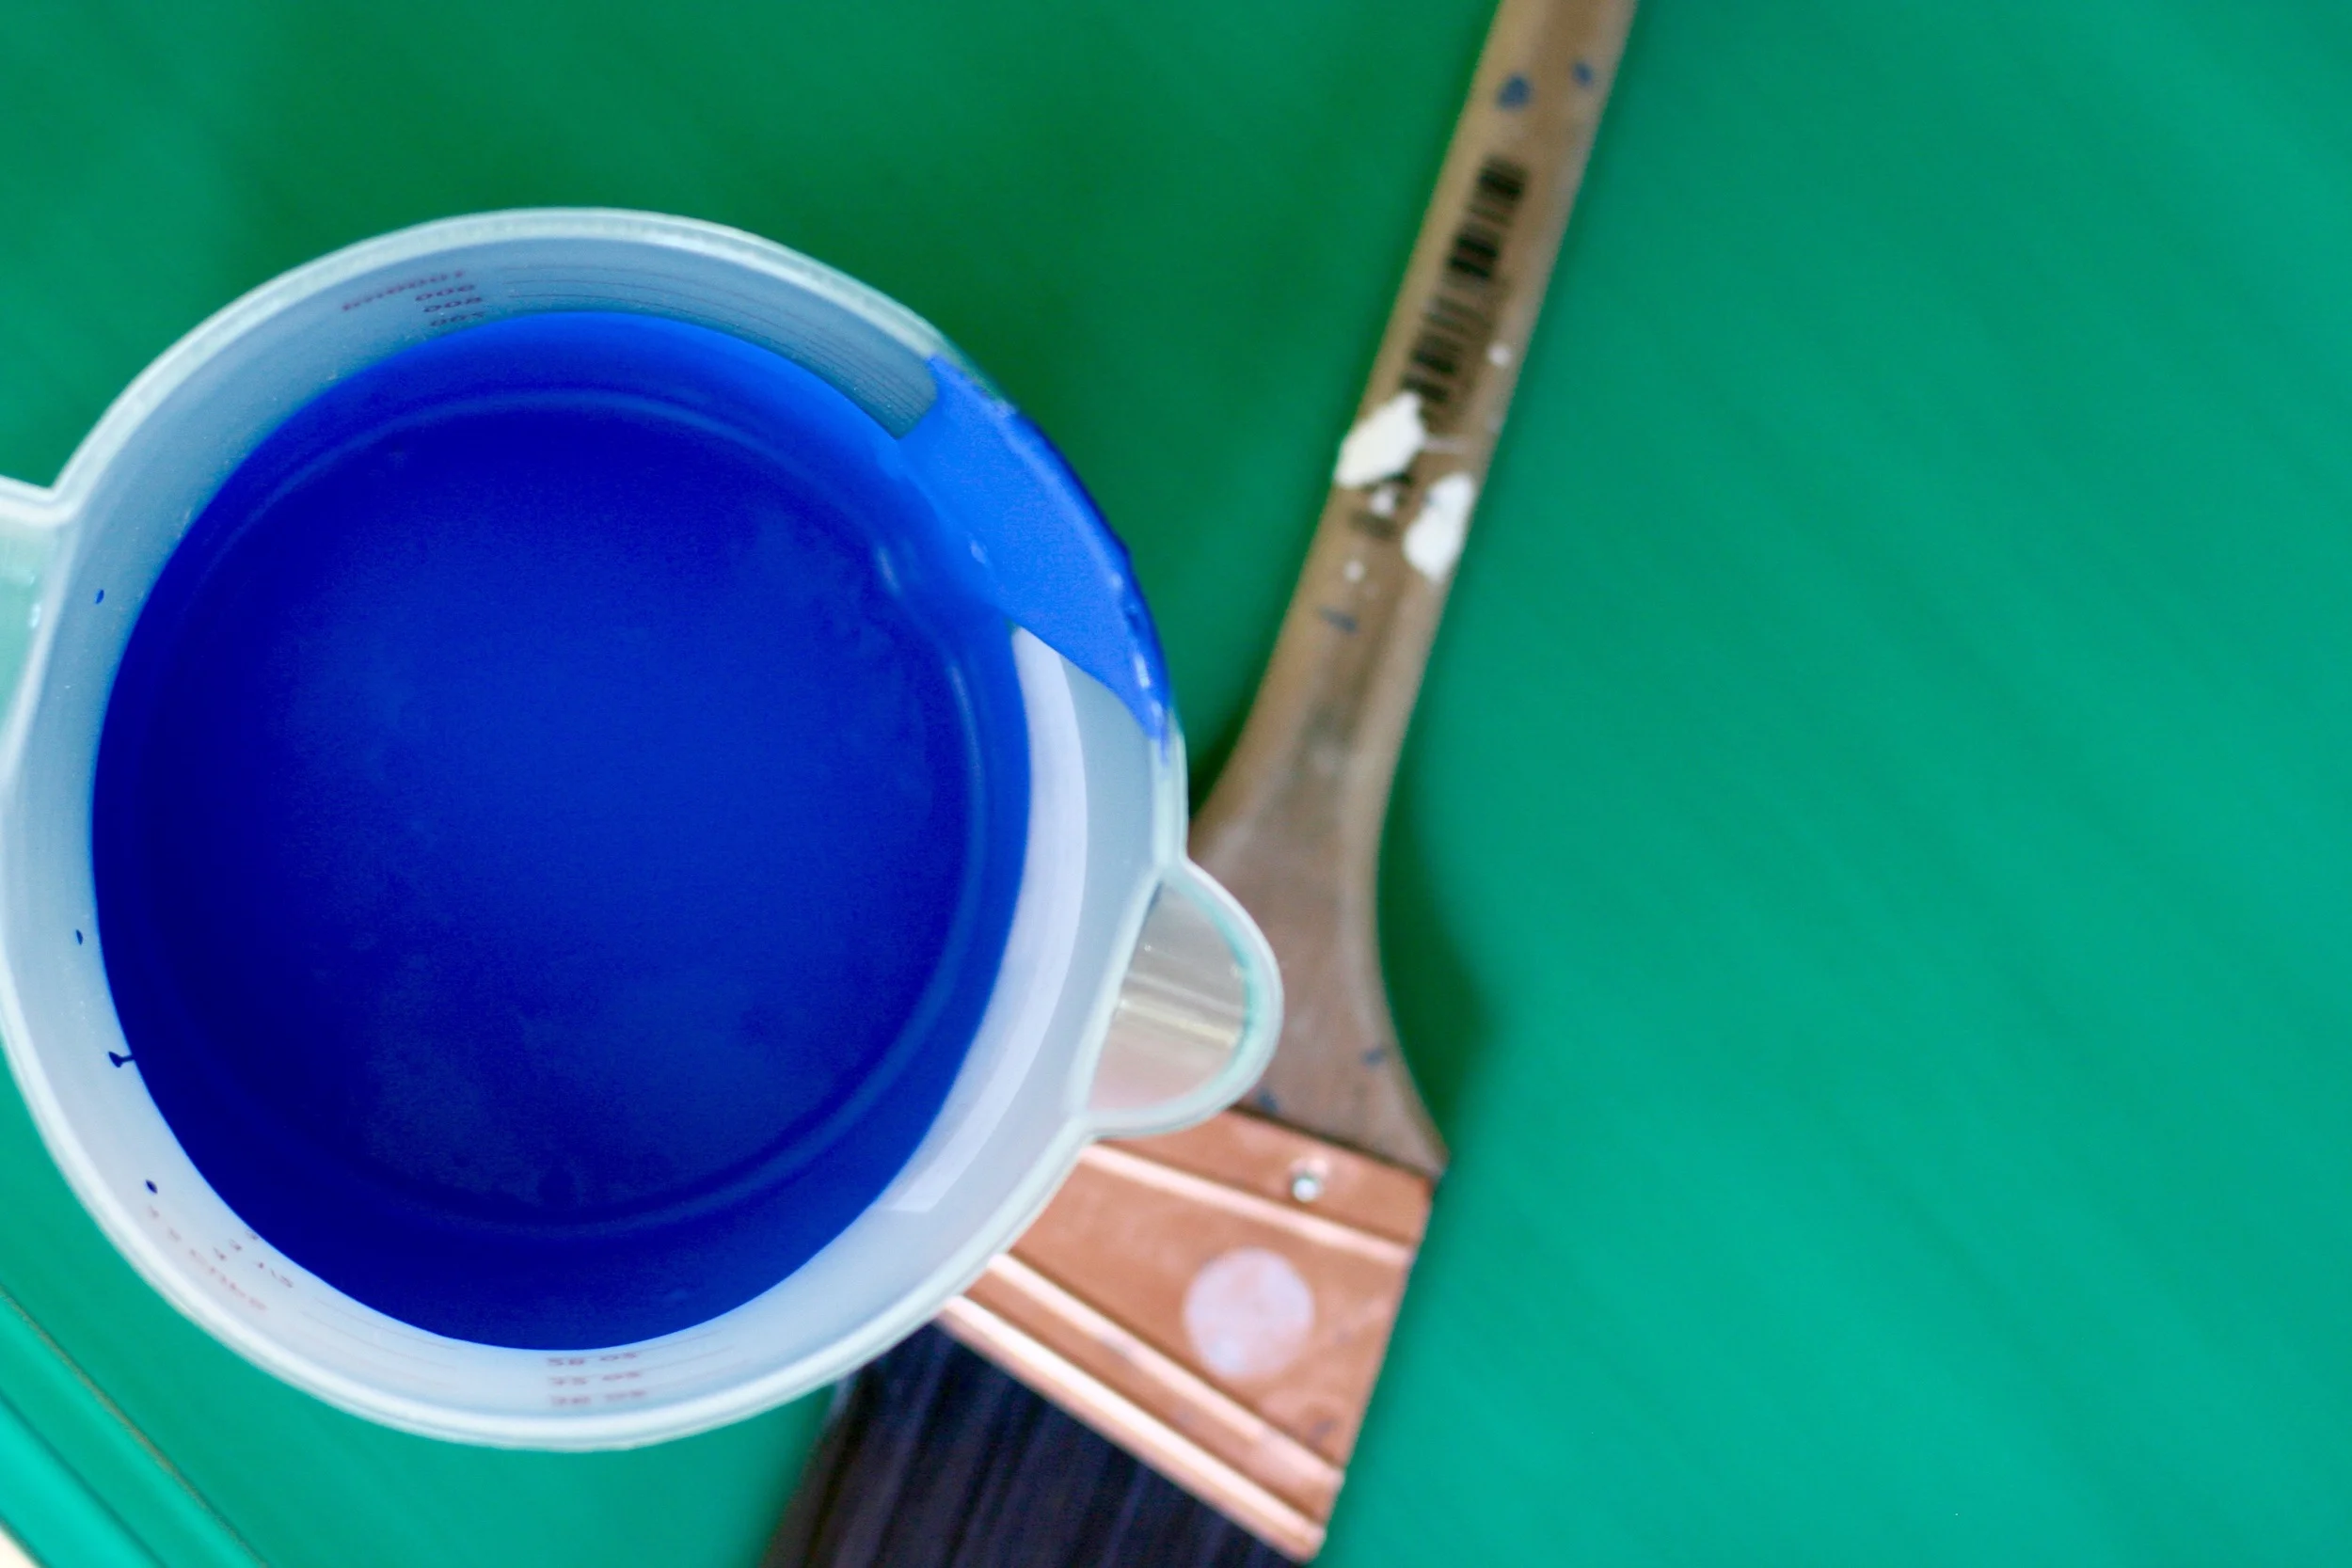
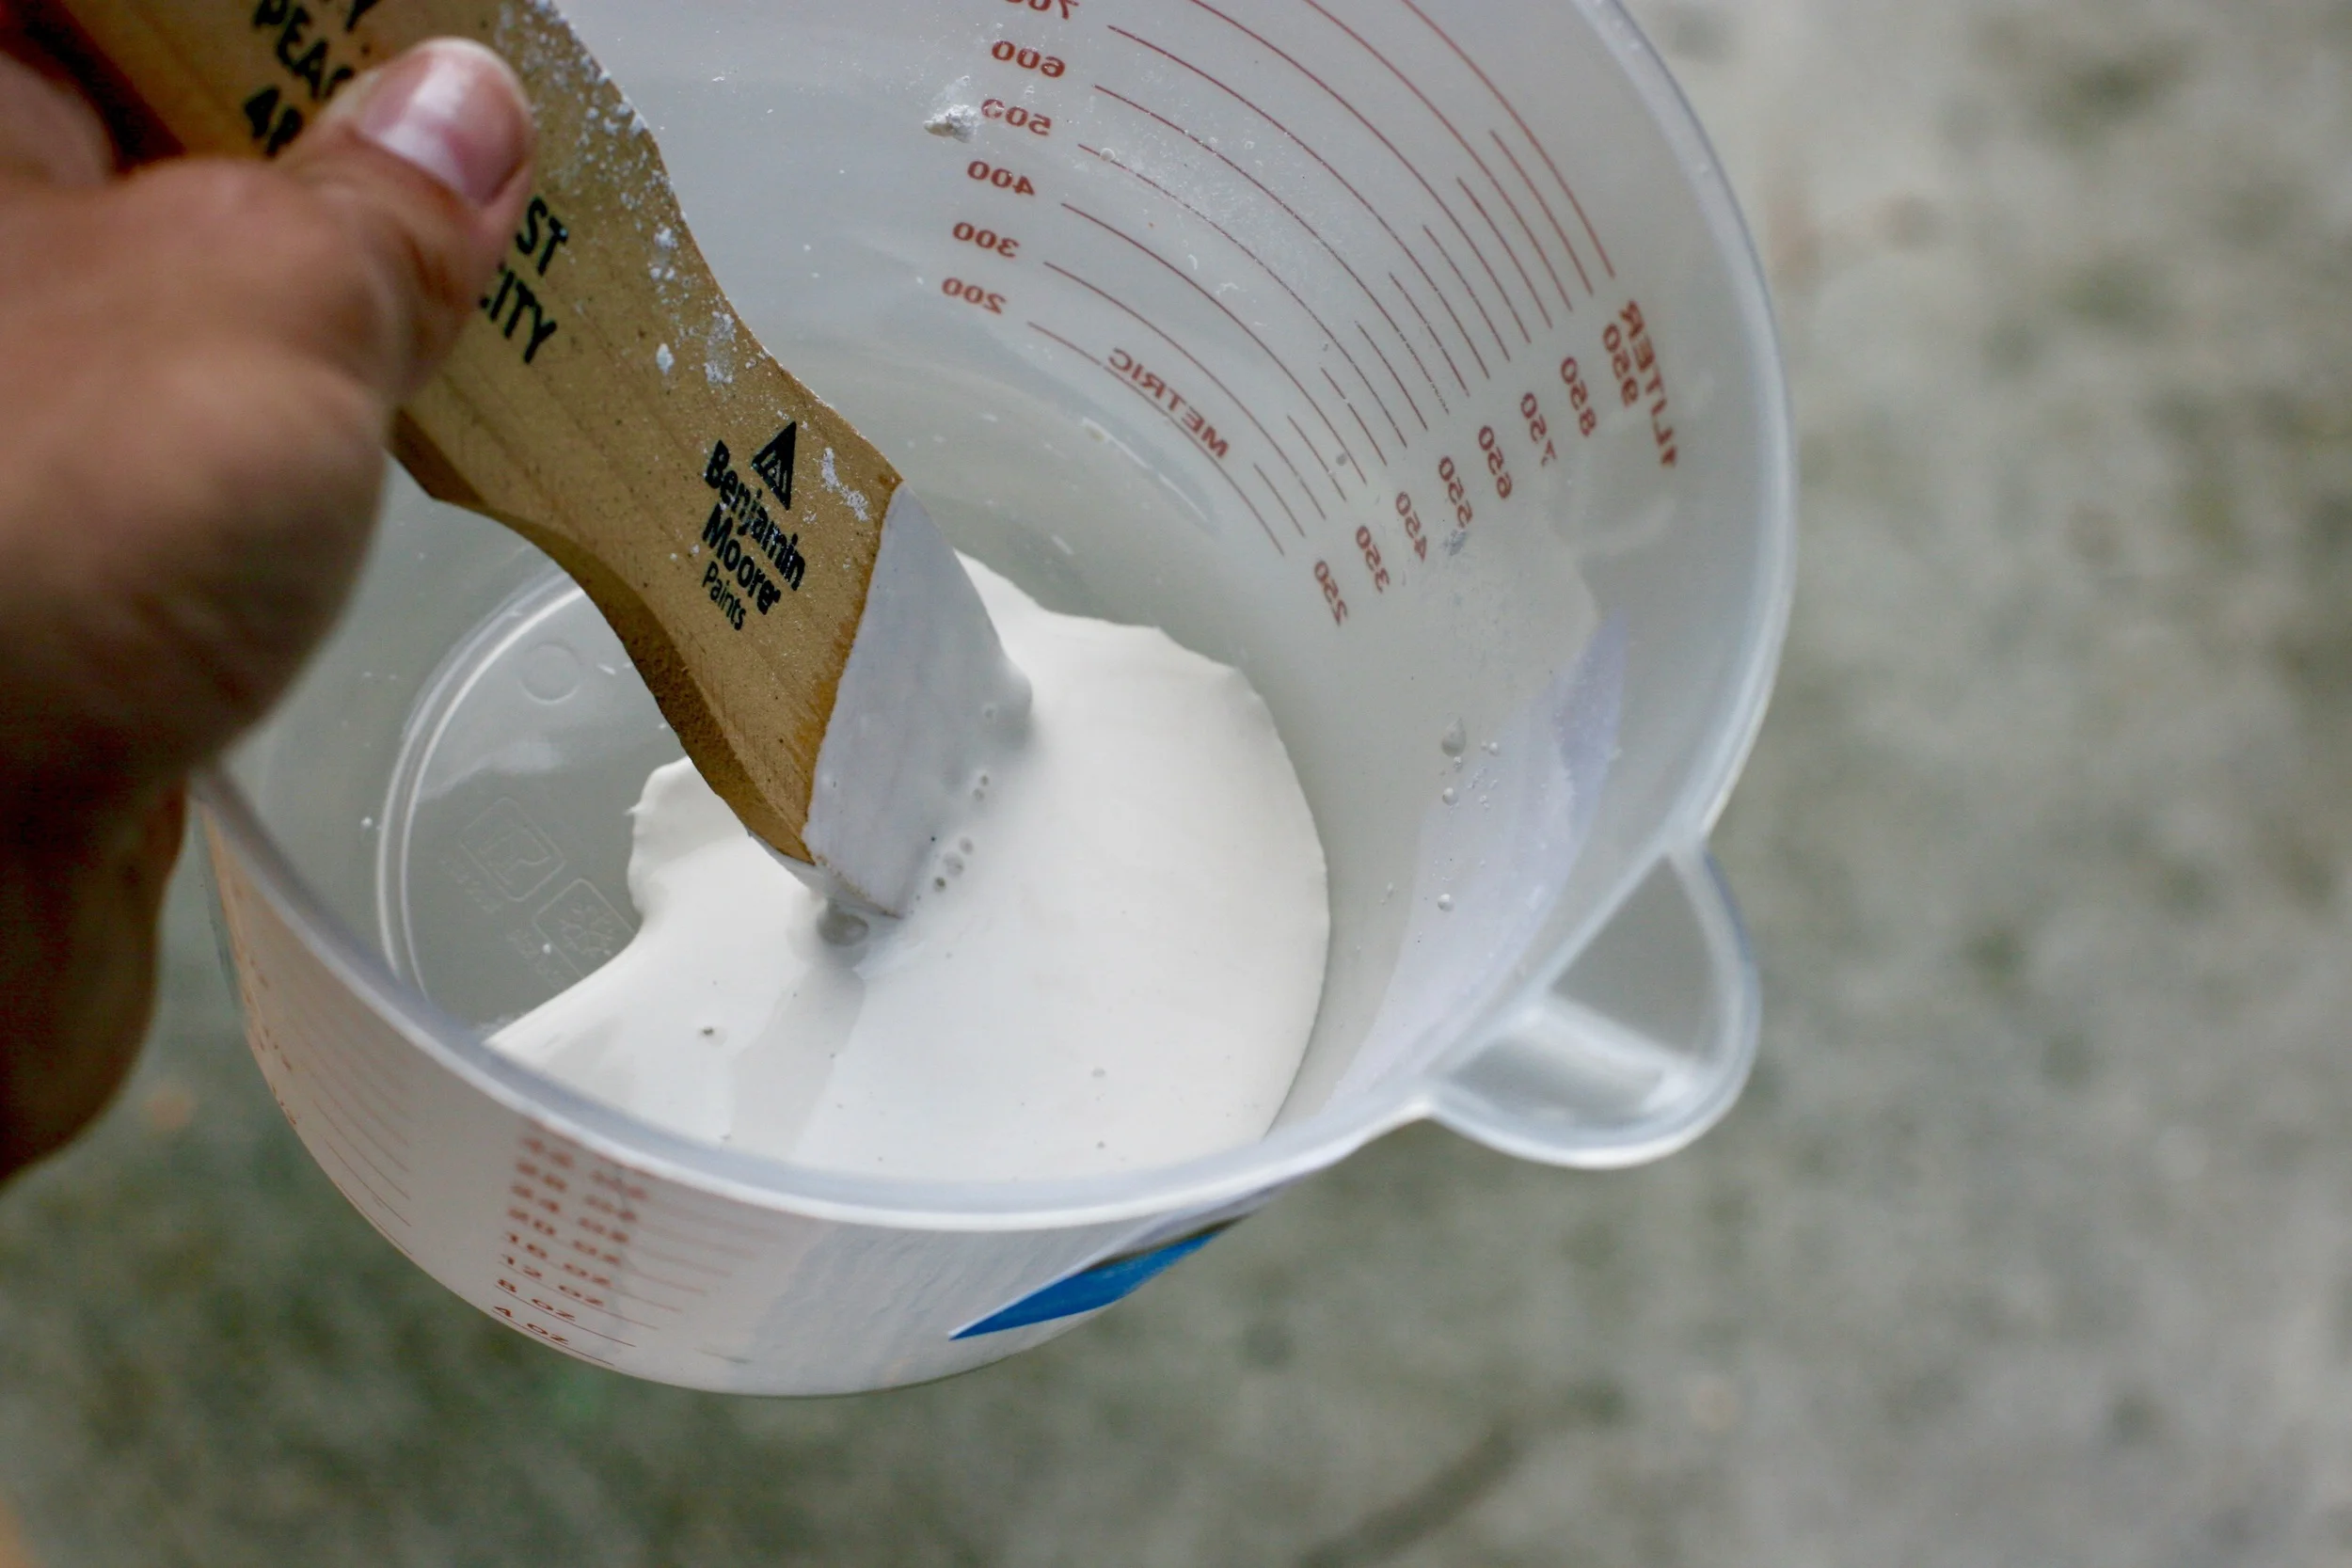
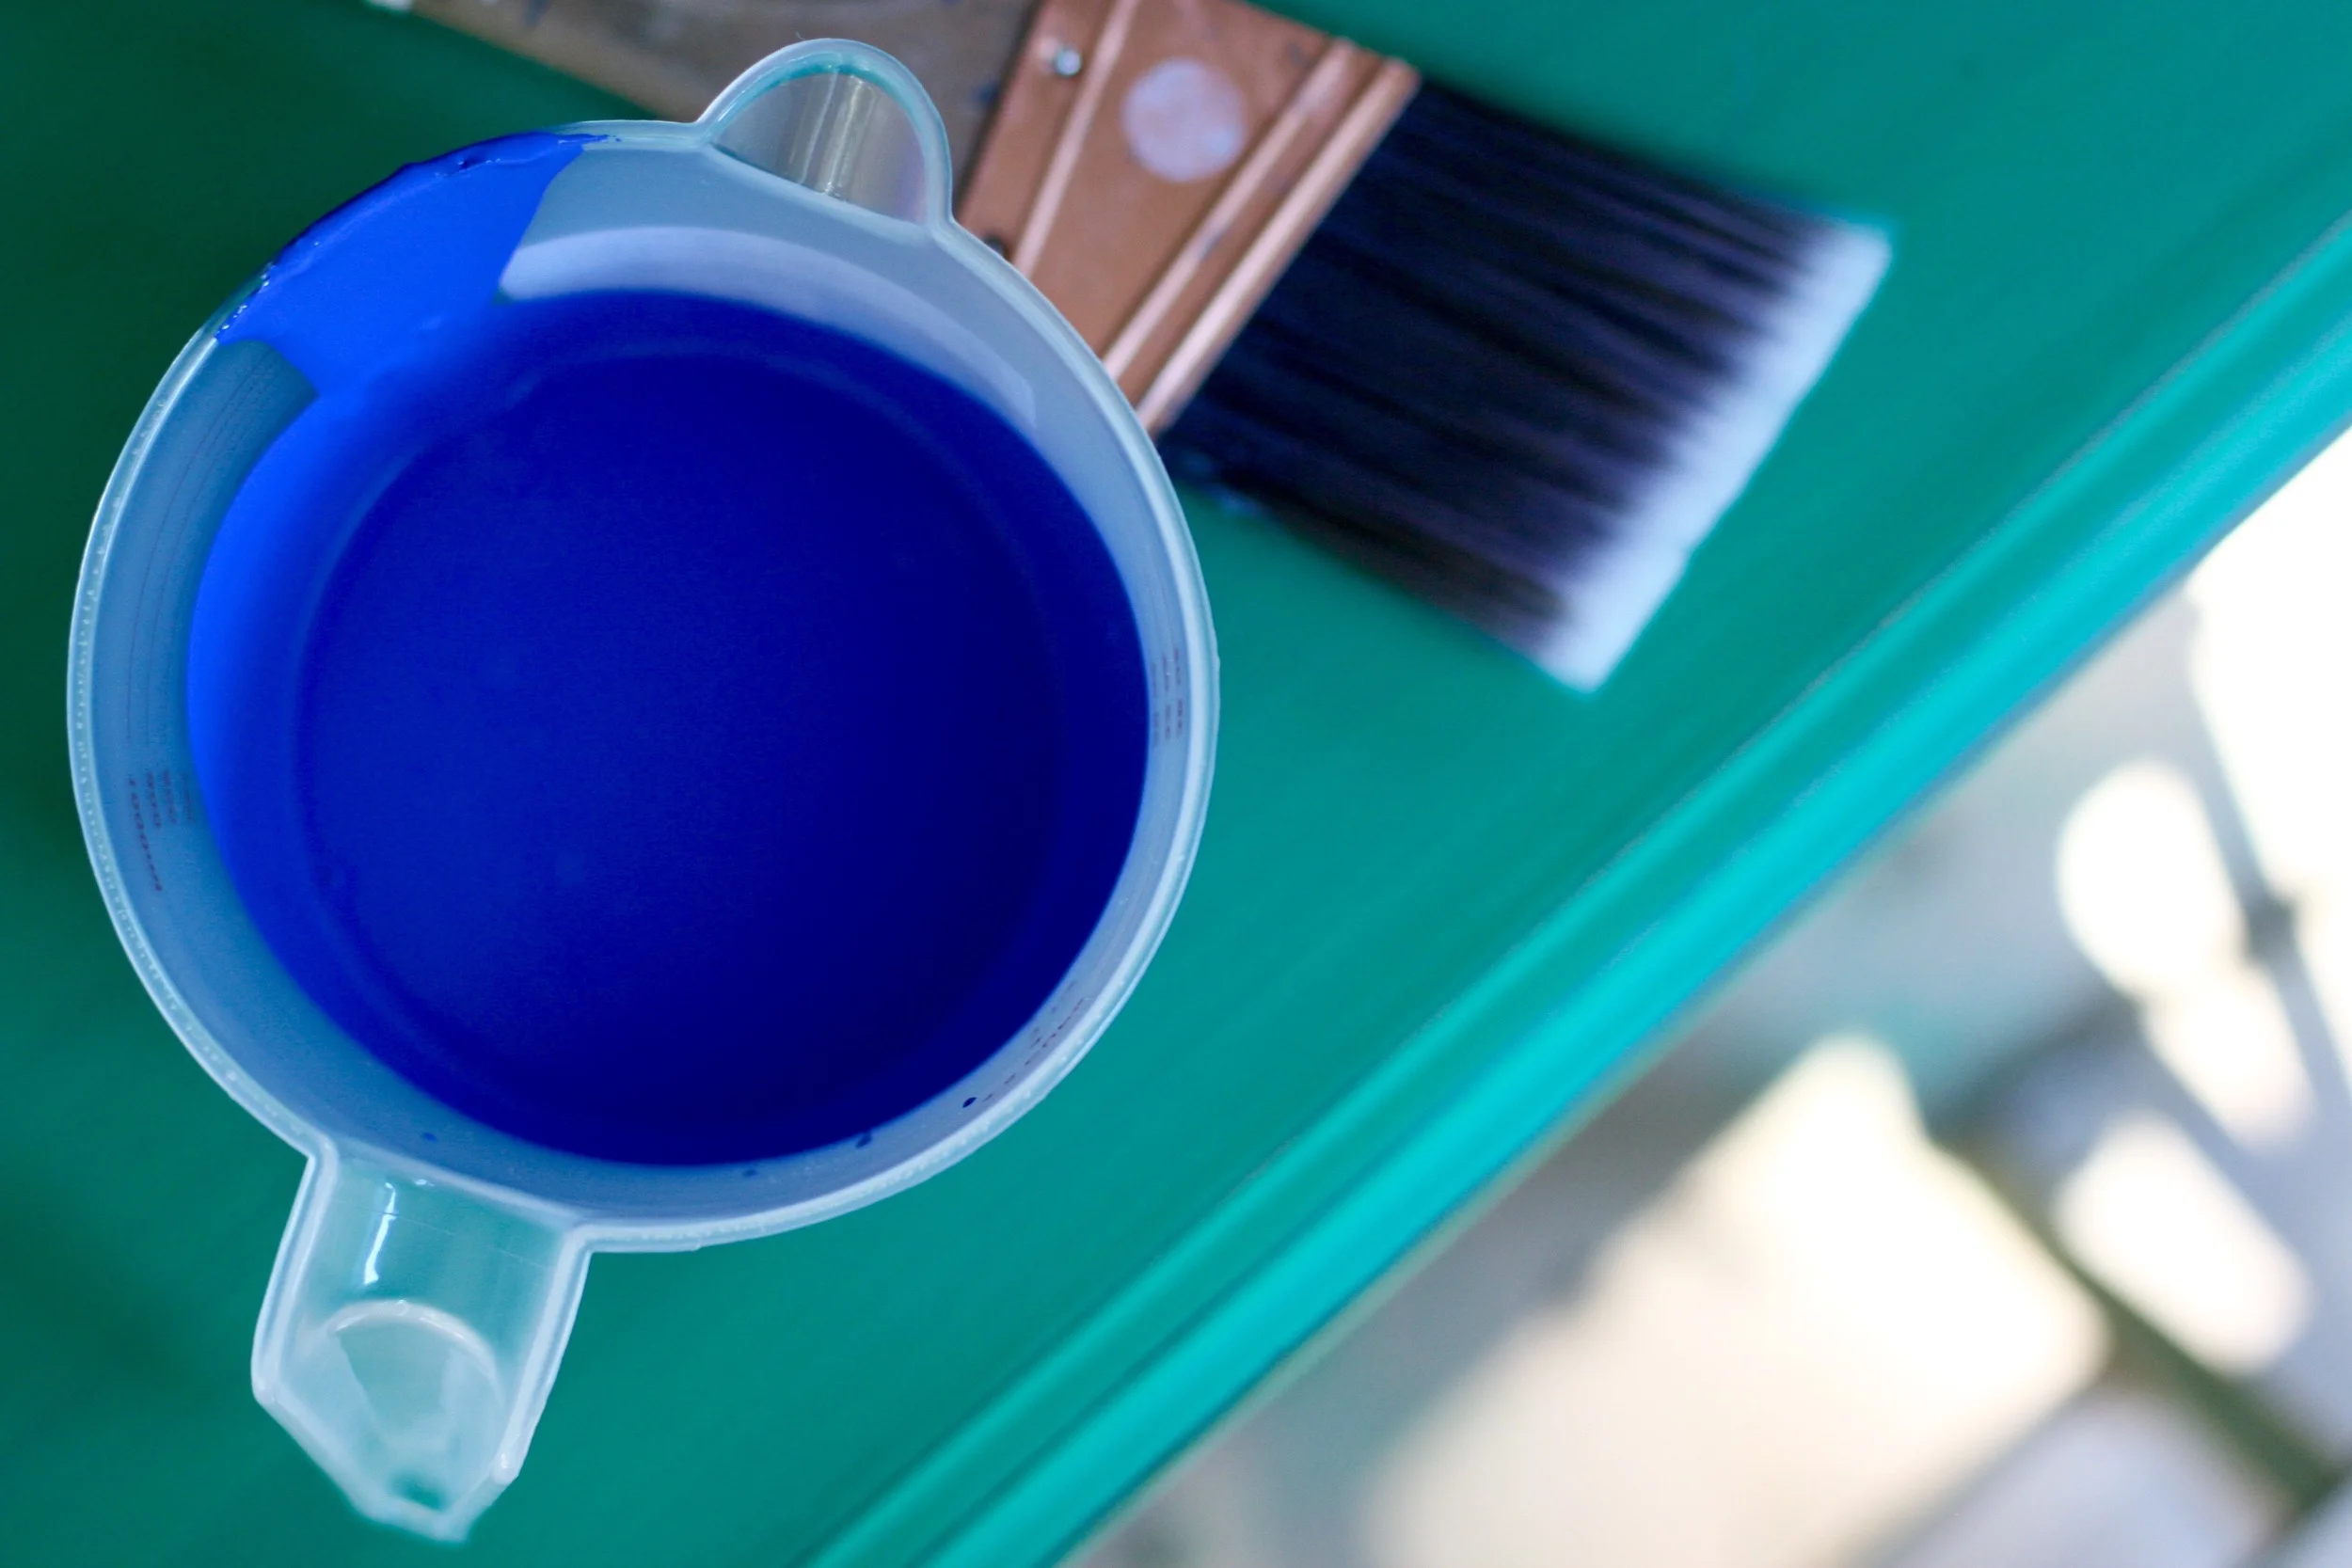
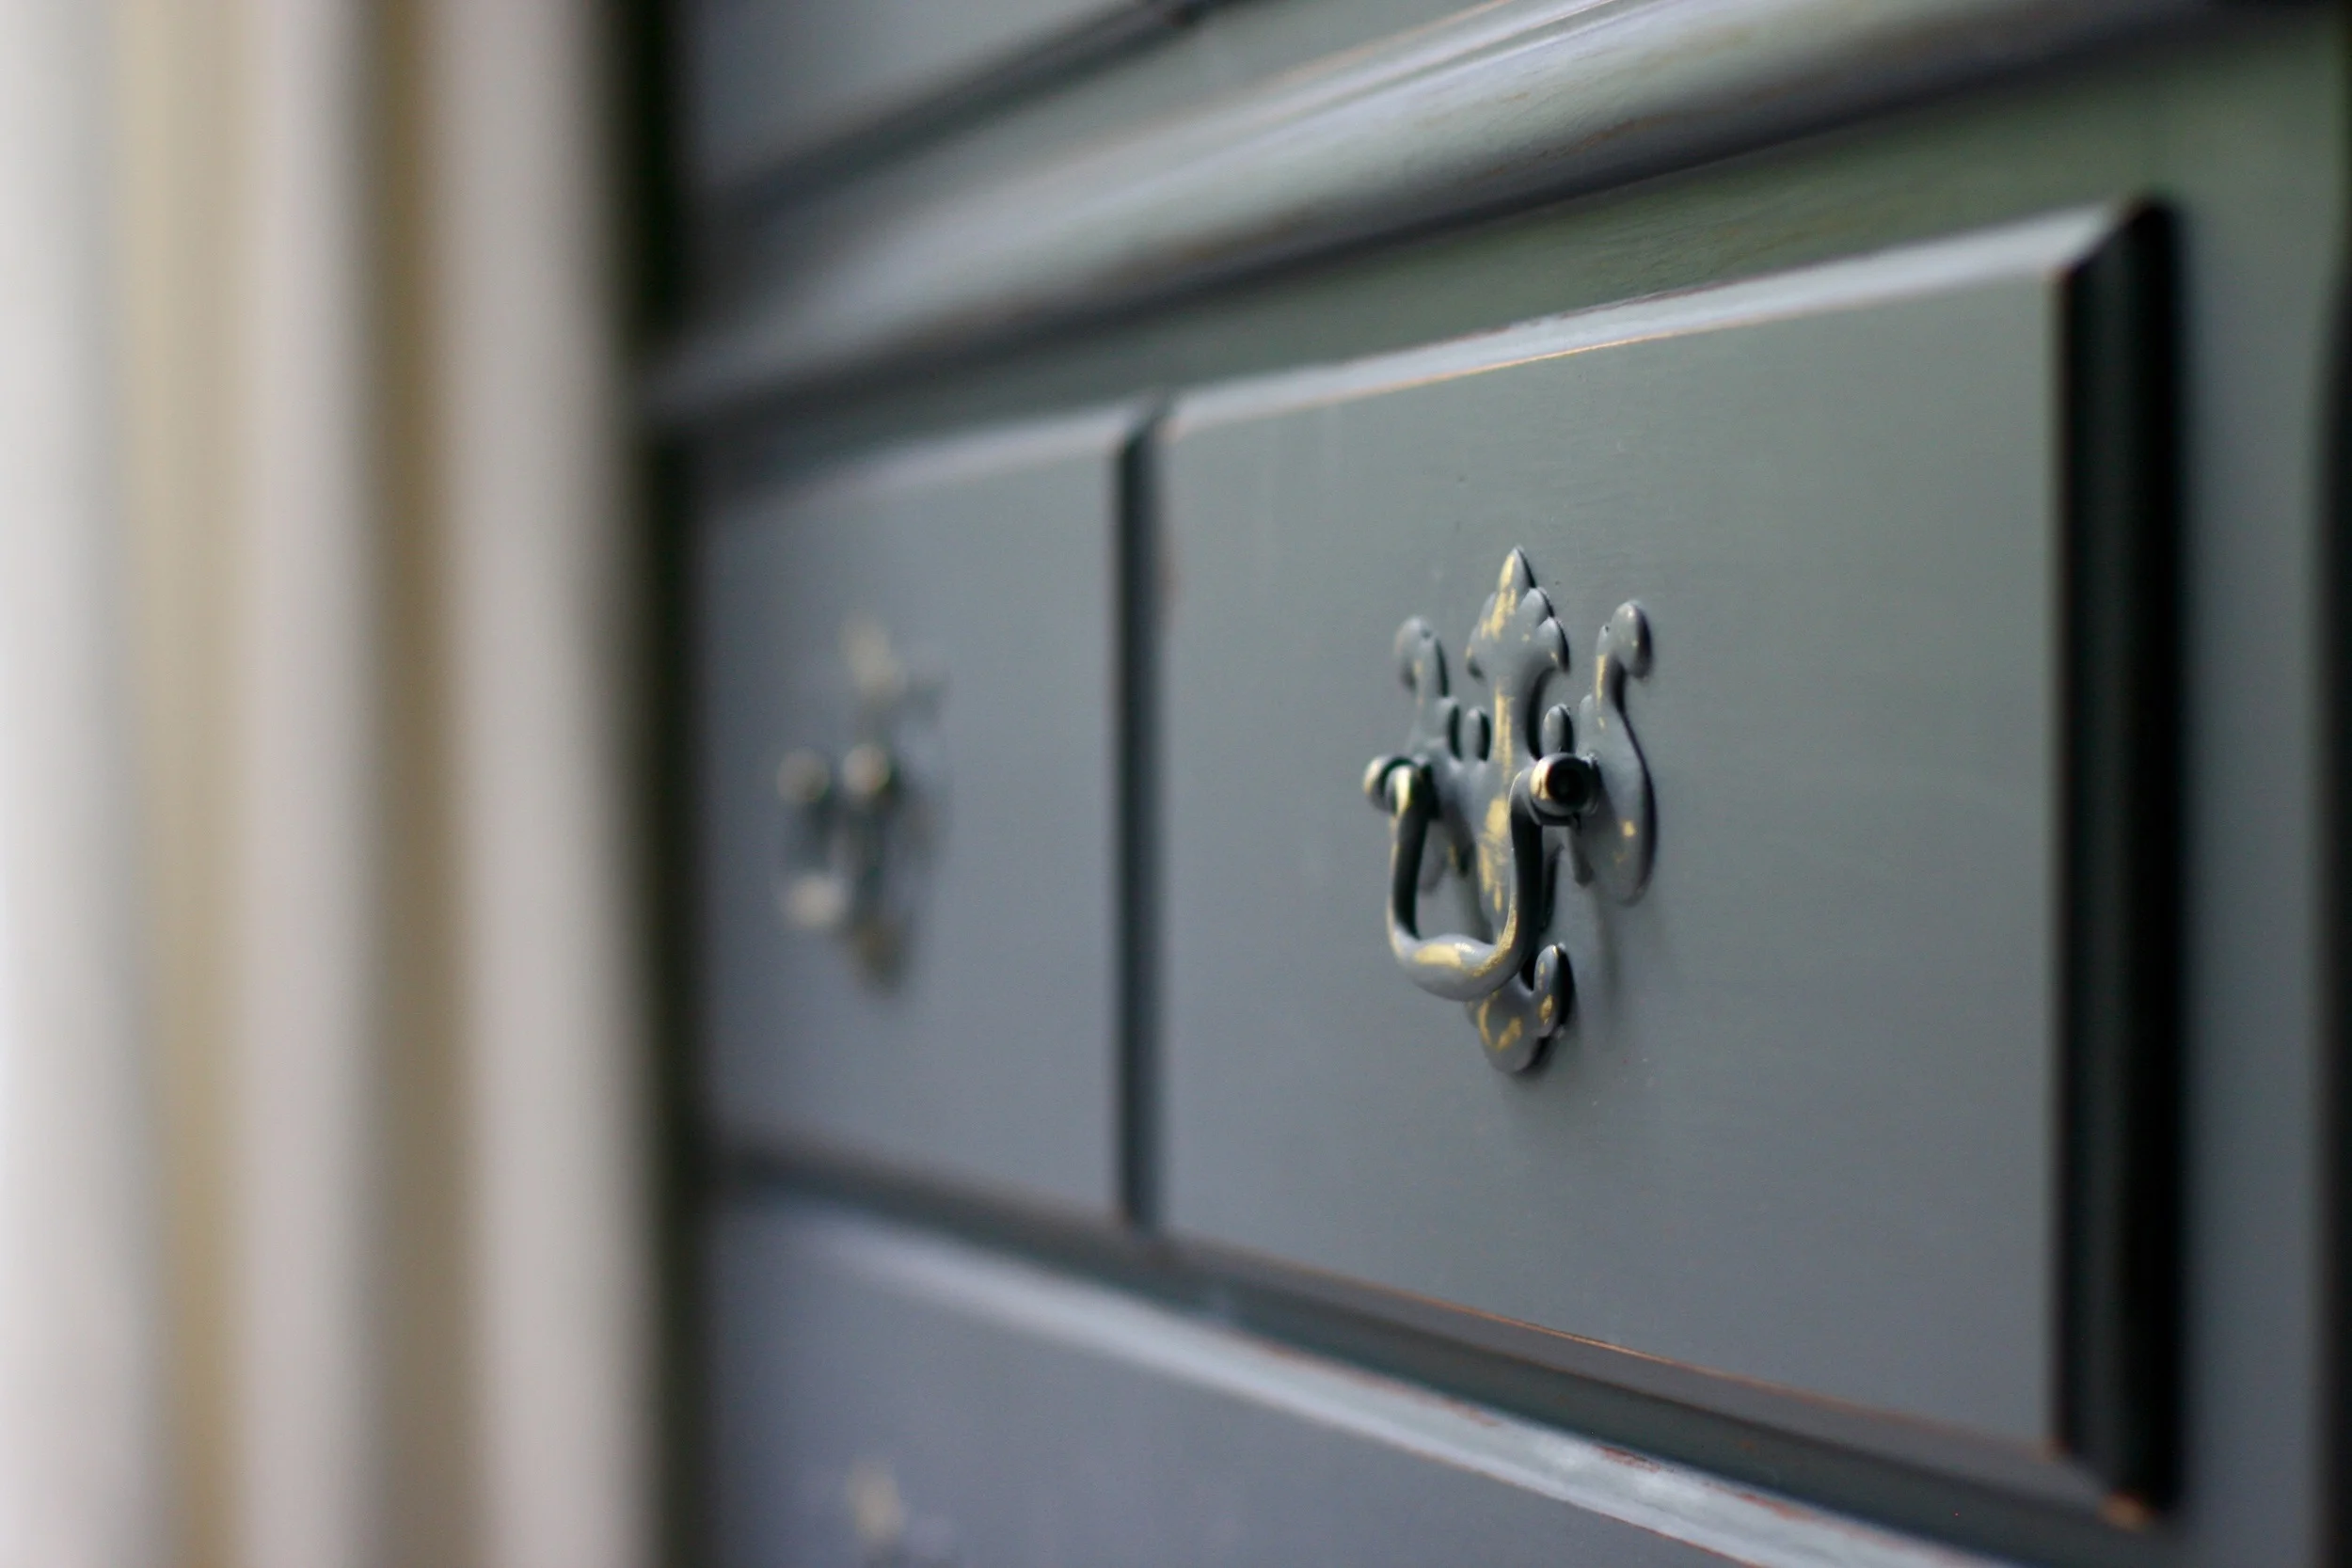
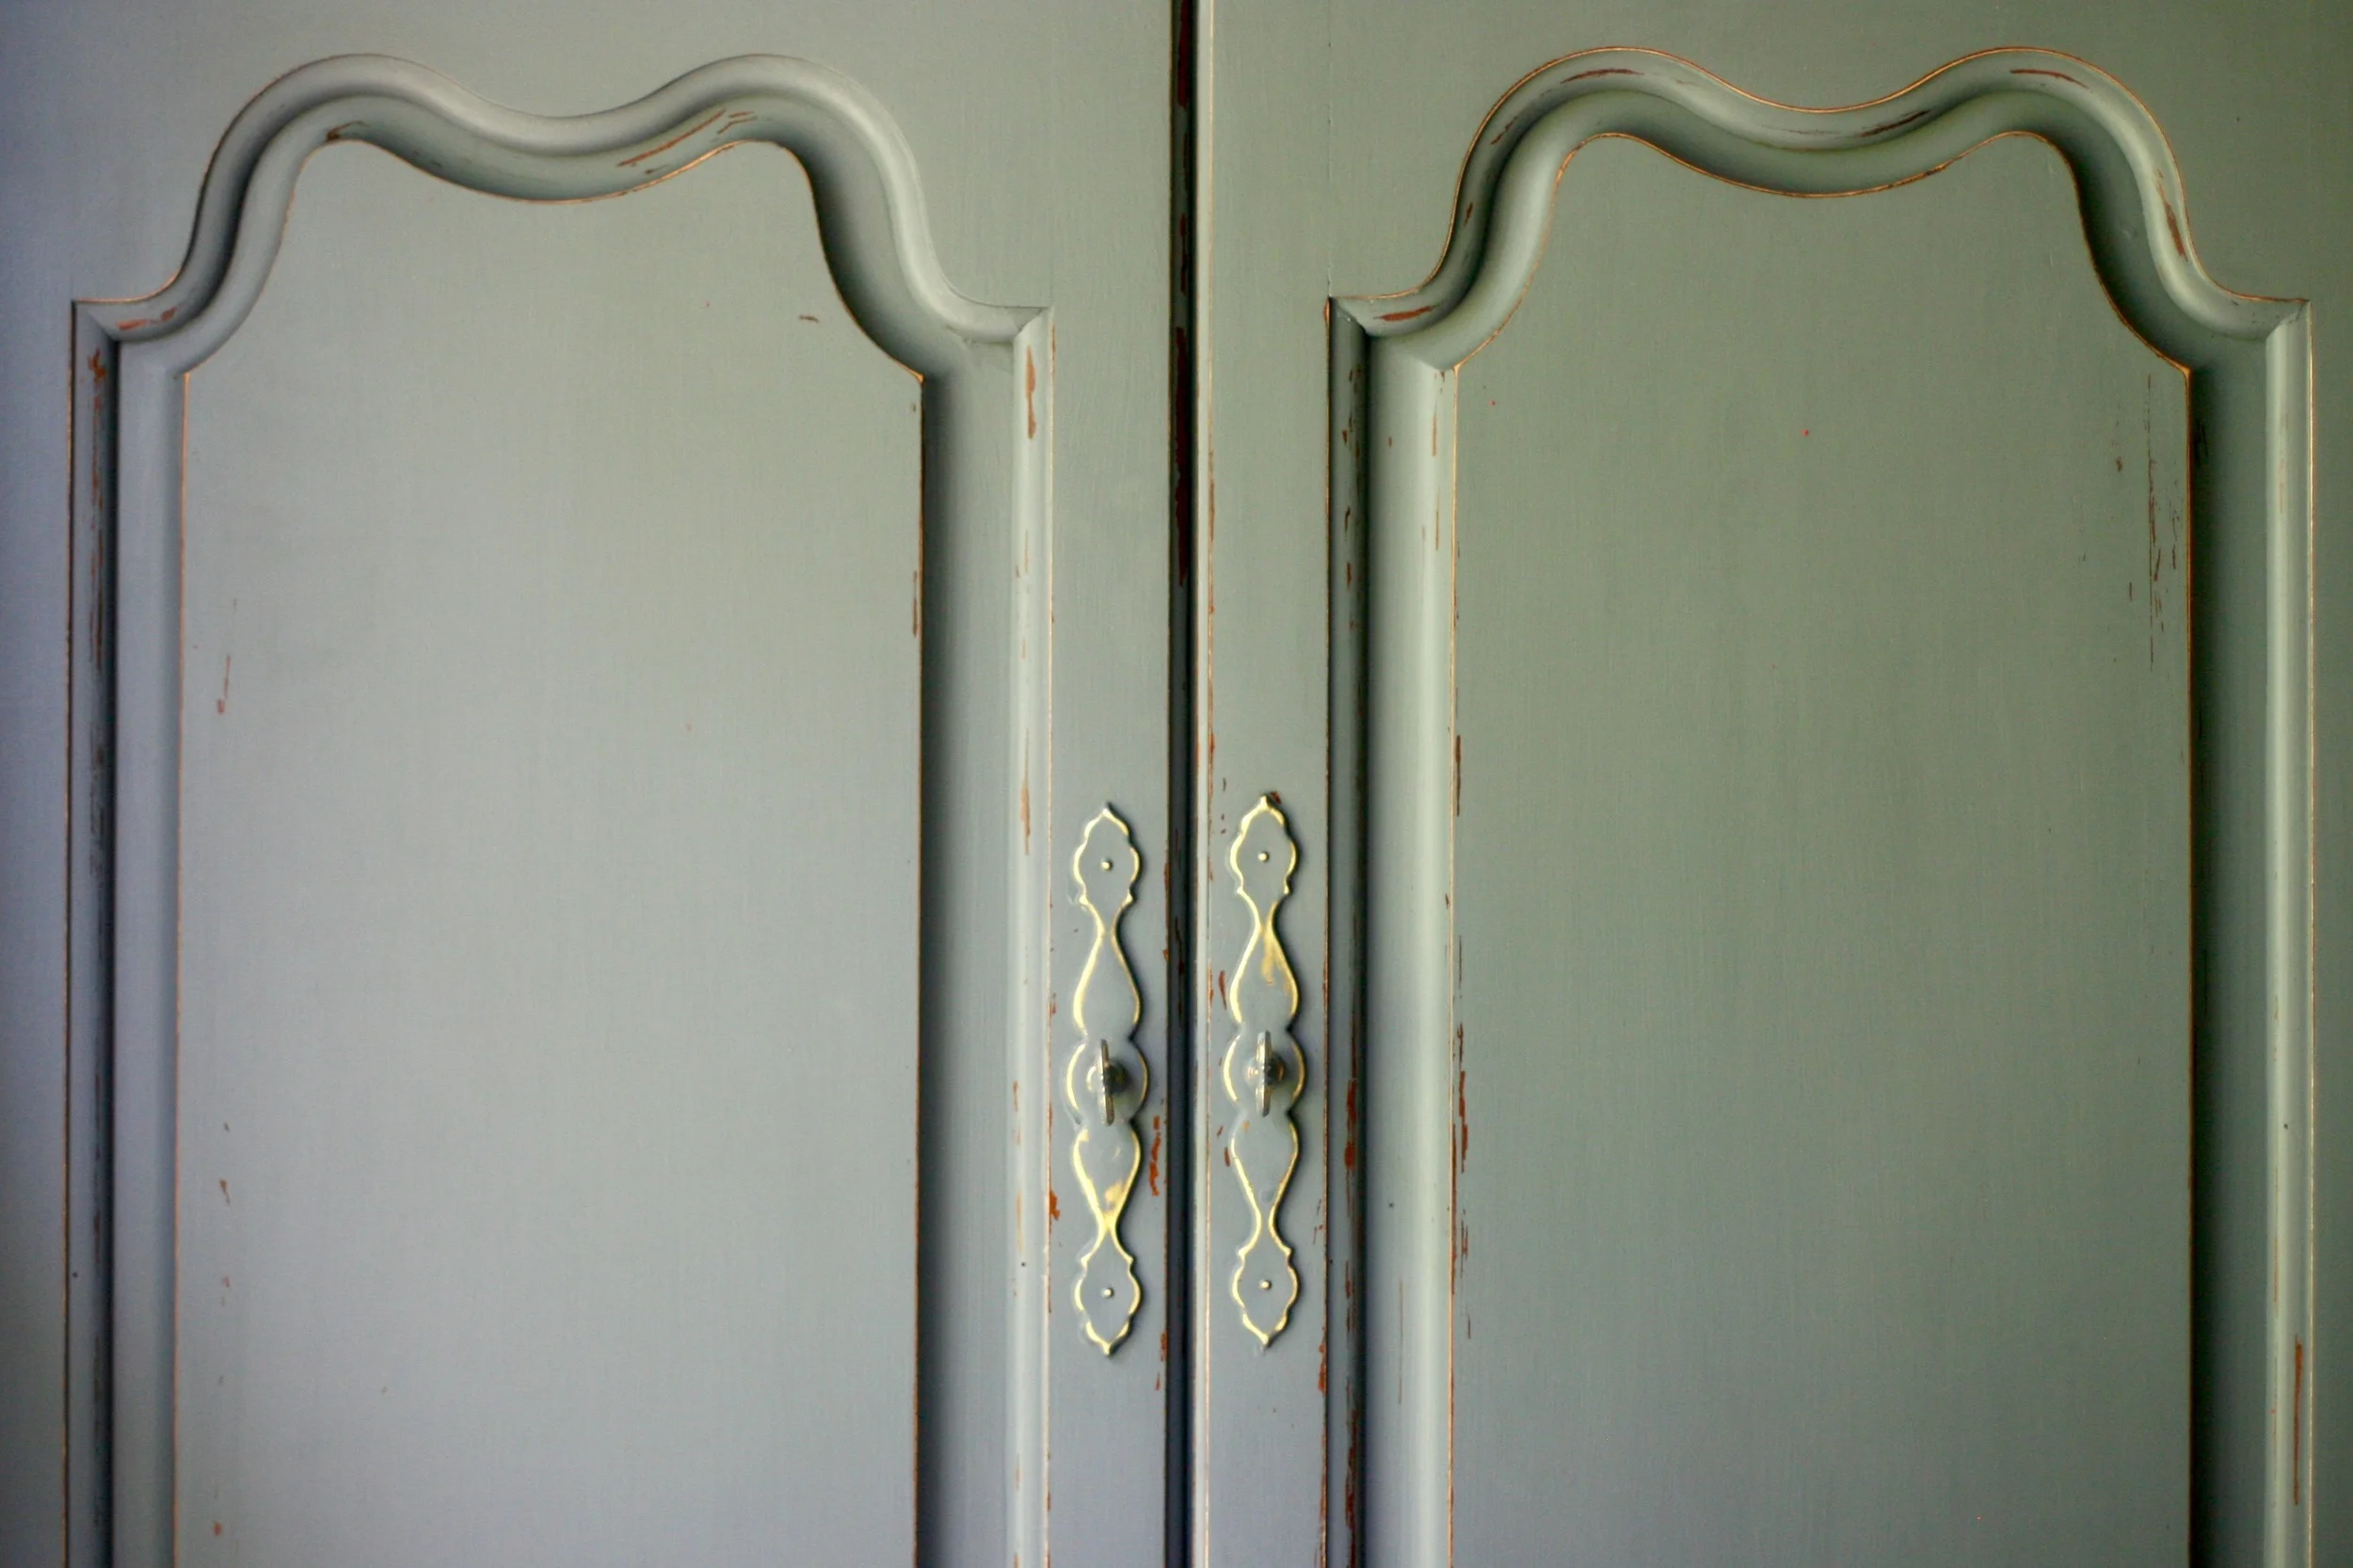
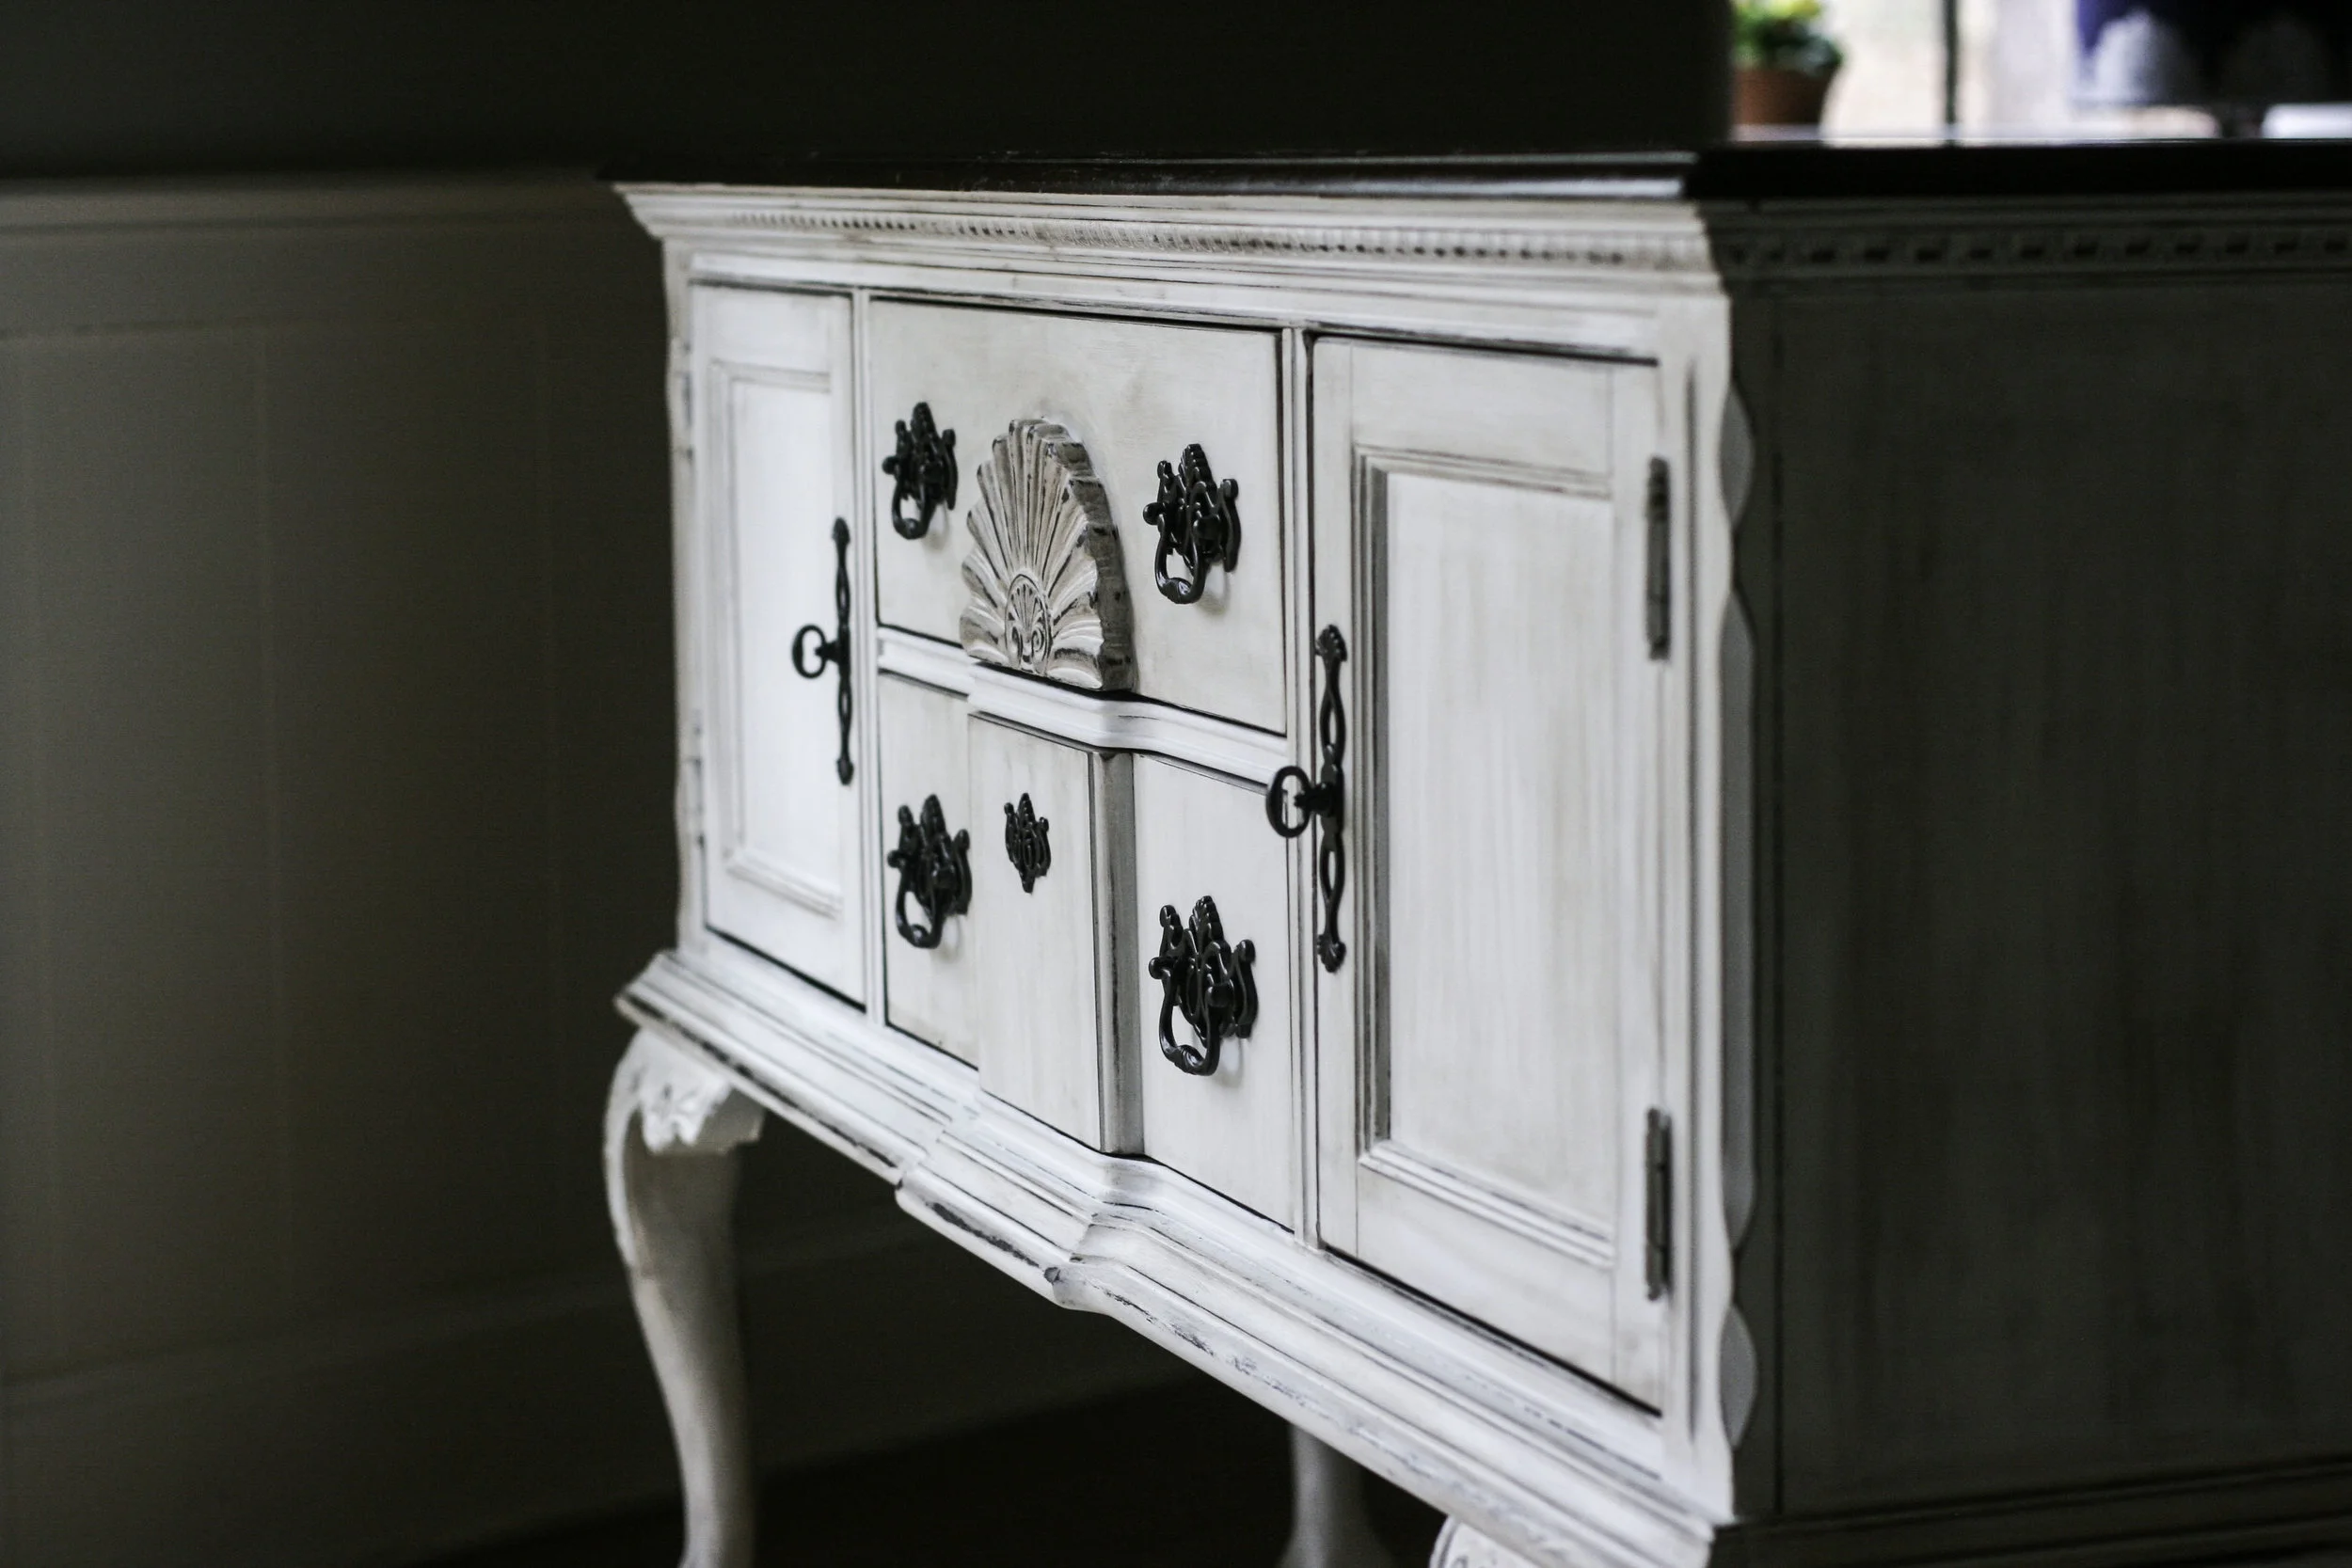
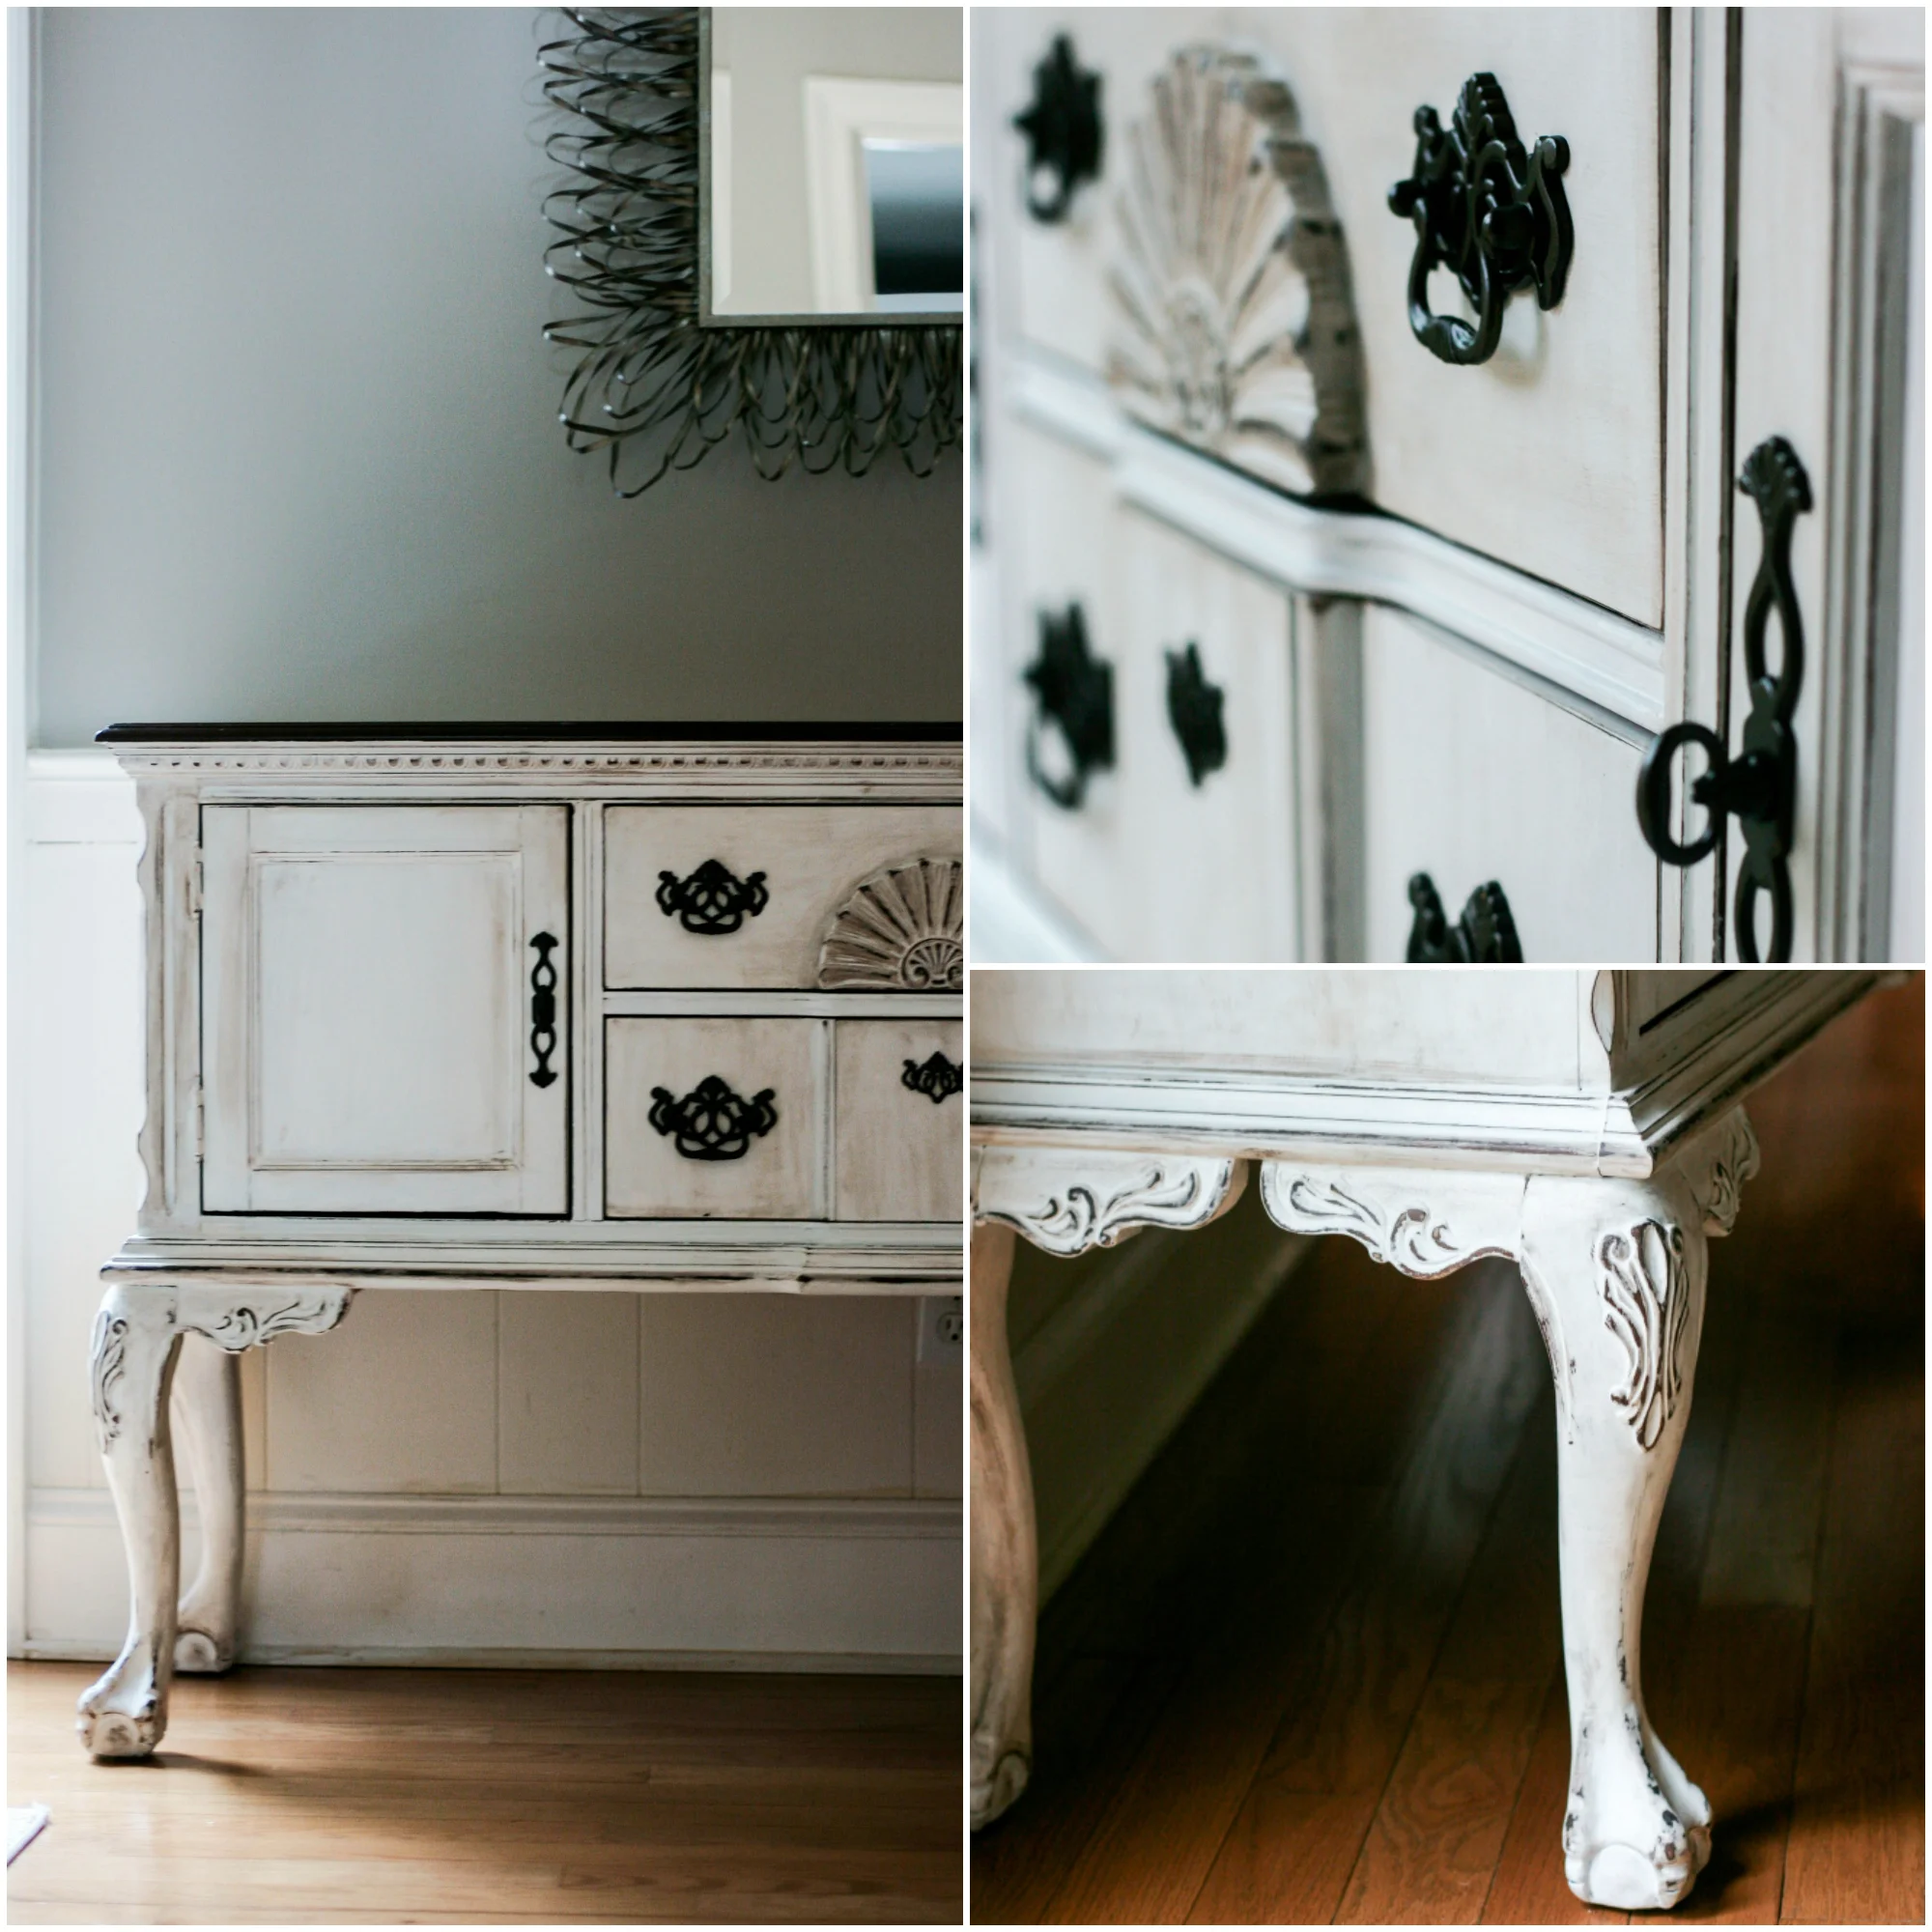
To achieve the antique look, I used Annie Sloan Chalk Paint in Pure White. I applied two coats of the paint, using Purdy 1.5 and 3-inch brushes, letting the coats dry for a few days in between. Using a course grade of sand paper, I sanded the areas I wanted to distress, especially the decorative flourishes in the wood. I wanted those to stand out, so I really went to town on those sections. (If I were doing this project again, I would use an electric sander because this part was very labor-intensive).

Then I used the Minwax Wood Finishing Penetrating Stain in Ebony and gently applied it to the entire piece. I used an extremely minimal amount, and even then, I worked in small sections, applying the stain with an old rag and then immediately wiping it off. I used gloves for this part. I found that using the Annie Sloan Clear Wax to wipe off the stain was the perfect way to minimize the intensity of the stain while still letting the pigment soak into the sanded areas. So I went back and forth with two rags, applying the stain, and then rubbing the stain off with the clear wax. This process was the most artistic part of the whole project, because I could decide how dark/light I wanted the stain to look and soak into the wood. The more stain you use, the more distressed and aged the piece looks. The less stain you use, the brighter the white paint looks. So it's definitely a choice. I spent a lot of time pouring over Pinterest DIY projects (check out my dining room board) to figure out how I wanted my piece to look.

I finished the buffet with another coat of clear wax over the entire piece, to seal everything. Then I spray painted the hardware with Rust-Oleum Metallic spray paint in Oil Rubbed Bronze. Overall, I am super pleased with the buffet and I feel like achieved that french provincial look I was going for.

I chose to keep the top of the buffet the original wood, because there was a decorative feature in the grain that I think is super artistic and beautiful. I think the dark wood on top anchors the piece and keeps it feeling "dressy". I decided to move the furniture out of my dining room because it was simply too crowded in there. Now it lives in the living room, and I use it as a bar when we have guests over.


Project Cost:

Buffet - FREE
Hardware - FREE (kept the old)
Purdy 1 + 1/2-inch Paint Brush - $9.86
Purdy 3-inch Paint Brush - $15.33
Annie Sloan Chalk Paint in Pure White - $34.95
Annie Sloan Clear Wax - $24.95
Minwax Wood Finishing Penetrating Stain in Ebony - $11.00
Rust-Oleum Metallic spray paint in Oil Rubbed Bronze - $7.77

Total Cost: $103.86

I can't give an exact estimate of how long a project like this should take, because I took a month-long trip to New York in between starting and finishing. Oops. Talking about procrastinating. So in theory, this should probably take 5-7 days total, including the drying time, but it took me all summer long to actually get this thing moved back into my home.


Overall, I am really pleased with this furniture makeover. Now I just need to have a paint party to complete the rest of the dining room furniture! Who wants to come over?? I'll buy the pizza and brew ;)

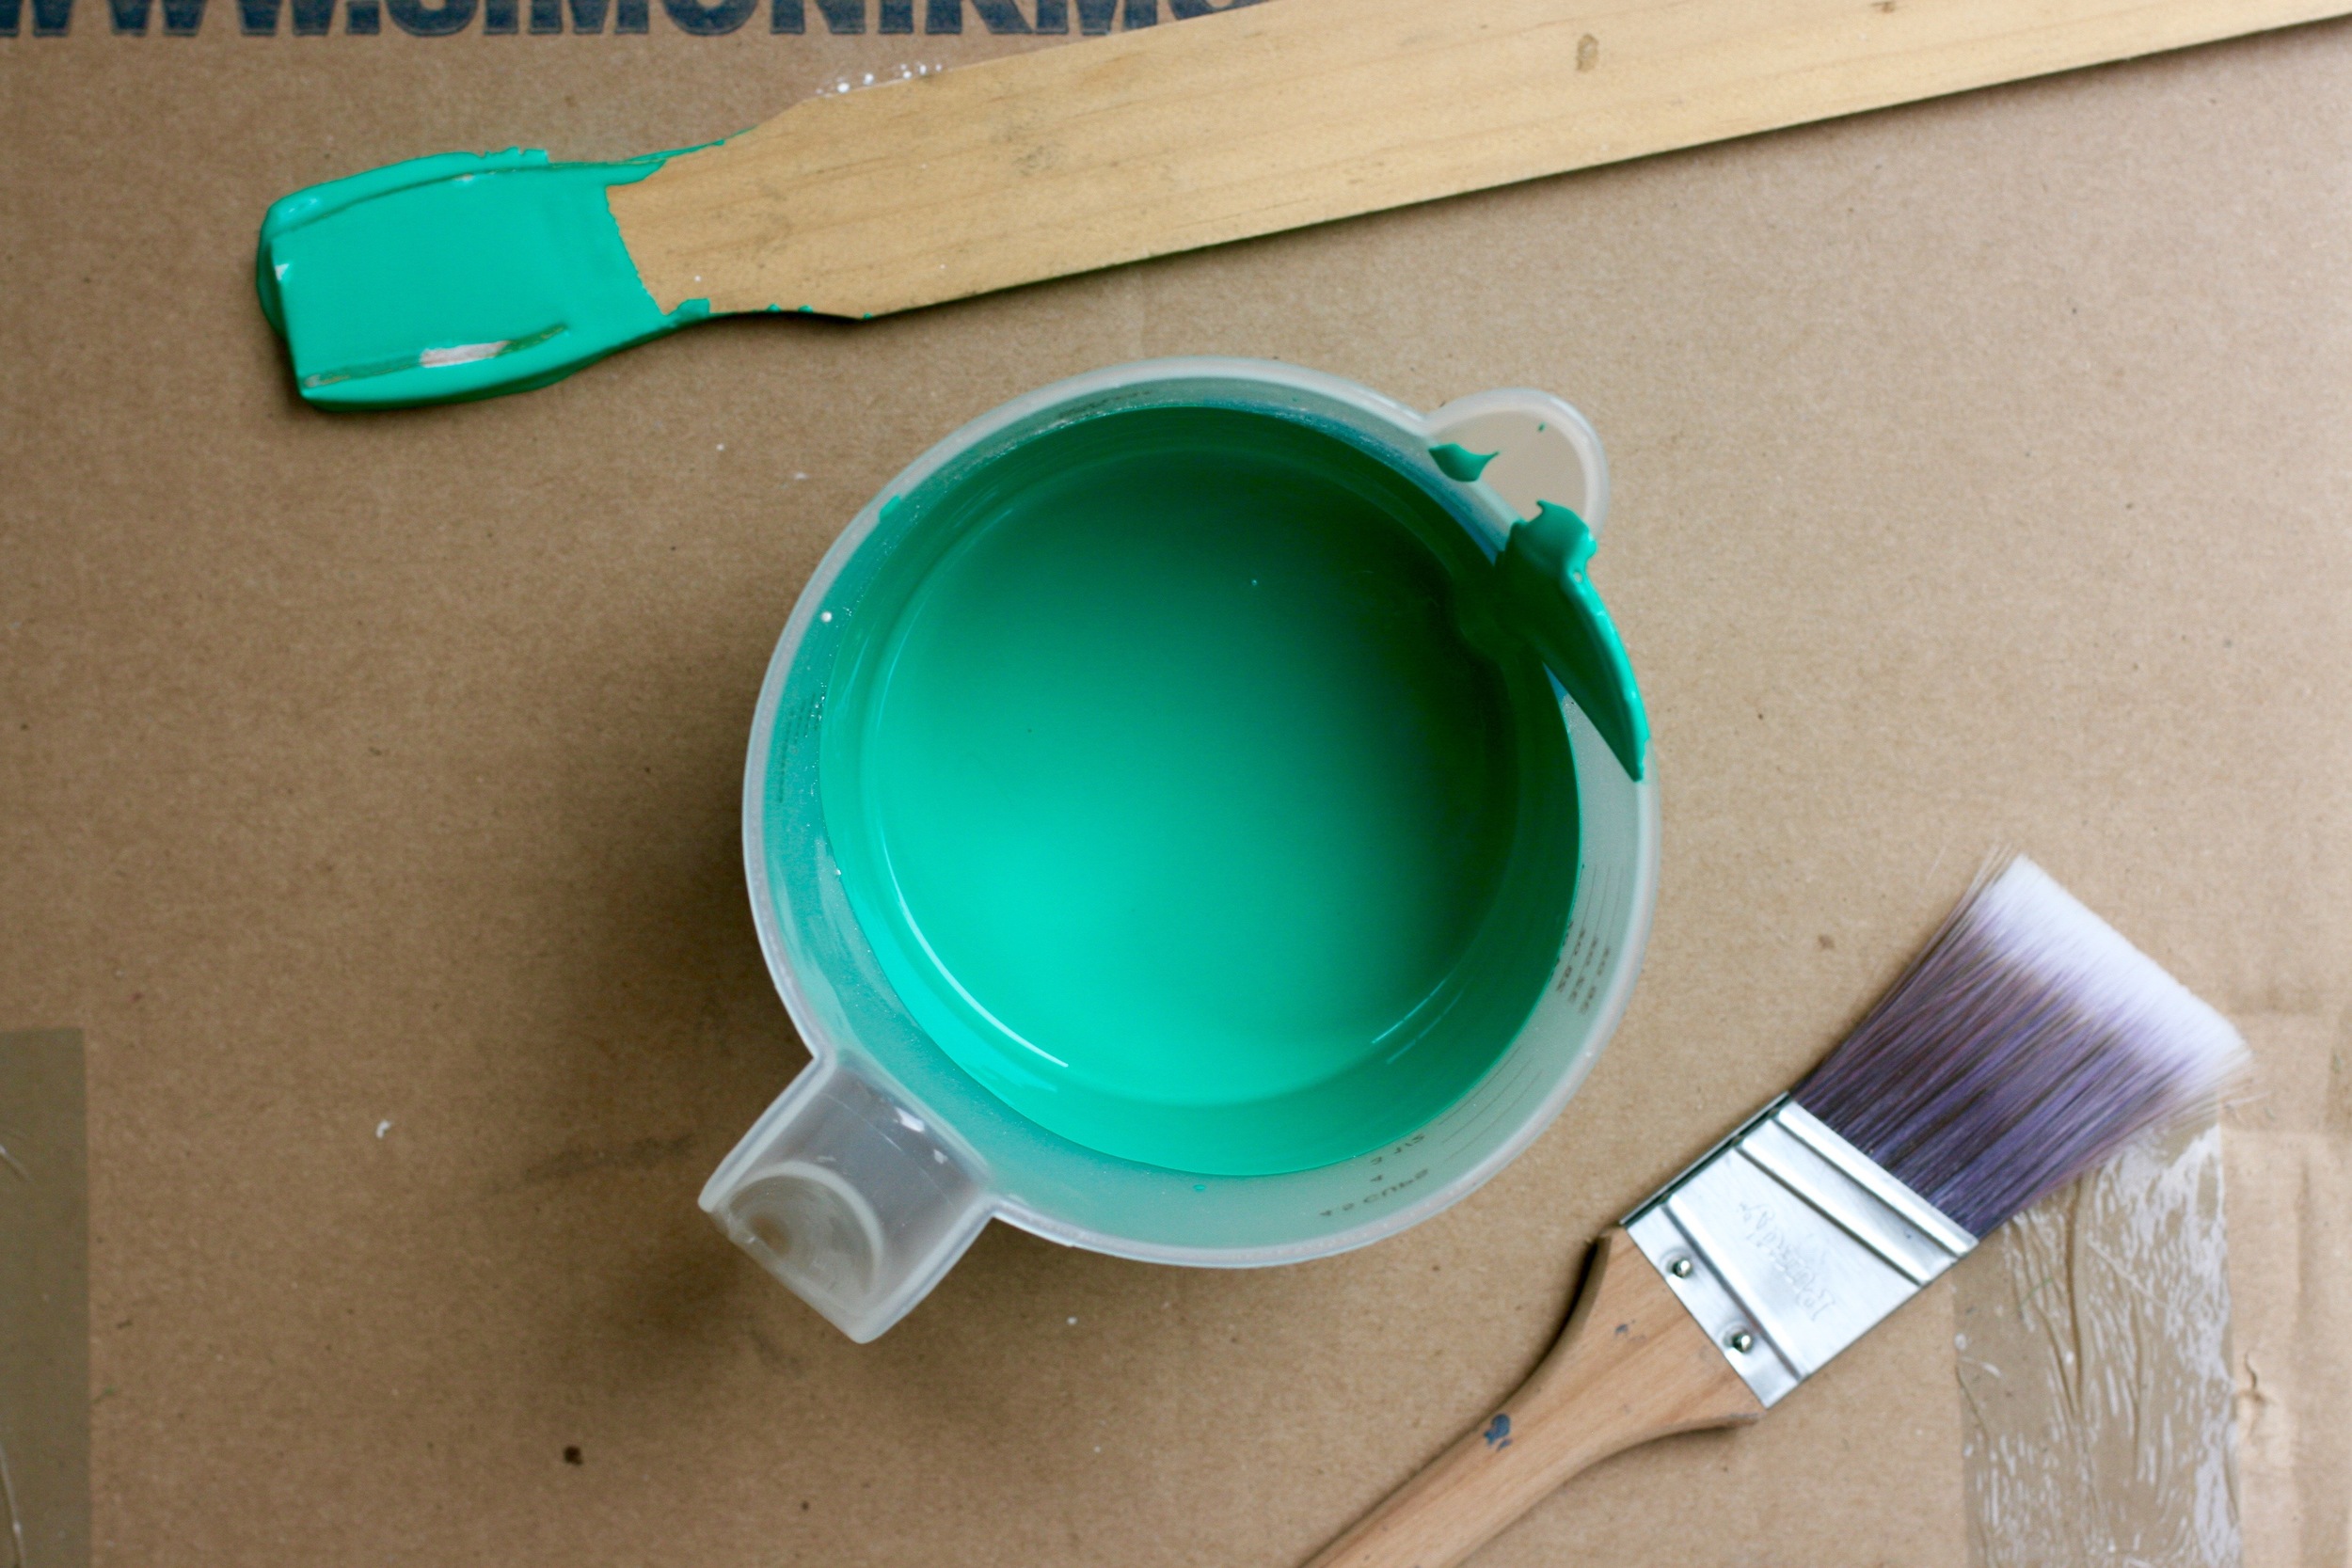
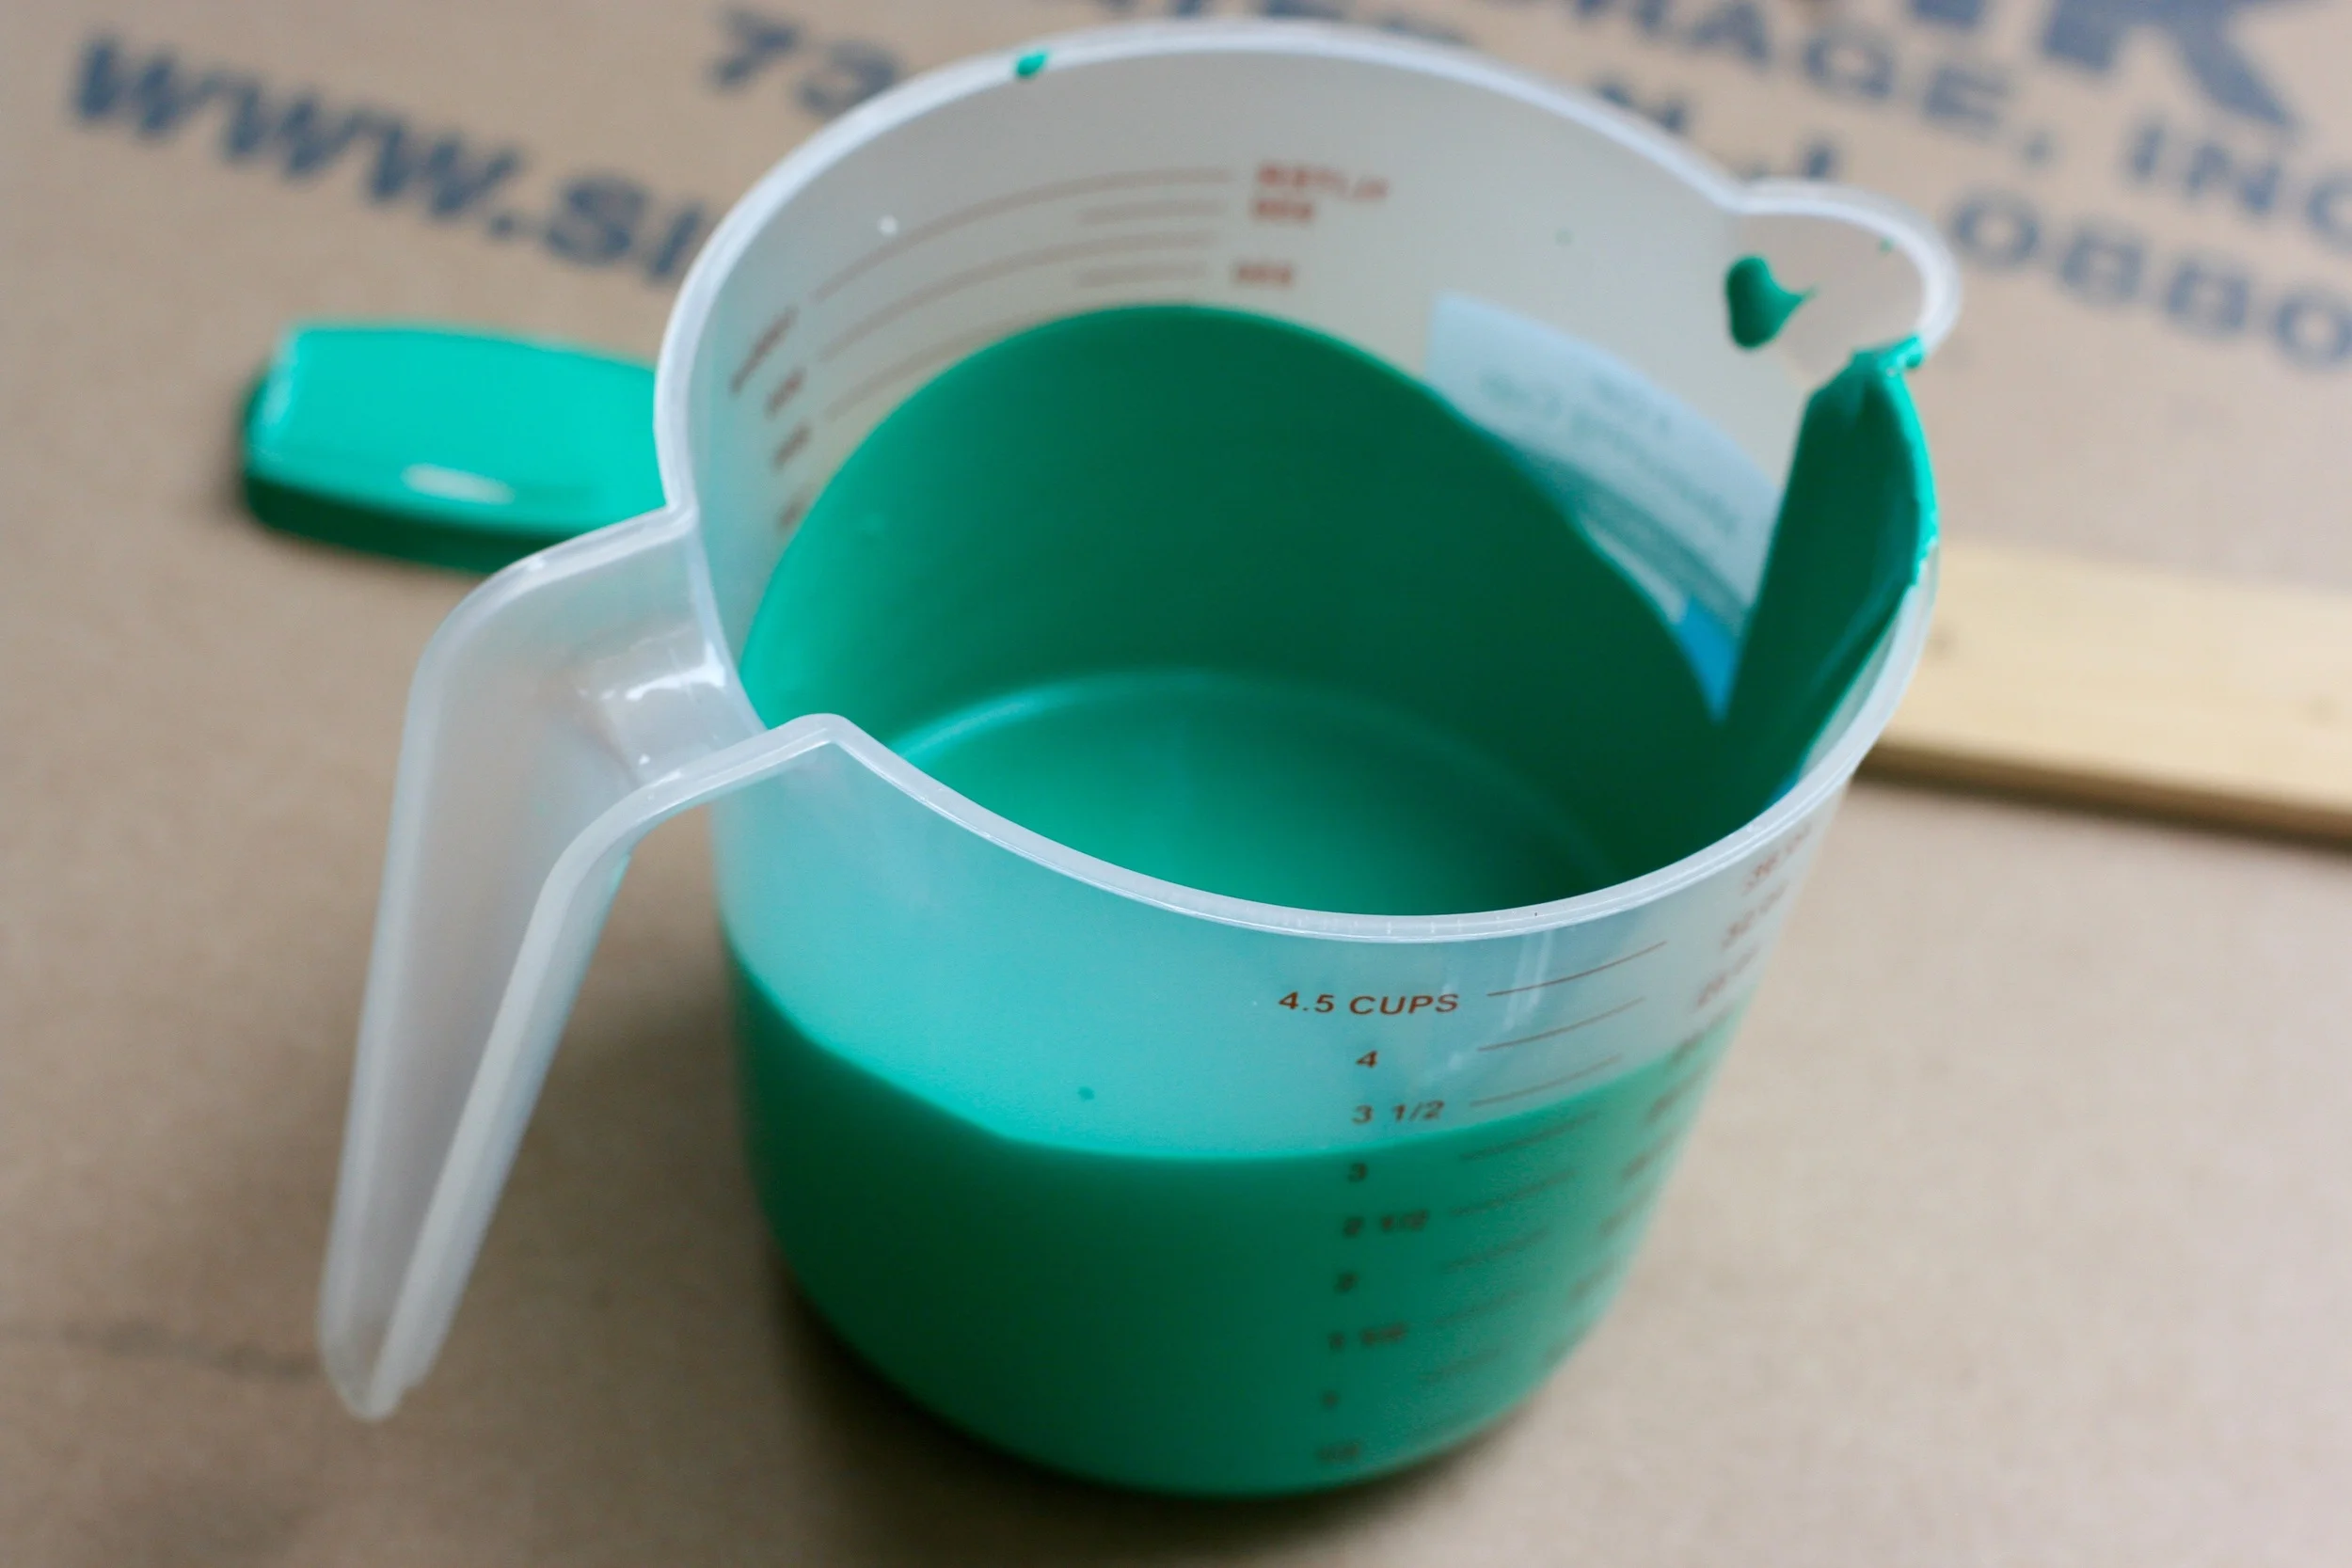
P.S. - When I painted my son's toy cabinet emerald green, and if you're up for braving it, how to make your own chalk paint.

How to Make Your Own Chalky Paint.

I've been a painting fiend as of late. Moving into my new house, I've been up to my ears in home decor projects. One small way that I've saved some cash is by making my own chalky finish furniture paint, instead of buying the expensive brands found at most home improvement stores. And I've discovered that this is even better than the store-bought stuff! I want to share a few tips for how to make your own paint and save cash on your furniture renovations.

In case some of you are wondering what is the allure of chalky finish paint is, I'm here to help. The beauty of this type of paint is that you don't have to sand or prime the furniture before you you paint. It simply takes care of those steps for you, which saves hours of time. Here is the method I used and a few tips for making your own batch :)

Chalky Paint Ingredients:
- Any shade of any kind of paint you like to use. The sky is the limit.
- 1 box of Paris of Plaster
- 1 Paint stirrer
- 1 plastic bucket
- A few tablespoons of water

Method:
1. Combine 2 tbsp. of water with 2 heaping tbsp. of Paris of Plaster.

2. Using the paint stirrer, mix well until the combination is a smooth, liquid consistency. This batch can be combined with 8 oz. of paint. If you want to make a larger batch, you can double or triple this recipe. Just remember that for every 8 oz. of paint, add another 2 tbsp. of both water and Paris of Plaster. *I like to keep my batches small by using only 8 oz. of paint at a time, see the tips below for my reasoning.

3. Once the paint is combined, you are ready to paint! It's that easy. Seriously. Get your paint on, my friend.

A Few Tips:
1. Choose a shade slightly more vivid than you intend.
When you make your own Chalky finish paint, there will be a slight lightening of the color because of the water and plaster additions. They thin out the paint a bit. Go ahead and choose one shade darker/more vivid than you prefer, so that the color will balance out correctly.

2. Use the entire batch at once.
Because of the ingredients in this mixture, you cannot save any leftover paint for later. The plaster eventually settles and becomes chunky, and you cannot remix it to the exact same consistency. So when you're ready to paint, go ahead and use the entire batch. Then if you want to paint additional coats, you will have to remix another batch. For this reason, I like to make small batches and use up what I have.

3. Sanding and Finishing will add more texture.
Chalky paint dries to a very matte finish. If you want a little more contrast, depth and texture, I would follow up with some light sanding, perhaps some antiquing (you can see how I distressed and antiqued this Living Room Toy Cabinet), and a finishing coat for protection. If you like a high gloss, you can go with a polyurethane, or if you like something more satin-y, I like this Valspar Chalky Finish Sealing Wax.

As you can see above, this is my recent homemade chalky paint labor of love. And I am certainly in love with it! Especially the price tag, which was about $15 total, for all the gear and ingredients. Can't beat that!

Let me know if you try this recipe out and how it works for you. Happy painting, friends!

How to Upcycle Furniture + My (old) New Bedroom Dresser!

I'm excited to share this up-cycled DIY project today!

I mentioned a here few weeks ago that we were given a ton of old furniture from a family friend. We were so overwhelmed and grateful to be given so much, especially in the midst of buying and moving into our first home. However, for as nice all the furniture is, a lot of the pieces are pretty dated in terms of color, style and hardware. I decided to try my hand at upcycling the pieces and giving them some fresh life - and fresh paint :) I started in the bedroom.

I was given two coordinating bedroom dressers that are Johnsonville brand and from what I understand from the previous owner, are about 25 years old. The top of one of the dressers was scratched up pretty good, but other than that, these pieces were in excellent condition. They just needed a bit of beautifying, which I'll admit, is something that I love doing. Here are the steps I took for this home renovation/DIY/upcycling project!

To give you an idea of what I was working with. The "before".

To give you an idea of what I was working with. The "before".

1. Choosing the Color.
The first thing I decided on was a color story for my bedroom. I know that sounds so lame, but think about it! You really want to love the bedroom, because you spent 1/3 of your life sleeping in there. I have always loved white bedding and blue accents, and as much as I try to convince myself to branch out and try some new colors, I always come back to these shades for my bedroom. Blues and whites and all the colors in between are just so soothing, so I caved and once again went in that direction. This Anthropologie dresser served as my inspiration for the furniture. I chose the Behr shade "Pencil Point" (based on seeing it at my sister-in-law's house, thanks for letting me copy you, Lauren!) and I had it mixed into Valspar's Chalky Finish Paint at Home Depot.

2. Assembling the Tools.
I used this Purdy 1.5-inch brush and this Purdy 2-inch brush to paint with, several different weights of sandpaper (similar here) to distress the furniture and the Valspar Chalky Finish Sealing Wax to finish the piece with a satin finish. I also painted the furniture on a disposable drop cloth (similar here) and used several old t-shirts cut up to wipe the furniture down in between paint coats.

3. Executing the Strategy.
With this furniture, I was going for a gently distressed look. I didn't want the paint to look too chippy, and I wanted the finish to say "I've been worn in with love, not a chisel" (if a piece of furniture can talk). So I gently sanded the furniture's surface, then wiped everything down with a damp cloth. Next I painted the furniture with two coats, the first coat being ever so slightly sloppy (but thick coverage) and the second coat being more careful to keep the strokes all the in the direction of the wood grain. I let each paint coat dry overnight. Then I went back over the furniture with a heavy-weight sandpaper, and I proceeded to beat up the furniture I had just so lovingly painted pretty. I focused especially on the edges and corners, really wearing it down into the original stained wood. I also spent a lot of time sanding down the hardware and letting a bit of the gold gleam come through. After the piece was distressed to my liking, I wiped the furniture down with the damp cloth again and let it dry. Then I finished the piece with a coat of the Valspar Chalky Finish Sealing Wax. The wax goes on more like a lotion, and I got the best results by applying it in small sections and then wiping it off with an old t-shirt. It basically seals the furniture without any sheen whatsoever, so the pieces maintain an aged appearance.

4. Assessing the Cost.
The furniture cost me nothing. Which is glorious. Here's a breakdown of the other costs:

Paint: $29.99
Sealing Wax: $16.99
Paint Brushes: $8.83 + $10.11
Sandpaper: $2.97
Drop Cloth: $6.69
TOTAL: $75.58

5. Admiring the Results!
I am so happy with the outcome of this project. The furniture looks exactly as I hoped, but somehow even better in person. It adds just the right anchoring element to our bedroom and yet still remains calm and soothing.

I forgot how much I love making old furniture new again! I think I'm embarking upon a new hobby, you know, to go along with my bird watching and whatnot. My garage is full of projects-in-waiting!

Have you ever upcycled furniture? Got any great how-to tips to share?

P.S. In case you missed it, my other recent new-house projects have been planting my first vegetable garden and attempting to stay positive in the midst of moving and live in the moment.
Β