DIY Outdoor Flowering Pot (for under $40!)

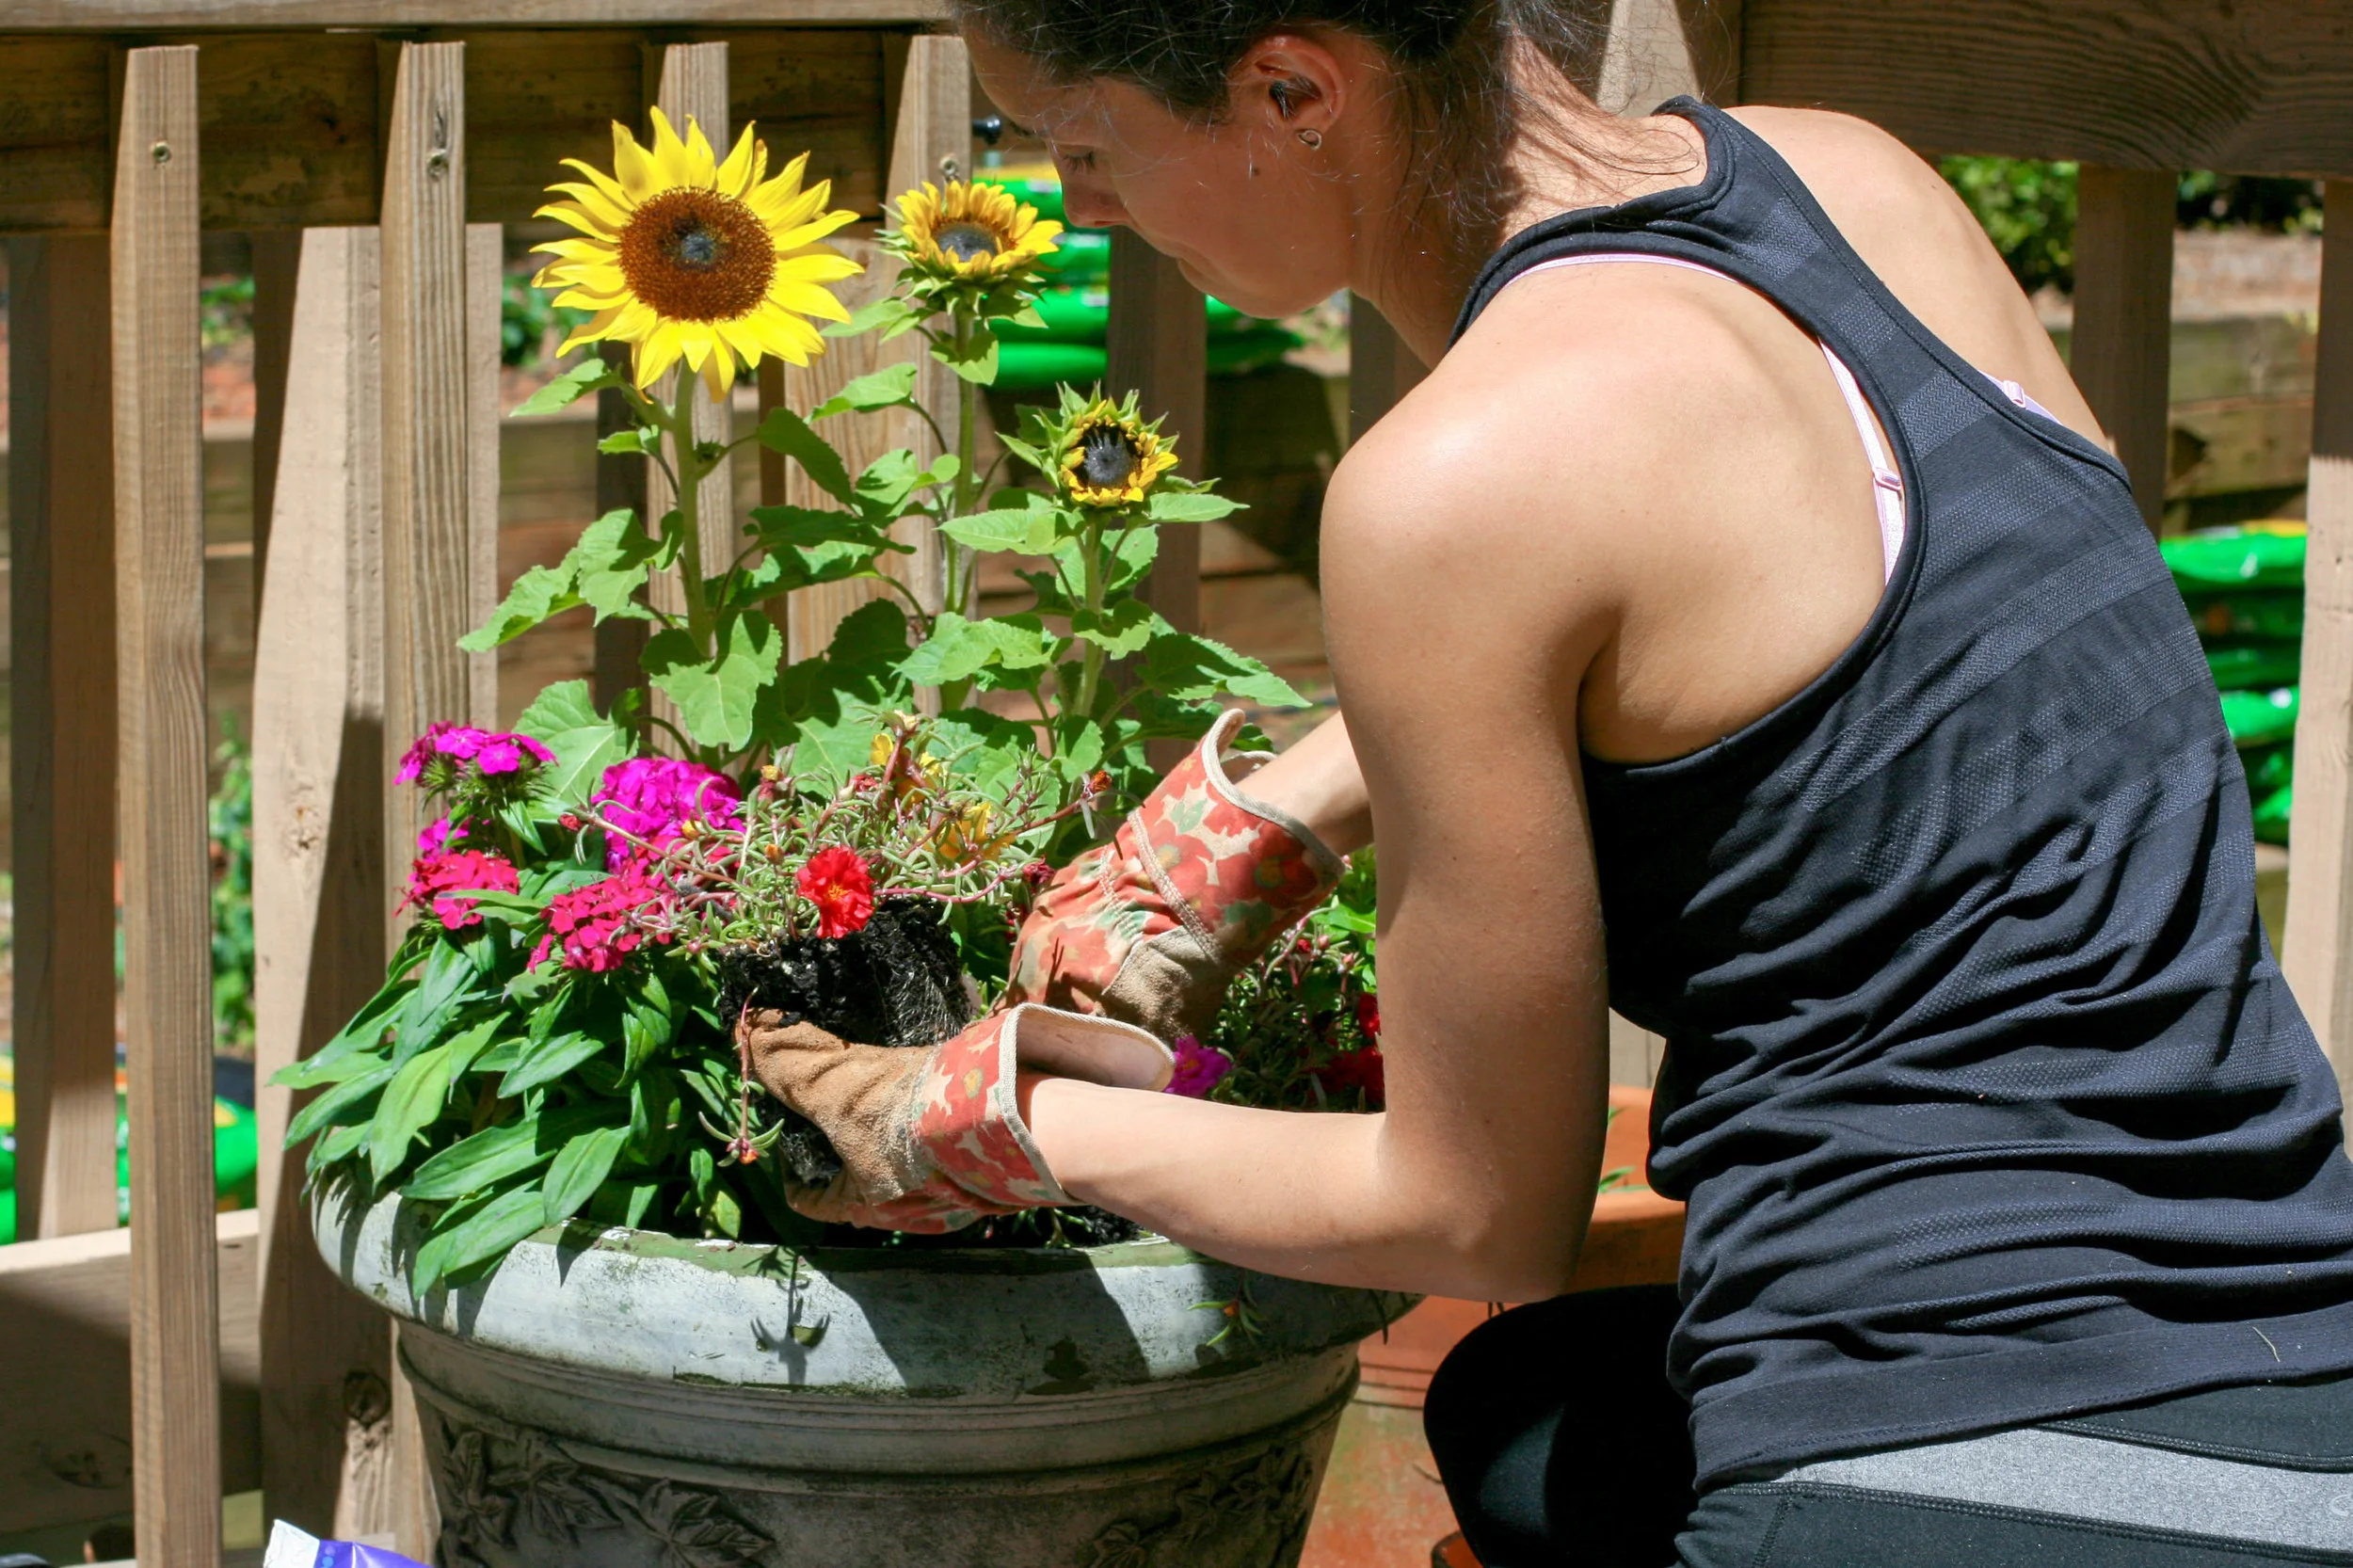
Planting a Container Pot.jpg

I have this thing with flowers. And shrubs. And trees.

Landscape hasn't always been a passion. It's a new thing. I want everything in my back yard flowering and fruiting and color booming. Last fall, I tried my first attempt at planting a round of autumn vegetables, and it went pretty well. But I learned so much (mostly - not to be scared of the foods you grow because you see the bugs on them. That struggle is real.) I've been preparing the grounds for my spring installment, which we are working on next weekend, woop woop. But in the meantime, I wanted to have something beautiful to stare at like NOW. Because when you plant seeds, it takes months before you can really enjoy the blooms. They take foreverrrrrr to grow. I'm a bit impatient to see the fruits of my labor (who isn't, really?), so in the midst of sprinkling different seeds around my yard, I decided to create my own outdoor container. You know the pretty ones you see in the store for like $150+? I didn't want to spend that. But I wanted to HAVE that.

This container is great for people who don't have tons of full sun in their back yard. If your back porch gets full sun, then you can enjoy the bodacious full-sun blooms really close up. The showy, wonderstruck, magical romantic flowers. In case you didn't know, all the best flowers are the sunny ones. So here you have it. My outdoor flower container, for under $40. P.S. - this would make the most amazingly thoughtful Mother's Day gift, like EVER. So keep that in mind :)

Tools Needed:
- Large container pot (I used a 30-gallon pot from my mom's garage - thanks Mom!)
- Potting soil
- Trowel
- Plant Food - My friend at Pike's said I could use this. I LOVE this stuff.

Flowers:
- 1 Sunflower
- 3 Dahlia bulbs (dinnerplate variety)
- 3 Moss Roses
- 2 Vinca
- 1 Dianthus

Cost Breakdown:
$17.98 for the flowers (Home Depot)
$21.18 for the bulbs + soil (Pikes Nursery - I used this soil for 3-4 other small garden pots, too)
FREE - container

How To:
1. Fill the container about 3/4 full with potting soil. If you're fancy, you can mix in some sand or gravel to assist with with drainage. But only if you're fancy.

2. Sprinkle the flower food on top of the soil.

3. Place your dahlia bulbs in the soil, with the eyes facing up. If you're unfamiliar with bulbs (like I was!), check out this video on how to determine an eye from a foot. Just kidding. A little gardening humor for you. I sense that no one is laughing.

4. Make sure the dahlias are planted toward the back of the pot, because you will want these to tower above the rest once they bloom. FYI dinnerplate dahlias can grow up to five feet tall and have blooms the size of a child's face. Bam. Need that in my life.

5. Now layer in the rest of the flowers. I put the sunflowers in the middle of the pot, then the dianthus and vincas on either side, then filled in the front of the pot with the moss roses.

6. Fill in the rest of the space with soil.

7. Water really good. Soak those babies.

For Maintenance:
To keep this container healthy and gorgeous for as long as possible, I will water daily (sunflowers need a ton of agua), and probably shake some good high-phosphorus fertilizer (again, for the sunflowers) as needed. As the moss roses shrivel, I will pinch of the spent blooms to encourage re-blooming. They should hang out with me for a while. I might have to replace some of the flowers if they get past their flowering season, but the dahlias will bloom in mid-summer and keep doing their thing late into the fall.

Enjoy immediately! That's what I love most about this flowering container. I can sit outside on my porch and drink the coffee and enjoy this beauty now while I await my seeds and vegetables. I am so looking forward to seeing these flowers continue to bloom throughout the season. This container gives me a lot of bang for my buck! Let me know if you give this DIY a try!

Planting Seeds.

I've been planting. Like, actually planting literal seeds. And I tell you what, there is a lot of parallel between learning how to grow plants and learning how to grow myself.

Lately I've been thinking a lot about dreams. Dreams in my heart. Ones I've had in the past, dreams I currently have, even dreams that have waned tired and heavy with the years. Those dreams start out as small as the slightest, most unassuming seed. FYI, poppy seeds are the smallest I've come across during my extremely short tenure as a gardener. I seriously can't wait to see those poppies burst forth out of my yard. But seeds! If they are allowed a mess of nutritious variables, they can grow as hefty and mighty as a California Redwood. It's a bit confounding, when the "duhhhhh" moment hits. Like, seeds are so tiny. They need a lot of help along the way. They're helpless if they can't get all their needs met. Absolutely every single need must be met, or else they absolutely won't bloom. They need really healthy nutrients and a lot of support and a substantial amount of tenderness. They need the brightest light to bring out all their best qualities and they need relentless amounts of water to purity their roots. They need love. Acts of service. They need someone looking after them.

Are you getting what I'm saying?

Seeds you guys. We are all little seeds. Our dreams. They are seeds. And as I've been carefully placing these poppy, tomato and rosemary seeds into individual trays and pushing soil over the top and watering them gently, as to not jostle their placement under the bit of earth they call home, I've been thinking about this. My dreams. They deserve this much attention and respect. Who knows. One of my dreams could blossom as beautifully as a peppy Icelandic poppy. Or even as vastly as the widest stretching Redwood in the forest. I don't want mine to be the ones that wither. And I'm sharing this with you because I don't want yours to be, either.

What about you, friend? Have you planted your dream? It may feel so tiny today. But it's pretty amazing to fathom the potential of that tiny little dream, especially if you give it everything it needs to grow.

Just my seeds for thoughts today.

Signs of Spring.

I spent two days on my hands and knees back in the fall, digging holes in my front yard and dropping papery bulbs deep in the cool earth. I had no idea what I was doing. I was never taught how to garden. And I thought there was a mistake with these bulbs, because they looked strangely like onions. I didn't know bulbs were supposed to look like onions. Thankfully, they are, and I must have followed the directions somewhat correctly, because over the past week - my flowers have sprung alive! I absolutely love spring, and this year I am especially excited to be celebrating this special awakening of the woods from my own corner of the world. Watching the season resurrect in every plant and tree and yes, even the weeds, that surround my home has been the sweetest experience. This place feels so much like home that its almost strange. Because in reality, I haven't lived here for very long. But I absolutely love and adore my little home with its old cedar frame and weathered wooden fence. I love the odd exterior shade of green and the aged shrubs and the birds that spiral around my yard like the gentlest halo. I love watching my son roll around in the not-yet-lush grass and throw his ball in the yard and yelp with laughter when Stevie tackles him to the ground. I love all these moments, especially their recent increase, along with the rising temperatures and the growing flora and the longer sunshine in the sky. I'm sure everyone feels the exact same way about Spring. But I must say, I'm feeling those feelings. And it's even more fun to watch Everett experience the surprises of Spring. He tried to grab a fistful of my tulips. That was a teaching moment. About how hard mommy worked and how he needs to appreciate the flowers for their tender gracious beauty.

Being barefoot and drinking coffee on my front porch and feeling the balmy breeze and watching these flowers unfold. My son's extra-long hair. My unpolished toenails. His protruding toddler belly. My untanned skin. My husband's type-A plan for the lawn. These are signs of Spring in our little corner of the world. And for me, there is really nothing better than right now.

DIY Ant Destoyer.

You might laugh at this post, but I am for real. I discovered an amaaaaazing way to treat those pesky ants that might be marching through your house right now. Since we've had so much rain this winter, we have experienced a lot of ants trying to find refuge in our kitchen. We have followed their trail and honestly have no idea how they are finding their way in. But we knew we had to get rid of them.

Specifically, I knew we had to take action one night after I laid Everett down to sleep. The house was quiet, it was that wonderful (exhausting) time of night where we could just relax and eat dinner. Then all of the sudden, I hear dramatic exclamations coming from the kitchen. I mean, DRAMA. Stevie was talking, nay, yelping and disciplining and whacking the counter and making proclamations of - "YOU'RE SO GROSS" - to the ants. He was shouting at them. Shouting at himself, just so disgusted by their little march into everything on the counter. He was over it. I came downstairs and laughed at my drama-king husband, because nobody ever believes me that he is WAY more high-maintenance and dramatic than I am. No one believes it. But whatever. I know my truth :)

I took care of the ants. Stevie cowered in the corner. Okay, not reallllllllly, but almost. I am definitely the one who TOOK CARE OF BUSINESS. And he was grateful. That man really hates ants.

Want to know how to get rid of ants in your house? It's so easy you guys. You probably have everything you need already.

Supplies Needed:
- 1-2 tbsp. Borax
- 2-4 tbsp. Sugar
- A few empty matchboxes
- Scotch Tape
- A few drops of water

Method:
1. First, you want to cut little holes in the tops of your match boxes. Make them ant-sized holes. This will be the channel for them to march in and out of.

2. Then using a little spoon, you want to add the sugar and Borax inside the match box. You want there to be a 1:2 ratio, with twice as much sugar as Borax. Just make sure you mix the Borax well in with the sugar. Add 2-3 drops of water, to moisten the mixture. Ants like syrup. Ants are gross.

3. Open the matchbox slightly, ensuring an opening for the ants to march into. Now you want to tape the partially-open matchboxes in the high-traffic areas where the ants are coming and going. Tape it good. You don't want an earthquake to make your box budge, so seriously, tape it GOOD.

NOTE: Borax is poisonous and you should absolutely NOT put this ANYWHERE that a child could access. You should also not tape the box in a way that it could easily fall or accidentally sprinkle some of the powder out of the box. We had to be very strategic with where we taped these boxes, since we have a toddler. Please consider the safety of your family and anyone who might enter your home with children, and place this ant destroyer high above a child's possible reach.

Why This Works:
Just like any other ant killer, the ants are attracted to the sugar. They load it up to bring it back to their queen, though little do they know that it's laced with the Borax. Sad day for their leader. Great day for my husband.

This literally took one day to clear the ants completely out of our kitchen. We made three matchboxes, and taped them in strategic places, one being in the space between the dishwasher and the granite. About a week later, we noticed a few again, and we refilled our matchboxes and re-taped them again. We've had no trouble since then.

Don't spend money on pest control if you don't have to. Spend money on shoes. Spend money on beautiful shoes that you can call art. Because this method totally works! And if you're having this issue, I'm certain it will work for you, too!

I hope you have the happiest weekend, enjoying a taste of Spring weather. I'm excited to get in my yard and do some garden prepping and planning! xox

6 Easy Tips for Styling Your Built Ins.

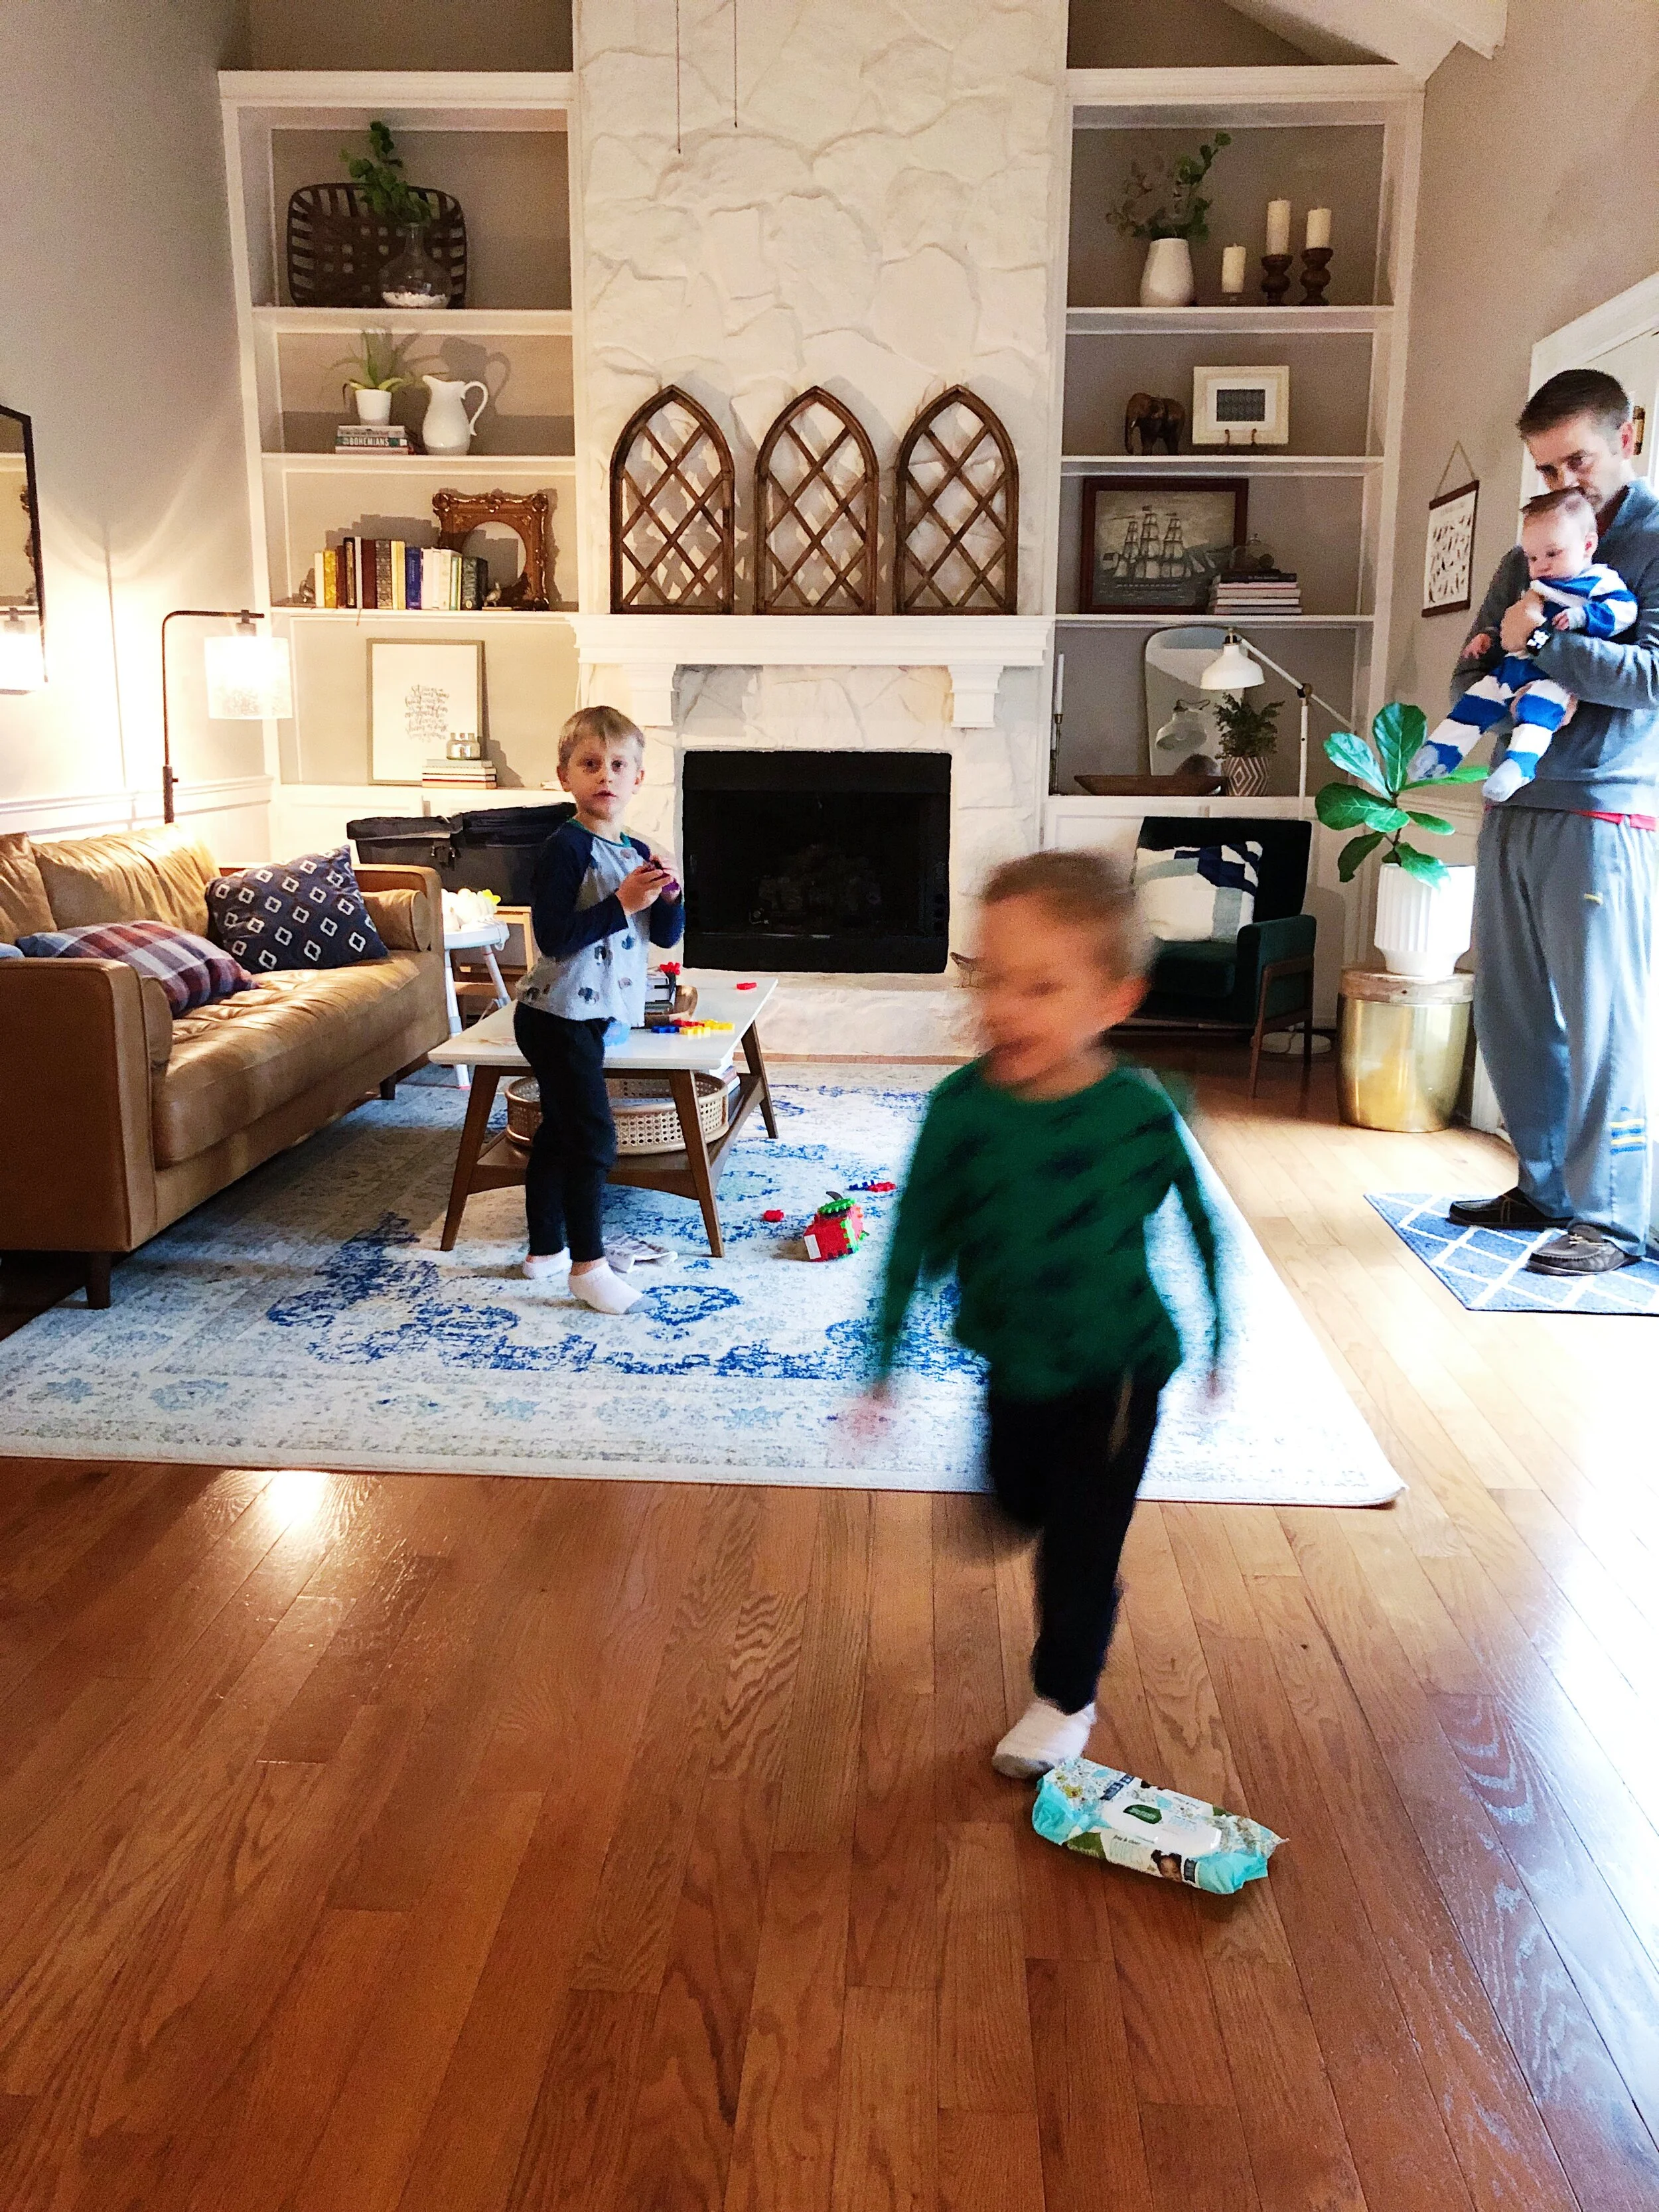
A few weeks ago I shared a peek at our living room and the concept that went into the design. In my opinion, the things that really "make" this room are the high ceilings, the built-in shelves and the natural lighting. None of that really has to do with the decor. But those elements certainly enhance the decor and showcase its best qualities! I am a bargain shopper and don't really have a lofty budget to spend on home decorating. So I've combined a lot of items that were given to me or that I picked up inexpensively (some of them, literally, for free on the street!) Today I want to share my 6 tips for how to style built-in shelves easily and inexpensively.

1. Only Use a Few Items.
You know what you will love the very most about your shelves? How clean they look. It's really important to use less items than you think you need on those shelves. Trust me - this is what will keep them looking fresh and chic. Only use a few items! Between 1-3 for each shelf.

2. Keep the color palette complimentary - and neutral.
Pick a few shades that are represented in the room and stick to those tones. Your eyes will thank me. Because you will have so many different objects to look at, it's best to keep things in the family of neutral, with a hint of a color pop here and there. Use the colors already found in your room. In my case, I used a recurring theme of gold and silver elements, with lots of white space. Then I added a few pops of color, which coordinated with other colors in the room. The black frames coordinated with the black fireplace, the blue pictures coordinated with the main art piece and the rug, and the random pops of color came in the form of my green peacock-inspired plate and the wooden elephant.

3. Use different textures.
Using an array of textures on your built-ins is what makes the uniform palette come to life. Though the colors may play it safe, the types of objects and the different textures create enough intention to keep your eye interested for a while. For this reason, I mixed the elements and included glass, wood, live plants, framed fabric, books, etc. to create dimension on the shelves.

4. Include things you want to look at.
This might seem silly, but its not. So often, we can look at others' homes or flip through books (or watch HGTV) and think that the way someone else does something is the right way. But if we try to replicate that same look, it might not feel natural. It's important to use others' experiences as a launching point for inspiration, but make sure that everything you personally use in your home, especially on your built-in, that you completely love. Because at the end of the day, it's not a designer looking at your shelves everyday, it's you and your family. Make sure you love each of those items and want to look at them.

5. Consider the Scale.
In this case, the scale really matters. If your book shelves are enormous, you are going to want to use larger items to fill that space. Using tiny items in a big space can make the shelves look cluttered, which is the opposite effect you want to have. Make sure to choose varying sizes and shapes of items that fit to the scale of the shelves.

6. Never finish.
The most important (and often most frustrating) part of home decor is the journey: it's always a work in progress. But instead of letting this get you down, treat it like an exciting journey. There is always something inspiring on the horizon! Keep an eye out for items that you want to trade in and out on your built-ins. It will keep the scene fresh and hopefully keep your inspiration hat on. I am often walking books down stair and pictures upstairs, swapping their position in the house and finding where something feels "final". That almost never happens, but I like to put items somewhere on display for three months or so, then move it again, until it finally feels done. Let yourself enjoy the journey!

Thanks for reading! For more information about the items in this room, you can check the Living Room Home Tour post.