Ideas, Resources & Optimism in Times Like These.
/How are you, friends?! HOW ARE YOU REALLY.
In the midst of fighting this global pandemic (COVID-19), I shared here and here some thoughts on Instagram, because that is where so many of us go to check in with each other. However, I wanted a chance to share more here on my blog - especially some of the resources I’ve found helpful as we navigate a new normal over here as a family.
We are living in a time like no other people group ever has. We are the first generation with so much technology, information and news at our fingertips. WHAT A TIME TO BE ALIVE.
Whether this “new normal” is for a few weeks or a few months has yet to be determined! I am grateful for the reminder that in times like these, choosing to be optimistic doesn’t mean having to feel or act happy all the time. It’s perfectly fine to have “meh” moments and feel sad, angry, confused and overwhelmed. I can still choose optimism while I am simultaneously feeling these other feelings, too.
We have actually been navigating a new normal over here for a while, as a family. After Rhys was born 4 months ago, I fought a staph infection for a few months, which kept me home bound (along with the whole “healing from a c-section and feeding a baby constantly” thing), so I have actually been adopting a hermit-ish culture of my own as of late. I have a lot more to share about that little capsule of time, but I’m going to wait until this whole pandemic is past us because we have enough health information overload right now.
However, in light of the past week where the entire world has changed, and everyone has been encouraged to practice social distancing and limit exposure to others - now we are all in the same situation. We are probably all having our moments of processing this new circumstance we facing - staying home while working and educating our children. I know that I am personally fine one moment and then NOT fine the next - it’s a process of unfoiling what I think and feel about all of this. Processing all the impact, all the losses. While trying to stay strong for my family and providing a good structure so that everyone feels safe and cared for. It’s a lot to think about! Thank goodness we have each other to bounce ideas off of! Never have I been more thankful for social media, the Internet, texting and FaceTime. Here are a few things I have been compiling over the past 10 days or so, specific to homeschooling and family life, and hopefully this will help as you navigate your situation as well…
our homeschool schedule.
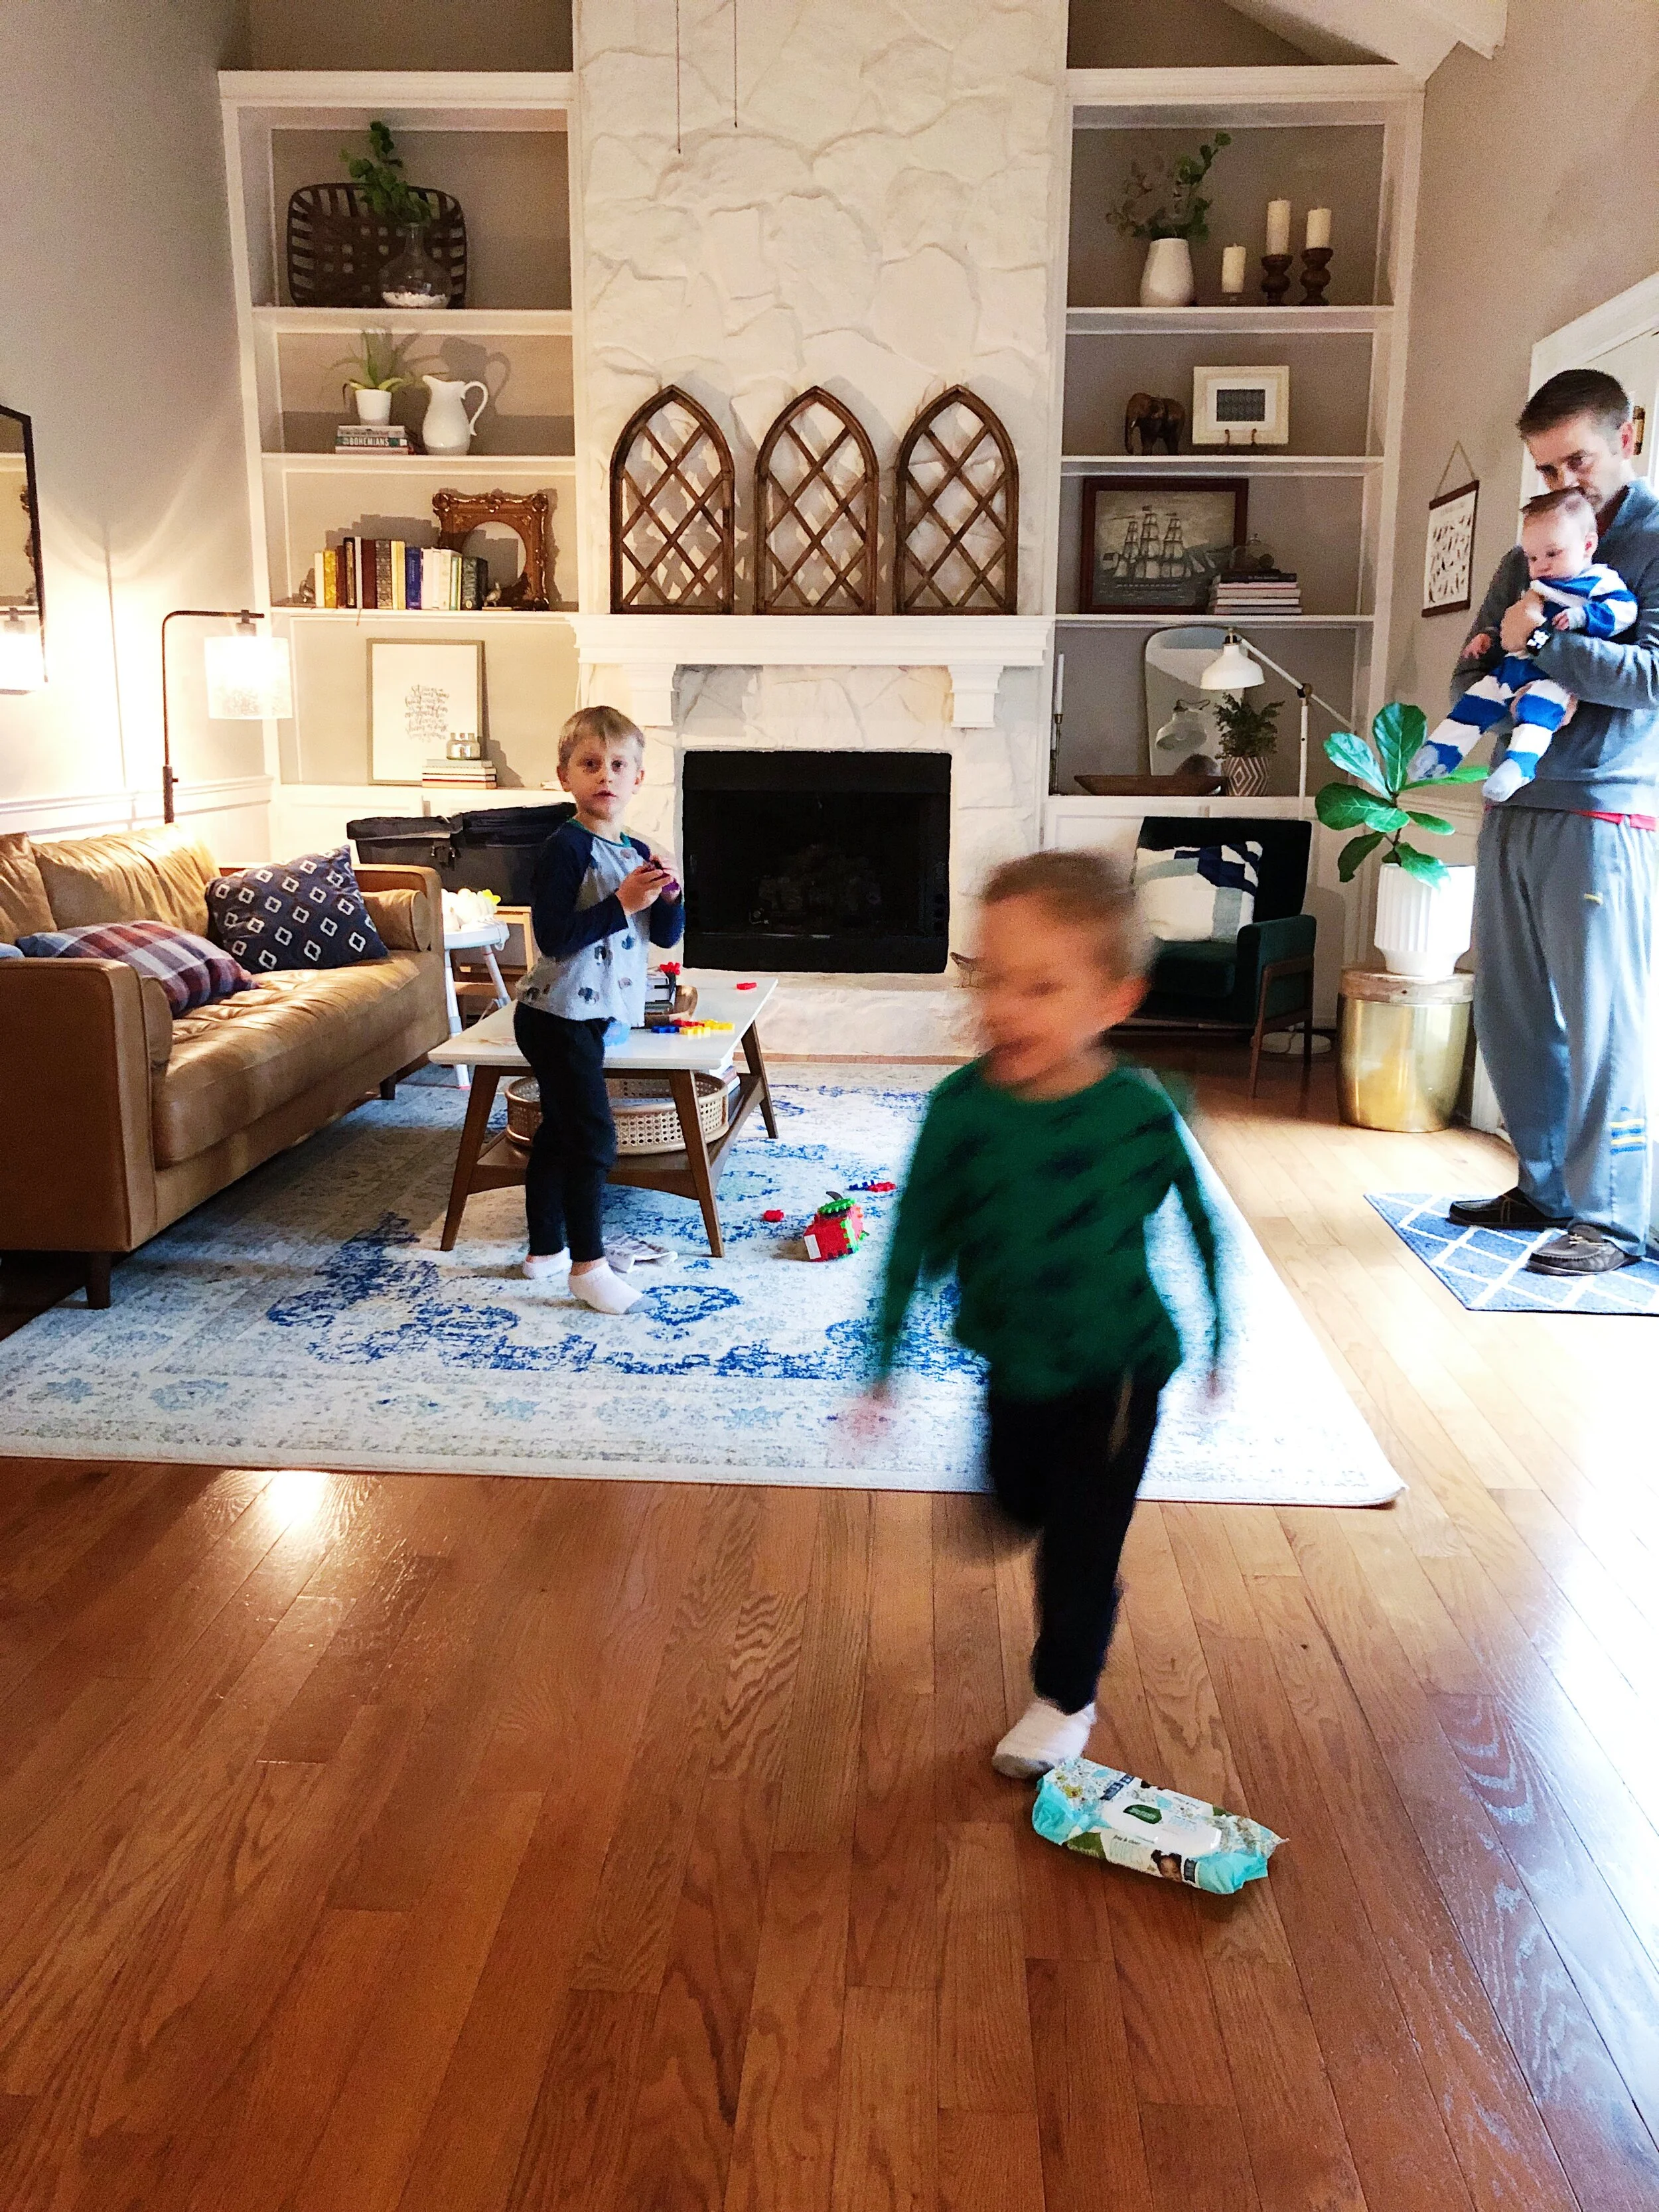
We moved some things around and have turned our dining room into a homeschool space for the boys. The new set up and having a schedule helped me so much last week. We have been starting school a little later in the morning than we normally would than if we were actually going to school, which has helped me (and the boys!) sleep a little more. Great immune-boosting for us all! Here’s the rest:
8 - 9am - Get dressed, clean rooms, have breakfast
9 - 11 - School lessons
11-12 - Free play (we call them “centers” because for some reason that makes it feel official - usually megablocks, magnatiles, or STEM building toys)
12 -12:30 - Clean up, make & eat lunch
12:30 - 1 - Read a book OR Listen to a story (more about that below), free coloring
1 - 3ish - Nap time! Rest time for Everett (he chooses quiet activities he can do alone - reading and playing LEGOs)
3 - 4 - Outside time (depending on the weather) or special project (a craft or something from our activity jar)
4 - 5 - Watch a TV show while I prep dinner
5:30pm - Dinner
7:00/7:30 - Bath, books, bedtime
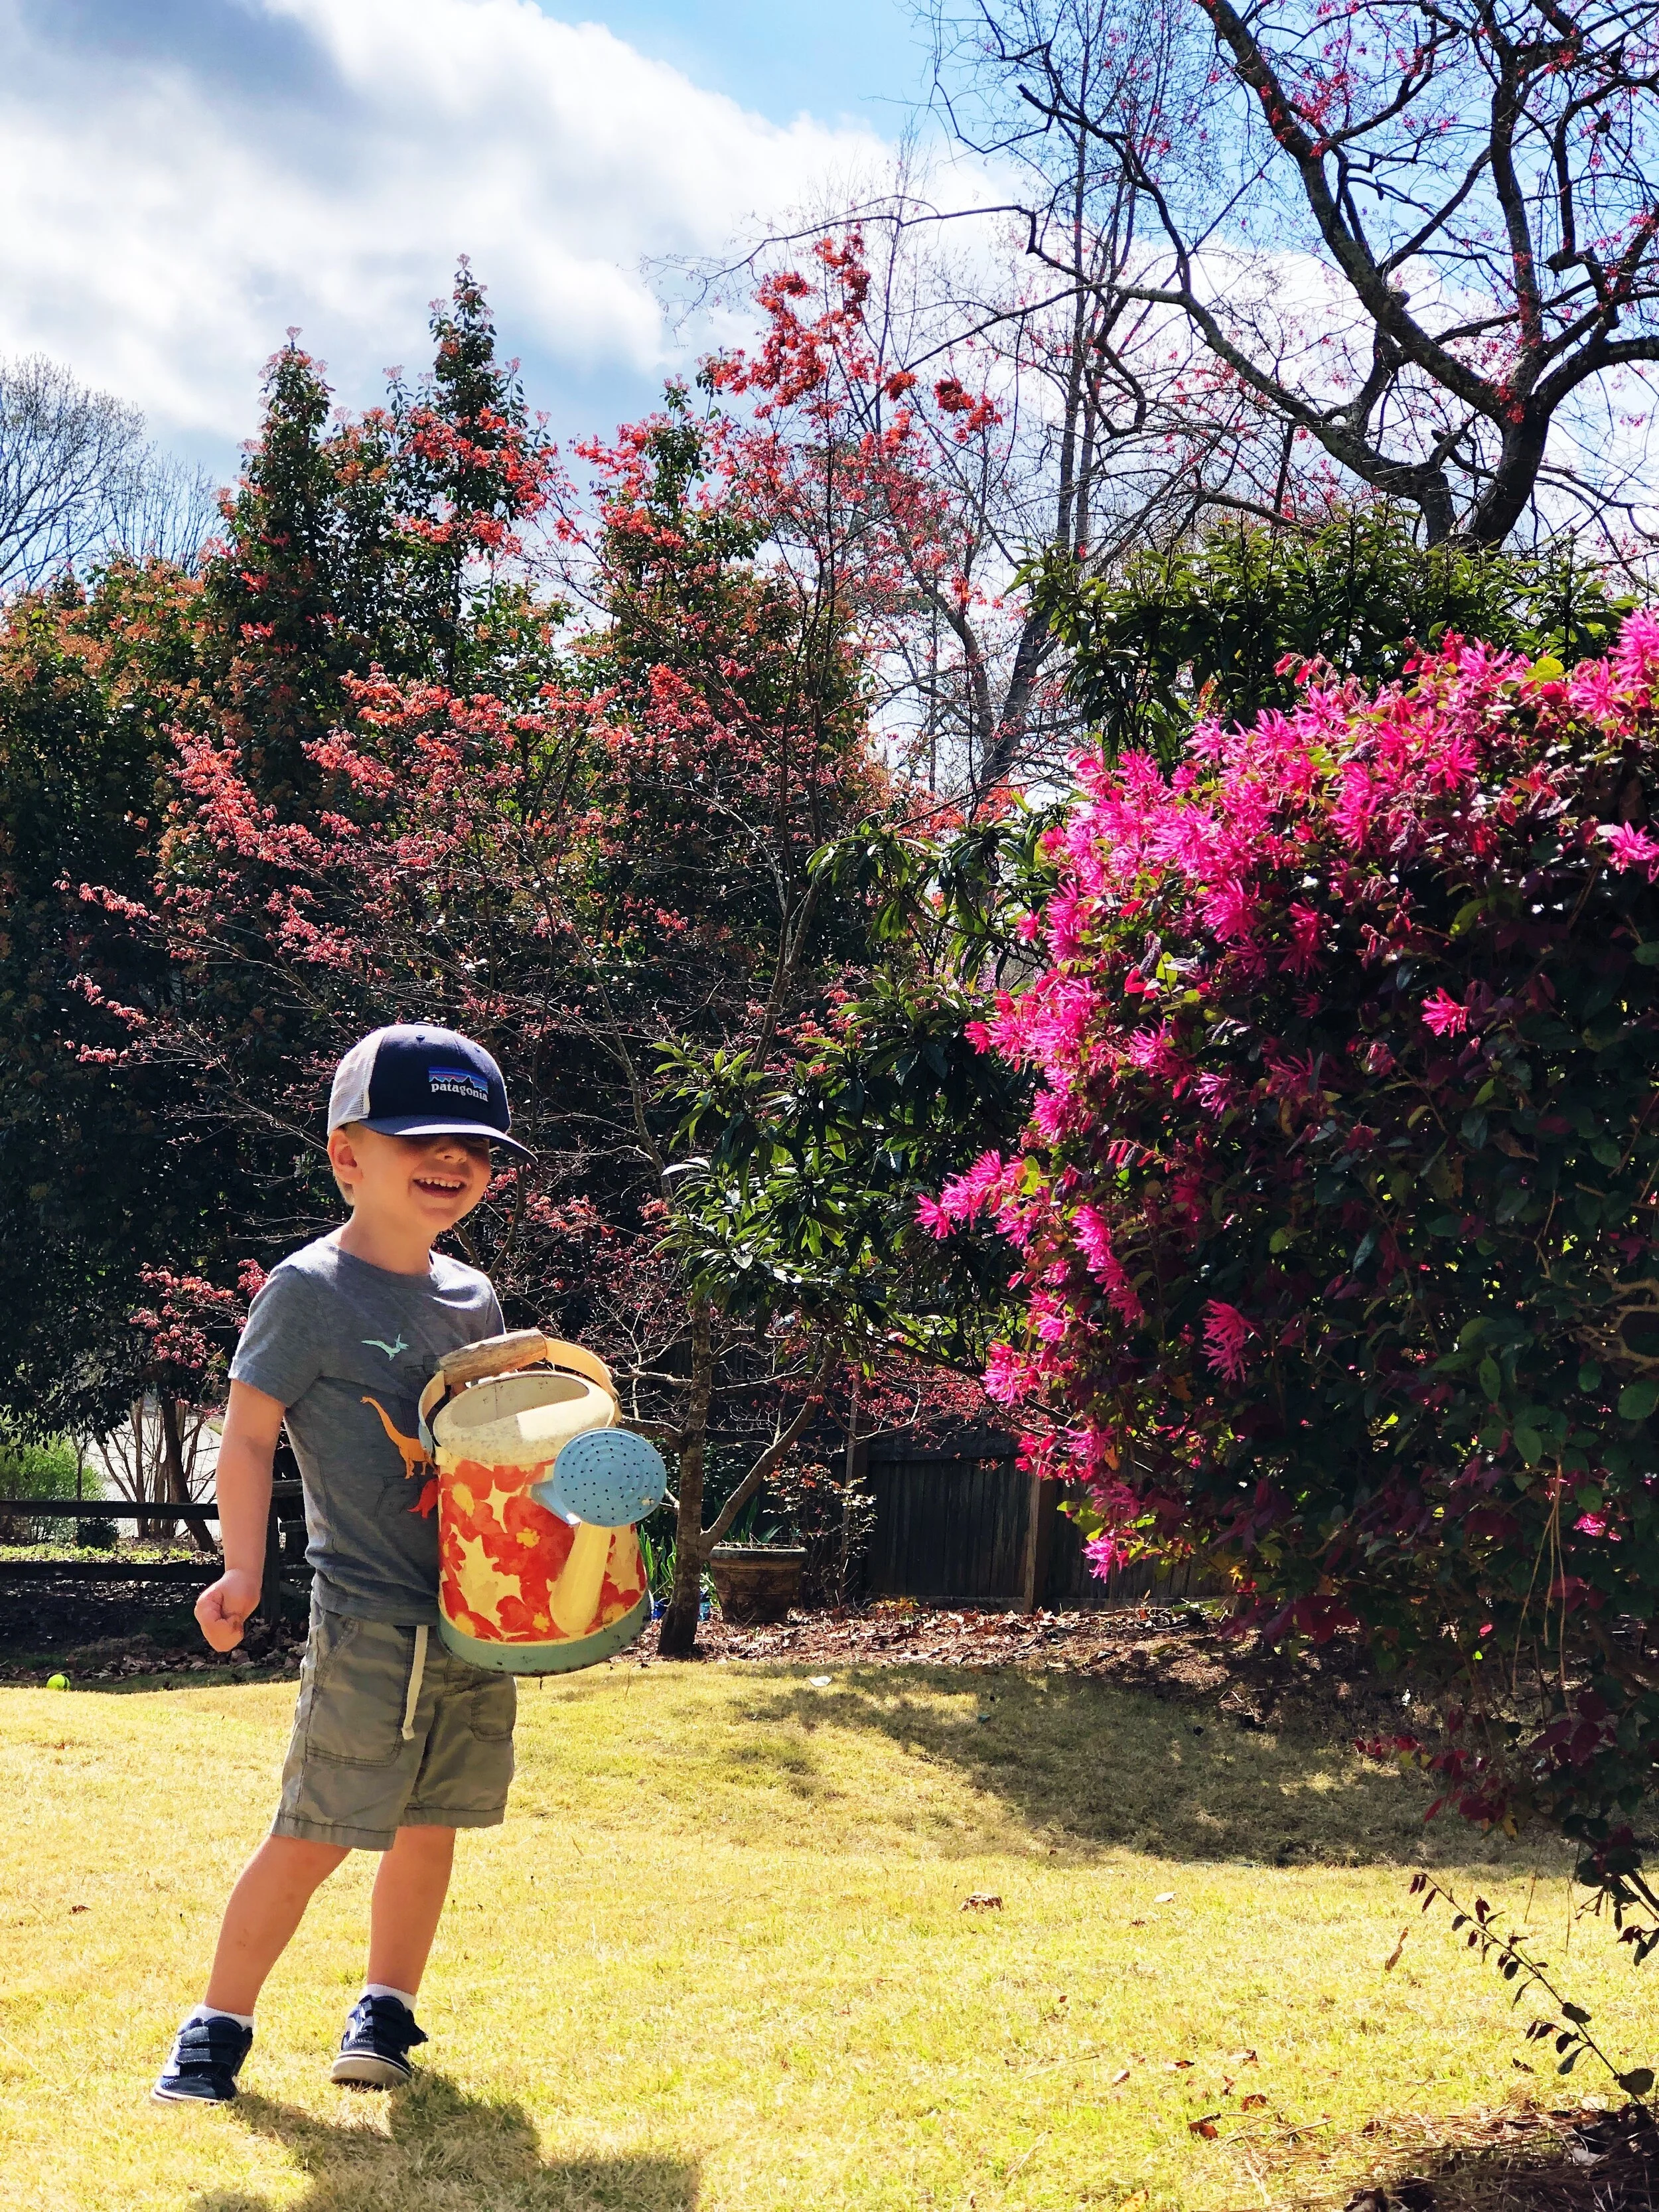
With the weather being so beautiful last week, we actually got up and took a walk immediately before breakfast, almost daily. That helped so much! We all need the movement and vitamin D! So when the weather is good, I will gladly throw this schedule out the window and then dive into the outdoors instead! ;)
RESOURCES FOR HOMESCHOOL LIFE.
In addition to the lessons and videos our wonderful school is sending, I am so grateful for all the free resources that are being offered around the web! Here are a few that we are aware of and trying out:
1. Scholastic Learn at Home Lessons (FREE)
I love how simple and straightforward these are. Everett keeps asking to do more of them!
2. Radish Kids Cooking Kit (FREE)
We snagged this before they sold out, but if you add your name to the wait list they will let you know when they restock these free kits!
3. Audible Stories (FREE)
I actually started using audible a few months ago for myself and immediately got obsessed (been working my way through all the Jane Austens!) But even for those who don’t have an account and don’t want a monthly membership, Audible is offering a selection of family and kid-friendly books for absolutely free. I am thrilled about this. We’ve been listening to a few every day and its a great calm-down activity before naptime.
4. KiwiCo At Home Activities (FREE)
We don’t have a subscription to this (although I’m thinking about it - would love to hear if you have enjoyed a subscription here!) but they are providing a ton of free resources to parents and kids with activities, DIYs and more ;)
5. Lovevery
This baby/toddler subscription kit contains Montessori-style learning toys that I am looking into for Rhys specifically. He is getting to the age where he needs more interaction and its coming at a time where I have to divide my focus between the 3 boys all throughout the day. I think this will help all of us interact with him but I haven’t pulled the trigger on it yet - would love input if you’re currently using this!
6. ABC Mouse (FREE)
I haven’t used ABC Mouse before, but if your school requests access here, there is a free code available to use this subscription service for 2-8 year olds. If you don’t want to wait for access, there is a free 30-day trial available as well.
TIPS FOR HOMESCHOOL LIFE.
I am so grateful that so many of you sent great ideas in to share! Especially you veteran OG homeschool mamas, you are the real heroes. A few ideas and reminders I was sent:
1. PLAY is the best way for young kiddos to learn. 1-2 hours of school per day for elementary age children.
2. Cook something together + read something together. These are major building blocks for learning (math + English).
3. Idea Jar - Fill a jar with 20+ activity ideas that are tailored to your kid’s ages. A few examples: letter writing, dance party, plant some seeds, play a board game, FaceTime a friend, choose someone to say a prayer for, put together a puzzle, play with LEGOs, listen to an audiobook, scavenger hunt, bake something, read a Bible story, build a fort, play in the yard, etc.
4. FaceTime read to friends! Let your kids pick a book and then record yourself reading it to them. Then send it to cousins, best friends, whoever has kids and would love a special video message book for their kids! One mama told me it helped her kiddos not get so bored with their own books.
5. Don’t stress. Little kids might not remember the impact of this virus (the way we adults will), but they WILL remember what it felt like to be at home with their parents - they will remember the time spent together, the meals shared, the board games played, the prayers spoken. Lets keep that in the very top of our minds as we respond to situations that occur at home.
TIPS FOR NOT GOING INSANE.
Exercise! Exercise outside (for and hour or more, ideally) has been especially KEY for all of us.
Get creative! I downloaded Jenny Highsmith’s FREE hand lettered coloring pages for myself! The kids have more than enough resources at their fingertips, and my sitting with them and coloring alongside has been really helpful and therapeutic for me personally.
Incorporate chores throughout the day. This way, you aren’t stuck with a mess at the end of the day! Stevie and I are keeping the kitchen spotless right now, because we both feel stress triggers if the kitchen is a mess while we are all occupying the same spaces.
Cry. It’s okay to cry. There’s a lot happening. I also have taken little breathing breaks on the porch. Just 5 deep cleansing breaths makes SUCH a difference to me. Especially when I pair it with a rollerball swipe of my favorite essential oil (Balance or Elevation are incredible).
When in doubt, POPCORN AND MOVIE. It’s the ultimate save.
My prayers are with us all. Stay safe and healthy, friends!


